


DIY and Crafts
Easter Egg Chick Craft Using Popsicle Stick

Create a cute Easter egg chick craft using popsicle sticks! This fun and easy craft are perfect for kids of all ages. Follow our step-by-step instructions to make your own colorful Easter chick.
Welcome to this Easter Egg Chick Craft Using Popsicle Stick tutorial! This fun and easy craft is perfect for children of all ages and is sure to bring a smile to their faces! By using simple supplies such as popsicle sticks, paint, and glue, you can create an adorable Easter egg-shaped chick that can be used as a decoration or a gift. Follow along and let’s get started!
How To Make Easter Egg Chick Craft Using Popsicle Stick
Read More: Super Simple Pine Cone Crafts For Kids
Material Used:
- White Sheets
- Card Stock
- Glue Stick
- Yellow Sheets
- Marker (purple, blue, orange, and yellow)
- Black Sketch
- Pencil
- Scissors
Instructions:-
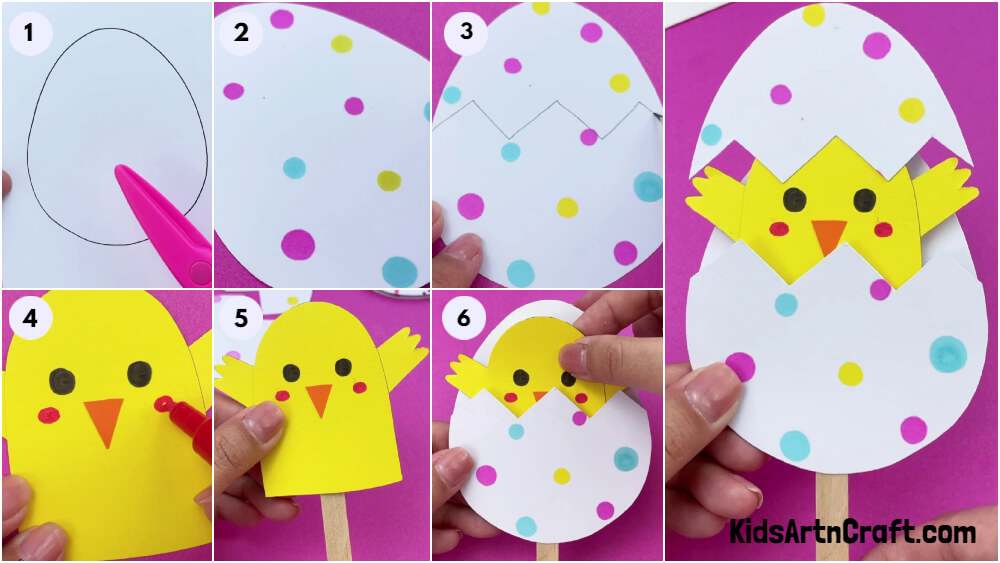
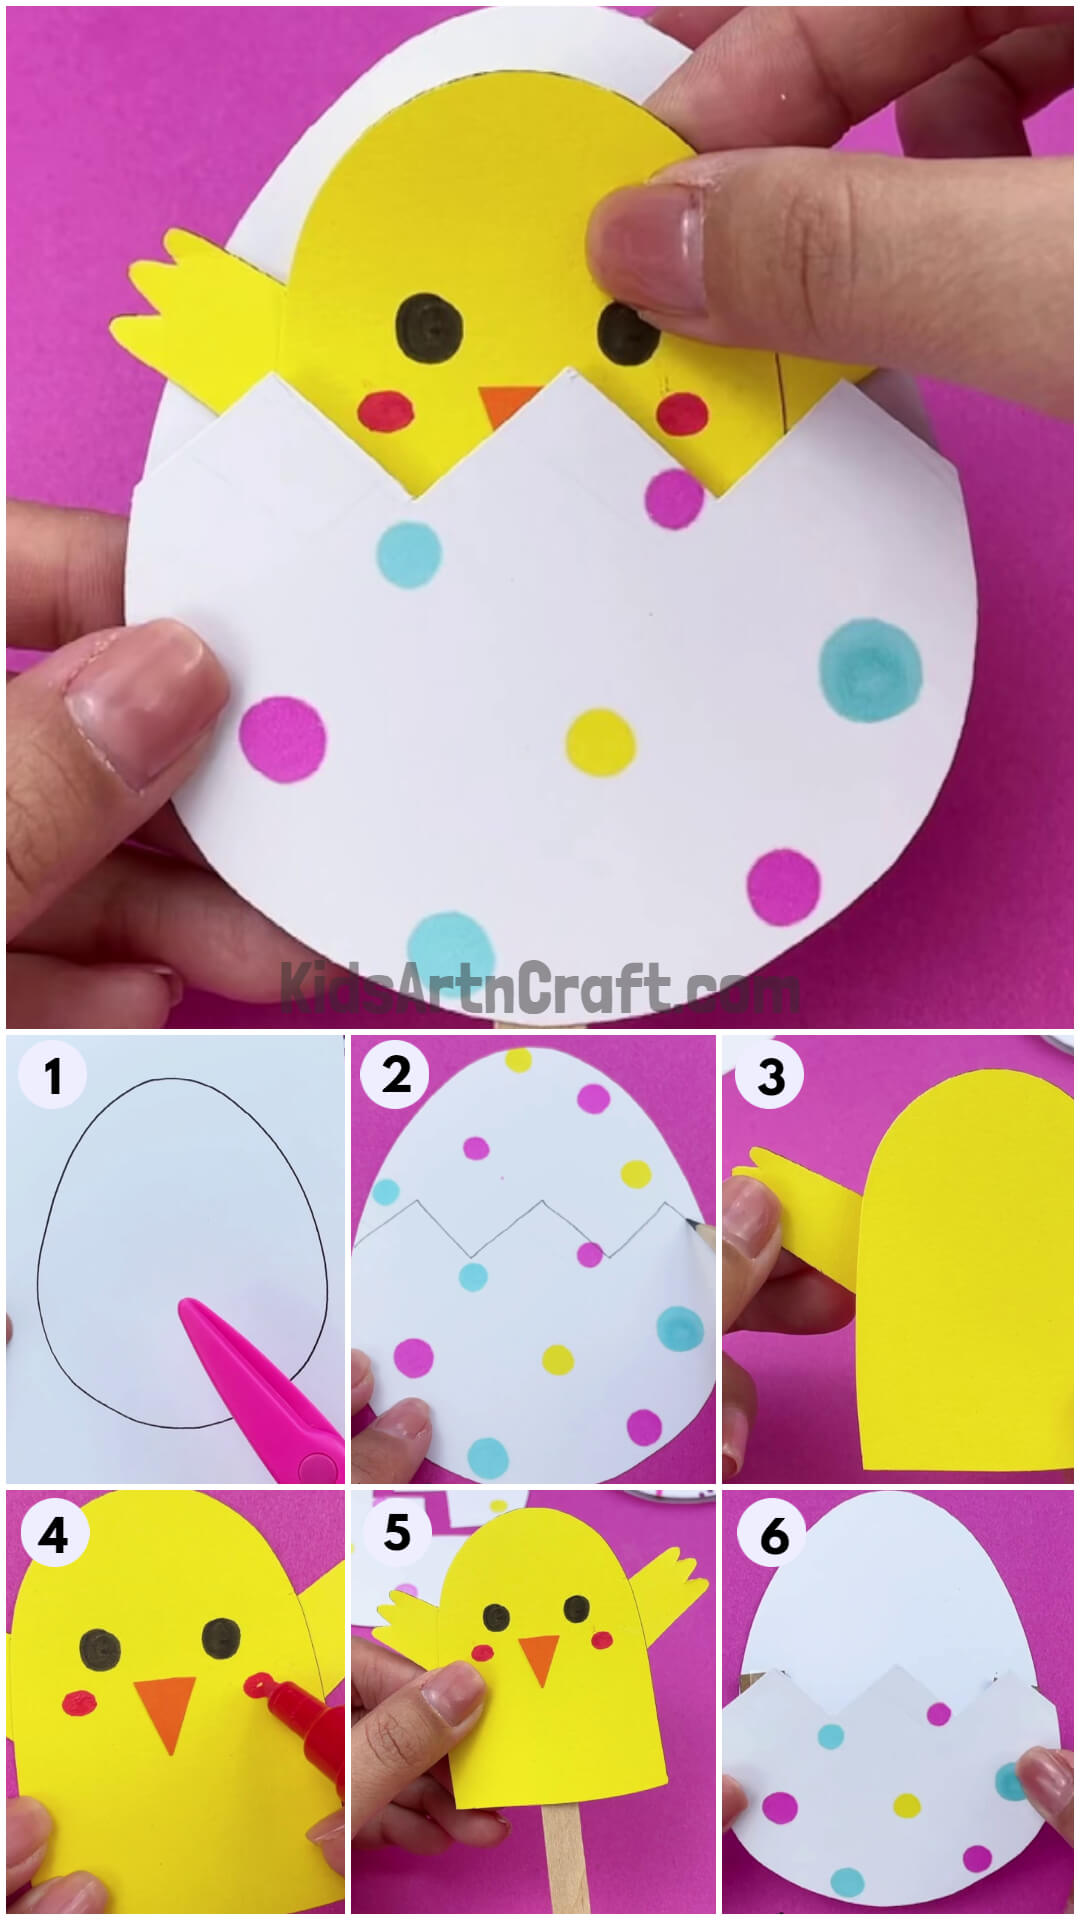
Step 1: Creating a Fun Easter Egg Chick
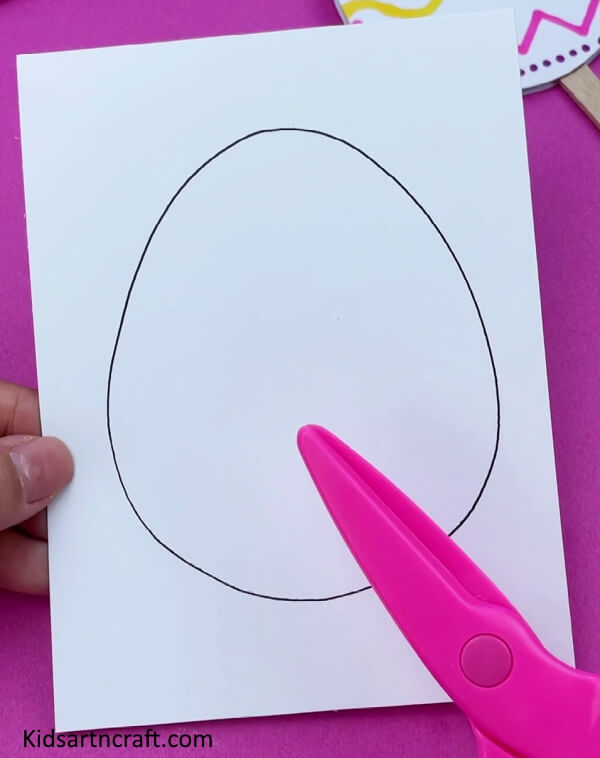
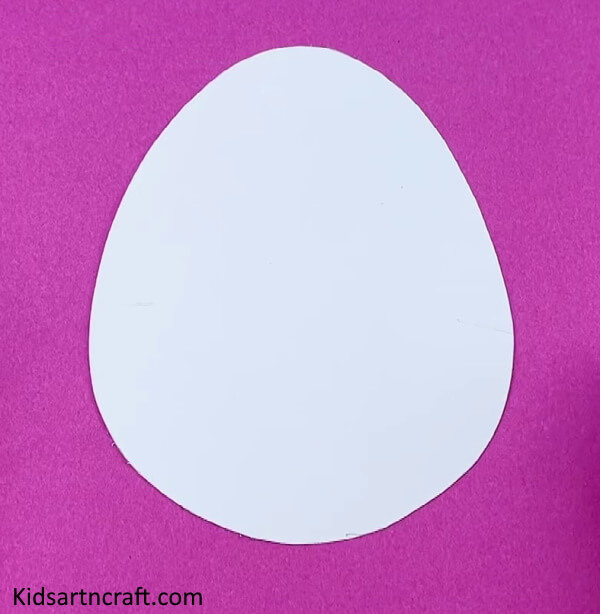
Start off by making two of the same sizes of eggs on two different white sheets.
Step 2: Create an Easter Egg With Two Egg Shaped White Sheets

Cut the eggs using scissors and keep one of them with you and put the second one aside.
Step 3: Making a Design Using Colorful Markers

Take different color markers and start making small balls on the egg sheet to make it look more creative.
Step 4: Using Colorful Markers to Draw These Balls On White Sheet
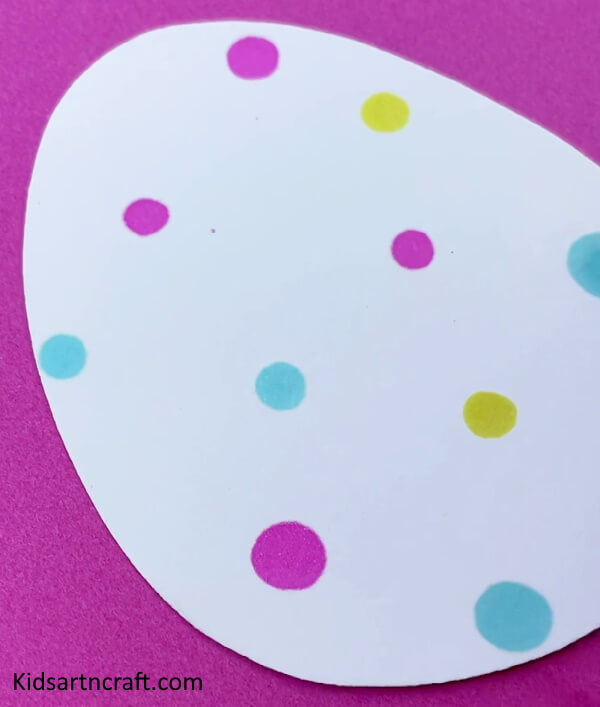
This is how it will look after making all the balls.
Step 5: Start With Making Three Mountains Little Above The Half Of The White Sheet
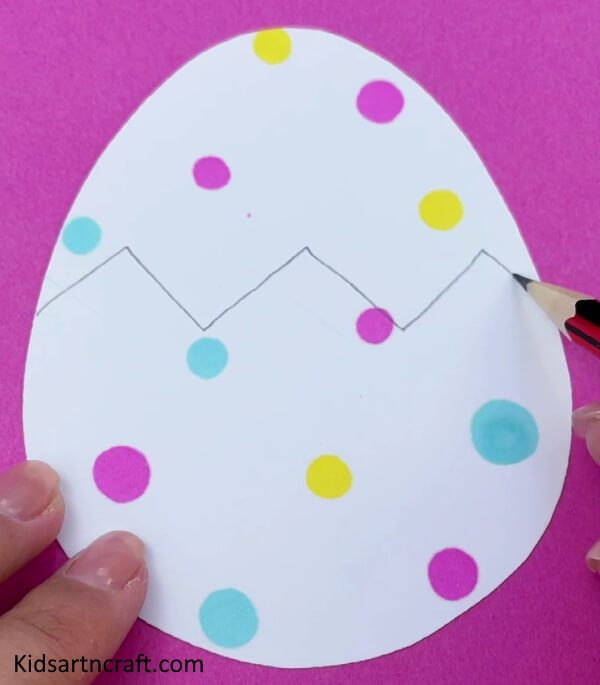
Now, using a pencil, draw three mountains just above the halfway mark of the egg.
Step 6: Cut Off The Paper in The Shape Drawn From the Pencil
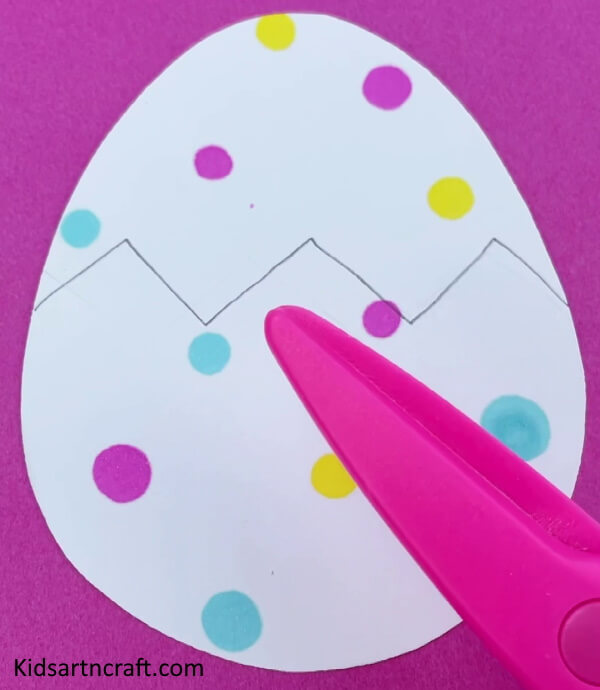
Cut the paper using scissors in the design drawn just above the halfway marked of the egg to mimic a broken egg.
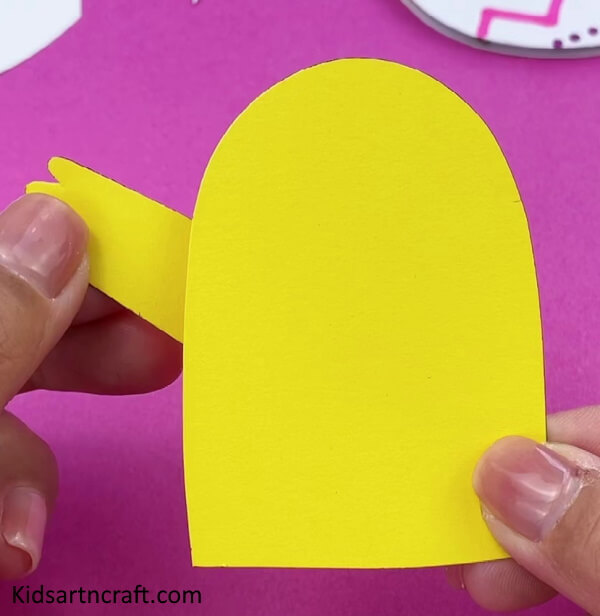
Step 7: Creating a Chick For Our Easter Egg
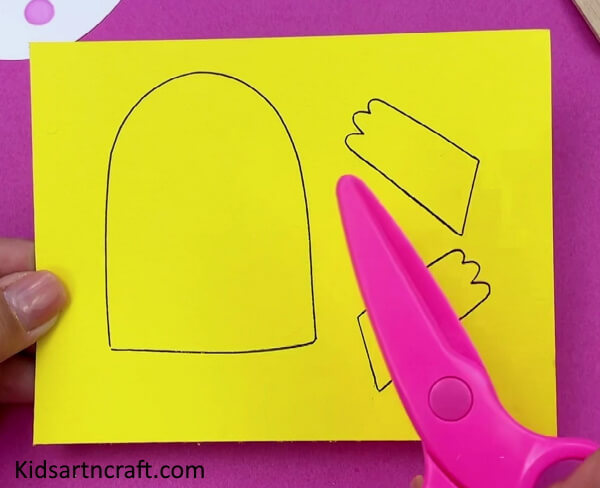
Draw the shape of the chick and the hands of the chick on the yellow sheet using a black sketch.
Step 8: Cutting Off The Shape Of The Chick
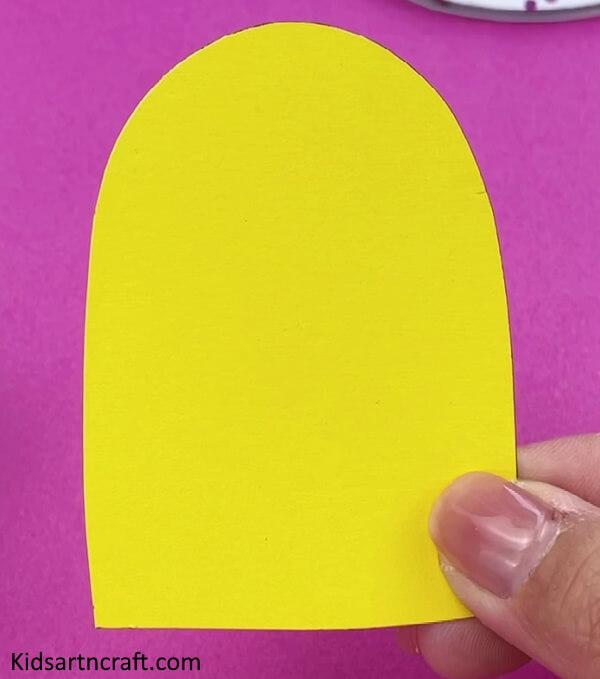
Cut the drawn shapes using scissors.
Step 9: Sticking Hands of Chick
Paste the hands of the chick on the back side of the body on both sides.
Step 10: Using Black Marker for Eyes
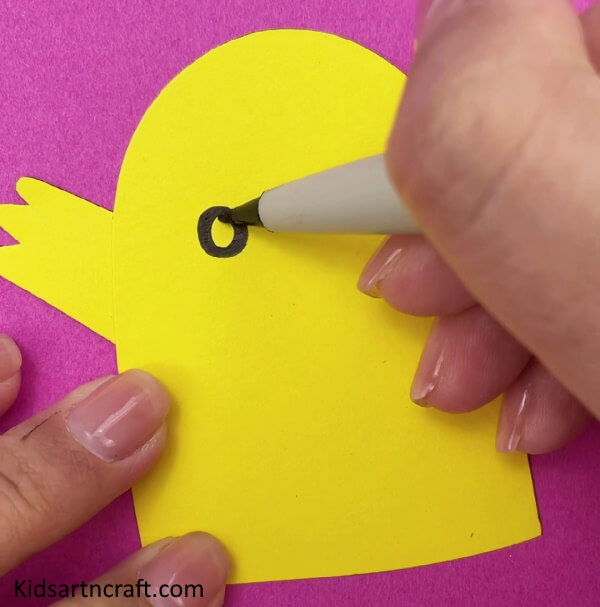
Draw the eyes using the black sketch to make it look more realistic.
Step 11: Creating a Chick With Pink Blushes
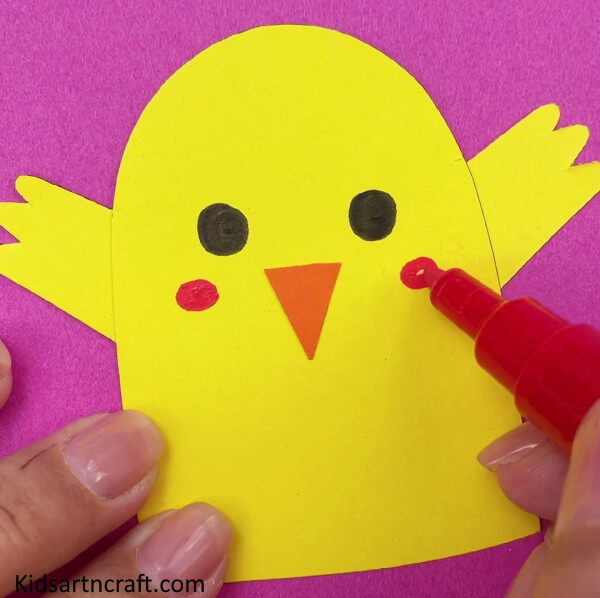
Use a pink marker to make pink blushes and make an orange beak in the middle.
Step 12: Putting Glue Stick On a Popsicle Stick

Apply some glue sticks on one end of the popsicle stick.
Step 13: Take a Chick and Popsicle Stick Together
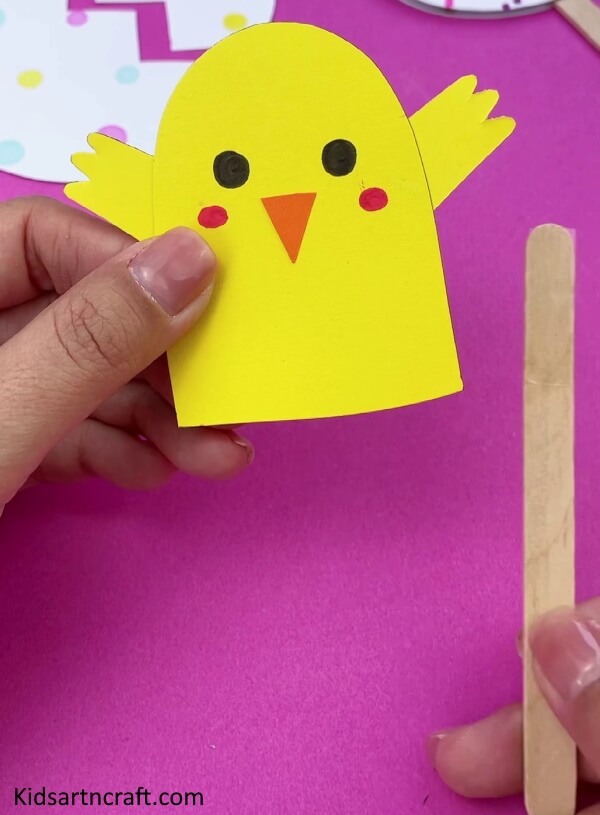
Take your prepared chick and popsicle sticks in order to paste them.
Step 14: Securing The Stick At The Bottom Of The Chick
Now, paste the popsicle stick on the bottom side of the chick.
Step 15: Taking The Second Egg Shaped Sheet
Do you remember the two egg-shaped sheets you cut at the start? Yes, that one. Take that second sheet.
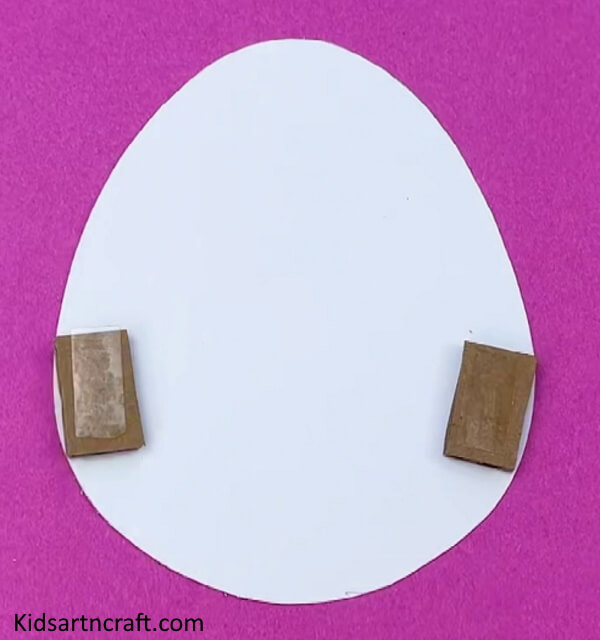
Step 16: Adhering Cardstock to Both Sides
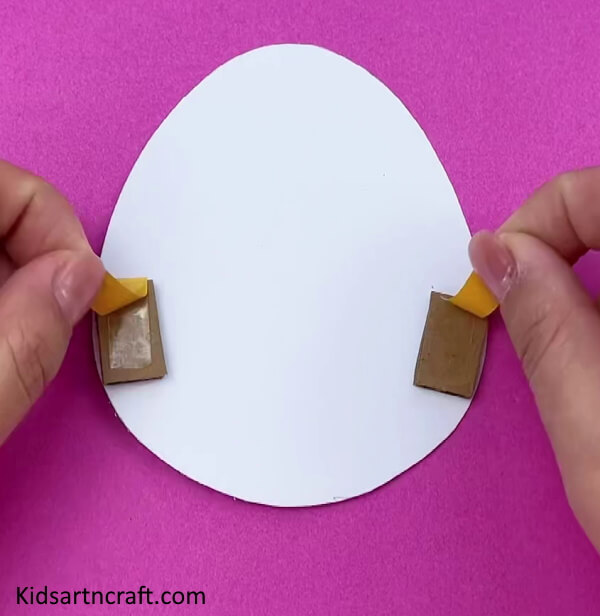
Pasting Cardstock On the Left and Right Side
Step 17: Getting Crafty with Glue and Cardstock
Putting Some Sort of Glue On the Cardstock
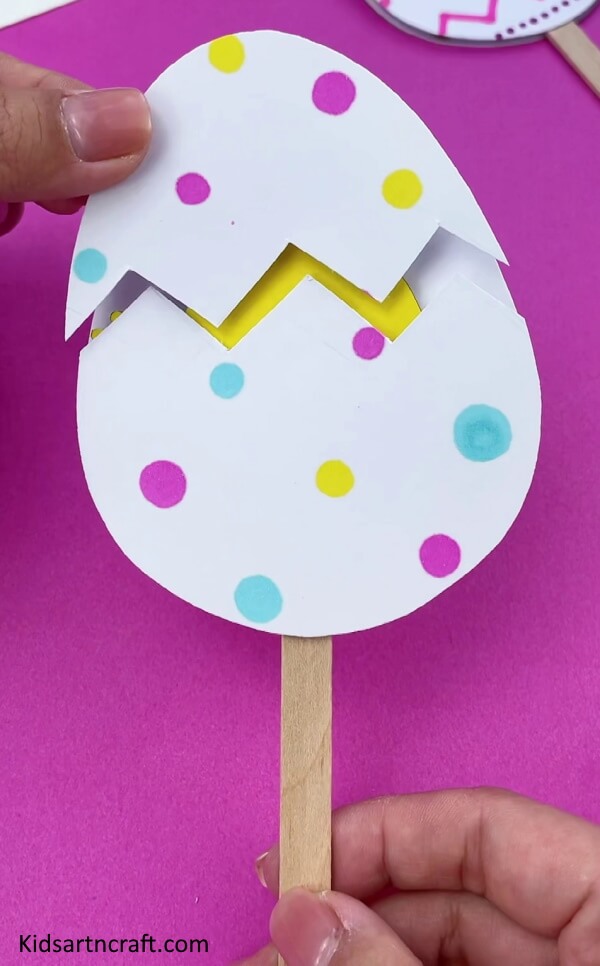
Step 18: Crafting with Egg Sheets

Pasting the Half Cutten Egg Sheet On the Cardstock
Step 19: Stuffing the Egg
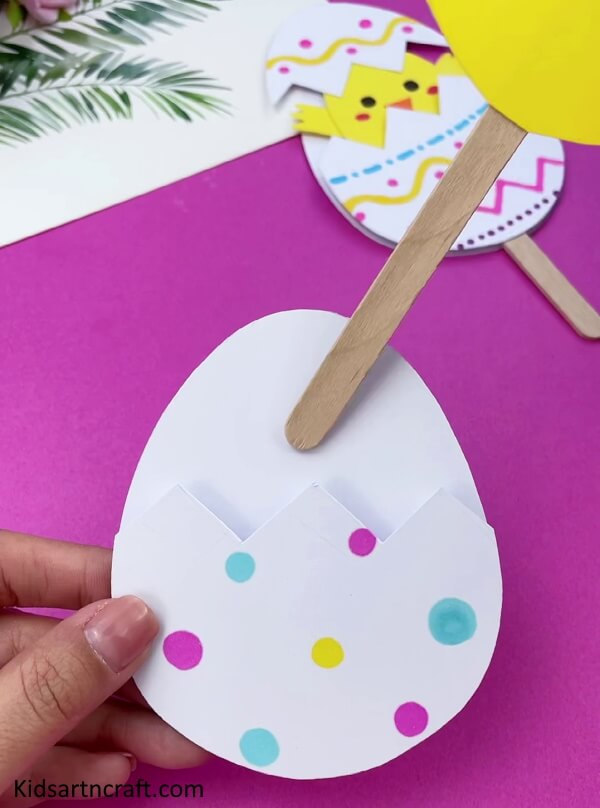
Inserting the Sticked Chick Inside the Prepared Egg Sheet
Step 20: Preparing the Coop
Setting Up the Chick Inside
Step 21: Risking It All
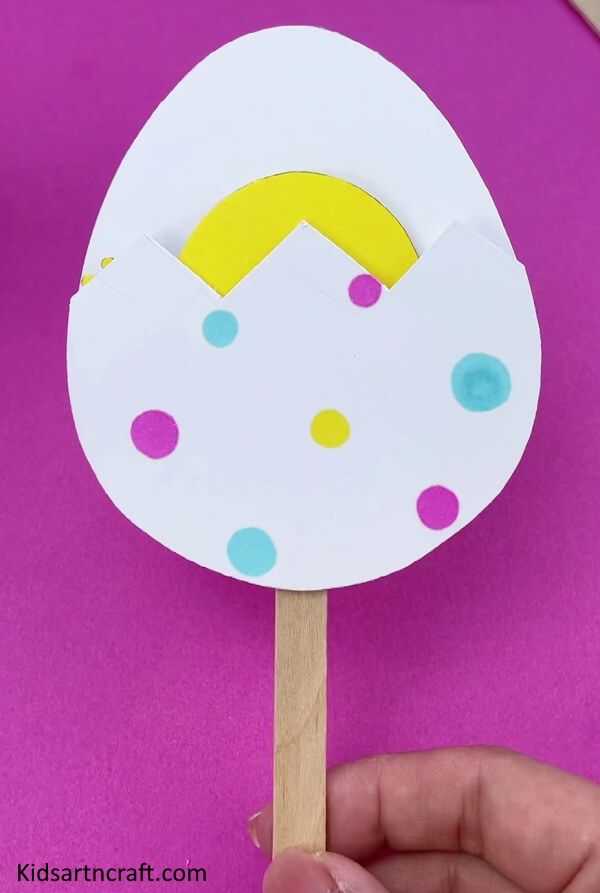
Taking Another Half Cutten Sheet
Step 22: Pasting On The Top Of The Chick
Take the top portion of the egg and stick it with glue to complete it.
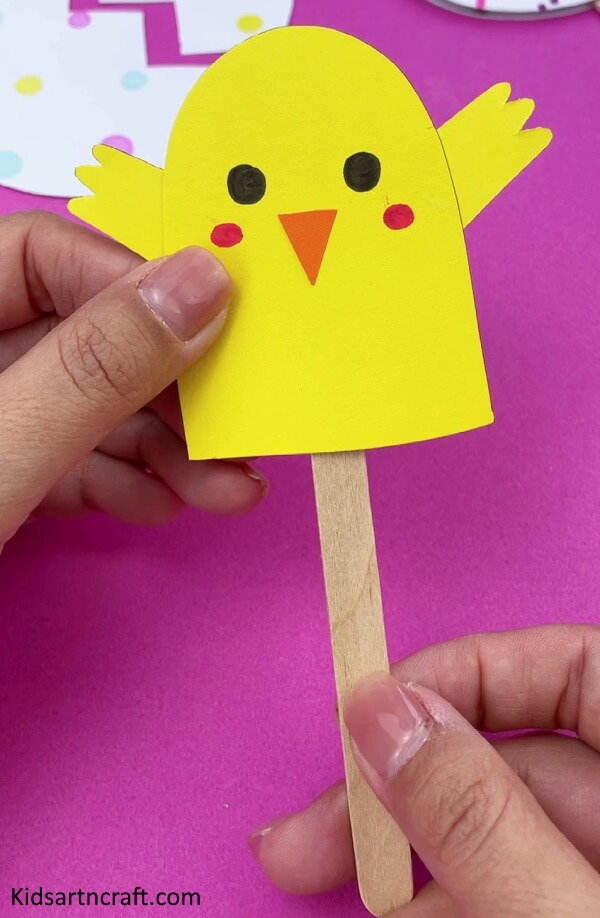
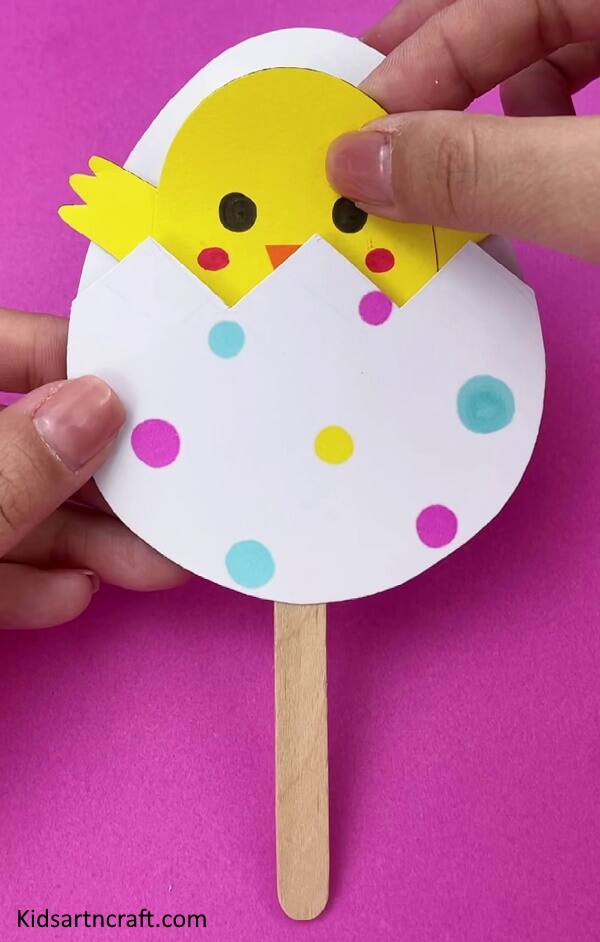
Final look

Here is your Easter Egg Chick craft! This is the final look of your craft
Some More Chick Craft Tutorial
Self-Made Balloon Chicken Craft Activity For Kids
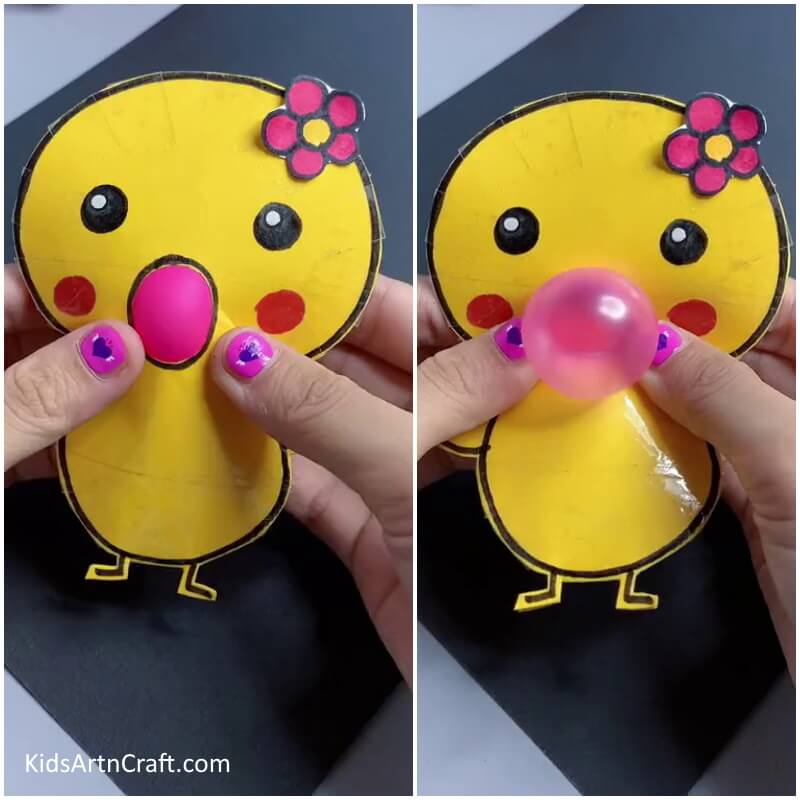
Image Source/Tutorial: Kids Art & Craft
This unique and creative artwork consists of colorful balloons carefully arranged in the shape of a chicken. It is a perfect example of self-made art, crafted with skill and patience. It is sure to add a fun and whimsical touch to any space.
Easy Paper Easter Egg For Young Ones
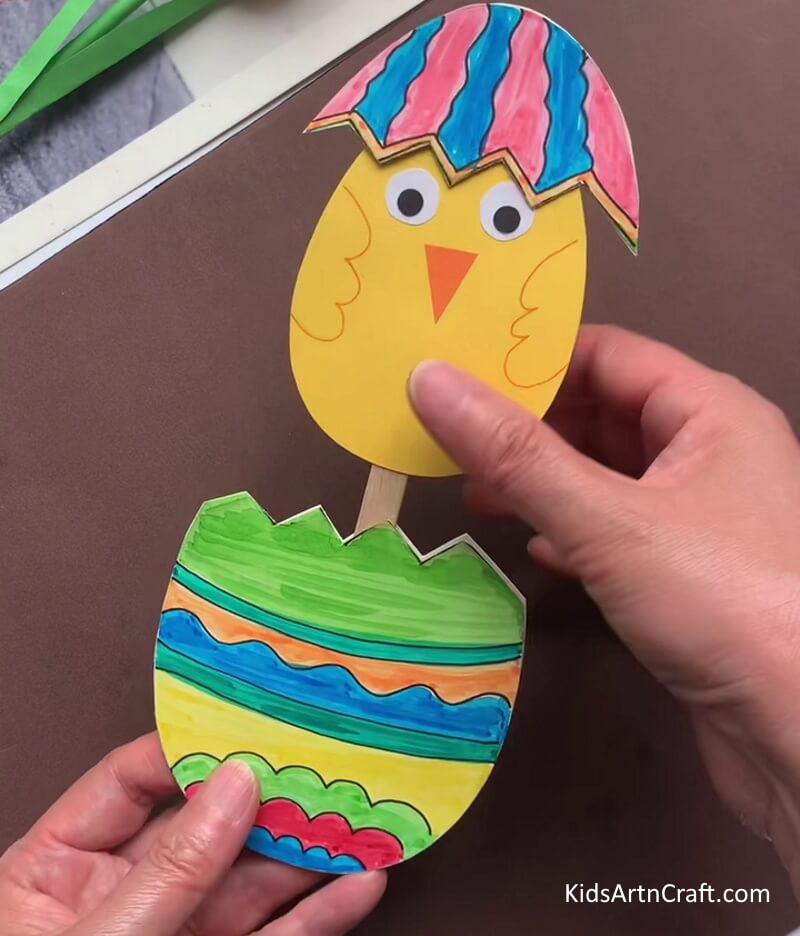
Image Source/Tutorial: Kids Art & Craft
This easy paper Easter egg craft is perfect for young kids to make. It only requires a few materials and a few simple steps to make a fun and decorative Easter egg. No glue or scissors are required, making it a safe and fun craft for kids!
FAQs
What materials do I need to make the Easter egg chick craft?
You will need popsicle sticks, yellow and orange construction paper, glue, a black marker, and scissors.
How many popsicle sticks do I need for the Easter egg chick craft?
You will need 4 popsicle sticks for each Easter egg chick craft.
How do I cut the construction paper for the Easter egg chick craft?
Cut the yellow construction paper into an oval shape for the body of the chick. Cut an orange construction paper in the shape of a triangle for the beak.
How do I assemble the Easter egg chick craft?
Glue the 4 popsicle sticks together in the shape of an egg. Glue the yellow oval shape to the top of the egg and the orange triangle to the front of the egg.
Do I need to use a black marker for the Easter egg chick craft?
Yes, use the black marker to draw eyes and a smile on the chick.
This Easter Egg Chick Craft Using Popsicle Sticks is a fun and easy way to get your kids in the spirit of Easter. It provides a great opportunity to get creative and have a good time!
Follow us on Youtube for art and craft tutorials and much more.
More Easter Craft Ideas from Kids Art & Craft
Easy Easter Craft: Chicken Family Decoration Ideas
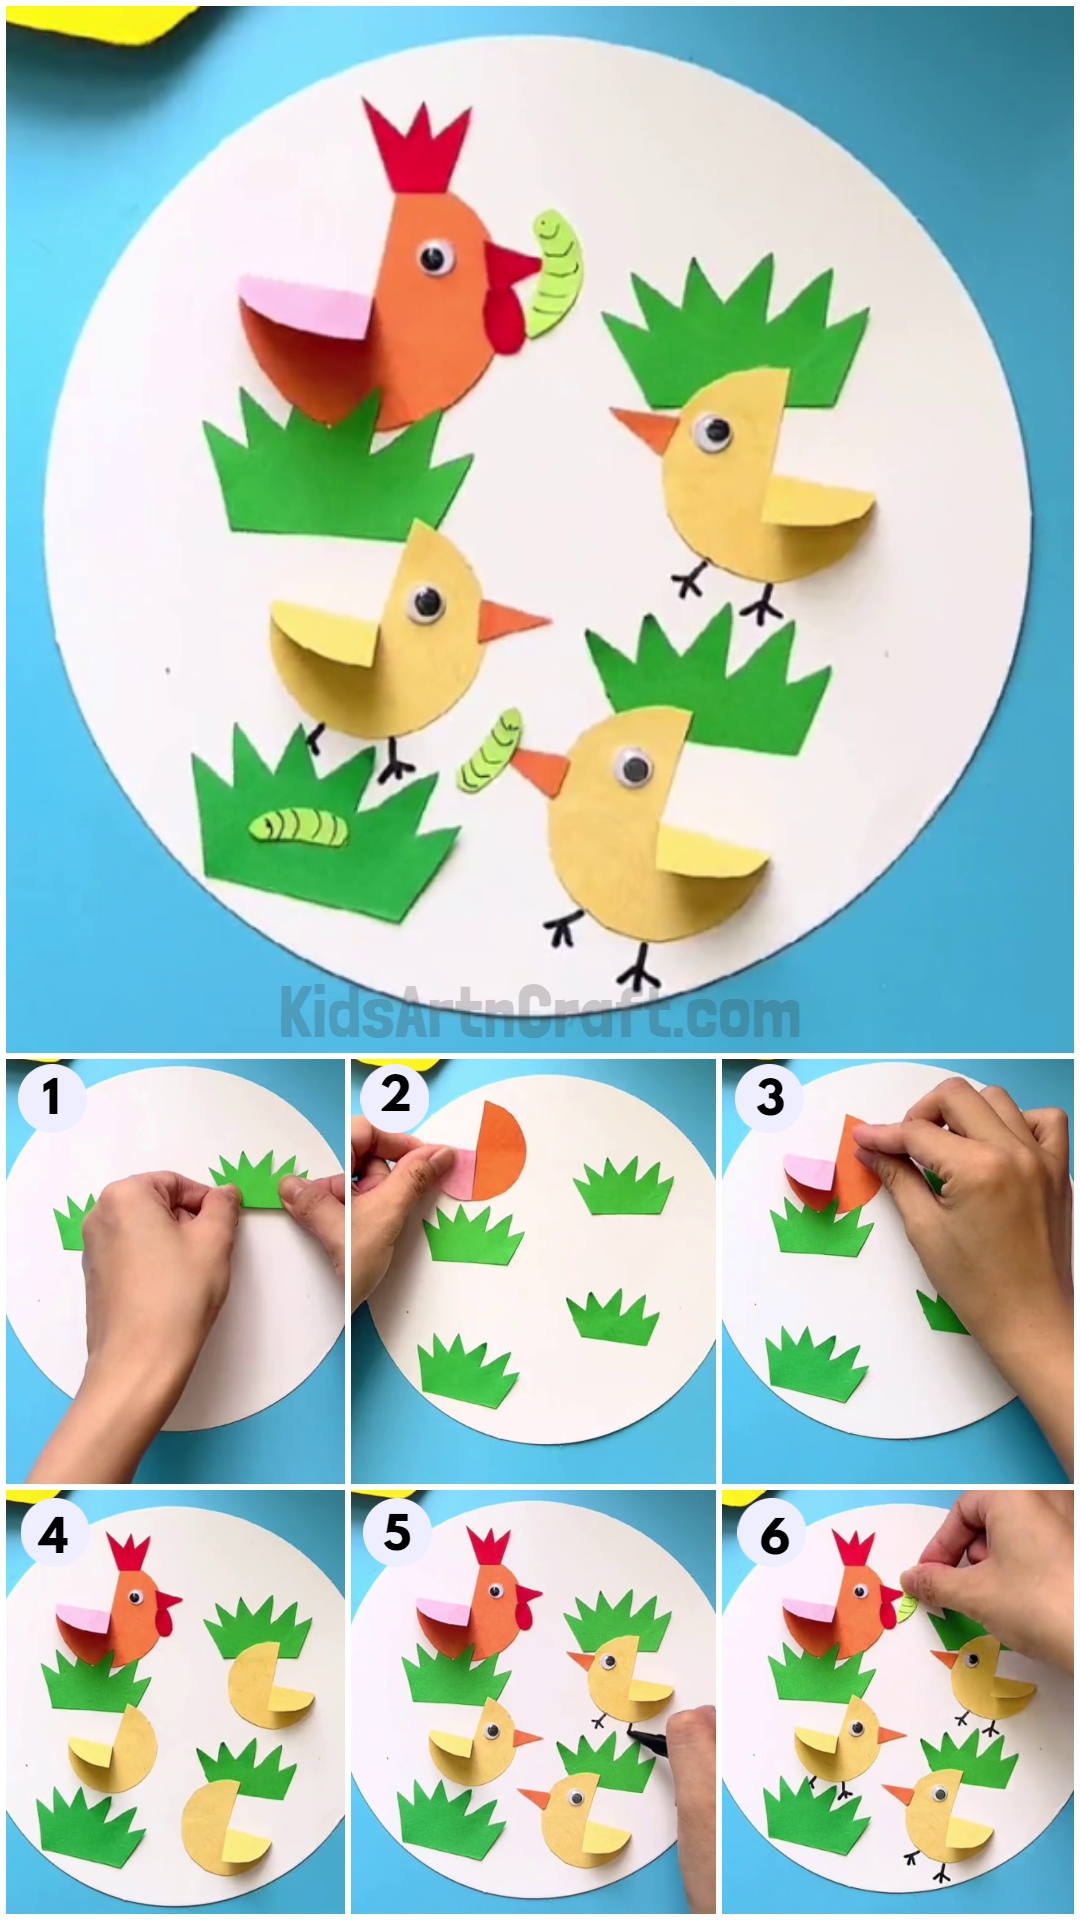
Try this easy Easter craft by making chicken family decorations. With basic supplies, you can craft adorable chickens that bring a cheerful and creative vibe to your Easter holiday setup.
Easy Easter Egg Crafts Using Paper Cups
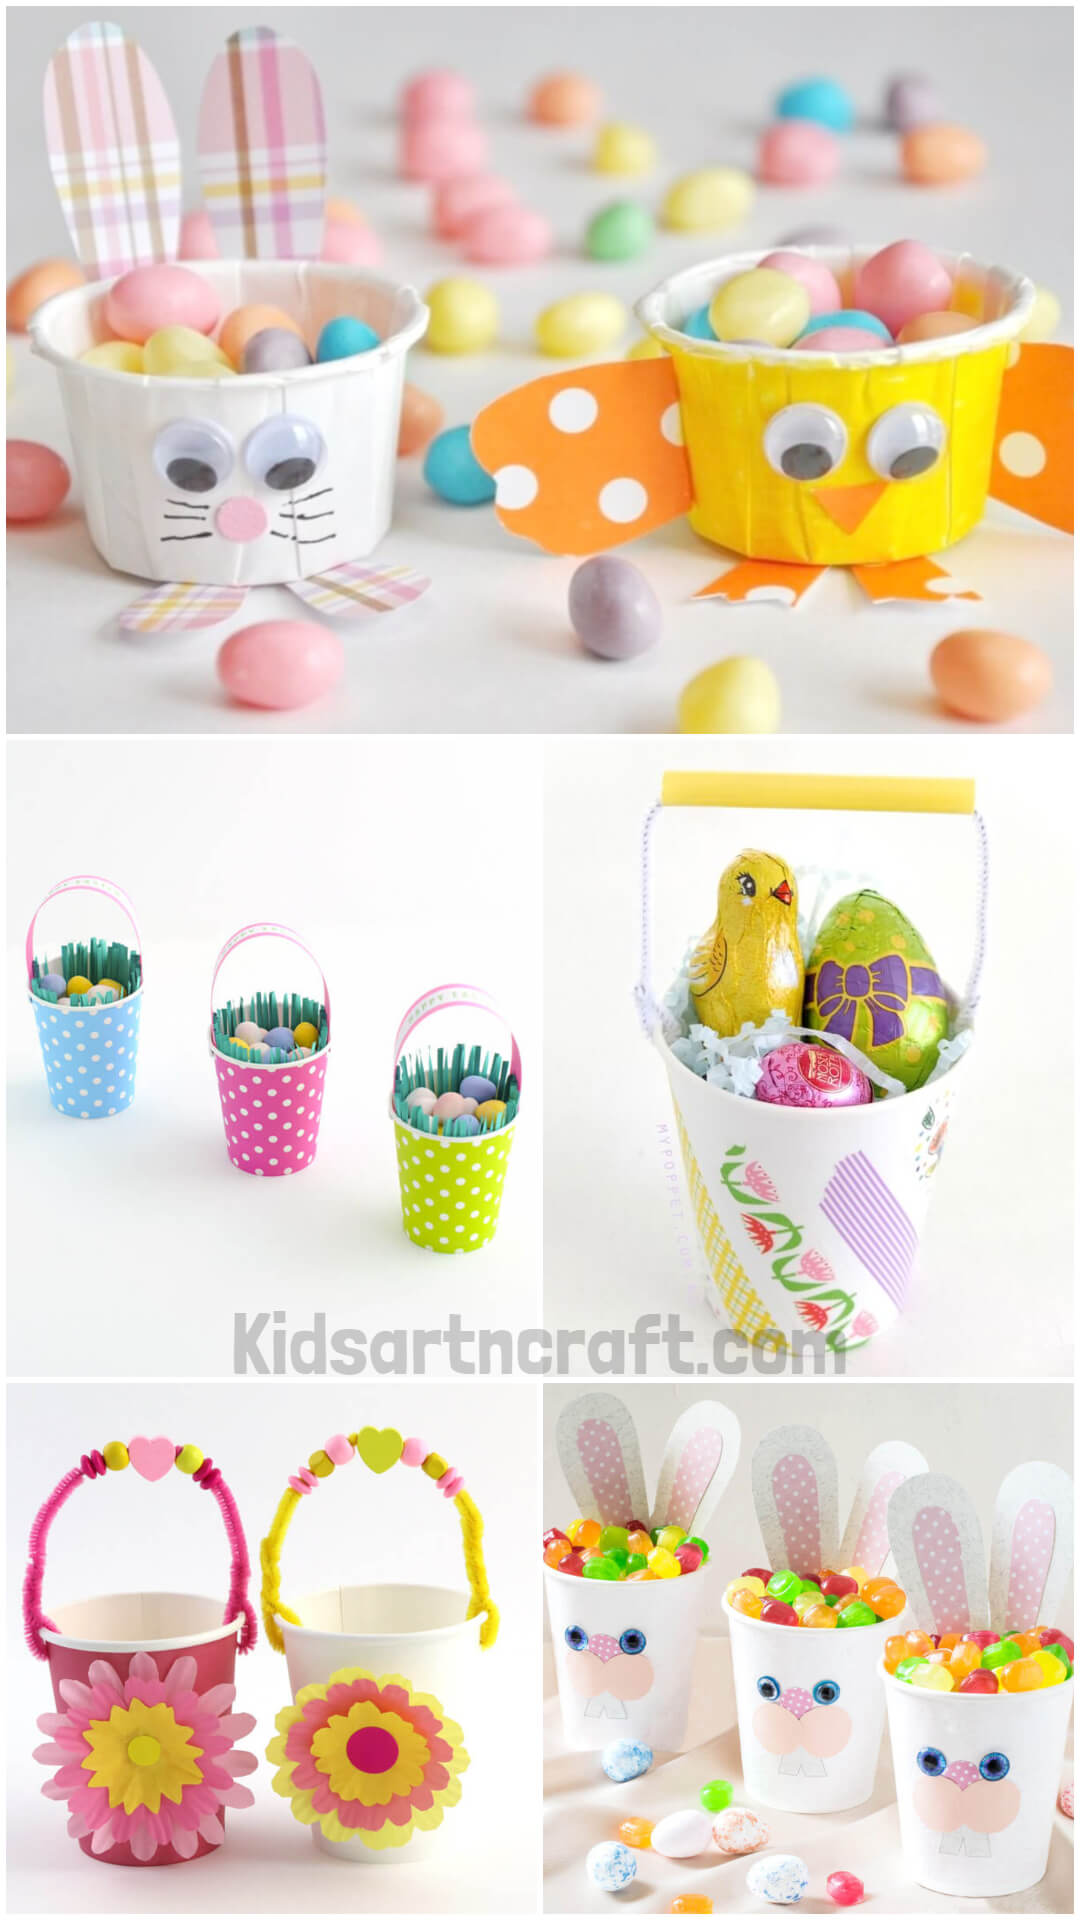
Discover easy Easter egg crafts using paper cups. These simple, kid-friendly projects let children design vibrant Easter eggs by decorating paper cups with paints, stickers, and other festive embellishments.
DIY Easter Button Crafts for All Ages
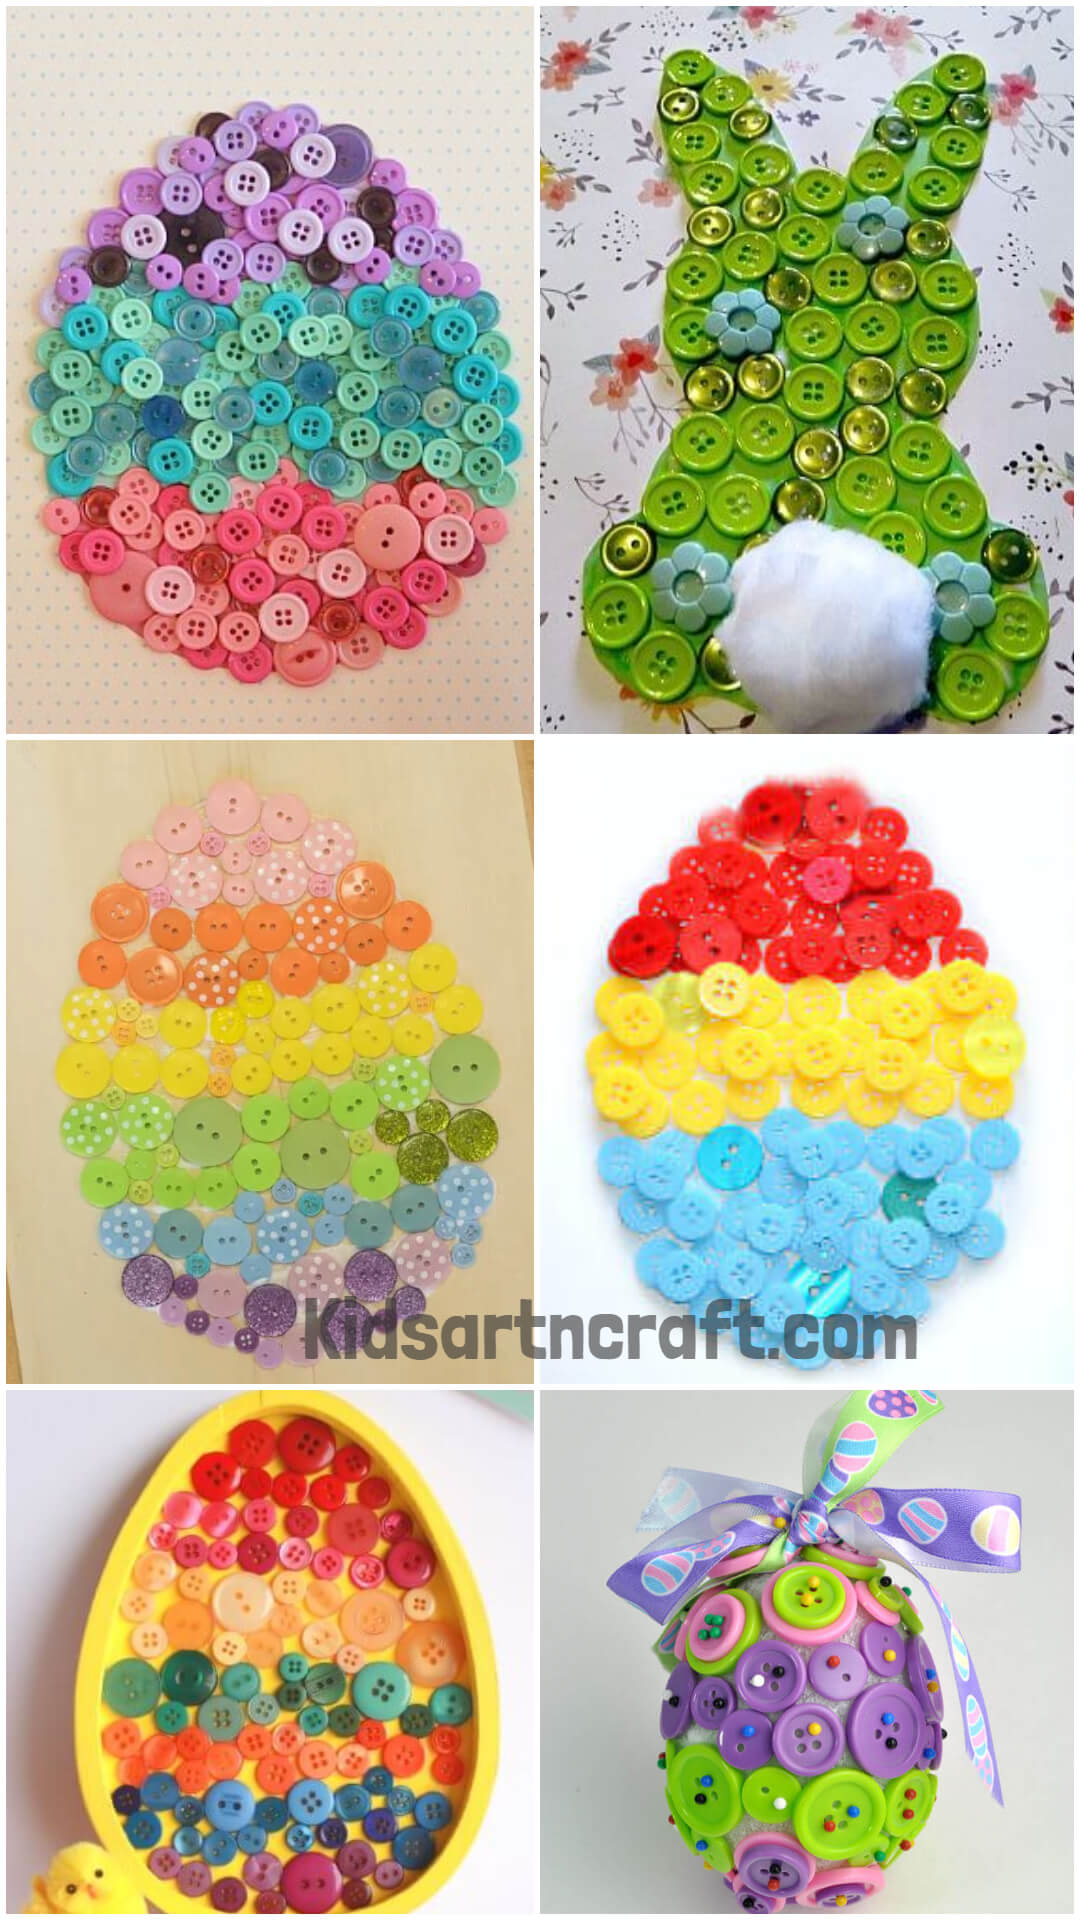
Discover DIY Easter button crafts for all ages. These simple yet fun projects are perfect for kids and adults alike, using buttons to create vibrant Easter decorations, cards, or keepsakes.
Creative Easter Egg Decorating with Washi Tape
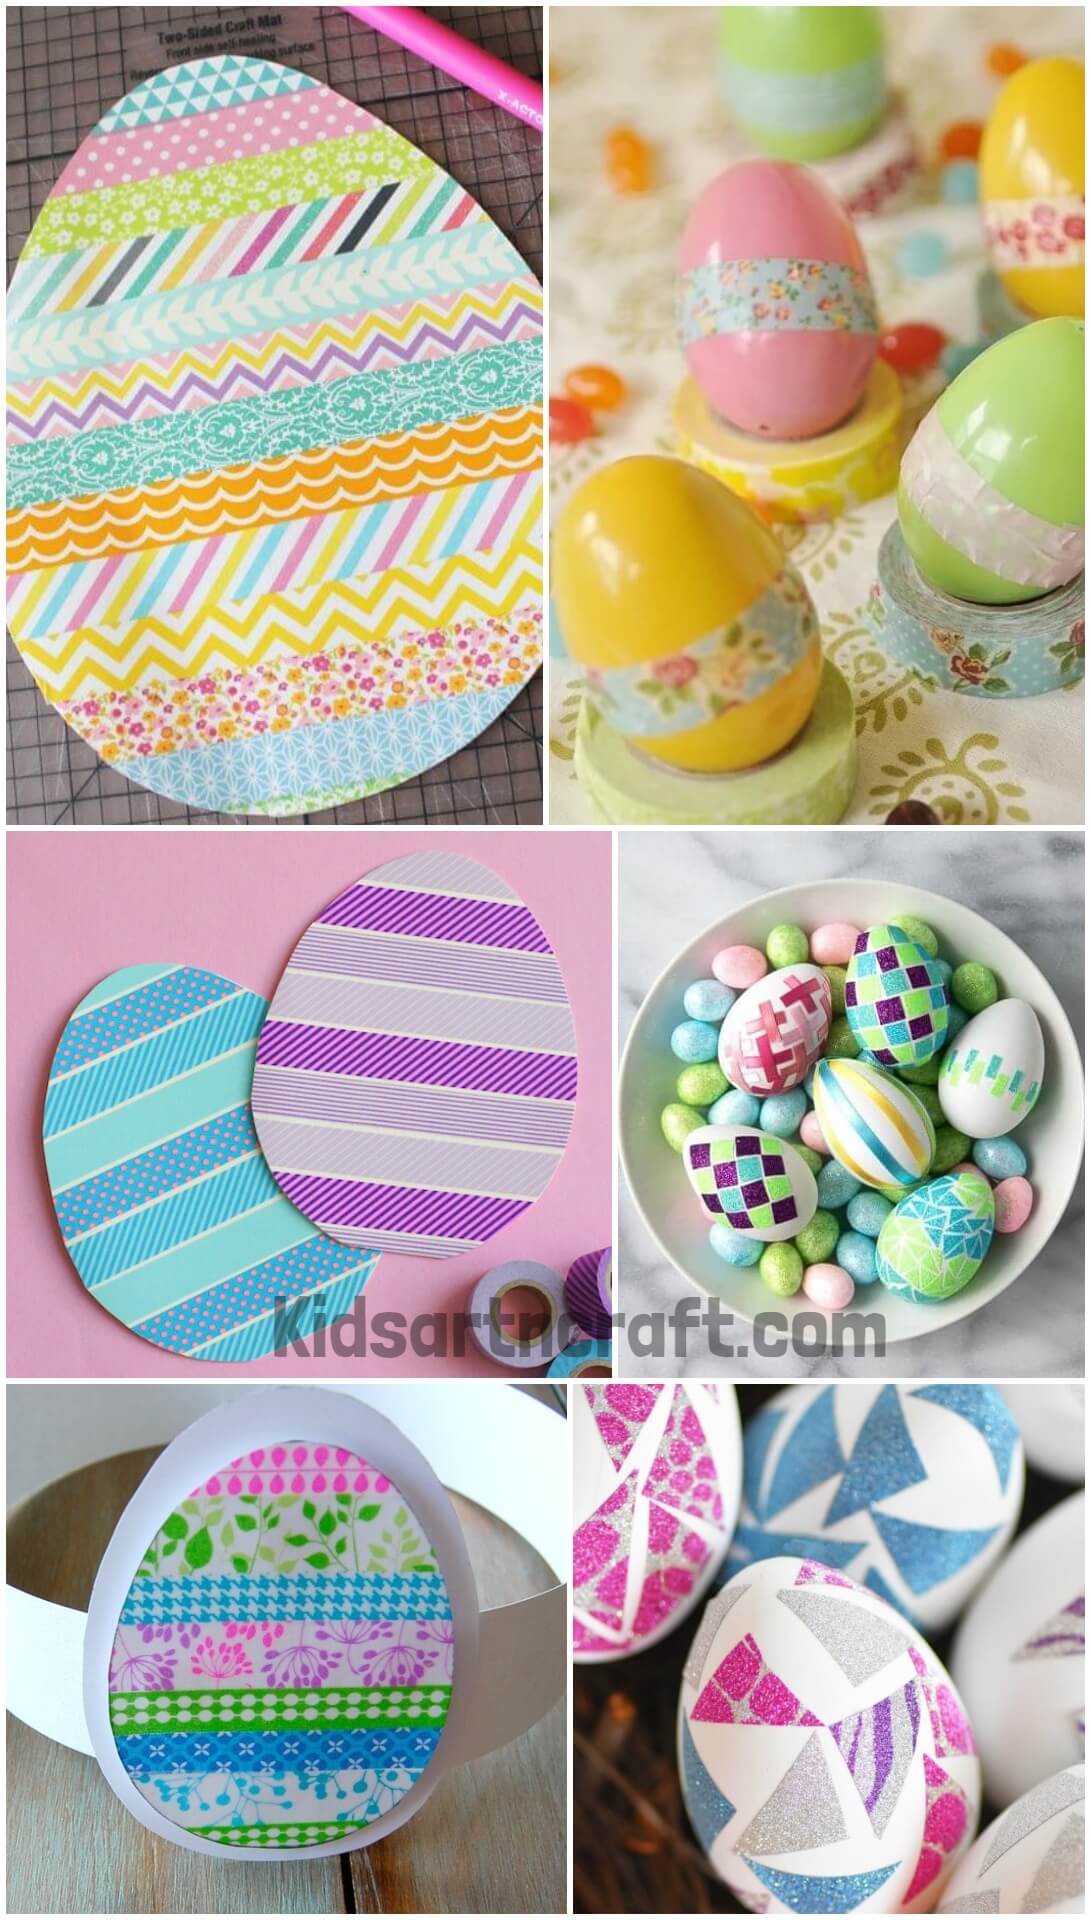
Get creative with Easter egg decorating using washi tape. These fun ideas allow you to cover eggs in bright, patterned tape for a modern and artistic twist on traditional Easter egg designs.
DIY Easter Activities Using Paper Bags
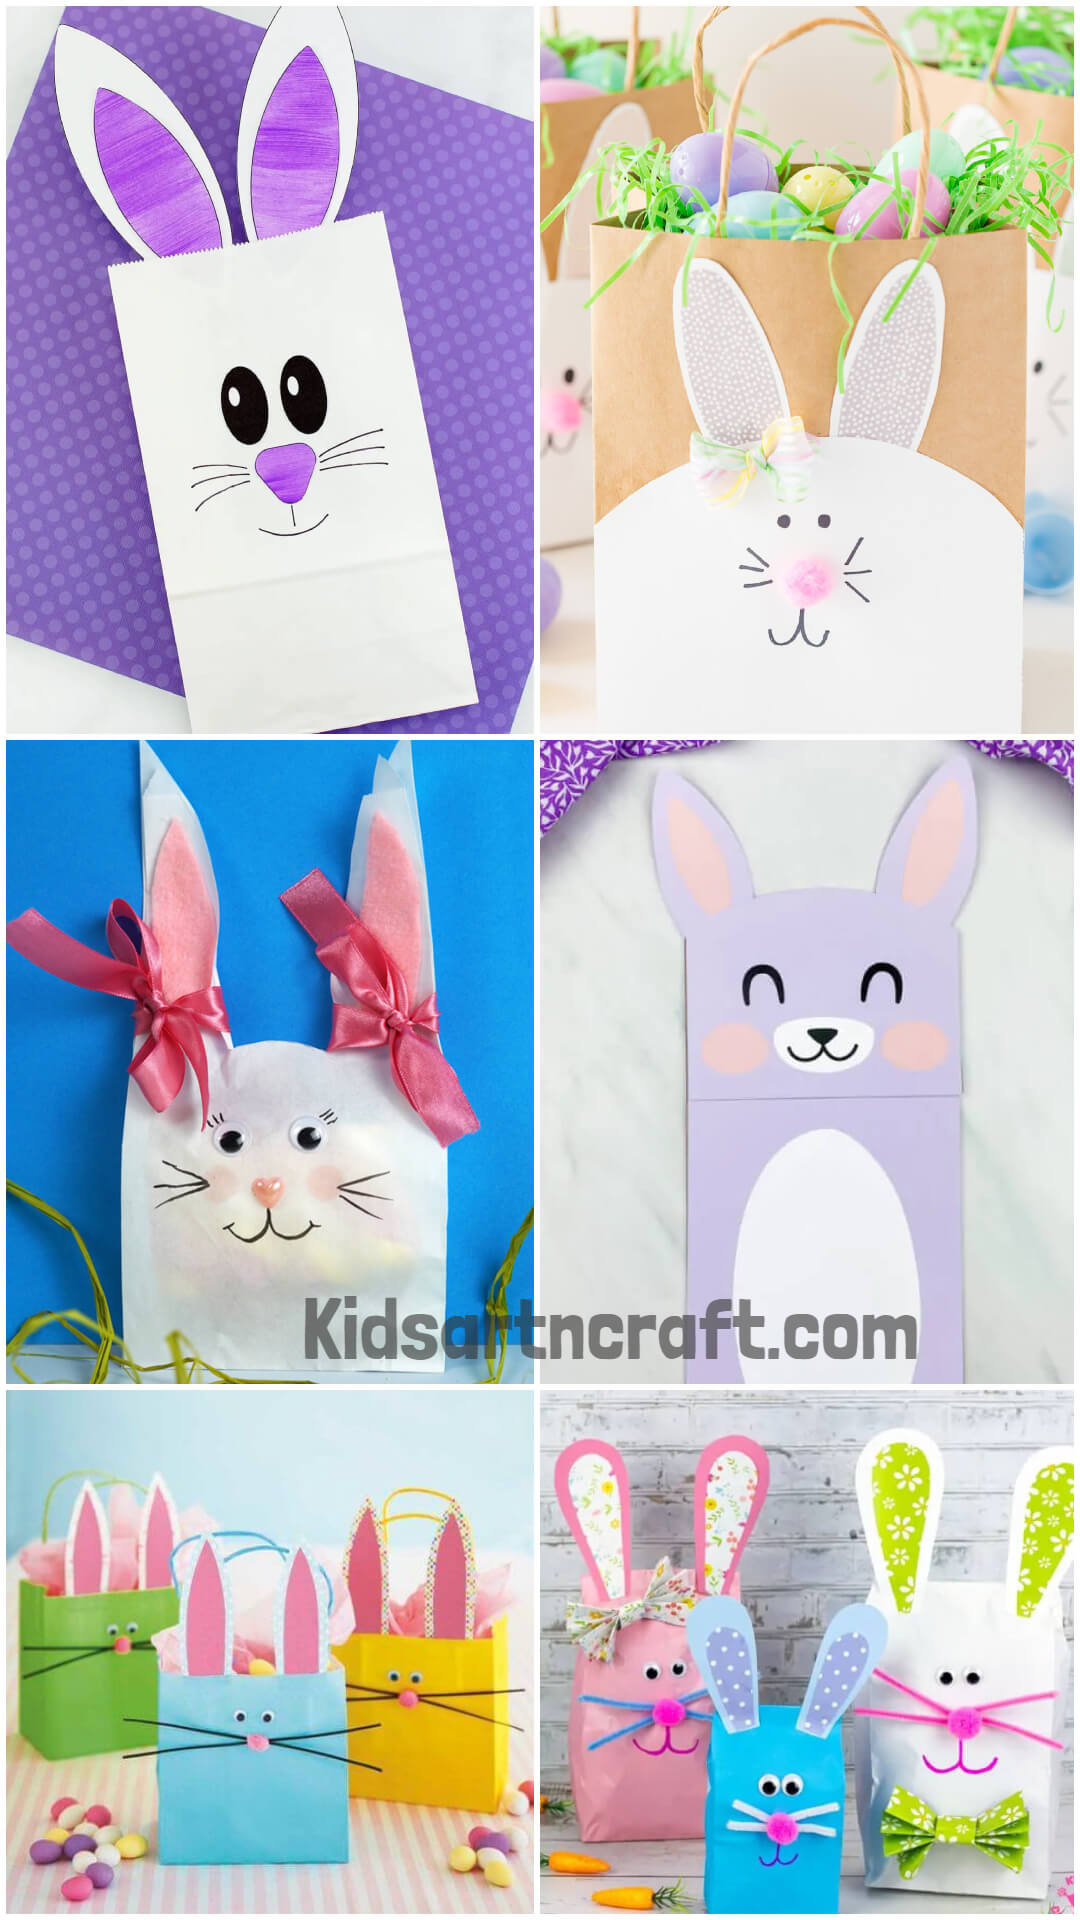
Discover DIY Easter activities using paper bags. These simple projects allow you to transform paper bags into Easter-themed crafts like treat holders, bunny puppets, or colorful baskets, perfect for holiday fun.


