Paper Crafts
DIY Paper Crown Craft Idea For Kids

This step-by-step tutorial will serve as an easy guide for making a paper crown! Make a budget-friendly beautiful crown as you dream of!
Set your creativity free with our Paper Crown Craft Idea for Kids! Young artists will effortlessly create their royal crowns in this charming crafting project. Through the use of simple materials like paper and crafting items, youngsters are able to make personalized crowns and govern their pretend empires. Promote imagination and have fun by following this enjoyable and straightforward tutorial. Give your little ones the royal treatment by inviting them to join a crafting adventure designed for kings and queens. Let’s get started!
DIY Paper Crown Craft For Kids

Materials Required
- Yellow and Pink Craft paper
- Scissors
- Glue
- Craft Pearls
- Pencil
- Double-sided Tape
- Cello Tape Roll
Procedure
Step 1: Making A Crease On Pink Paper
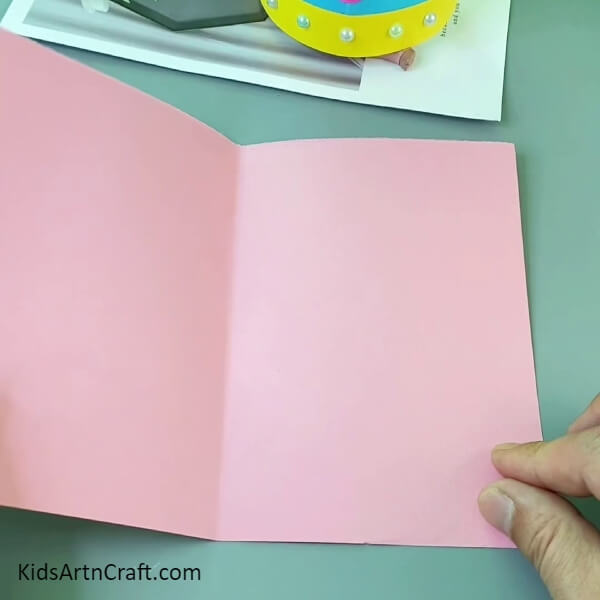
For the crown, take an A4-sized pink sheet and fold it in half to make a crease, and unfold it again.
Step 2: Folding Along The Crease
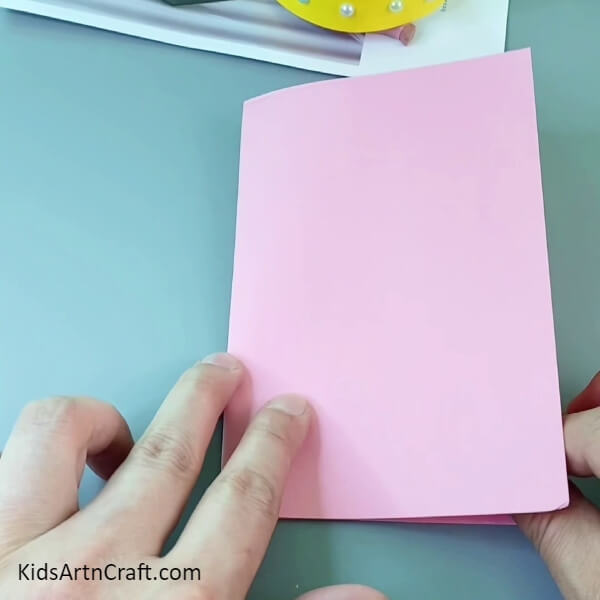
Fold the sheet in half along the crease.
Step 3: Outlining A Tape Roll
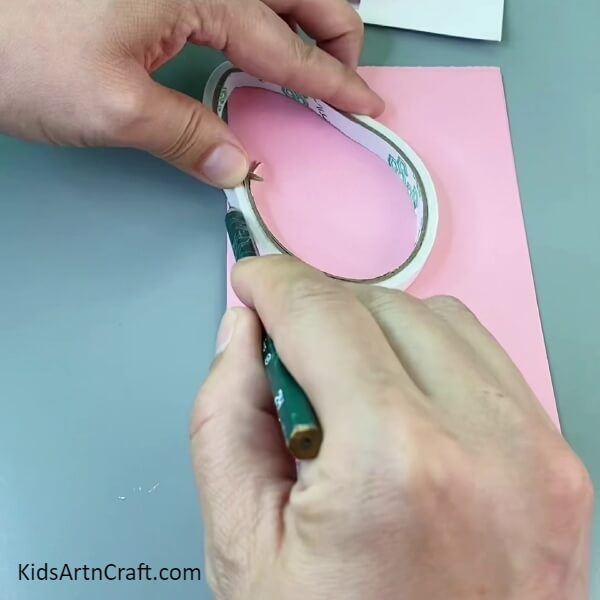
Use a tape roll to act as a stencil to a crown-like shape and place it at the folded corned by making a loop and using a pencil, outline the below outer boundary of it.
Step 4: Making A Half-Crown
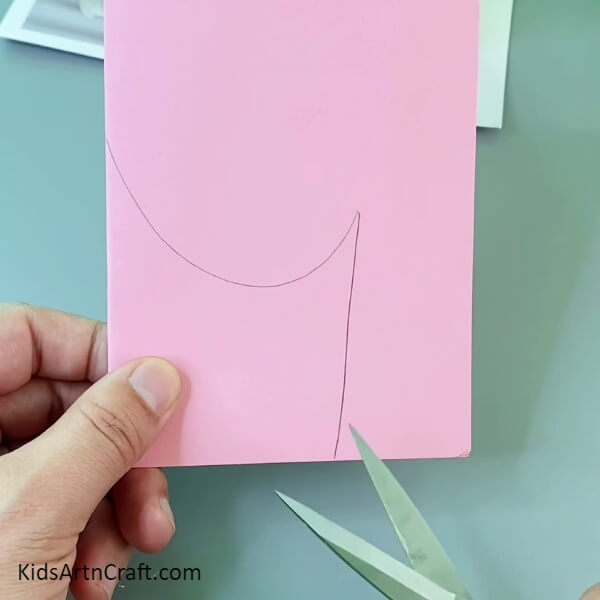
Using a pencil, make a line from the end of the curve to the bottom of the paper to make a half-crown shape.
Step 5: Cutting Out The Crown
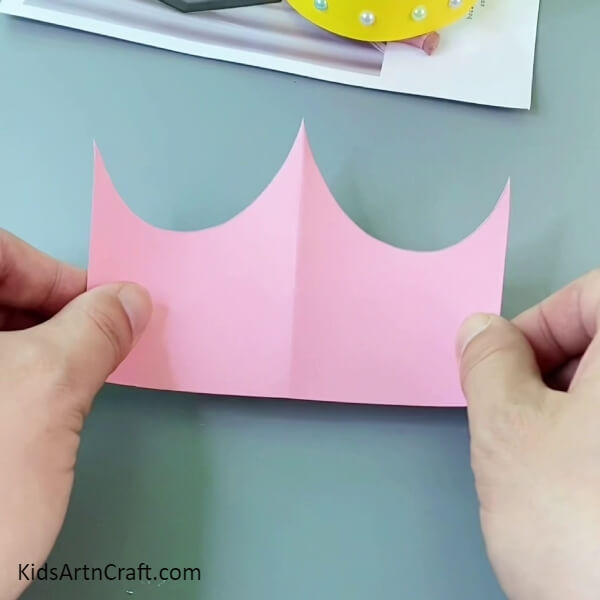
Using scissors, cut the outline on both the folds and open it up to see a crown shape.
Step 6: Making Crown Top
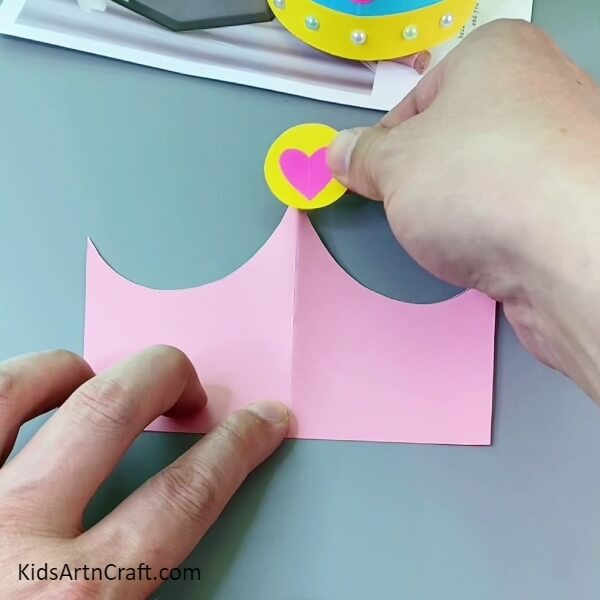
Cut out a circle from yellow paper and a heart from dark pink paper and paste it over the circle using glue. Paste this circle in the middle tip of your crown.
Step 7: Making The Other 2 Crown Tops
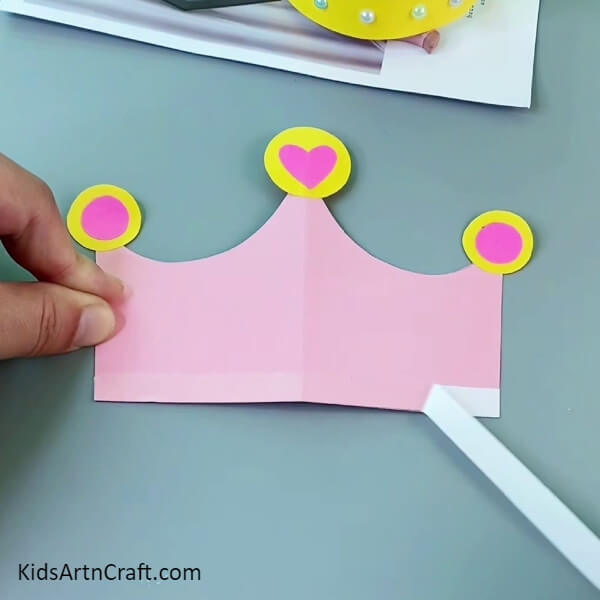
On the other ends of the crown, paste two yellow-pink circles. For the yellow-pink circle, on a cutout of a yellow circle, paste a smaller cutout of the dark pink circle over the yellow one. Now, paste a double-sided tape at the bottom of the paper crown and peel off the cover.
Step 8: Pasting A Yellow Strip
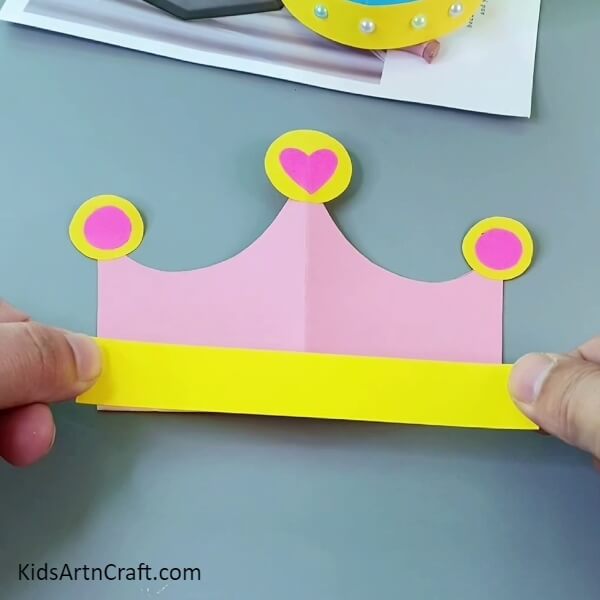
Paste a yellow paper strip at the bottom of the crown using double-sided tape.
Step 9: Adding Pink Circle
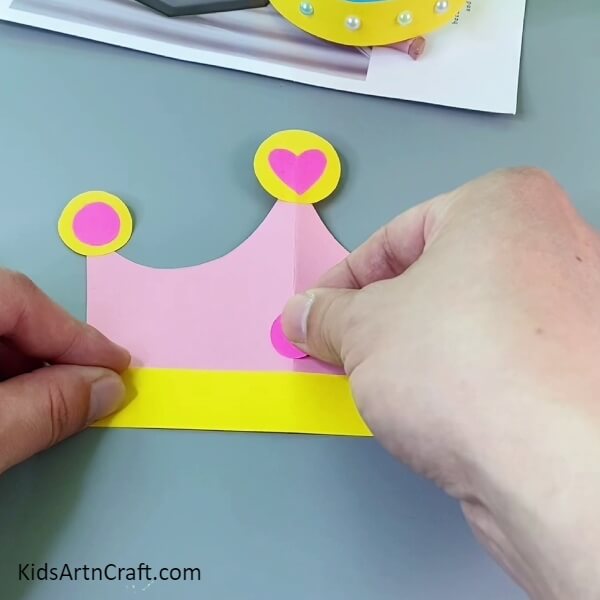
Below the middle tip of the crown, paste a dark pink circle.
Step 10: Pasting Craft Pearls
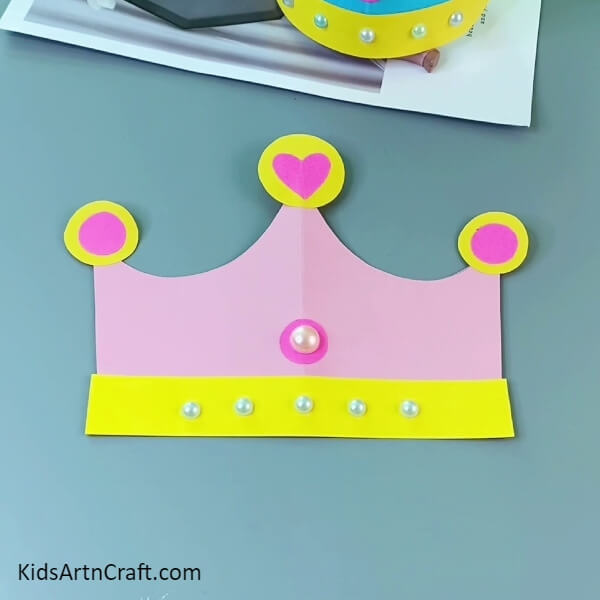
Paste craft pearls on the yellow strip and a big one on the pink circle as shown in the image.
Step 11: Applying Double-Sided Tape On A Pink Strip
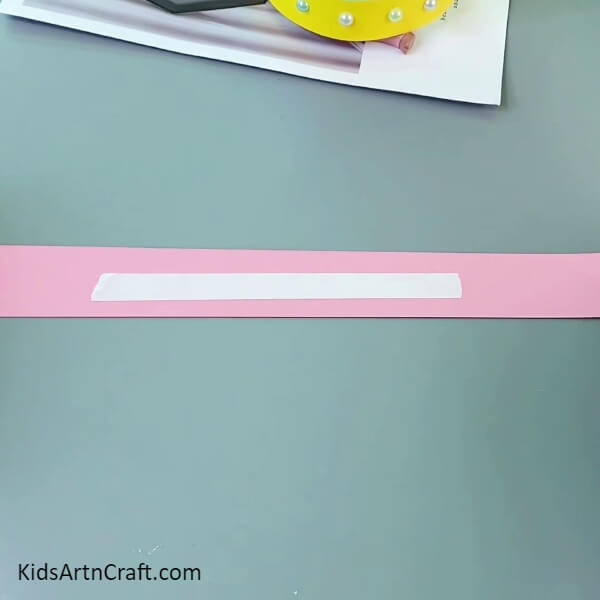
Cut out a pink strip and apply double-sided tape over it.
Step 12: Pasting The Crown Over Strip
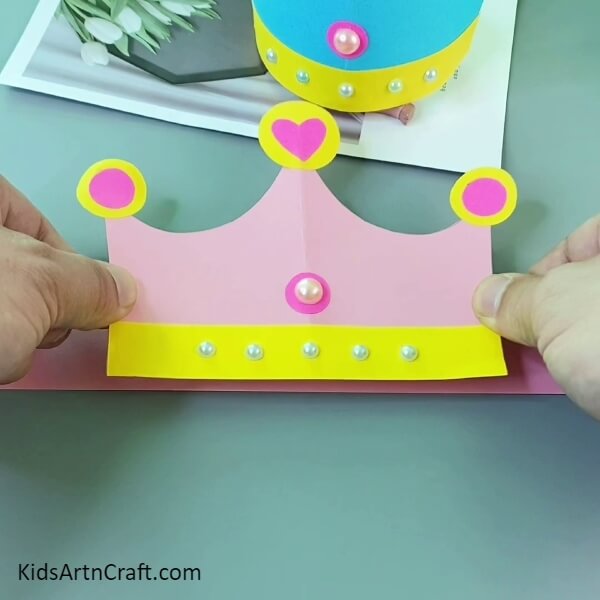
Paste your crown on the strip from the bottom.
Step 13: Attaching Both Ends Of The Strip
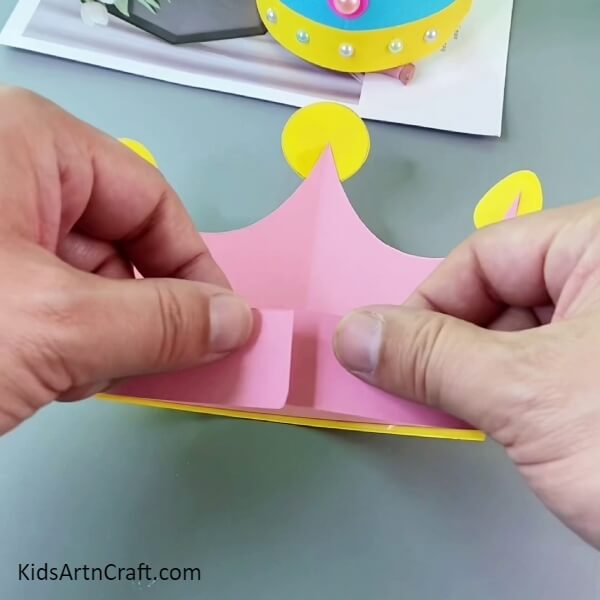
Attach both ends of the crown on top of one another to make a loop using double-sided tape.
Finally, Our Paper Crown Craft Is Ready!
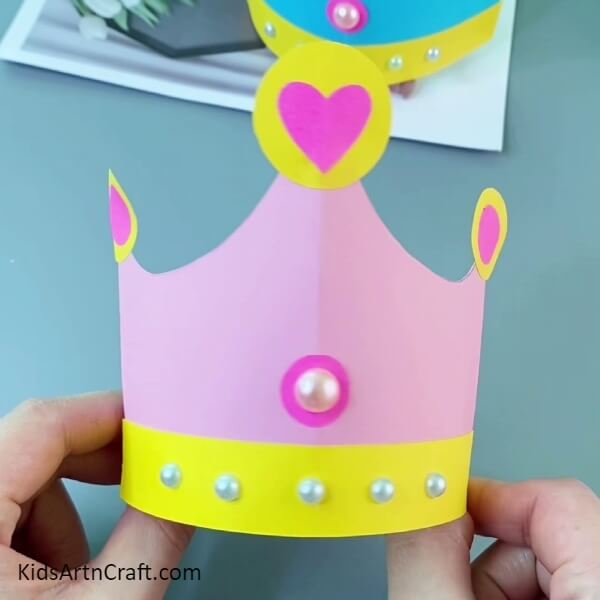
Voila! Your paper crown is ready!
So here we are, at the end of our tutorial. Let the DIY Paper Crown Craft Idea for Kids open doors to boundless creative expeditions and innumerable crafting possibilities. Let these crowns serve as representations of everlasting awe and inspire youngsters to unleash their infinite capacity for imagination and aspiration. Happy crafting, young royals! May you reign with creativity and joy in all your noble pursuits!
Some More Crown Craft Tutorial
Construct a Crown Craft Using Origami paper
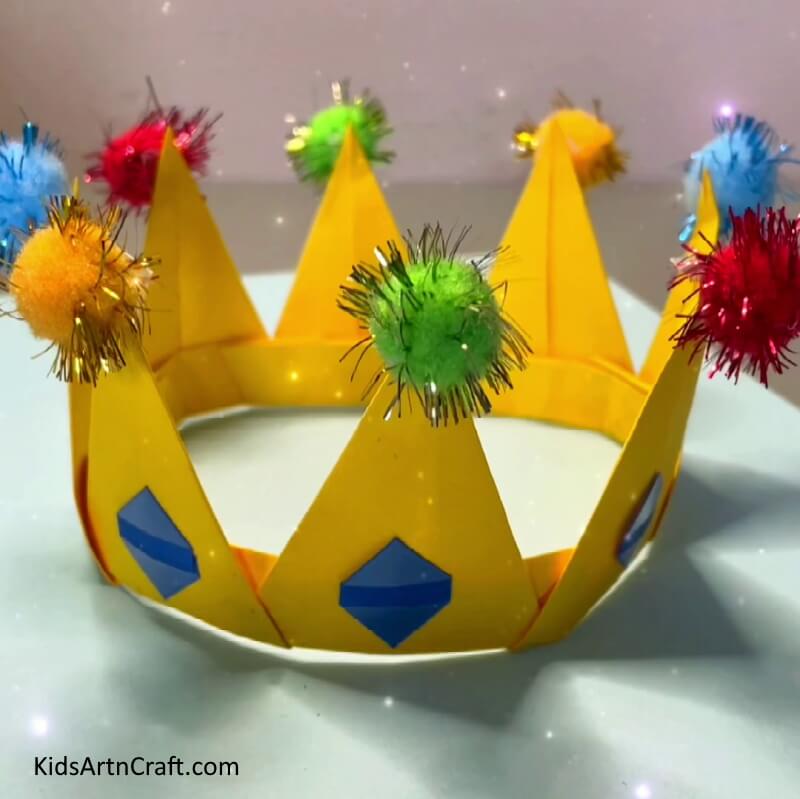
Image Source/Tutorial: Kids Art & Craft
Construct a unique and regal crown craft using origami paper. This project is great for kids and adults alike and can be customized to fit any style. Follow the step-by-step instructions to create your own majestic crown.
Try out this activity with your kids and tell us what you think in the comment section.
Thank you for visiting our website!
Follow us on Youtube for art and craft tutorials and much more.
More Articles from Kids Art & Craft
- How to Make Easy Paper Snowflakes Tutorial
- Make a Handy Paper Origami Pouch For Kids
- Summer Paper Fan Step by Step Tutorial for Kids
- DIY Paper Mask Step by Step Tutorial For Kids
- DIY Paper Tree Crafts for Kids Easy Tutorial


