Paper Crafts
DIY Paper Butterfly Craft Step by Step tutorial for kids

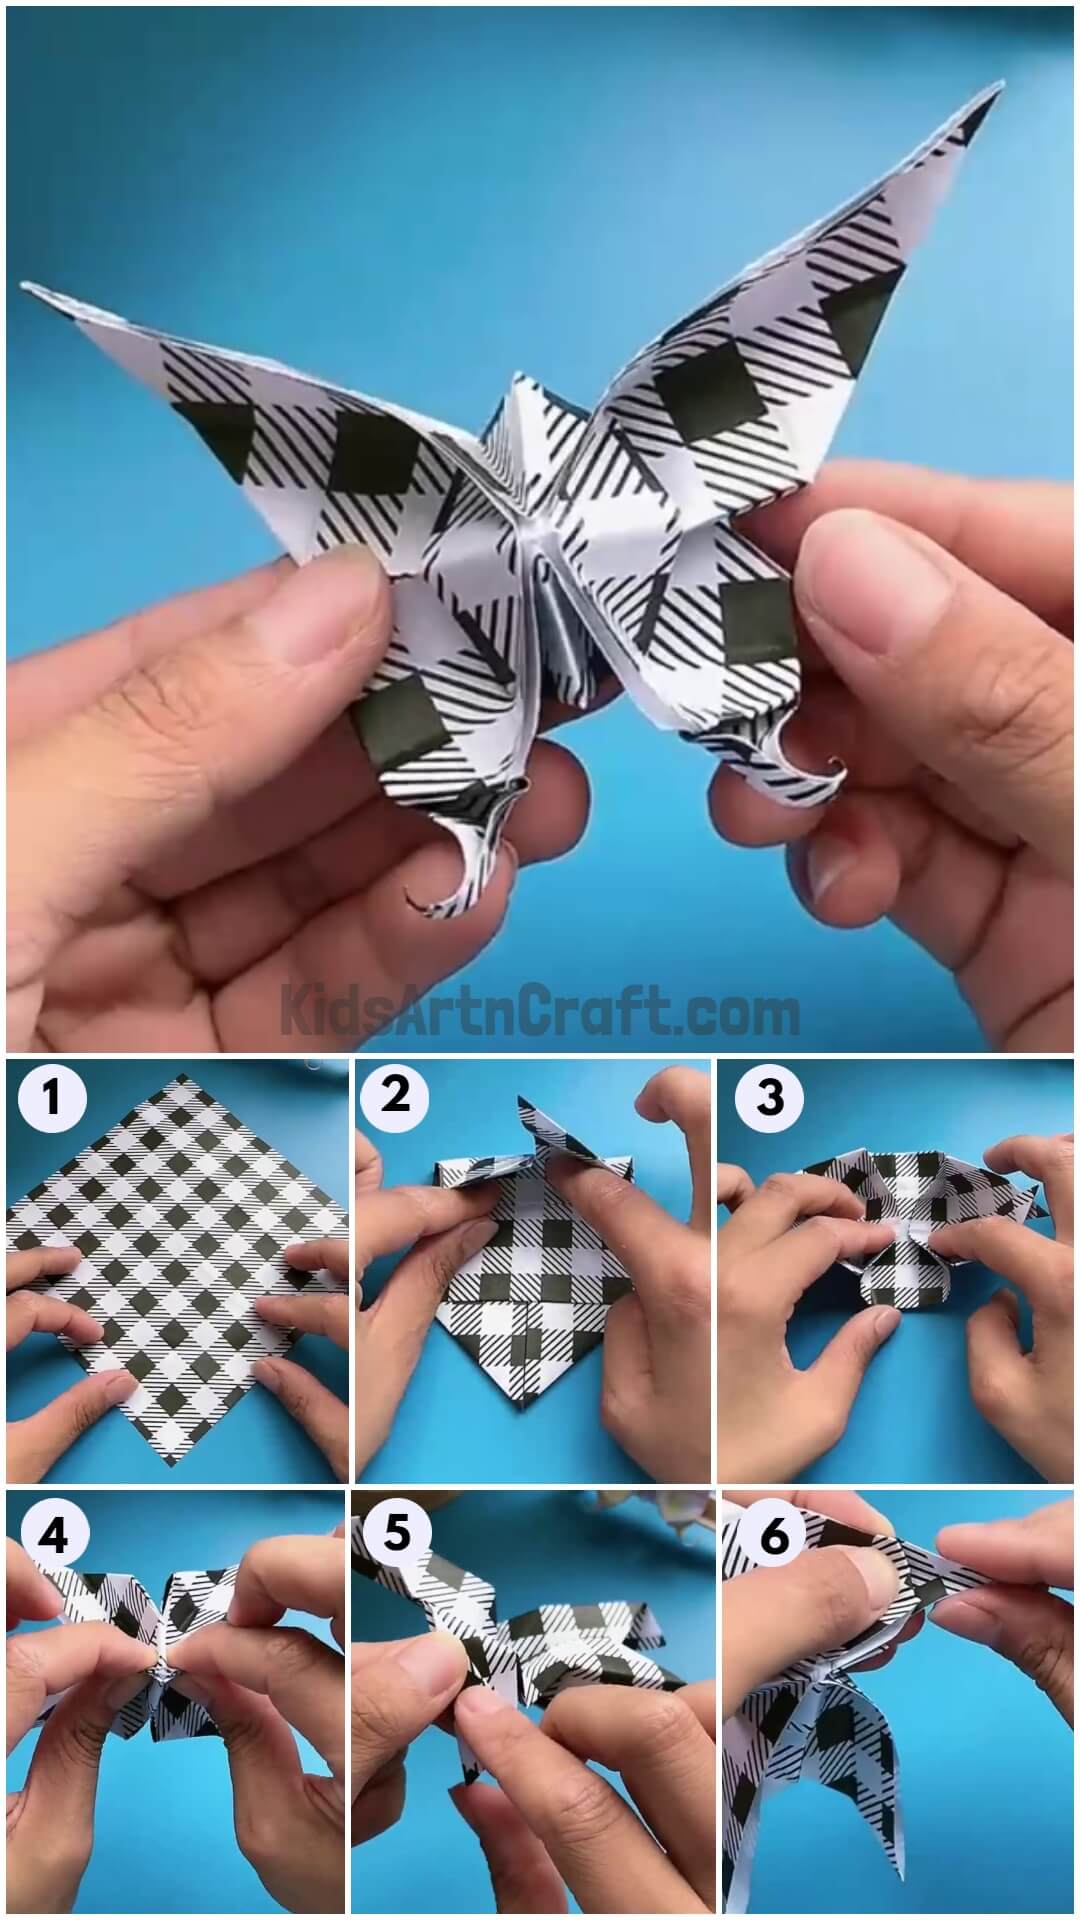
Learn how to make a beautiful butterfly craft with your kids! This step-by-step DIY paper tutorial is easy and fun to do – perfect for a craft project or rainy day activity. Follow along and get creative with this fun and simple craft!
Butterflies are not only attractive but are also fun to make. Welcome to this super easy tutorial to create beautiful origami in just a few steps. It requires minimal time and can be made with very less materials. Engage your kids in this cute simple craft to embrace their inner artists and enhance their creativity skills. With very basic artistry and imaginative skills, Let’s begin !!
Beautiful Paper Butterfly Craft Tutorial For Kids

Read More: Easy Paper Robot Craft Step-By-Step Tutorial
Materials Required
- Plain Paper
- A Pair Of Scissors
Step 1: Taking A Plain Paper And Place It Flat On A Table
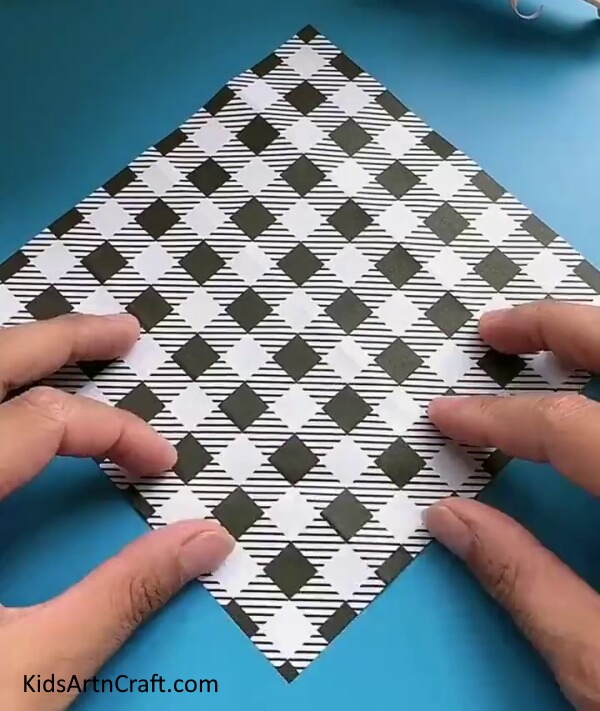

Take a plain sheet and place it on a table.
Step 2: Folding 1/3rd Of The Paper
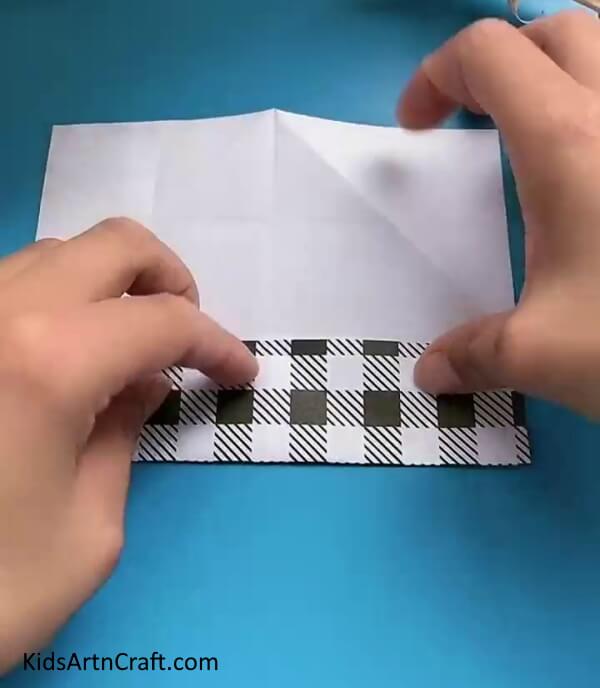

Fold 1/3rd of the paper from the bottom end inside as shown in the image above.
Step 3: Folding 1/3rd From The Upper Half
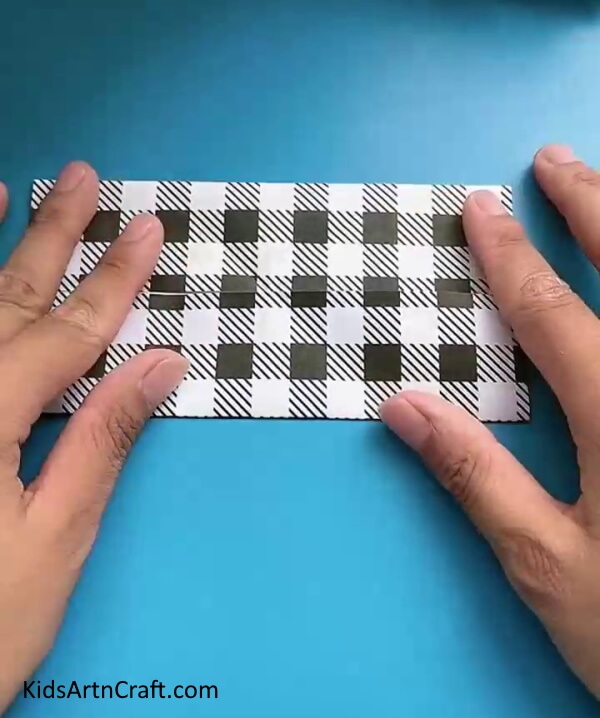

Fold 1/3rd of the paper from the upper half such that the two folds are together.
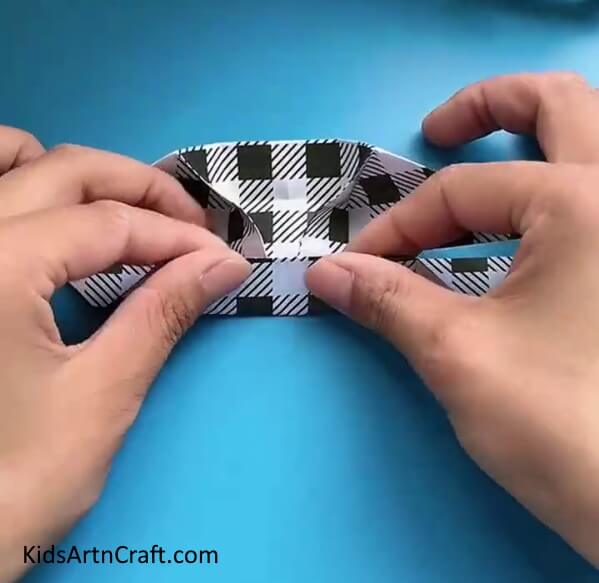
Step 4: Folding Half Of The Paper From The Right-hand Side

Place a finger in the middle of the folded sheet and fold it from the right-hand side.
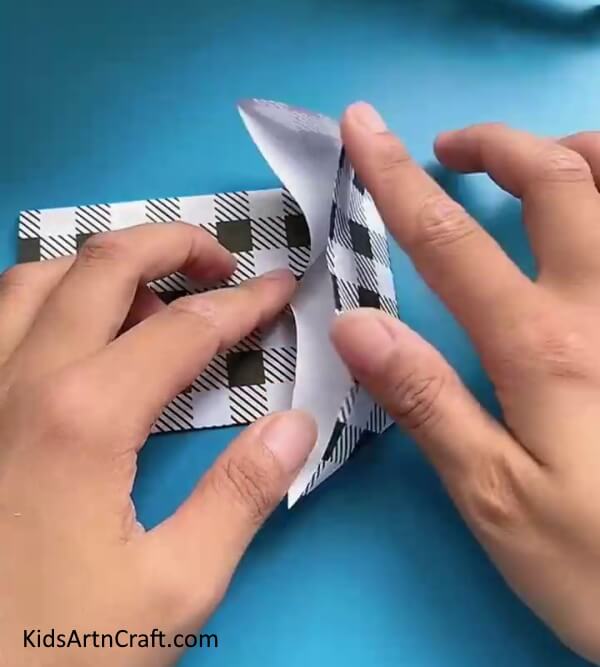
Step 5: Folding The Paper Diagonally As Displayed In The Image Below

Fold the paper diagonally as shown in the image above.
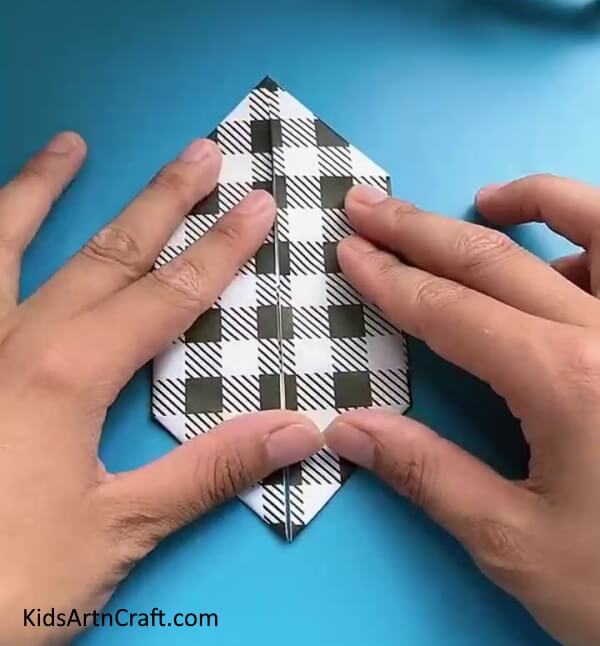
Step 6: Folding The Crease From Above

Fold the crease from the upper side as shown in the picture.
Step 7: Folding The Crease From The Other End

Do the same with the other side carefully.
Step 8: Folding From The Lower End

Fold the half of sheet from the bottom end.
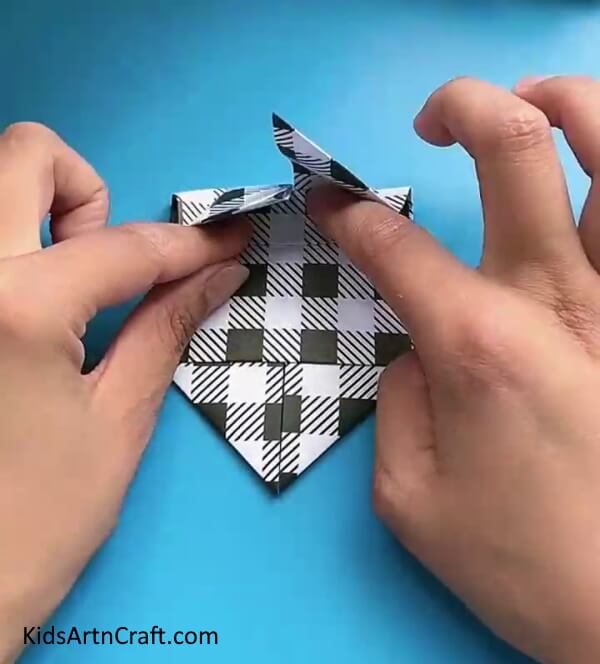
Step 9: Folding From The Upper End
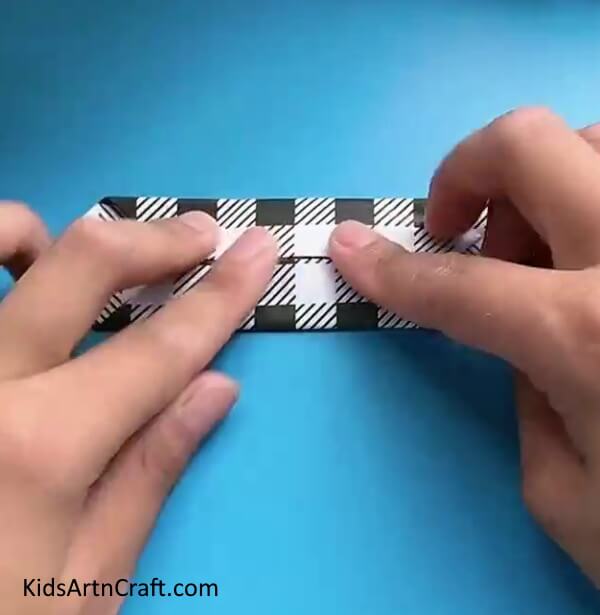

Fold the sheet from the upper end as shown.
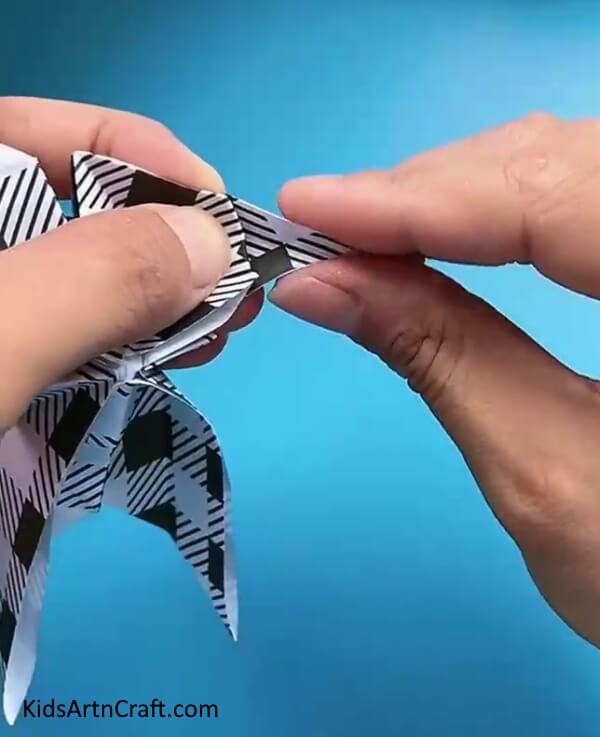
Step 10: Joining Both The Ends

Hold together from both ends.
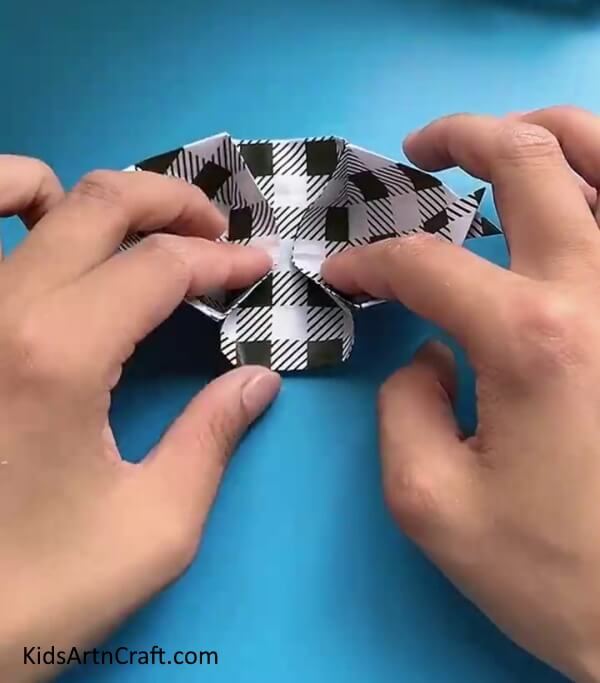
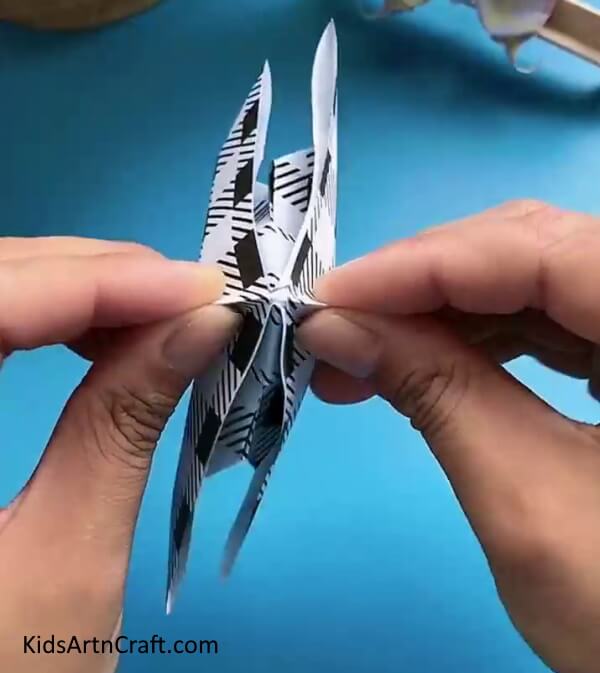
Step 11: Pulling Together From Both Sides

Hold together from both sides and pull slightly.
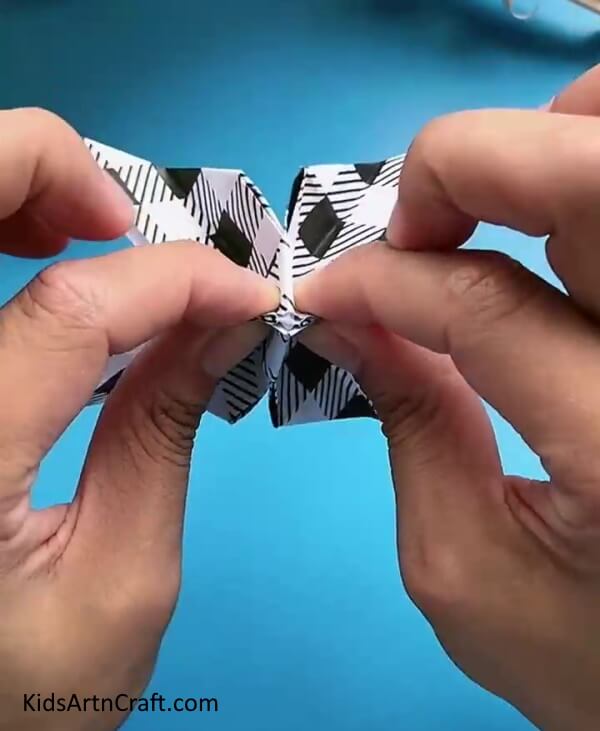
Step 12: Folding To Create Wings
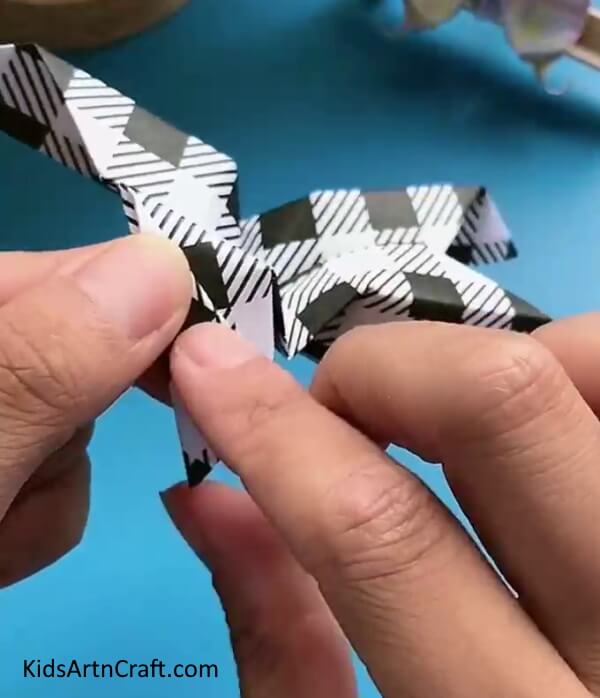

Fold the side to create the wing of the butterfly.
Step 13: Folding From The Other Side As Well In A Similar Manner Shown In The Image

Fold from the other side to create another wing of the butterfly and you are done with your craft by doing some hard work and super fun.
Your Craft Is Ready!!
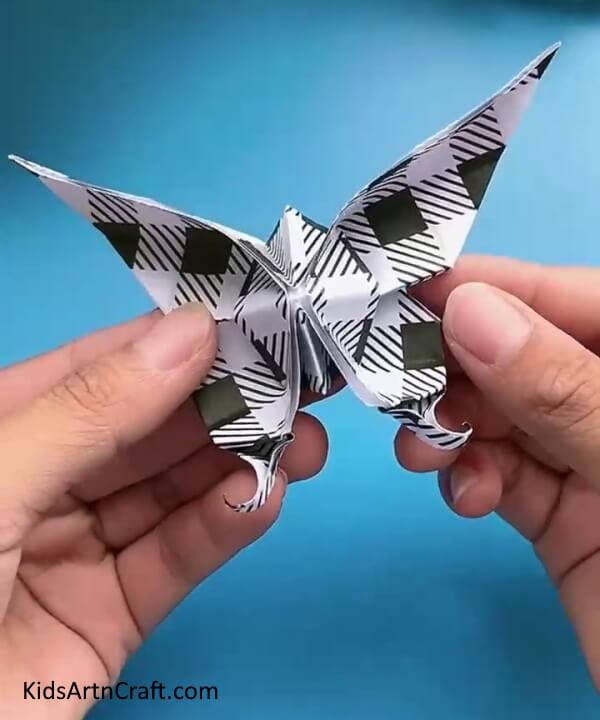

Tadaa …… Your craft is finally ready! With such a simple process, this origami can be made by children as well as adults with little basic knowledge. You can use these butterflies to decorate your room by sticking them on the walls or by gifting them to your friends to show them how amazing and beautiful they are like a butterfly.
Hope you enjoyed this fun activity. We will be overjoyed to know about your experience while creating this origami. Do share your opinions in the comment section and make sure you check our other such crafts from our website.
Thanks for visiting !!
HAVE A GREAT DAY AHEAD!
Follow us on Youtube for art and craft tutorials and much more.
More Articles from Kids Art & Craft
- DIY Paper Crafts Video Tutorial for All
- Summer Paper Fan Step-by-Step Tutorial for Kids
- Paper Christmas Trees Step-by-Step Tutorial For Kids
- Paper Airplane Origami Step-by-Step Tutorial For Kids
- Easy Paper Craft Step-by-Step Tutorial For Kids