Paper Crafts
Easy To make Paper Cactus Craft Idea For Beginners

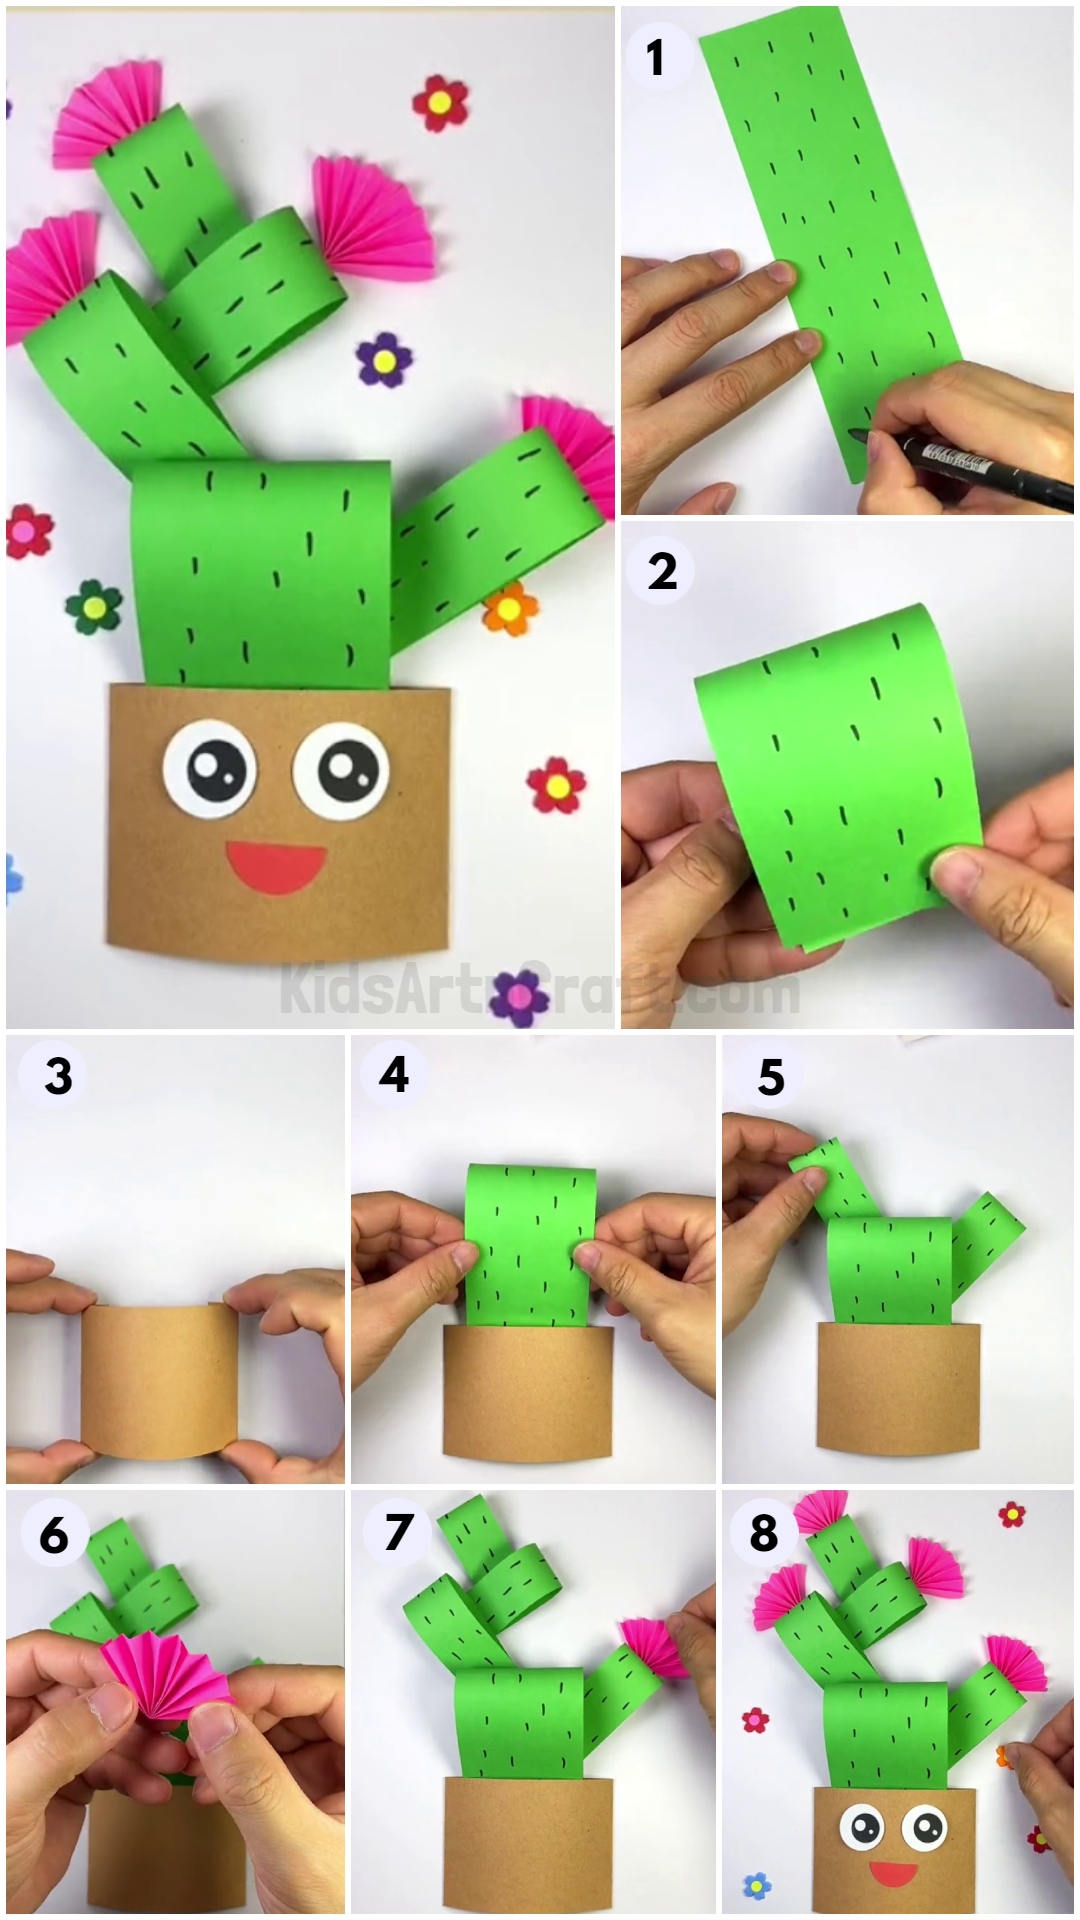
This tutorial is simple enough for even a beginner to make a fun and unique paper cactus craft. It’s great for kids and makes a great decoration for your home or workspace.
Welcome to this step-by-step tutorial on how to make a paper Cactus craft! This fun and easy project is perfect for kids and adults alike. In this tutorial, we will show you how to make your own paper Cactus in just a few simple steps. You’ll need just a few materials, such as construction paper, scissors, and a glue stick. With some basic craft skills, you’ll be able to make your own paper Cactus in no time. Let’s get started!
DIY Paper Cactus Craft Idea For Beginners

Read More: Learn To Make Paper Rabbit Craft For Kids
Materials Required
- Craft Paper ( Green and Pink and others)
- Glue stick
- Small piece of Cardboard
- Thin Double sided tape
- Sketch pens
Procedure
Step 1: Begin With A Green Strip Craft Paper
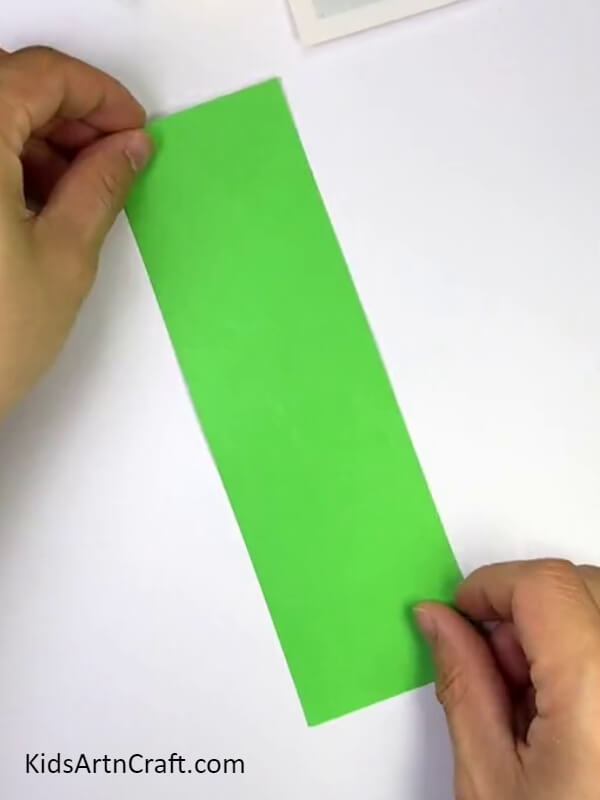

Let’s get started! For starters take three to four strips of Green Craft, as shown in the picture.
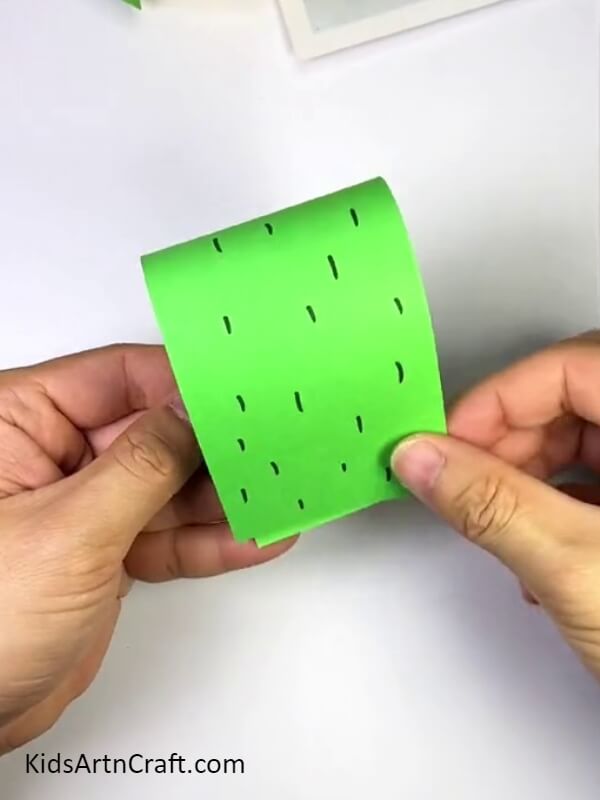
Step 2: Draw The Thorns On The Green Strips
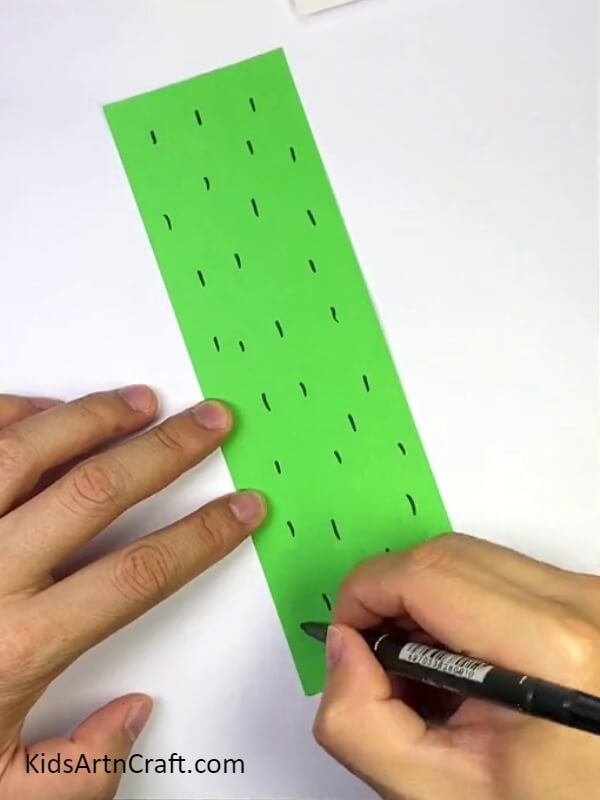
Draw small lines here and there on the Green strips of paper using a black marker to make them look like thorns.
Step 3: Glue The Edge Of The Strips
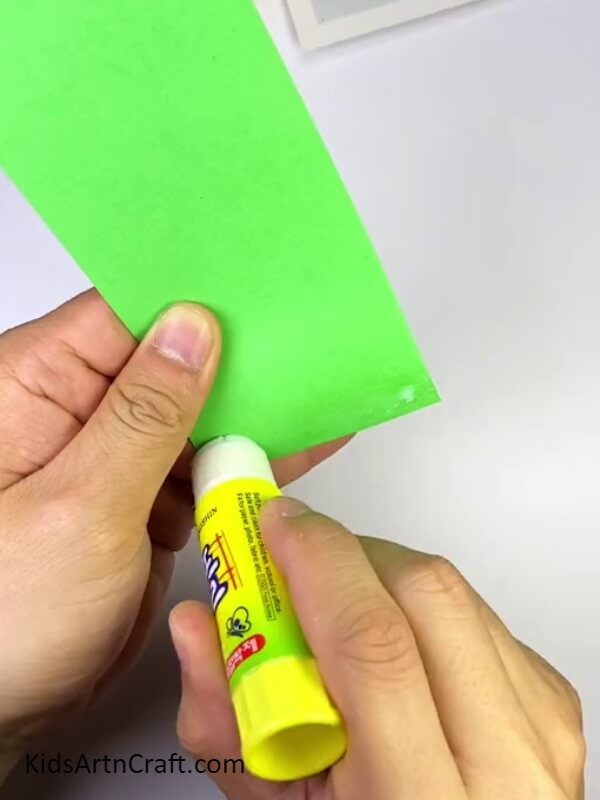
Turn the paper and apply glue using a glue stick on the bottom of the strip as shown in the picture.
Step 4: Stick The Other End Of The Strip On The Glue
Let the glue set for a second or two. And stick the other end of the strip on it glued edge and let it set and dry.
Step 5: Make The Pot To Place Cactus In It
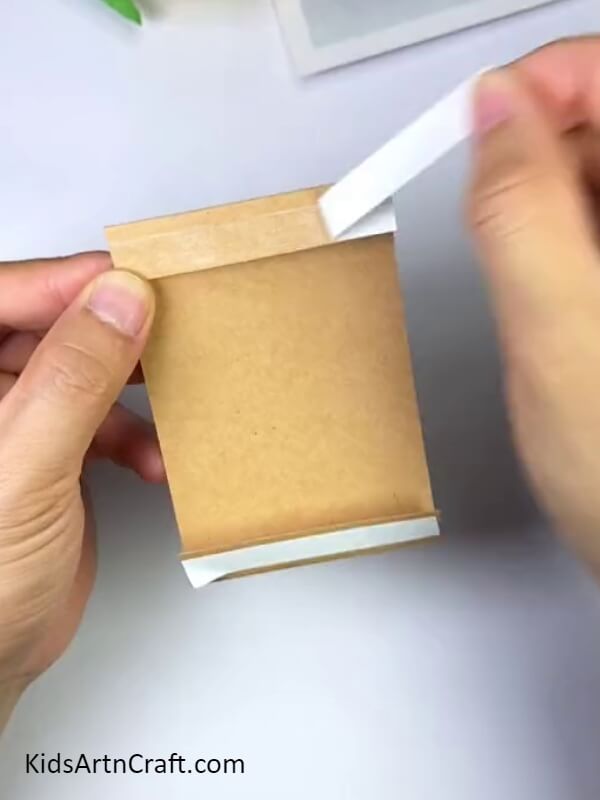
Take a thin Cardboard in a rectangular sharp. And fold the opposite edges, which are the smaller sides as in the picture. And stick the thin double-sided tape.
Step 6: Stick It On The White Cardboard
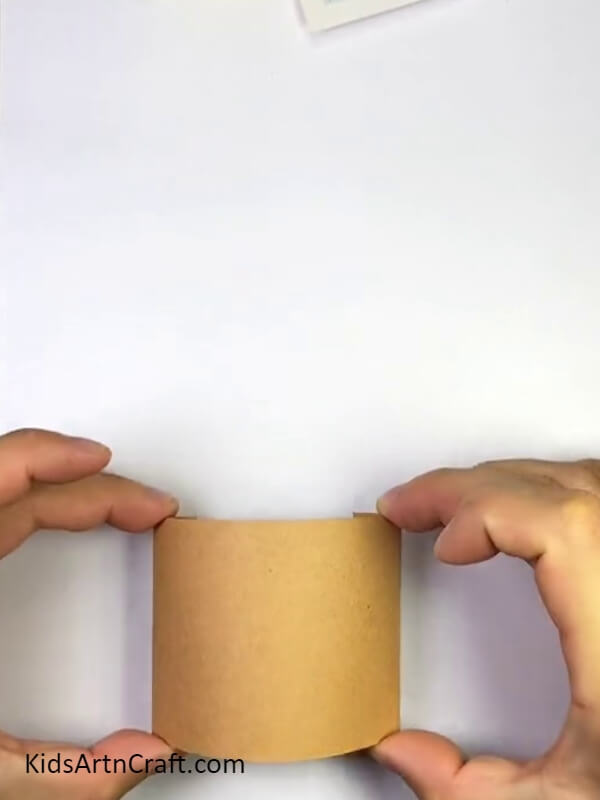
Untap the other side of the tape, and stick it on the White Cardboard as shown in the picture.
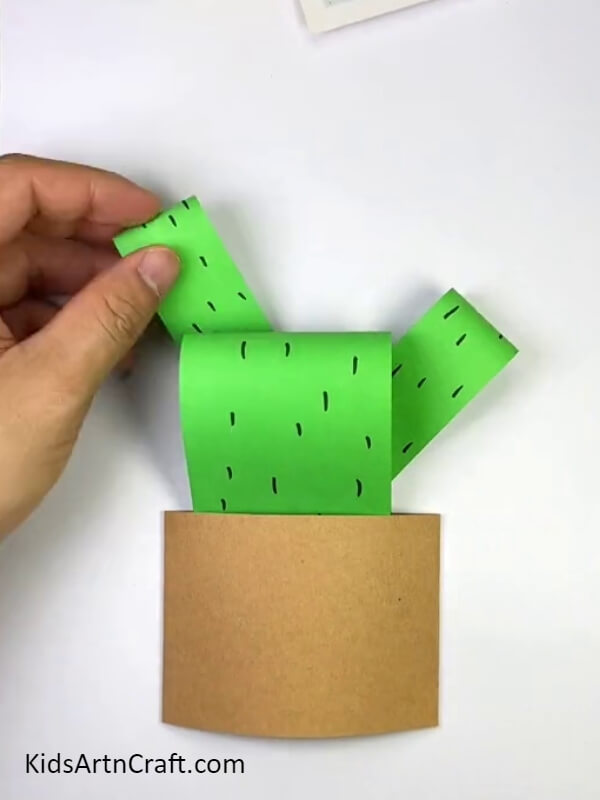
Step 7: Place The Prepared Cactus In The Pot
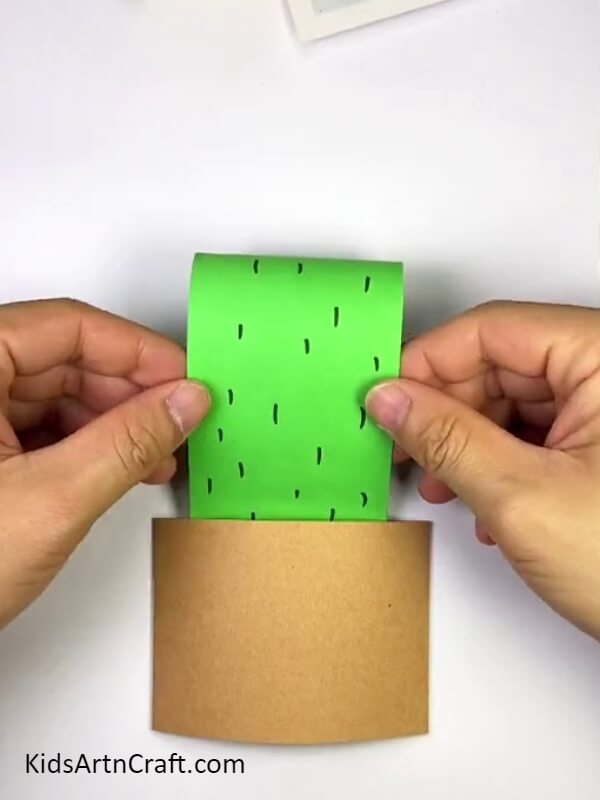
Now that the Pot is ready, place the bottom of the Cactus you prepared earlier inside the pot, as shown in the picture.
Step 8: Stick A Couple More Cactus Stems
Prepare a couple more stems and stick them above and at the side of the Cactus. And let it dry.
Step 9: Keep Sticking As Much As Stems You Want
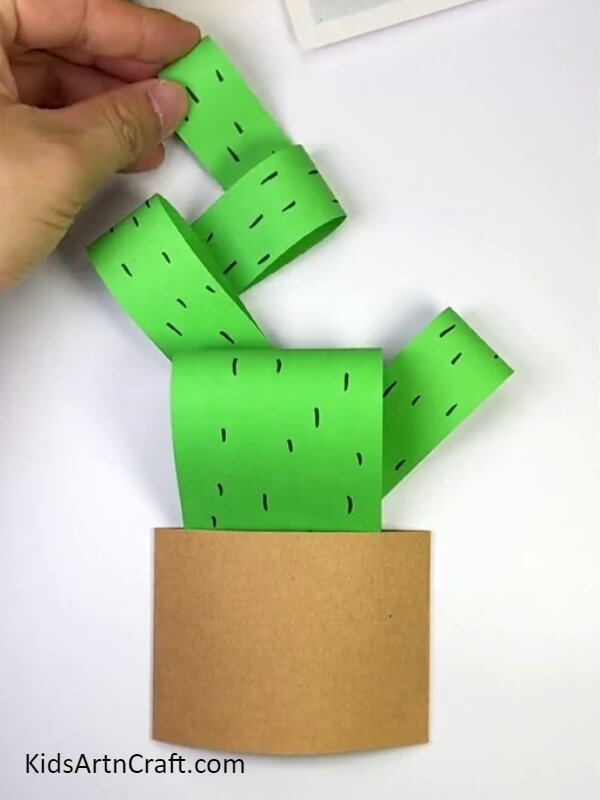
Keep sticking as many as stems you want. Make sure the last one is dry before sticking the next one.
Step 10: Now, Let’s Make Flowers For The Cactus Stem
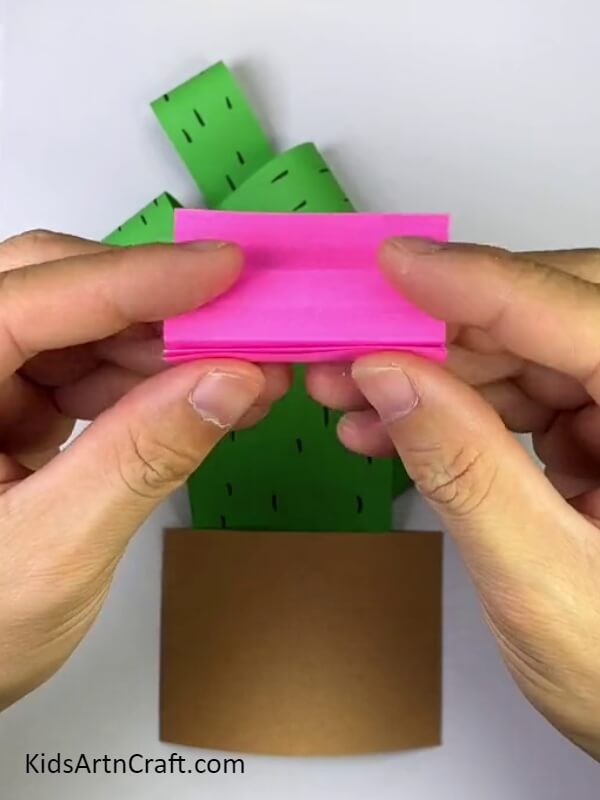
To make the flowers, take a strip of a strip of pink craft paper and fold it zig-zag as shown in the picture.
Step 11: Join One Side With Glue
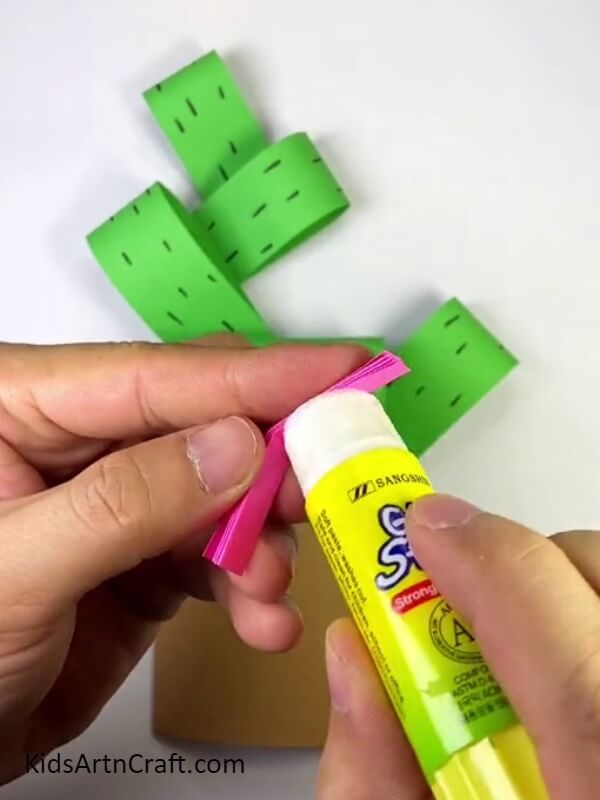
After zig-zag, fold the opposite ends to create a line in the middle and apply glue on either side of the fold.
Step 12: Glue The Opposite Sides To Get A Flower
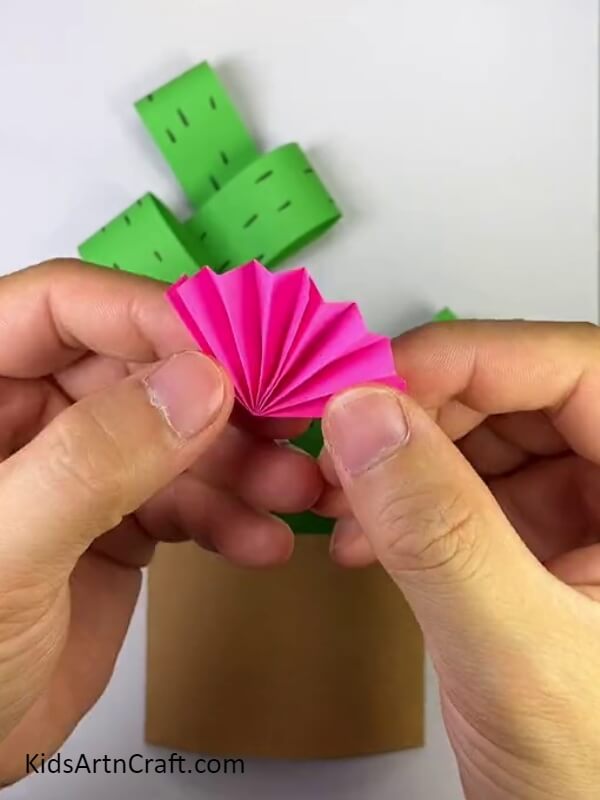
Glue the opposite sides, and you will get something like this, as shown in the picture.
Step 13: Stick The Flower On Top Of The Stem
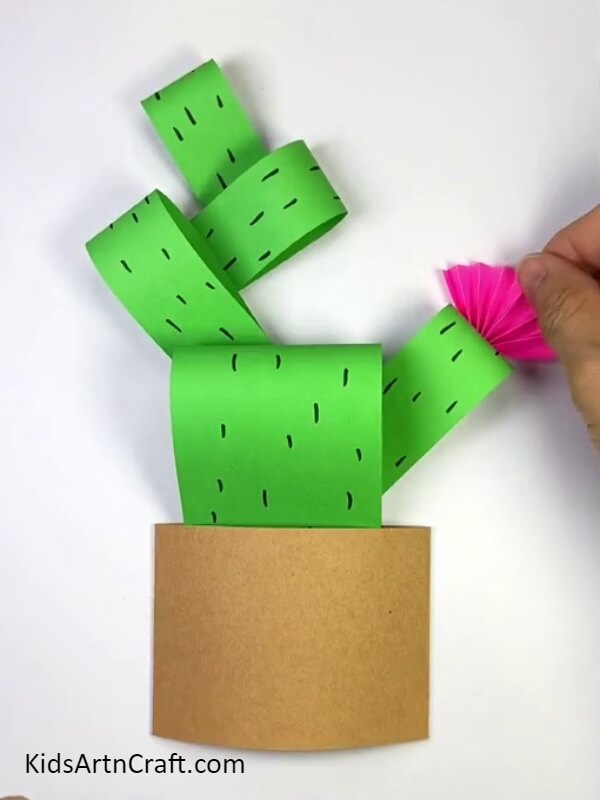
Stick the prepared flower on top of the flower using glue.
Step 14: Make Some More Flowers For The Rest Of The Stems

Make some more flowers as earlier and stick them with glue on each stem.
Step 15: Finish It Up With Details
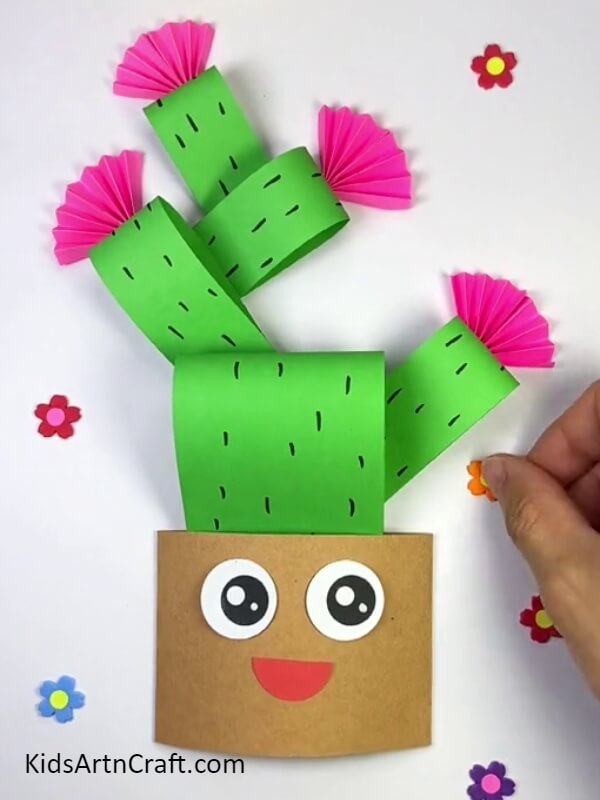
Finish up the craft work with detail like eyes and mouth using paper and marker. And stuck a couple of tiny flowers around the Cactus as shown above.
Ta-da! Your Paper Cactus Craft Work Is Ready
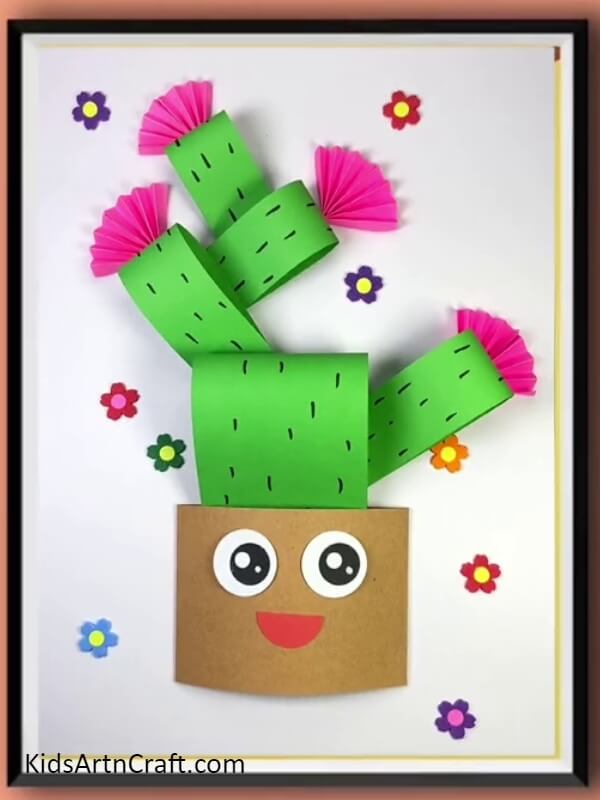
Here is your beautiful Cactus Craft. Add it to your wall of Crafts. Hope you like and enjoyed doing this craft as we did while sharing. Do let us know your views and thoughts in the comment section below. Visit our website for more such Crafts Ideas.
Thank you for visiting our website.
Follow us on Youtube for art and craft tutorials and much more.
More Articles From Kids Art & Craft
- How to Make Paper Umbrella Craft for Kids Tutorial
- DIY Heart Shape Cat Craft for Valentine’s Day
- How to Make Easy Paper Snowflakes Tutorial
- Easy Paper Butterfly Craft For Kids
- DIY Easy Paper Cactus Craft Tutorial for kids