


Paper Crafts
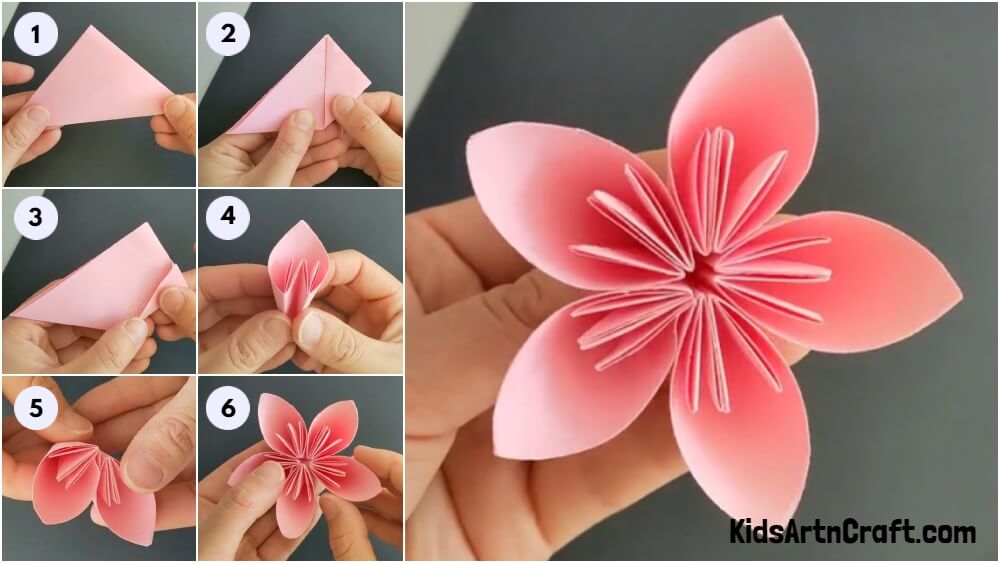
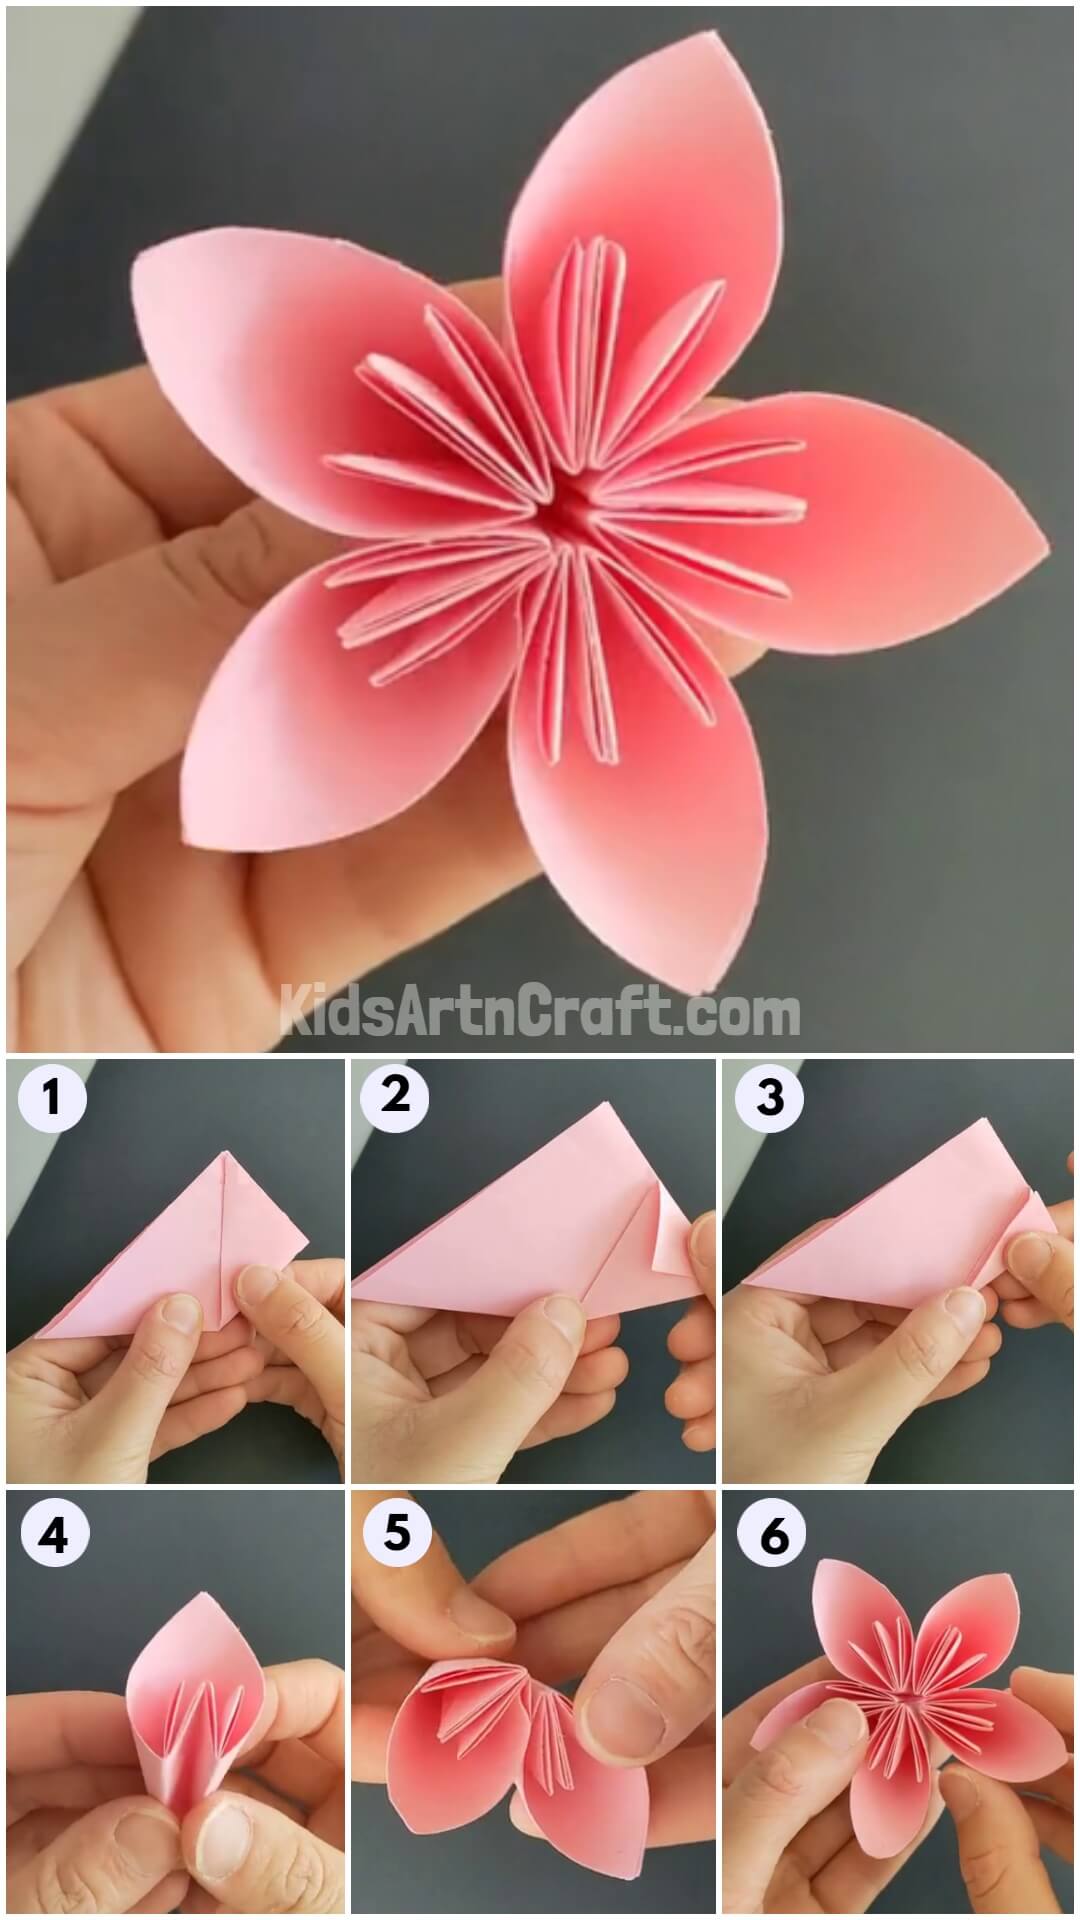
DIY Kusudama Paper Flower Origami Craft Tutorial

Create a stunning origami kusudama flower like a pro with the help of this step-by-step tutorial! This flower originated in ancient Japan!
Do you know? The Kusudama flower originates from ancient Japan and it means ‘medicine balls’. The shape of this flower is made when you glue 12 flowers together! What a mind-blowing fact, right? Today, we brought you a step-by-step tutorial on making this amazing flower using origami! Through this tutorial, you will make this flower in minutes with just some simple folds and turns! Origami is a perfect activity to do to drive motor skills and creativity! Even a beginner can make this flower easily with the help of this tutorial! So, Let us begin to make it!
Simple Paper Kusudama Flower Origami Craft
Read More: How to Make Paper Flower Ring Easy Tutorial
Materials Required
- Pink Square Origami Sheets (5)
- Glue Stick
Procedure
Step 1: Making A Horizontal Crease On Paper
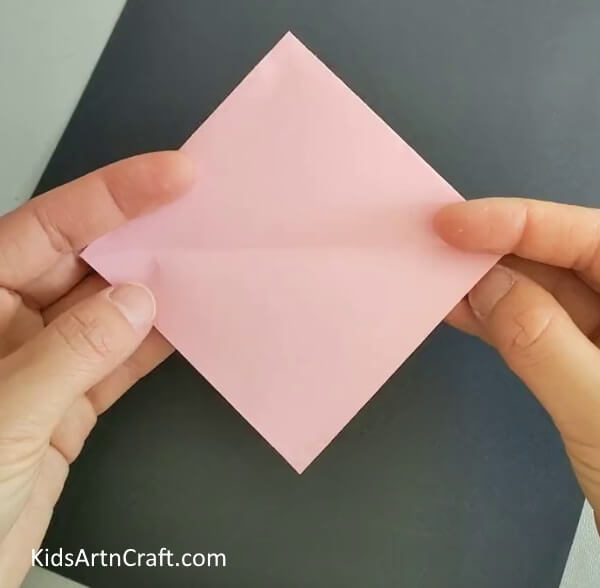
Start this craft by taking a small square pink origami sheet and turning it to see it as a diamond shape. Now, fold the top and bottom corners of the diamond over each other to form a horizontal crease and unfold again.
Step 2: Folding Along The Crease
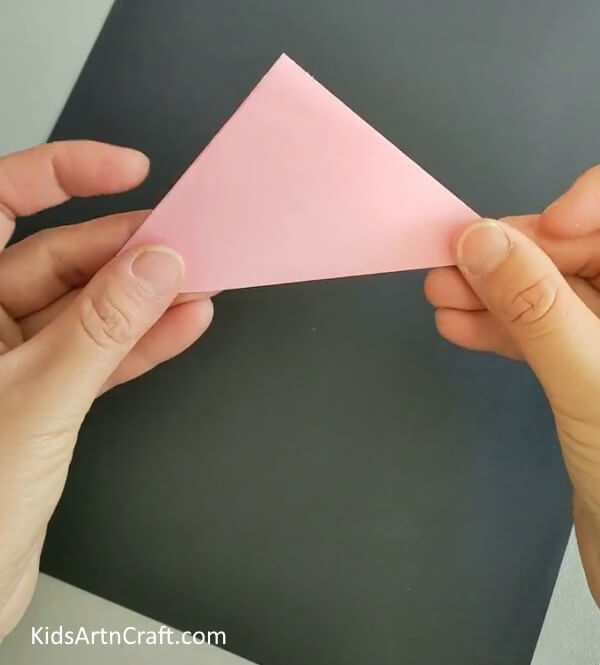
Fold the bottom corner over the top along the horizontal crease of the diamond to form a triangle.
Step 3: Folding The Right Corner To The Mid-Top
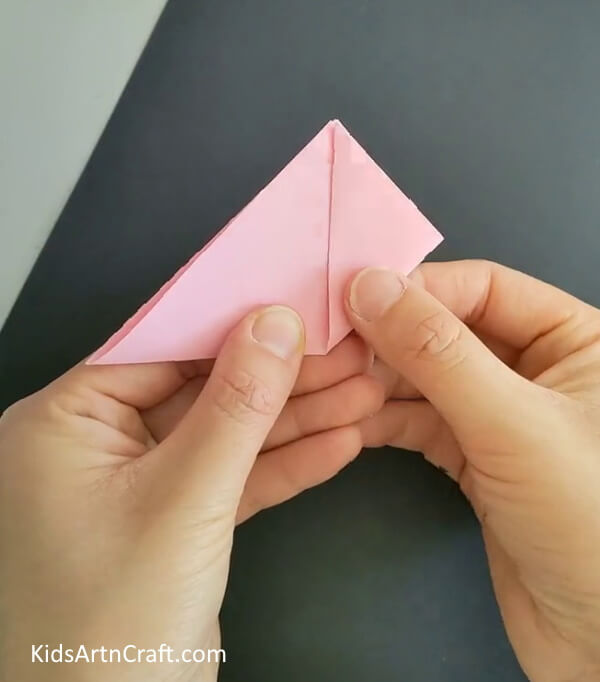
Fold the right corner of the triangle to the mid-top corner of it and make a slanting crease.
Step 4: Making A Kite Shape
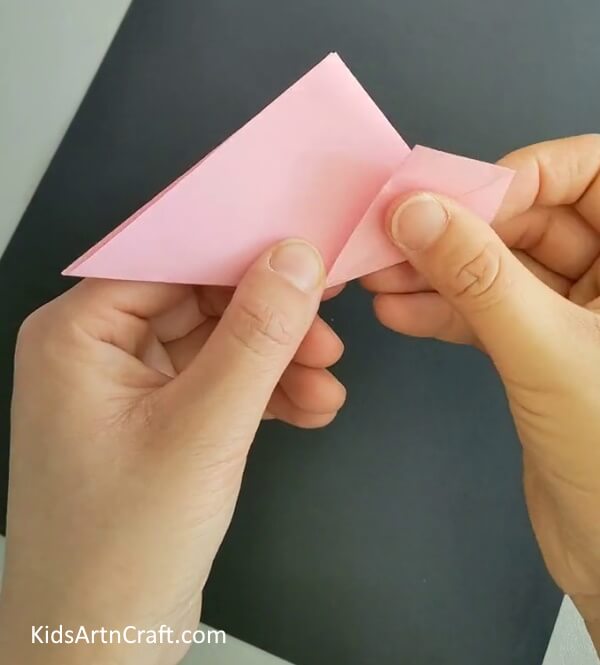
Now, open the paper from between the slanting crease and push in along the horizontal creases to form a kite shape over the triangle.
Step 5: Folding The Top Of Kite
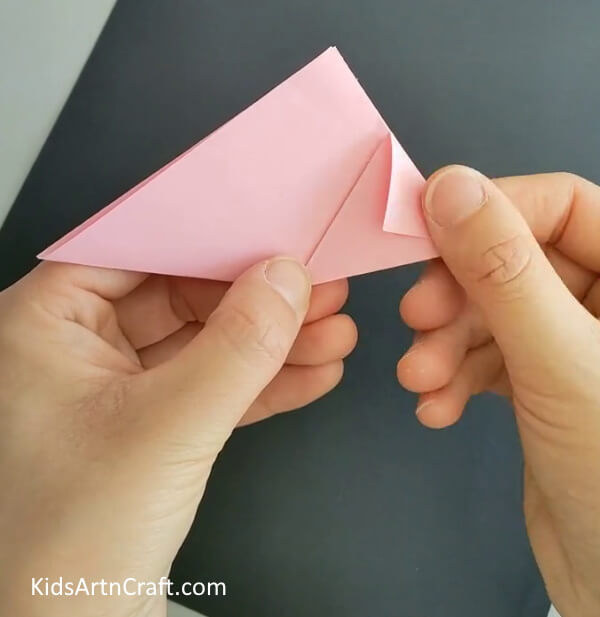
Fold the top triangle shape of the kite over it along the boundary of the triangle and make the crease.
Step 6: Folding To Overlap The Kite Sides
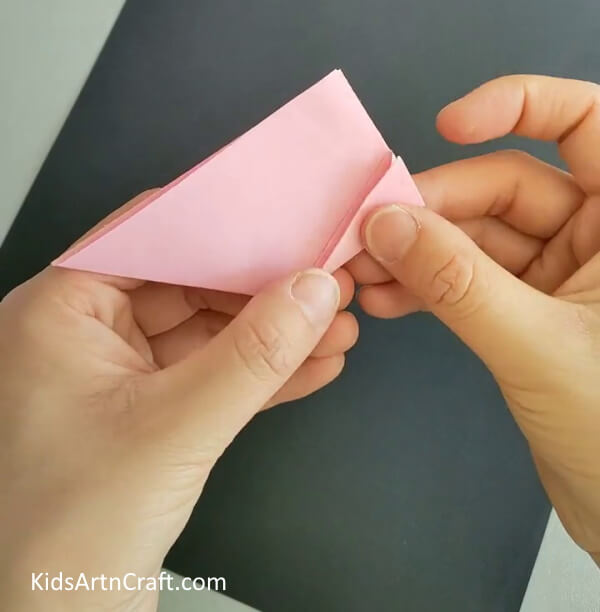
Now, slightly open the kite fold to put the recently folded triangle inside the paper, and fold the boundary side of the kite over the other side to overlap it.
Step 7: Making A Petal Of The Flower
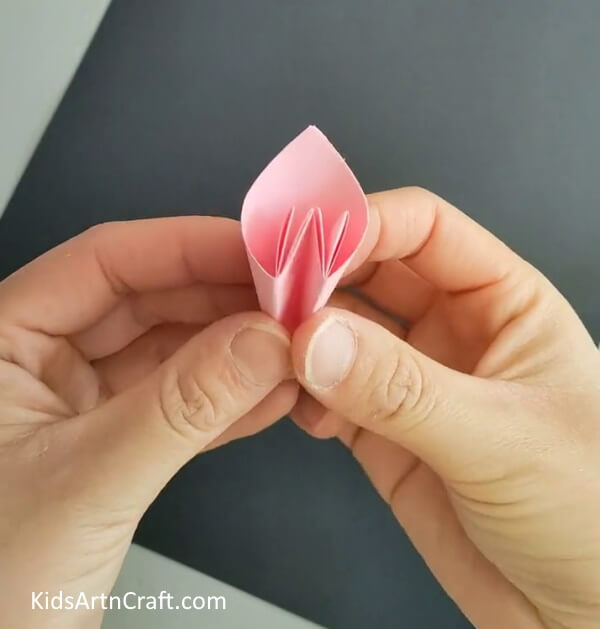
Following the previous steps, do the same from the left side of the triangle, make a kite shape, and overlap the kite sides of it too. You will see the paper has converted into a diamond shape with 2 thin triangles at the sides. Now, fold the sides of the diamond shape to overlap the thin triangle sides and stick them over using gluestick, and make sure not to crease this fold. This will be a petal of your flower.
Step 8: Applying Gluestick Over The Petal
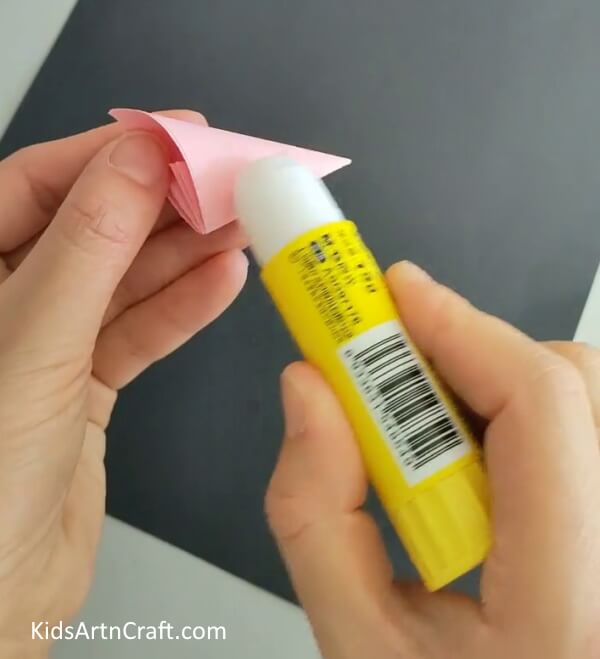
Apply glue stick on the side of the petal of your flower.
Step 9: Pasting Another Petal To The One
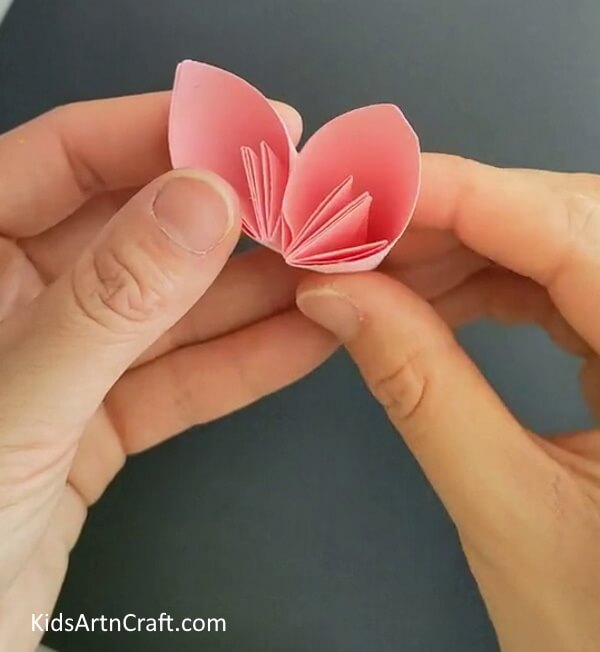
Following the whole previously stated process again over another pink sheet to make another petal of the flower. From the side where the glue stick was applied, paste this petal to the 1st one.
Step 10: Making A Flower
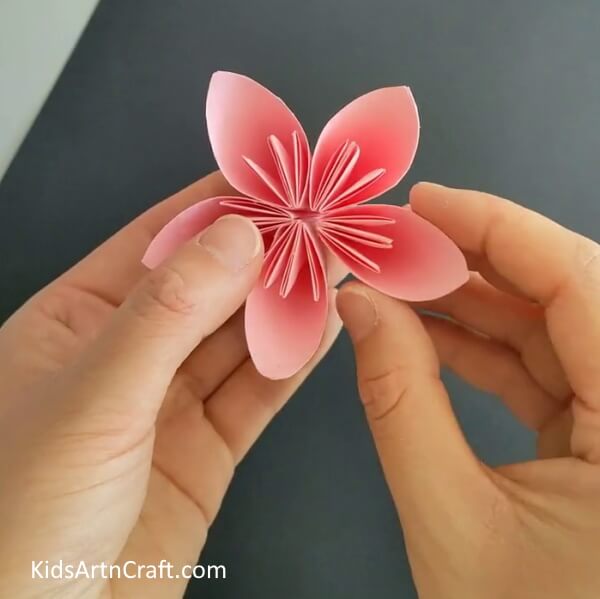
Stick 3 more petals to the previously pasted one and form a flower.
This Is The Final Look Of Your Kusudama Origami Flower!
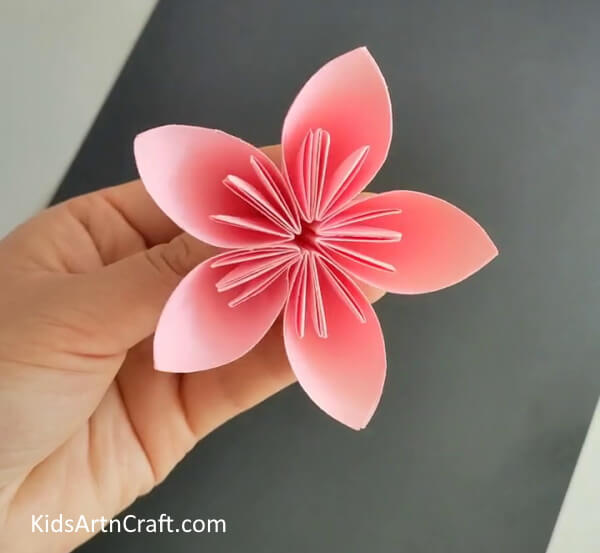
Taadaa! You have finally succeeded in making your pretty kusudama origami flower just like a pro!
You can now take a minute to admire your creation! You can even make this origami kusudama flower in various colors to decorate your home and even according to the color of your room to match it! You can create a bouquet of them to gift to your loved one! I’m sure they will love to receive such unique and pretty flowers! You could also further decorate your kusudama flower using craft pearls or stones, or can even shade them with different colors by painting them! Your imagination and creativity are the limit!
Hope you liked the article and the description in it, if so, give it a like and share it with your friends as much as you can to motivate us to bring more such crafts for you! Also, leave a comment in the comments section! We would love to hear from you!
Follow us on Youtube for art and craft tutorials and much more.
More Articles from Kids Art & Craft
- Beautiful Kimono Japanese Dress Craft Ideas For Kids
- Easy Paper Origami Boat Step-by-step Tutorial For Kids
- How to Make Origami Rose Easy Tutorial For Beginners
- Learn To Make Easy Heart Shaped Paper Mouse Craft
- DIY Paper Tree Crafts for Kids Easy Tutorial


