Paper Crafts
Pretty Roses Flower Pot Paper Craft Idea For Beginners

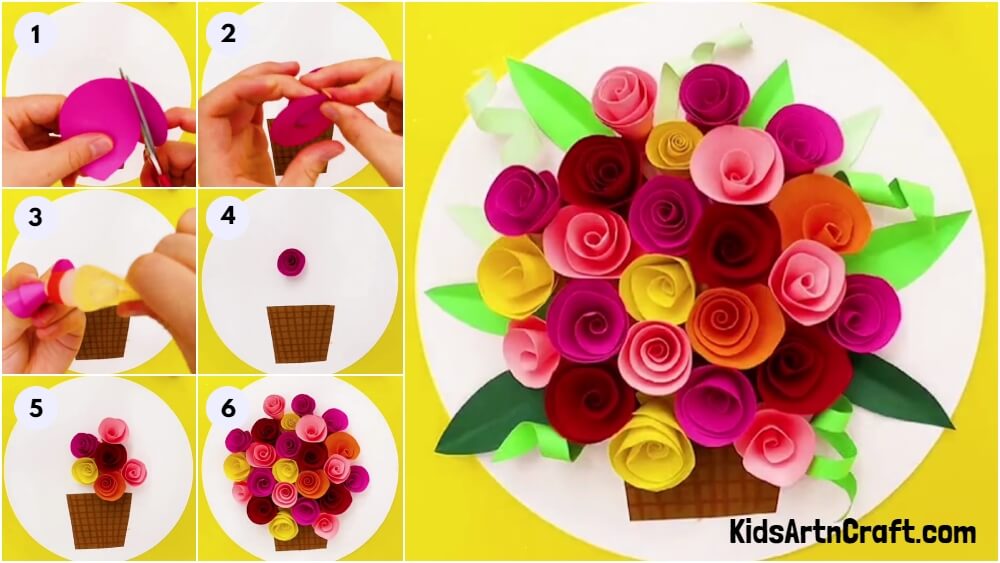
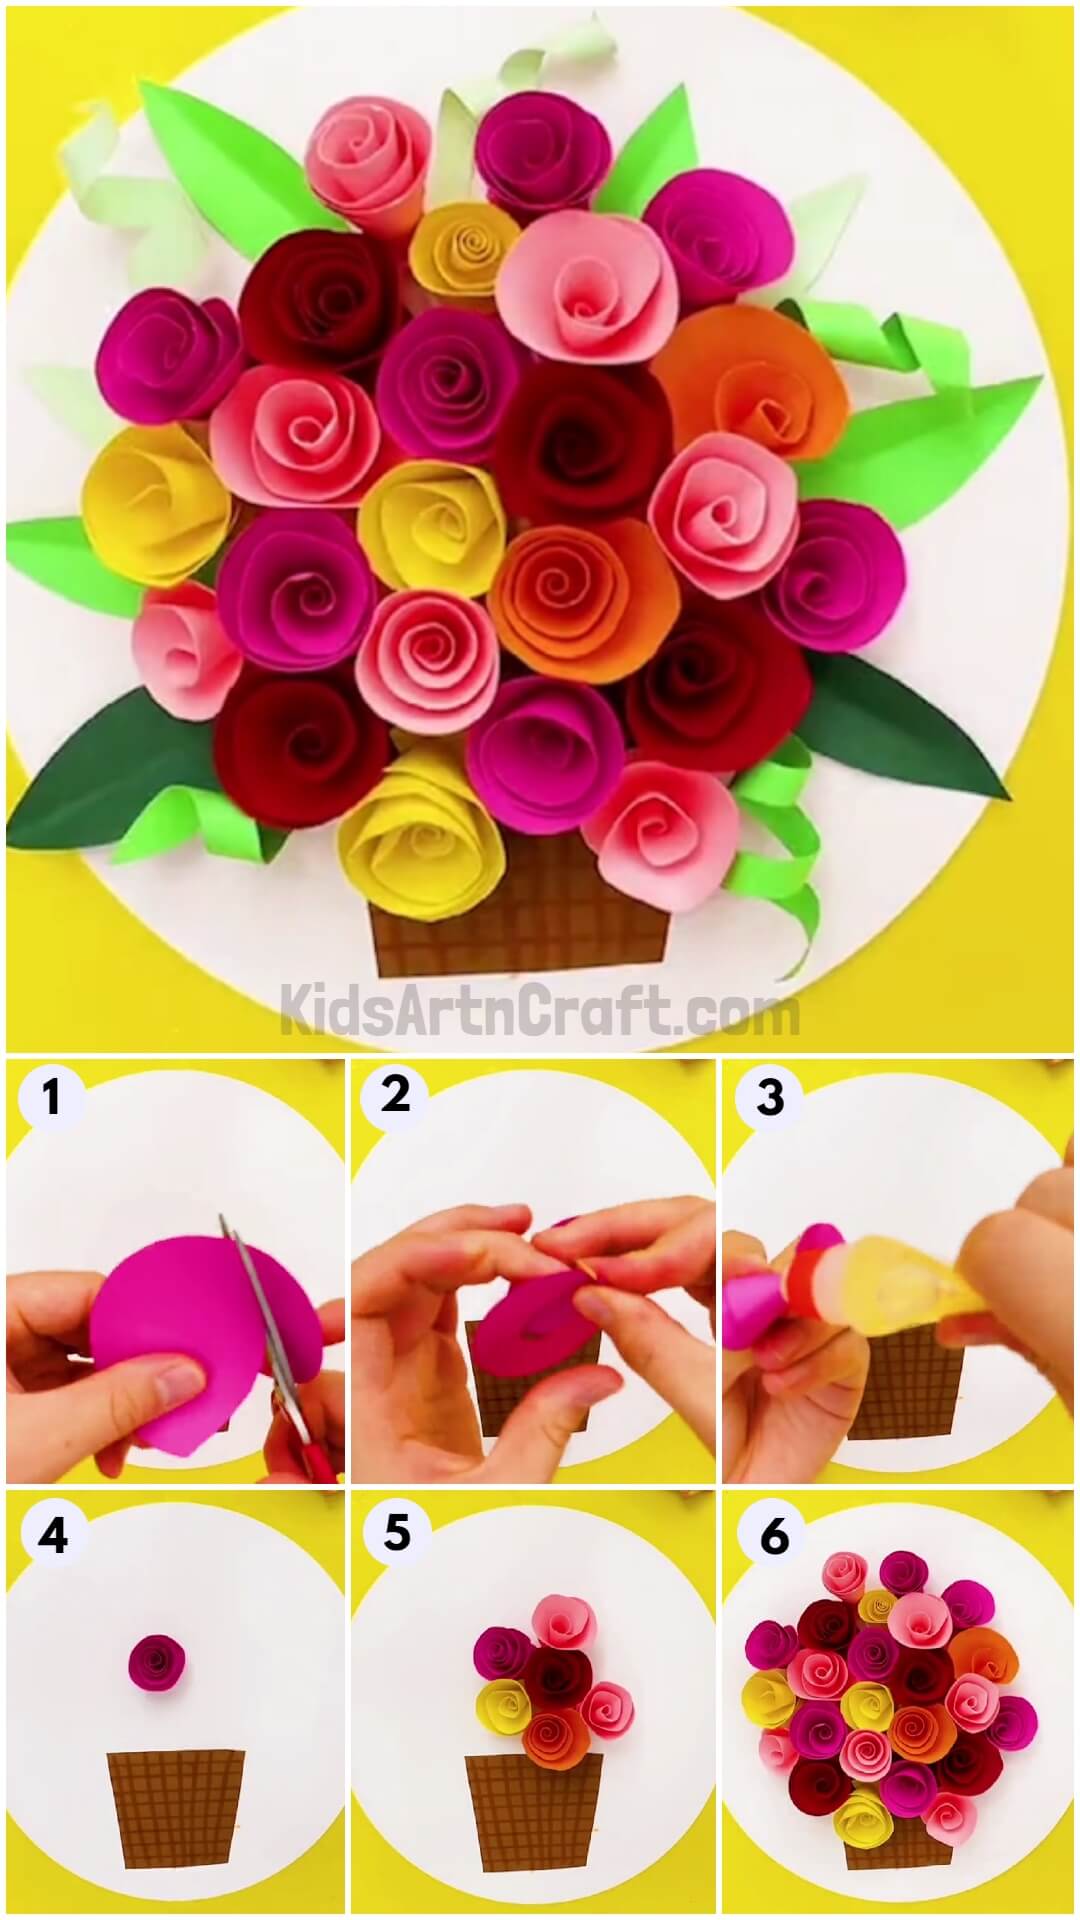
Let us make pretty roses using paper with our step-by-step tutorial! This craft can be served as a home decor, gift, or as a craft addition!
Everybody loves roses! So, today we brought you this craft inspired by the pretty roses! This craft will give a 3D effect of the roses and will be a hit addition to your craft collection! With our step-by-step tutorial, you will create this craft in no time and also you don’t have to spend a single penny on it, as it is made with simple craft materials that you already have at home! This makes this craft budget-friendly too! You can also use this craft as home decor or can even gift it to your loved one! I’m definitely sure they will love the idea of handmade craft roses that stays young forever!
DIY Pretty Roses Flower Pot Paper Craft
Read More: Fun Paper Craft Ideas Make At Home Video Tutorial for Kids
Materials Required
- Colored Papers
- Scissors
- Glue
- Red Sketch Pen
Procedure
Step 1: Pasting A Paper Pot
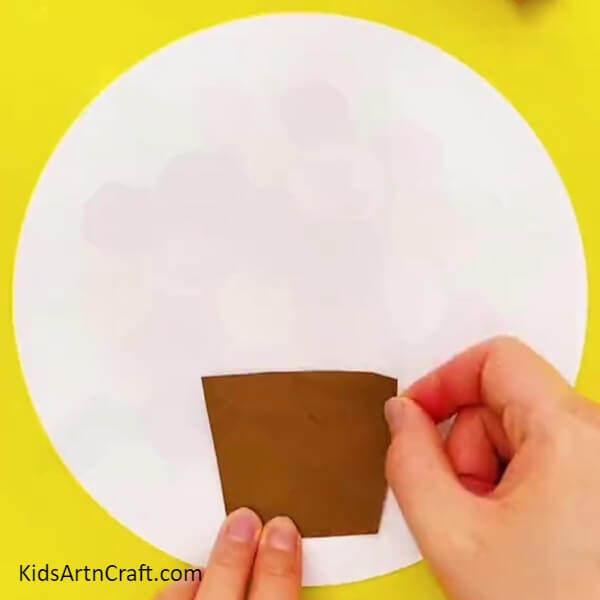
For the first step, take a white and a brown sheet of paper, using scissors, cut the white sheet into a big circle for the base of the craft, and cut out a trapezium shape from the brown sheet as the flower pot. Using glue paste the pot in the mid-bottom of the base.
Step 2: Detailing The Flower Pot
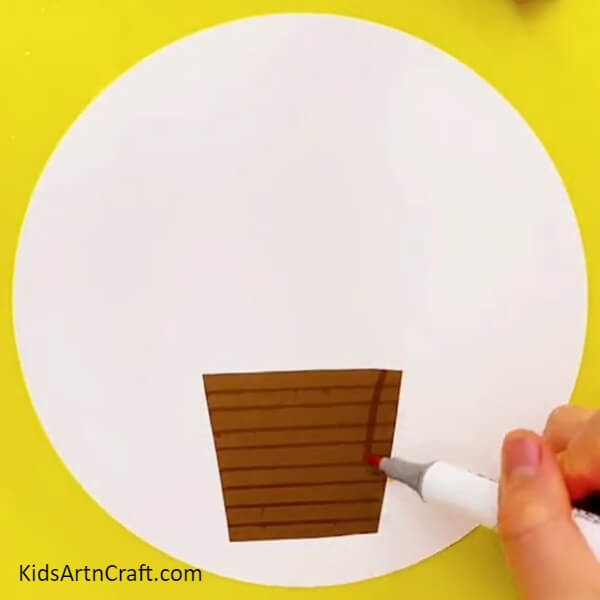
Using a red sketch pen, draw horizontal lines over the flower pot to detail it.
Step 3: Making Checks Over The Flower Pot
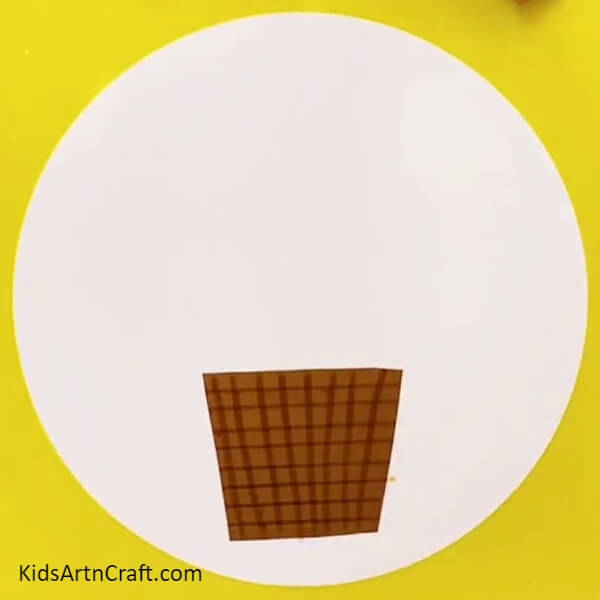
Using the sketch pen, draw horizontally titled lines along the boundary of the pot to make checks over the flower pot.
Step 4: Cutting Out Spiral
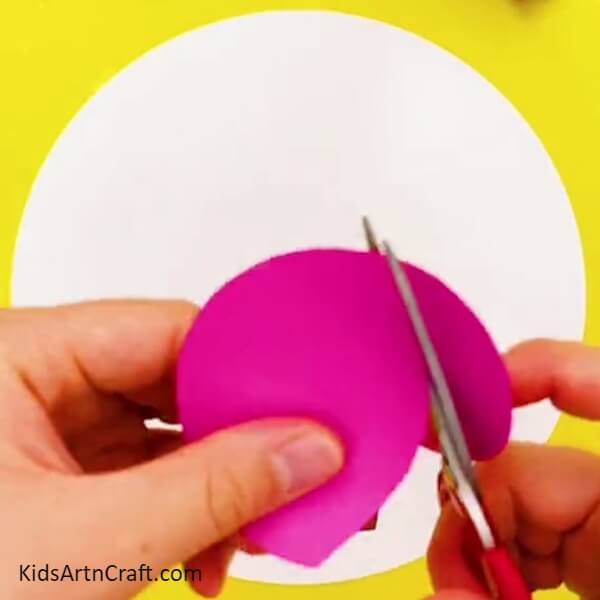
From a pink-colored paper sheet, cut out a circle using scissors, then further cut out a spiral from the circle.
Step 5: Rolling The Spiral
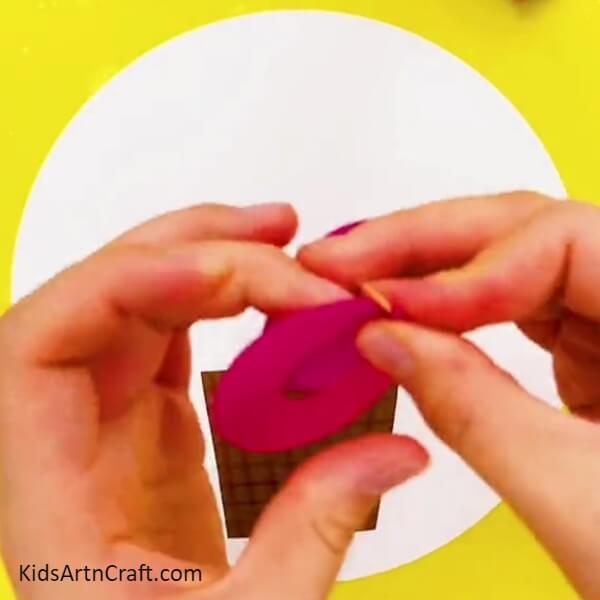
From the start of the spiral, start to roll it along the spiral strip.
Step 6: Securing The Spiral Roll Using Glue
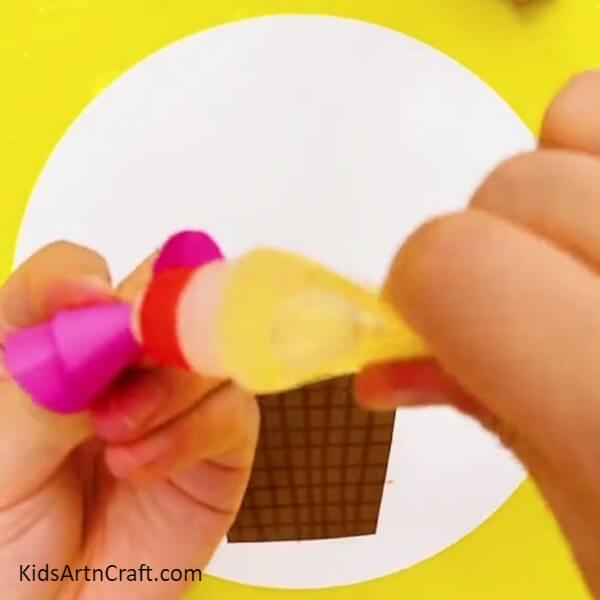
Apply glue to the end circle of the spiral and stick the whole spiral roll over the glued part to secure it and form a flower.
Step 7: Pasting The Rose
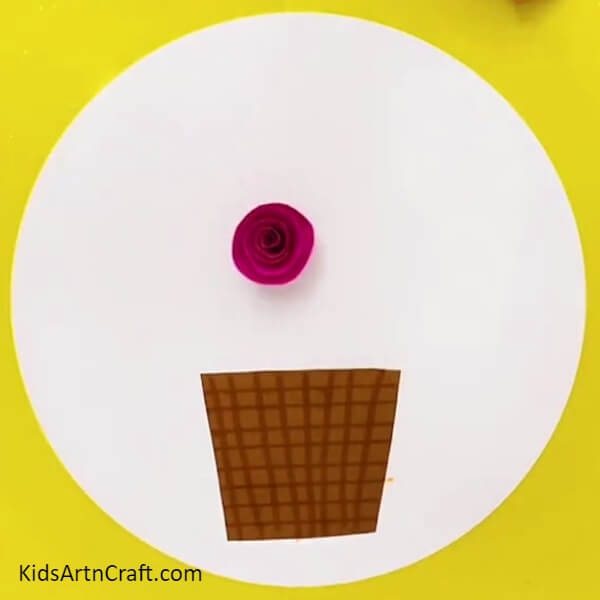
Now, apply glue to the back of the flower and paste it in the center of the base to stick the rose over it.
Step 8: Making More Roses
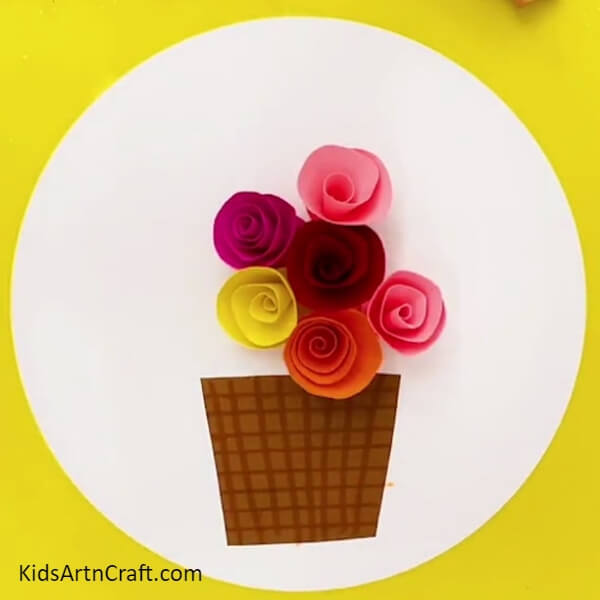
Using different colored spirals, like brown, red, orange, yellow, peach, and baby pink, make roses following the same procedure mentioned above and paste them over the base close to each other.
Step 9: Completing Making Roses
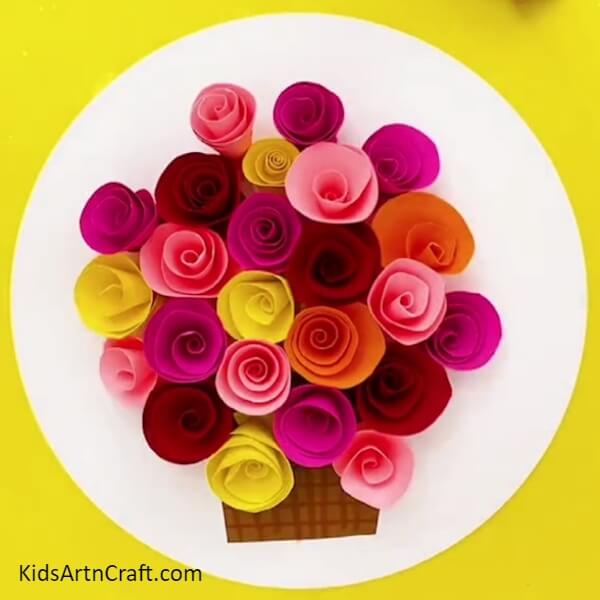
Make more roses from the same colored papers and paste them over the base in a circular form between the base.
Step 10: Pasting Leaves
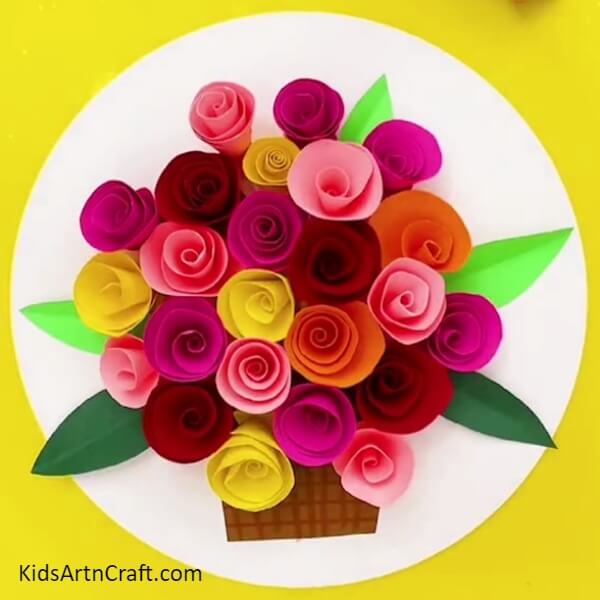
Cut out leaves from light and dark green colored paper using scissors, fold them in half to make creases, and paste them around the flower bunch using glue.
The Final Look Of Your Rose Flower Pot!
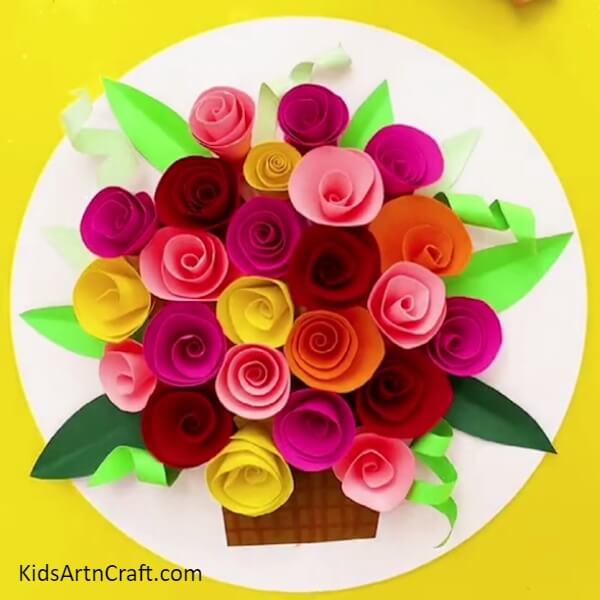
Make more leaves from lime-colored paper and paste them. Also, cut out strips from light green and lime color paper, roll them over to make curls, and paste these curls around the flower bunch using glue.
Some More Flower Craft Tutorial
Reuse Paper Cup To Make Rose Flower Craft Using Paper
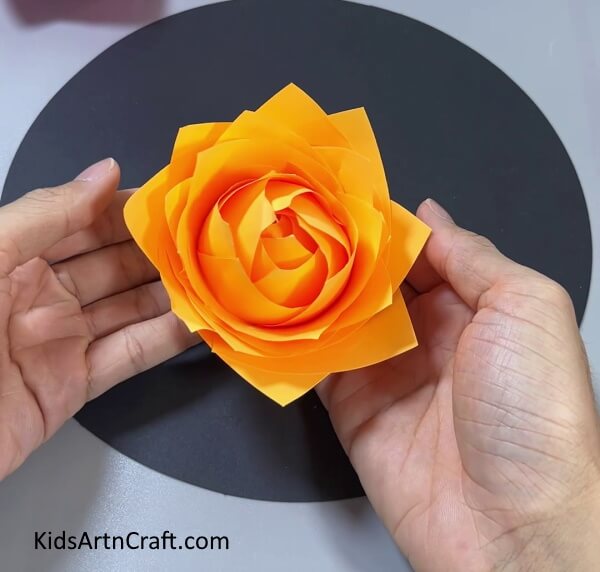
Image Source/Tutorial: Kids Art & Craft
This craft is a fun and creative way to reuse paper cups. It is an easy and inexpensive way to make beautiful rose flowers out of paper. With a few supplies and some patience, you can create a stunning flower that will brighten any room.
Woohoo! Take a minute and admire your pretty rose flower pot creation!
This craft is now ready and you can use it any way you like! I’ve got an idea for you, imagine what giant roses craft would look over a wall, stunning right!? Try it out! You can even customize the roses by using different colored paper sheets or can even cut out different textures to give the flowers various textures! Your imagination is the limit! Hope you liked the article and the description! Share it with your friends and family to make more and more such crafts!
Follow us on Youtube for art and craft tutorials and much more.
More Articles from Kids Art & Craft


