Kids Activities
Easy to Make Red Capsicum Paint Artwork Tutorial

This step-by-step tutorial brings you an effective way to make your kids finish those veggies! Create a capsicum artwork and see the results!
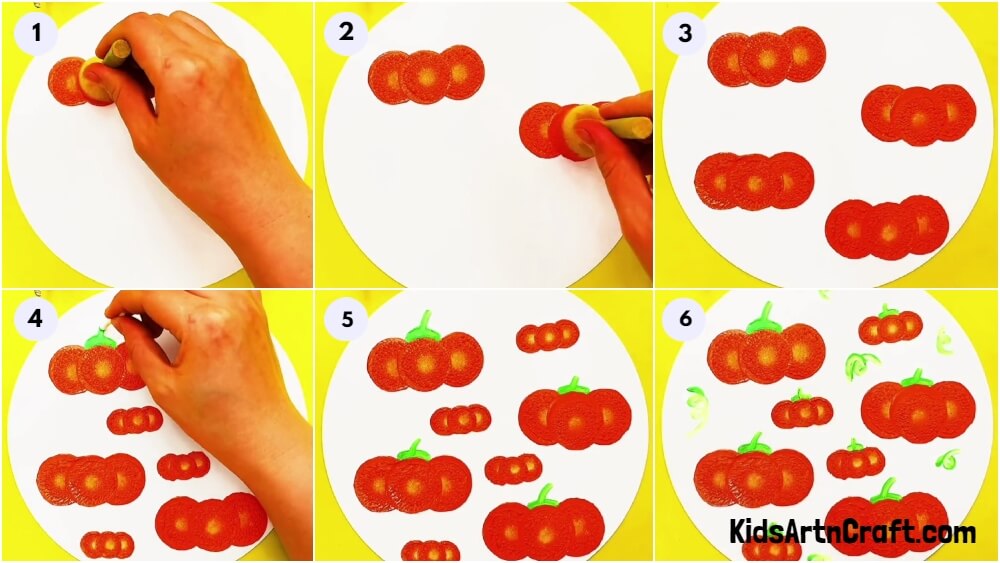
Hello and welcome to the wonderful world of art and craft! Something healthy is on the menu today! Capsicums! This tutorial will guide you to make a simple artwork involving various-sized capsicums! This artwork can be used to teach the kiddos about the benefits of eating healthy vegetables! Well, now this artwork is a must-piece to try out as it has various benefits, like, your kiddos will be keen to eat the healthy veggies, will drive the motor skills of your little one, and many more! So, grab the materials, and let’s begin!
Simple Red Capsicum Paint Artwork For Kids
Read More: How to Make Ladybug Crafts tutorial for Kids
Materials Required
- White Circular Paper Sheet
- Circle Stamps (Big And Small)
- Paint Colors (Red, Yellow, And Green)
- Cotton Earbud
Procedure
Step 1: Stamping Overlapped Circles
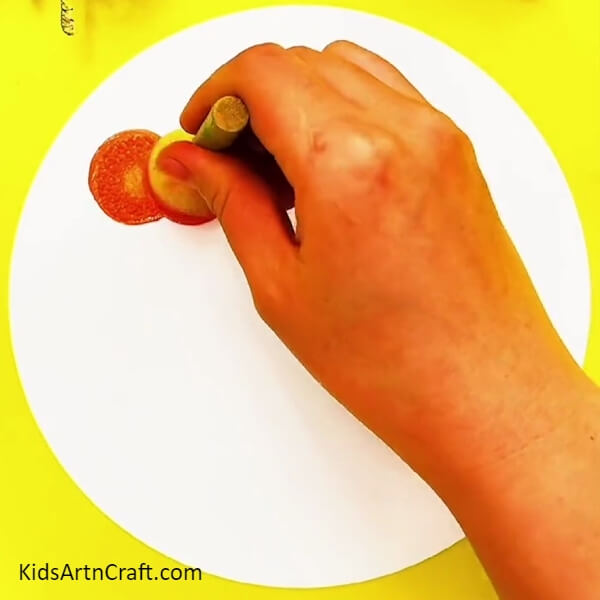
To begin this craft, take a white circular paper sheet as the base for the artwork and a circle stamp. Dip the stamp into red paint and paint a small yellow paint dot in the center of it, then dab the stamp over the paper and you will see the yellow paint is mixed with red, and make another circle beside the one leaving some space in the middle. Then again dab another circle in between and over both circles to form a capsicum.
Step 2: Making Capsicums
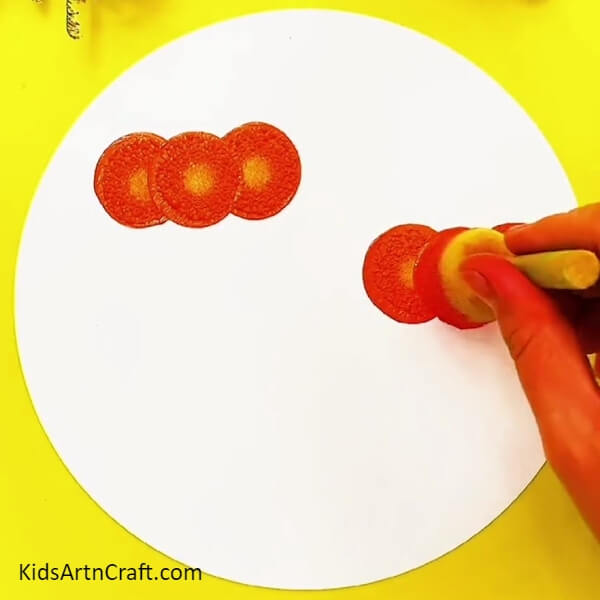
Follow the same procedure to form another capsicum of similar size in the middle left of the base.
Step 3: Making More Capsicums
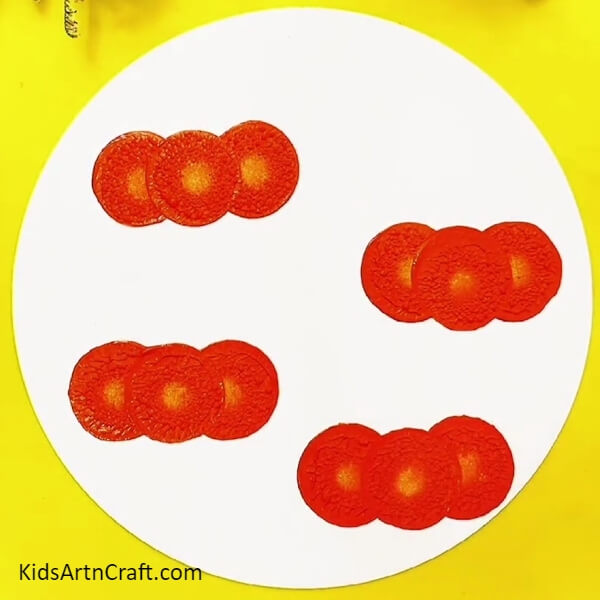
Make 2 more capsicums below the ones already made to make an alternate left-right pattern of them over the base.
Step 4: Making Small Capsicums
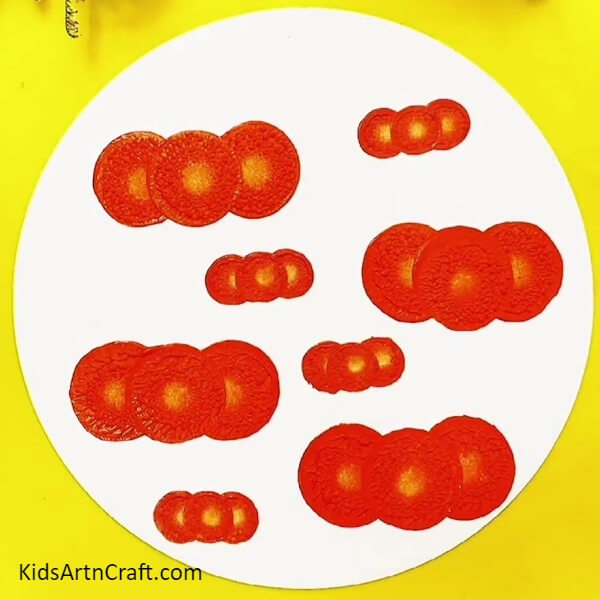
This time using a small circle stamp make small capsicums following the same procedure in the same right-left alternate manner between the big capsicums.
Step 5: Making The Stem Of The Capsicum
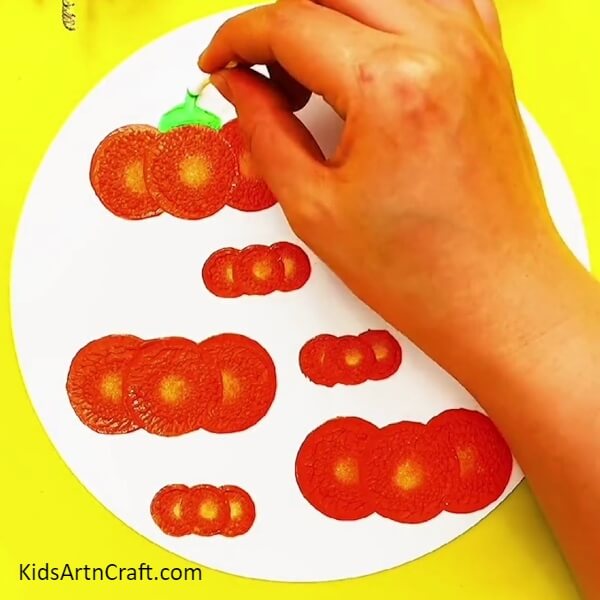
Dip a cotton earbud into green paint and using it make a curvy horizontal stem above the middle circle of the capsicum and then a curvy vertical small line over the horizontal one to make the stem of the capsicum.
Step 6: Making More Stems Of The Capsicums
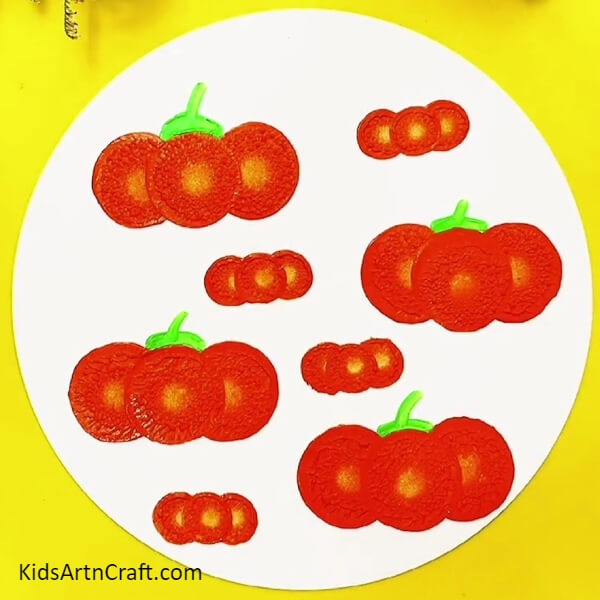
Following the same as before, make the stems of all the big capsicums from the bud.
Step 7: Making The Stems Of The Small Capsicums
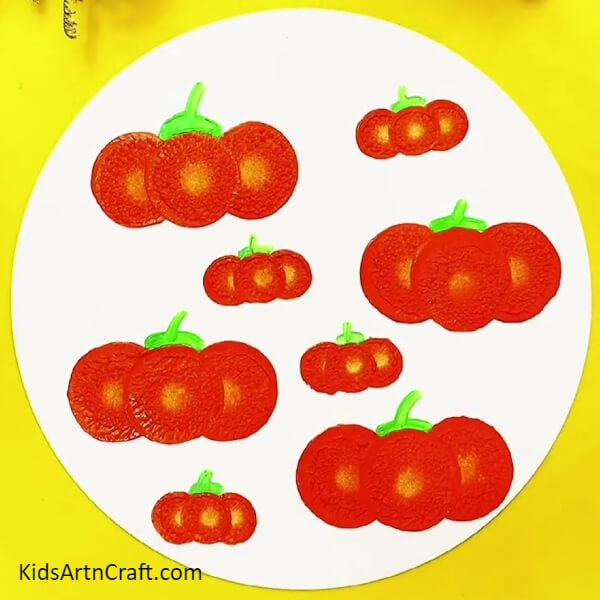
For the small capsicums, again follow the same procedure instructed above.
Step 8: Making Curls On The Base
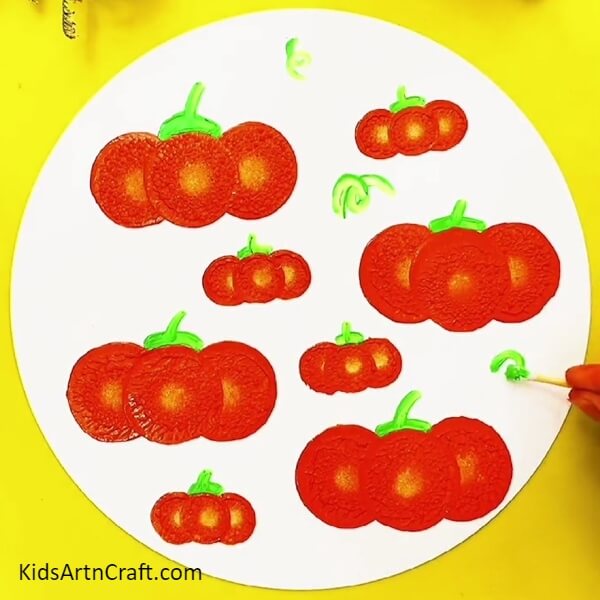
Dip the cotton bud into green paint again and make random curls over the white base to cover the extra spaces in the artwork.
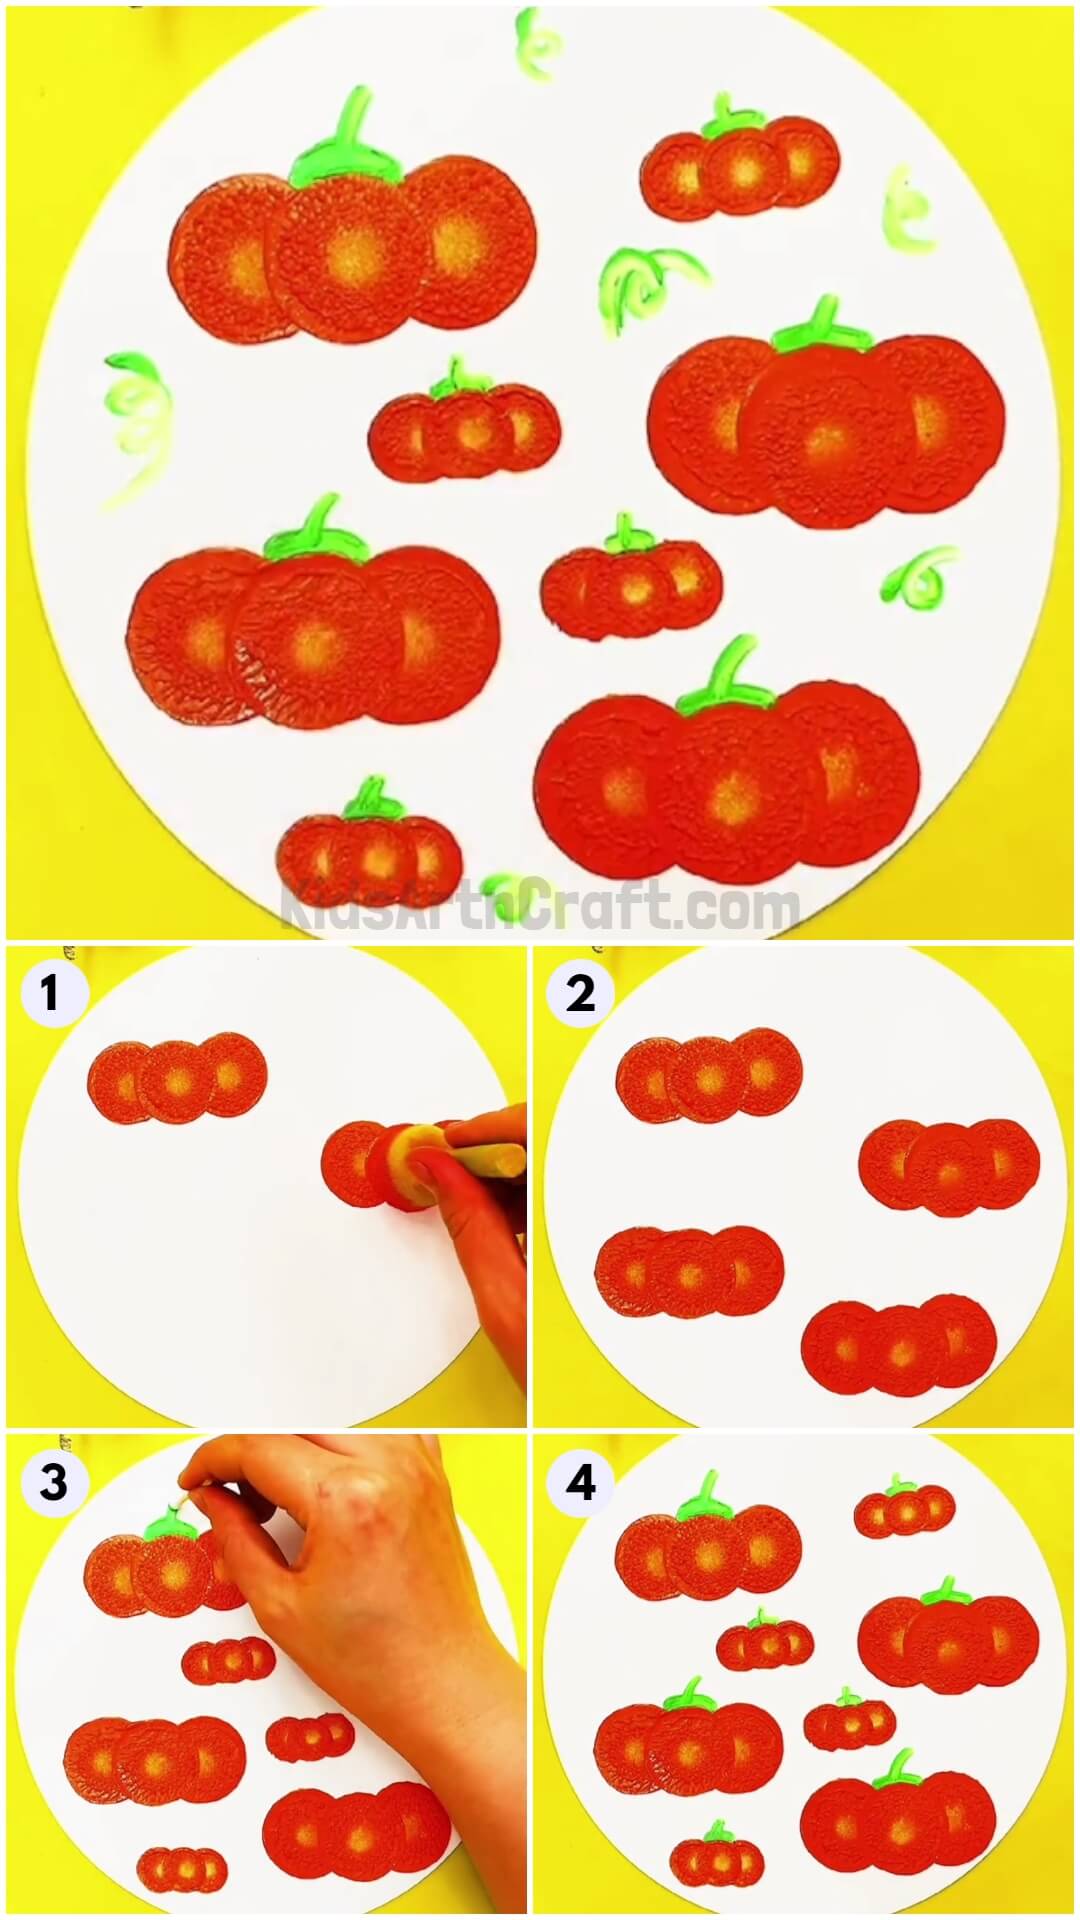
This Is The Final Look Of Your Red Capsicums!
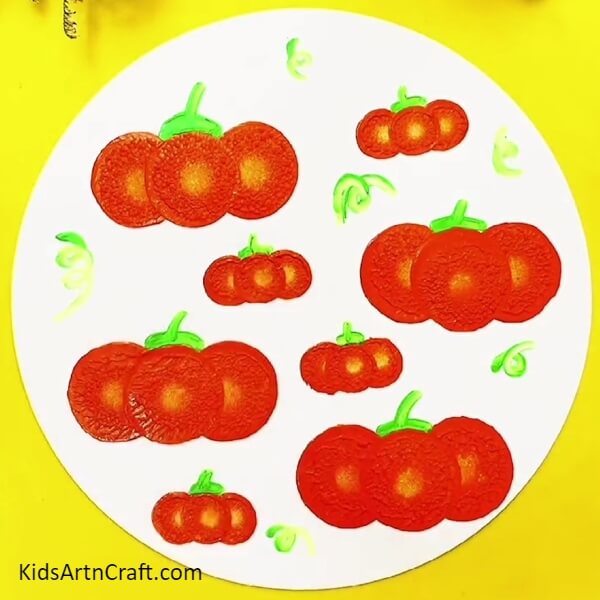
Congratulations! You completed your capsicum artwork in no time!
This brings an end to the tutorial! Your kid will learn about the benefits of capsicum and hence will be keen to eat up the capsicums on the plate! You can also use this artwork idea to make your kids eat those veggies which they don’t! This is a fun learning and effective artwork for your little ones! Hope you like the article and the amazing hack we brought to you! Try it out and let us know the results in the comments section!
Follow us on Youtube for art and craft tutorials and much more.
More Articles from Kids Art & Craft
- Easy Drawing Tricks Video Tutorial for Kids
- Easy Art And Crafts Activities Video Tutorial for All
- Pinwheel from Popsicle Sticks Easy Tutorial For Kids
- How To Make A Paper Tiger Easy Craft
- Easy Paper Snail Craft tutorial For Kids


