


Recycled Crafts
DIY Fruit Foam Strawberries Craft Step by Step Tutorial For Kids

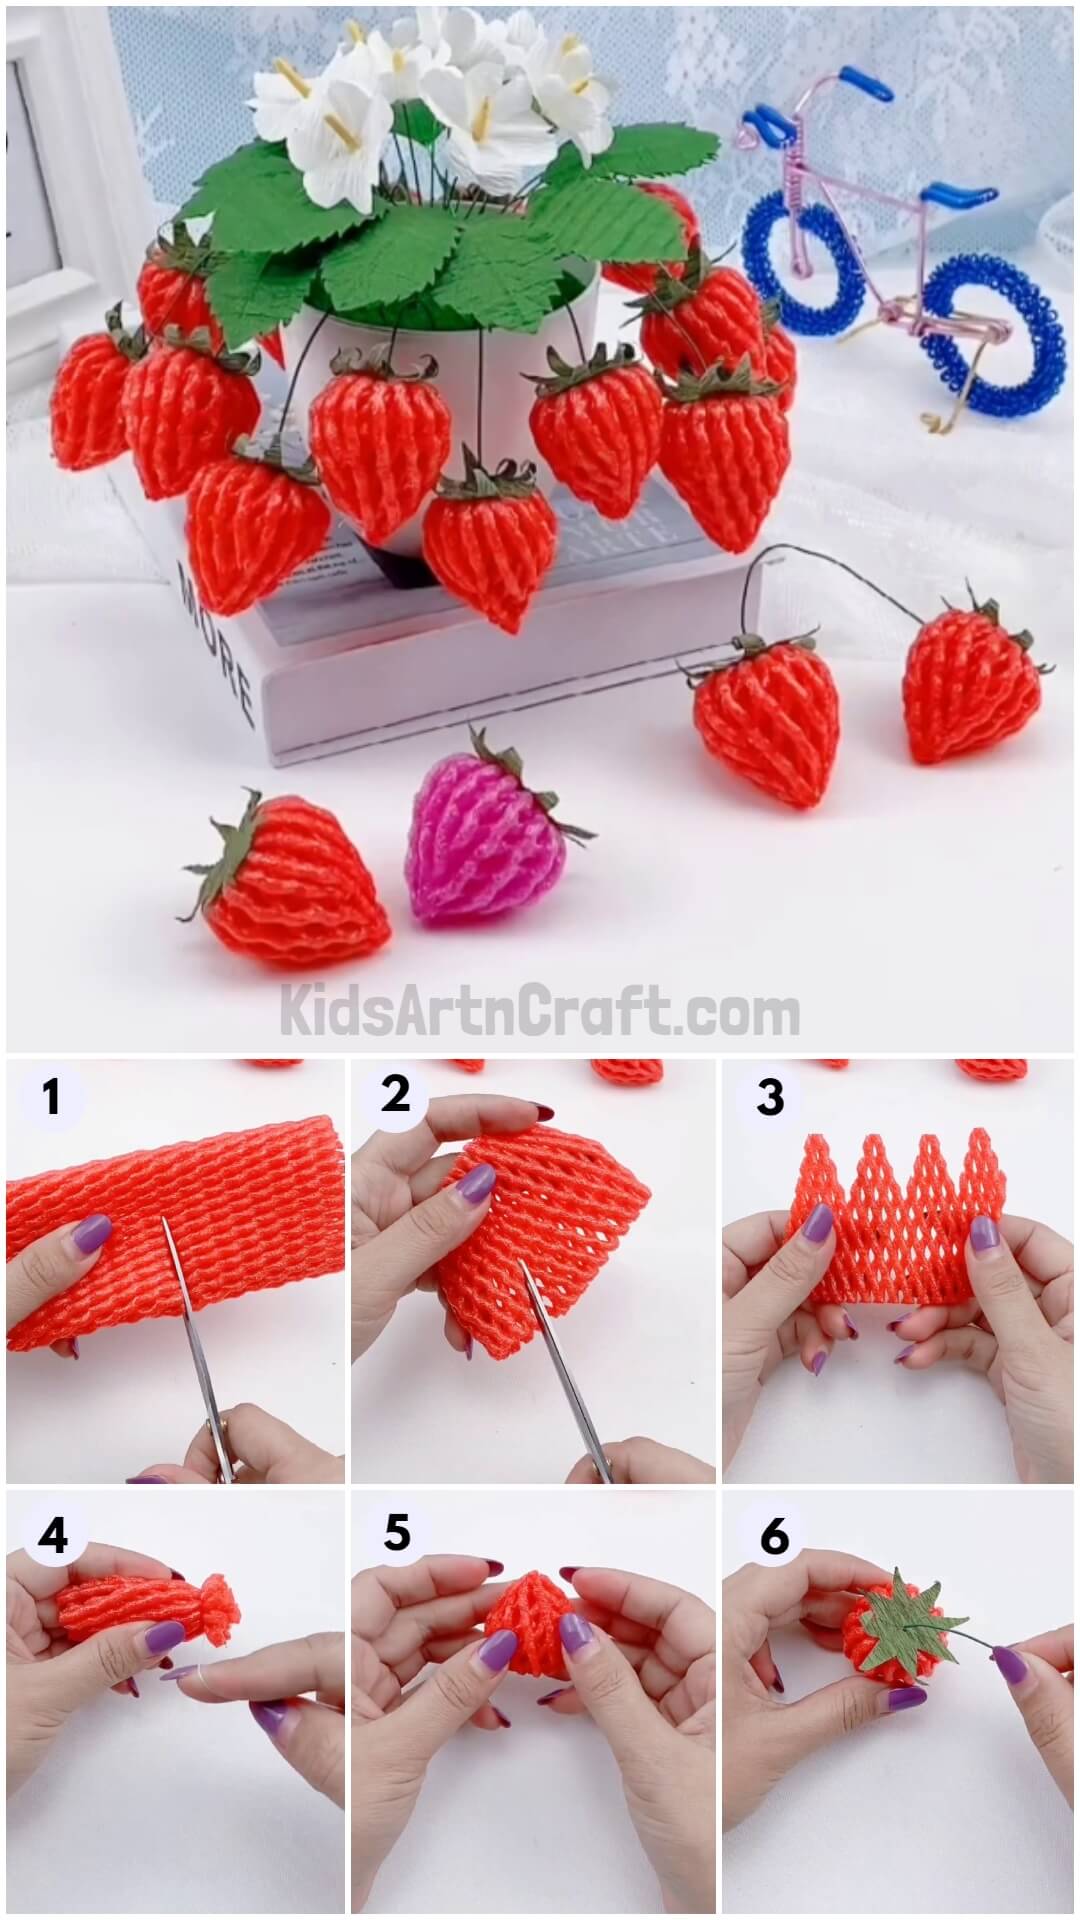
This DIY Fruit Foam Strawberries Craft Step by Step Tutorial For Kids is perfect for a fun family activity. Learn how to make these cute foam strawberries with easy-to-follow instructions. Get creative and add your own unique touches to make your own personalized crafts!
Welcome to this step-by-step tutorial on how to make a strawberry from foam craft! This fun and easy design is perfect for kiddies and grown-ups likewise. In this tutorial, we will show you how to make your own foam strawberry in just many simple ways. You’ll need just a few materials, such as red foam, scissors, a thread or rubber band, green collage paper, and glue. With some introductory craft skills, you will be suitable to make your own foam strawberry in no time. Let’s begin!
How To Make Fruit Foam Strawberries Craft
Read More: Egg Carton Crab Step-by-Step Tutorial For Kids
Materials Required
- Red foam
- Scissors
- Glue
- Thread Or Rubber Band
- Green Collage Paper, Or Any Green-Colored Paper
- Wires (Optional)
Procedure
Step 1: Make A DIY Strawberry From Foam
Let’s start this fun strawberry craft by taking a few red foam sheets.
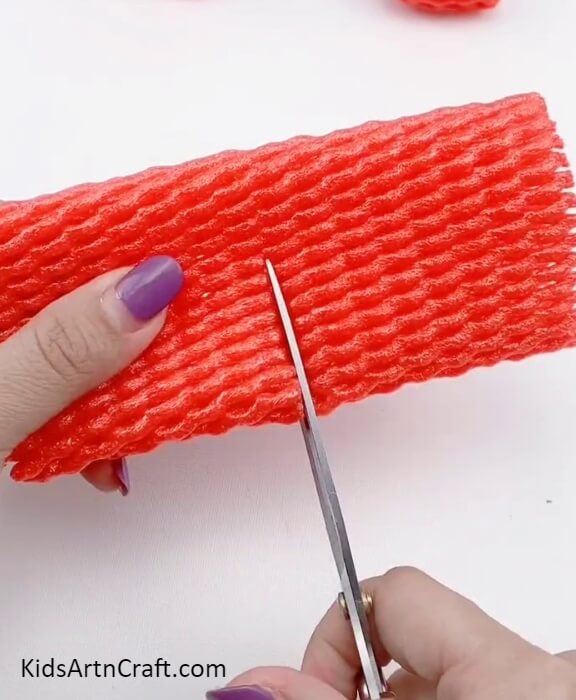
step 2: Moving Towards The Next Step Cutting Foams
Bring scissors into the process of your craft-making and start cutting the foams.
Step 3: Making Patterns
Cut the foam by slanting the scissors slightly as shown in the figure so that it will make a pattern later on.
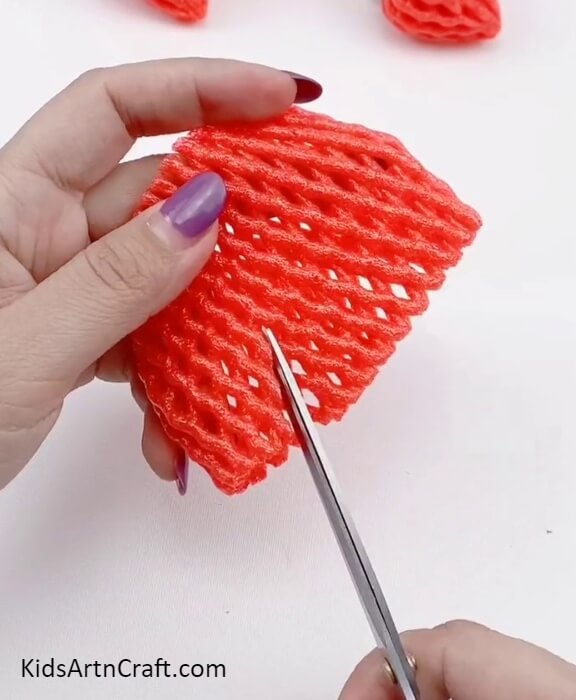
Step 4: Making Several Patterns
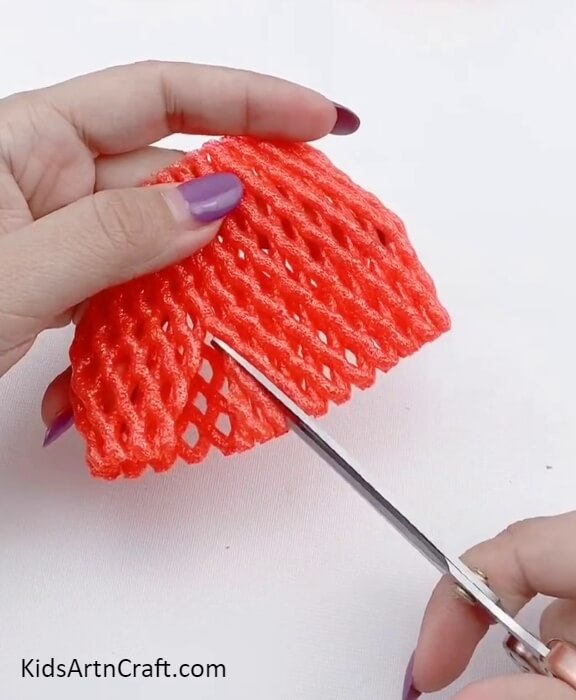
As shown in the figure, cut the foam into small triangular shapes three or four times.
Step 5: Creating The Pattern

After cutting the foam, open it up as shown in the figure. The ideal foam till this process should look like the foam shown in the picture above. It will create a pattern of continuous triangles on one side of the foam.
Step 6: Rolling The Foam
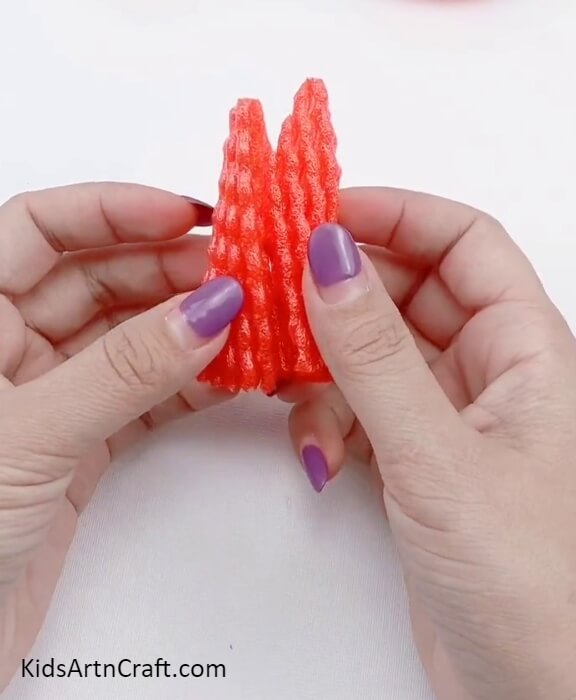
Grab the foam gently and start rolling it.
Step 7: Securing The Ends
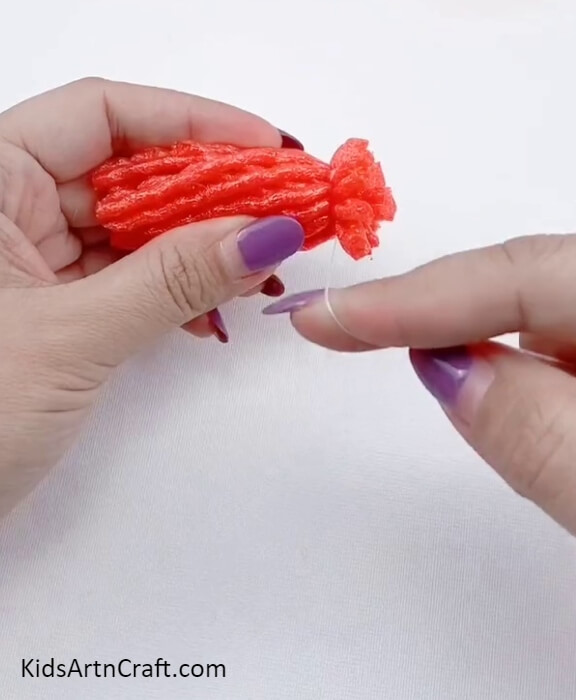
After rolling the foam, make sure to secure it by tying its one end with a thread or a rubber band.
Step 8: Reversing The Foam
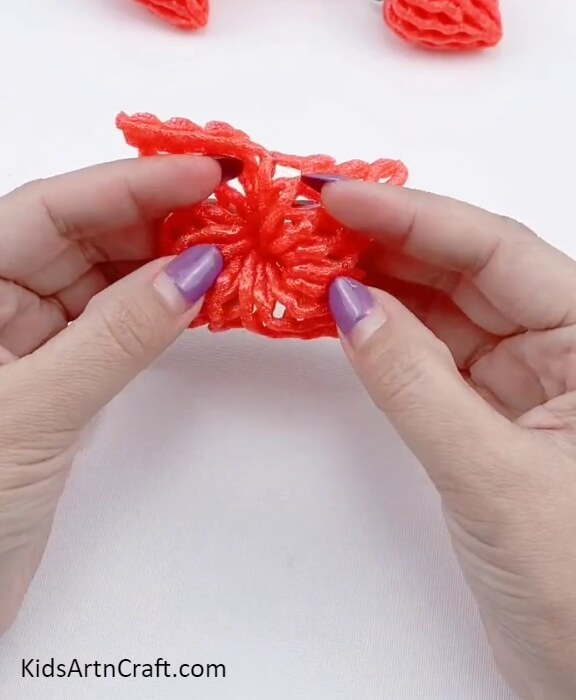
After securing its ends, reverse the foam.
Step 9: Make It Into A Sphere
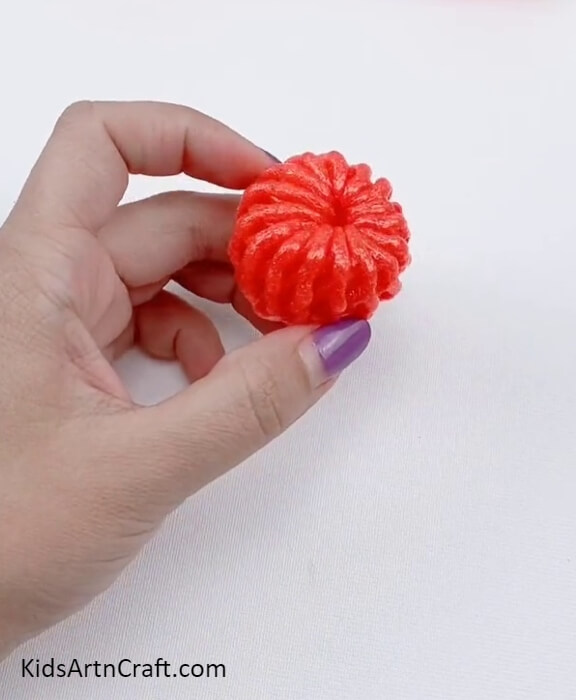
Make sure to reverse it in such a shape that it almost forms a sphere as shown in the above picture. Paste the other open side with glue to make it stick together in place. You will get the result of the fruit part of your strawberry.
Step 10: Placing The Leaf
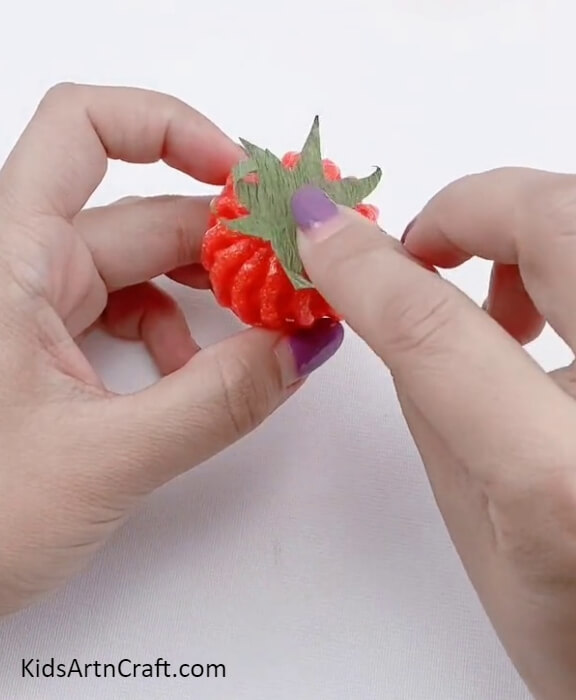
Take a green collage paper or green-colored paper and cut it into the shape of a strawberry leaf. Paste it carefully on the top of your strawberry.
Step 11: Adding Details
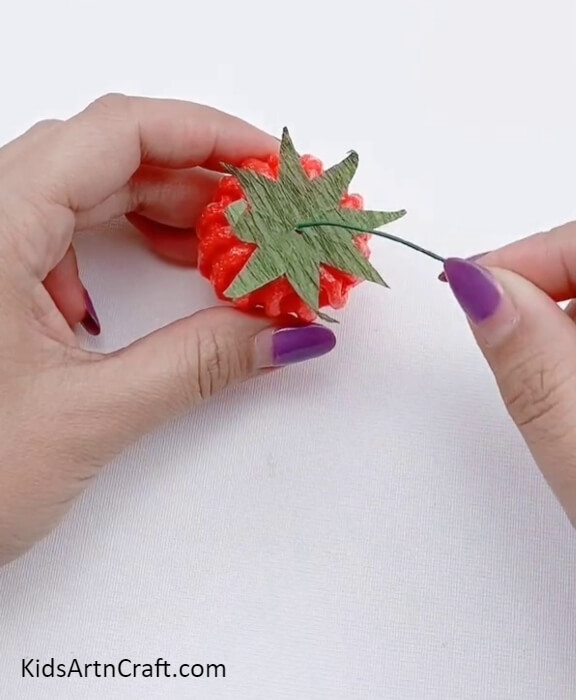
Make a stick by rolling the green paper and securing its ends with glue. Paste it at the top of the strawberry or tangle it in between the hole made on top of the strawberry. You can also make the stick of the strawberry by cutting wires or thick threads into small pieces and coloring it with green paint.
Finally, The Fruit Foam Strawberries
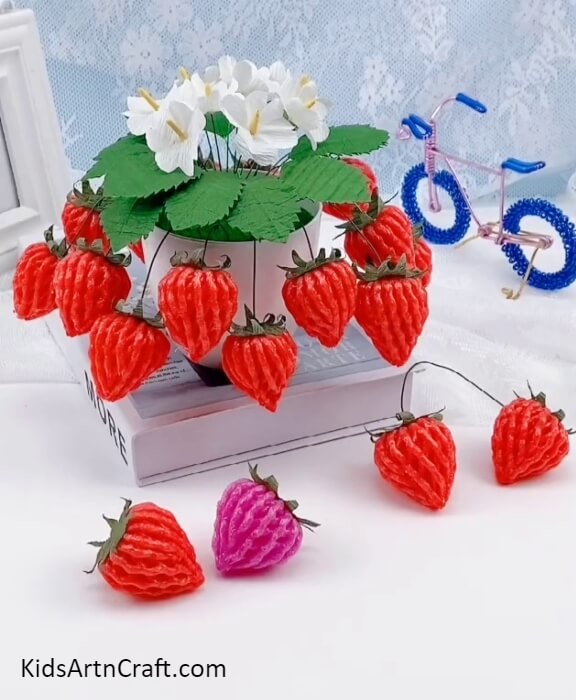
And your craft is ready!! This was such an easy tutorial that any kid can find it useful to make such cool strawberry or fruit crafts. You can add more variety by making different fruits with different colored foams and molding them into different shapes with the help of thread. This craft is fun and would be loved by children, so why not give it a try and engage your kids in a fun craft-learning activity?
Hope you like this fruit foam strawberries craft step-by-step tutorial. We would love to hear your thoughts in the comment section below. And be sure to visit other articles for more ideas!
Thanks for visiting our website.
Follow us on Youtube for art and craft tutorials and much more.
More Articles from Kids Art & Craft
- Easy Leaf Art and Craft Step by Step Tutorial For Kids
- Easy Peanut Shells Giraffe Art and Craft For Kids
- Easy Balloon Face Art and Craft for Kids
- How To Make Easy Fall Tree Craft From Leaves
- Easy to Make Doll with Yarn and Tissue Paper


