


Painting
Handprint Plant Pot Painting Step by Step Instructions

Learn how to make a customized and one-of-a-kind flower pot using this tutorial! Follow these easy steps and make a beautiful and long-lasting decoration for your house.
This tutorial is a fun way of introducing your kid to craft or new techniques in craft. You will be working together with your toddler while making this craft helping them navigate through the craft by literally holding their hand. It is a painting inspired by a simple plant pot and will be made by using the painted handprint technique coupled with some unique new painting techniques as well. So, collect all the material required, and let’s start making this craft.
DIY Handprint Plant Pot Painting
Read More: Handprint Paper Rocket Craft for Kids
Materials Required
- A white sheet of paper
- A pair of scissors
- Watercolors
- Paintbrush
- A piece of cardboard
Procedure
Step 1: Starting With A Sheet Of Paper
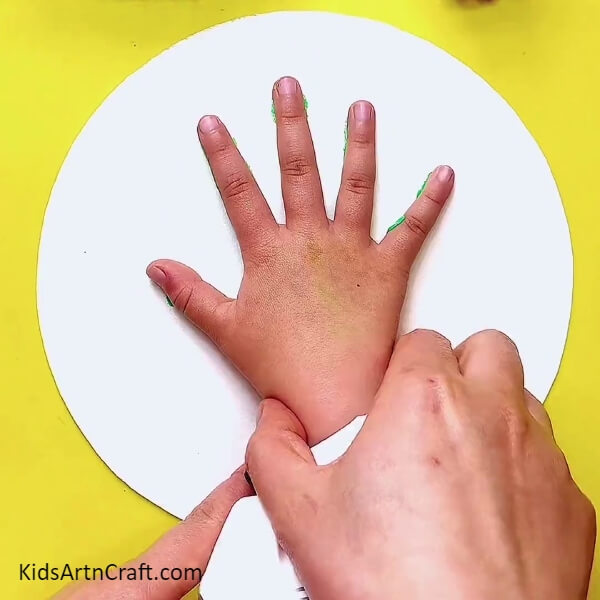
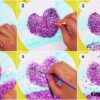
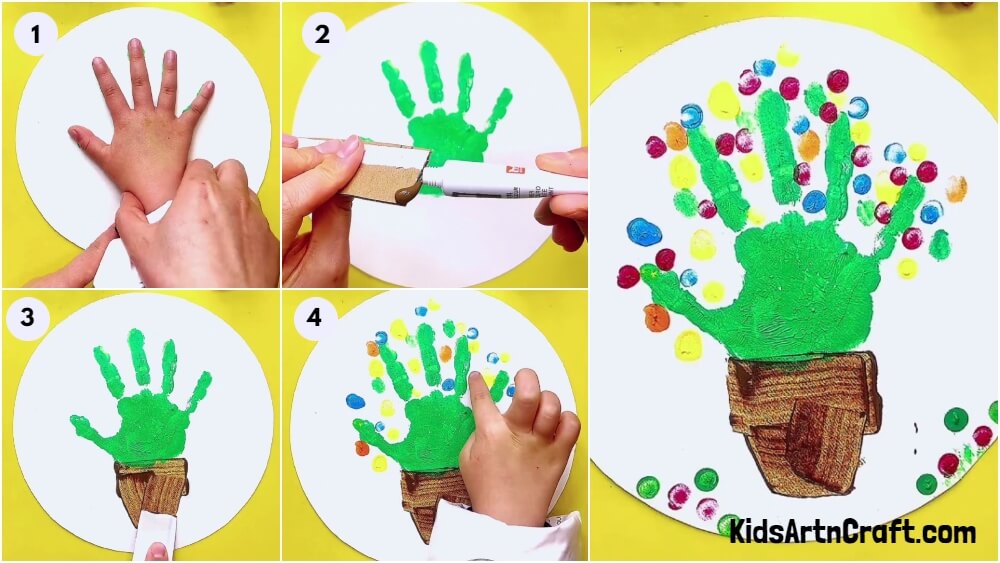
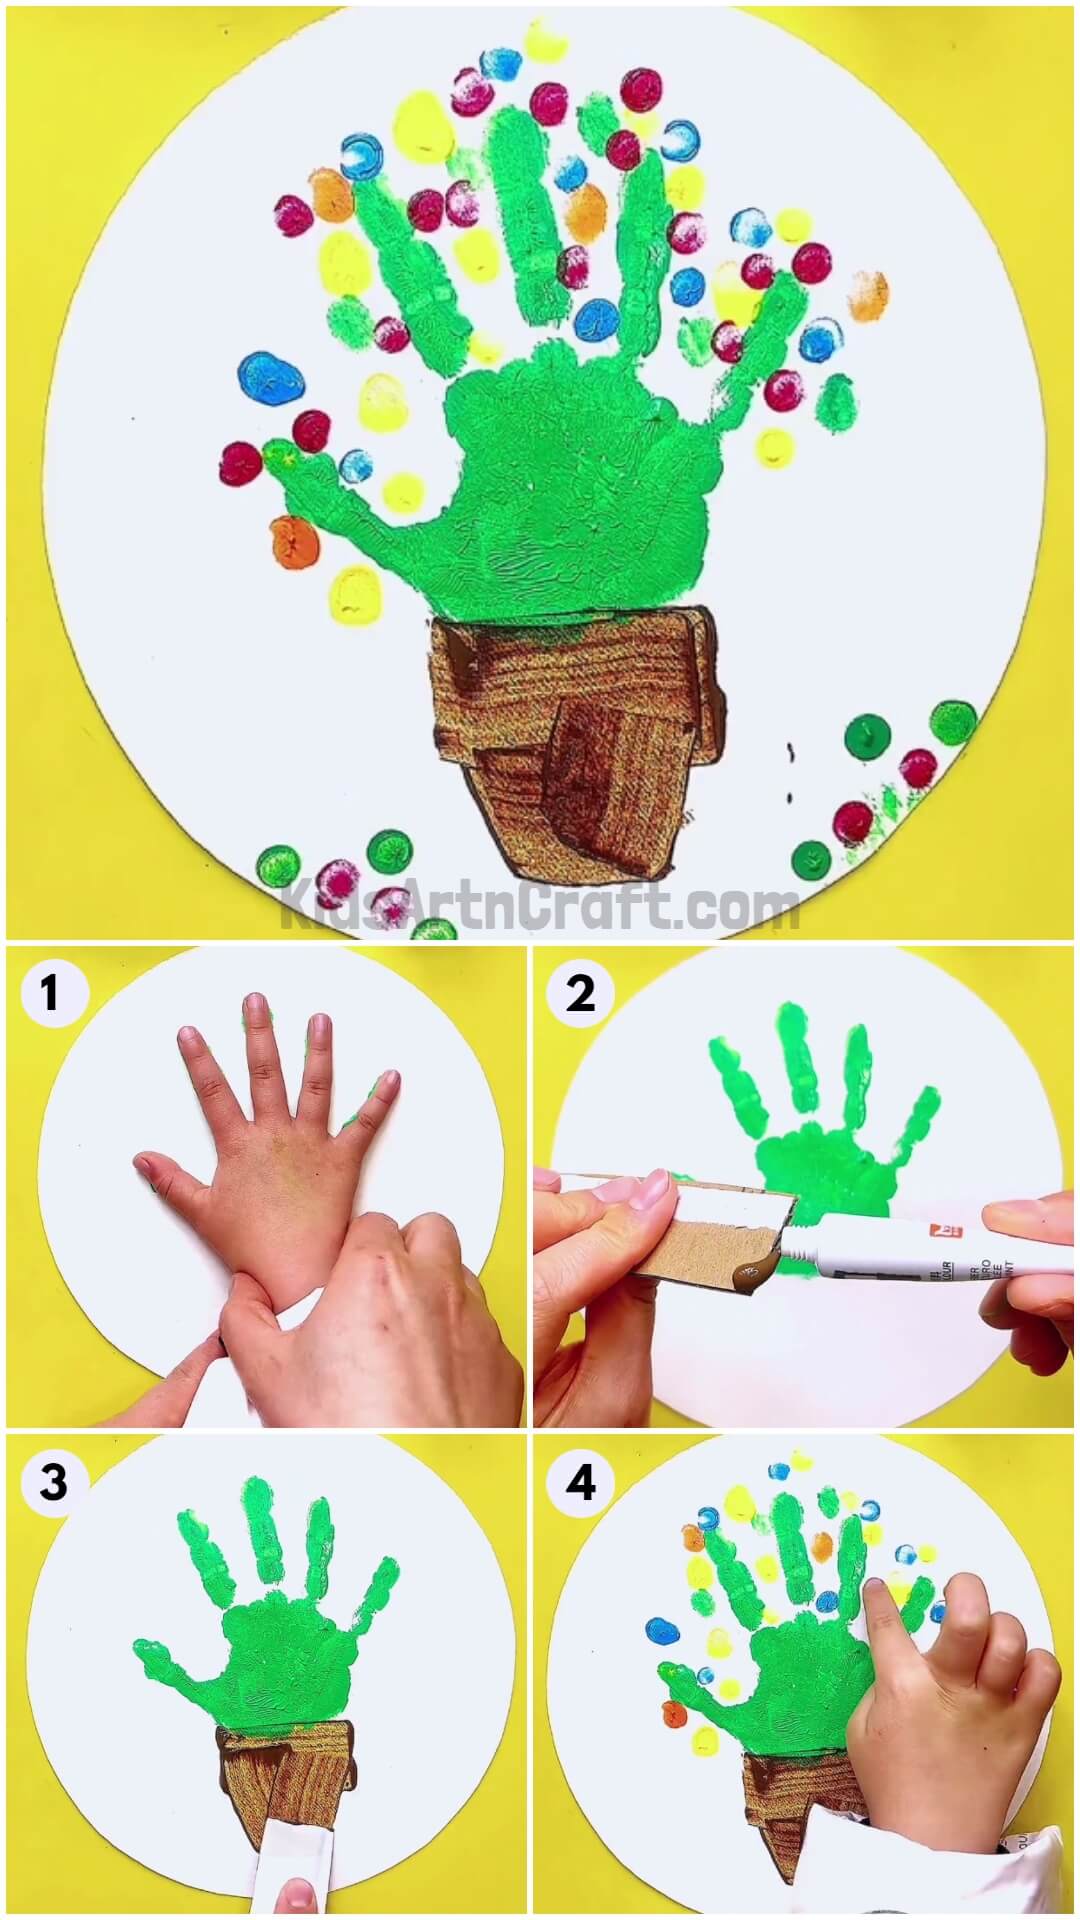
Take a white sheet of paper and cut a circle out of it and place it on the table. Now, take a paintbrush and dip it in some green paint. Finally, teaming with your toddler, paint his right hand with this paintbrush. The entire palm and the fingers need to be green before stamping them in the middle of the sheet. Press down on his hand gently to make the imprint more prominent. See the picture below for reference.
Step 2: Tiny Little Handprint
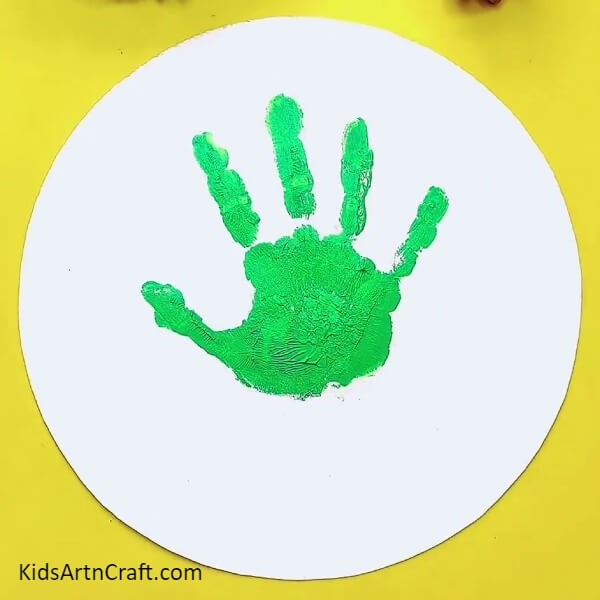
Look at the imprint and absorb this wonderful picture in your mind. The sheet now has an evident imprint of your toddler’s hand as shown in the picture below.
Step 3: Working With The Cardboard
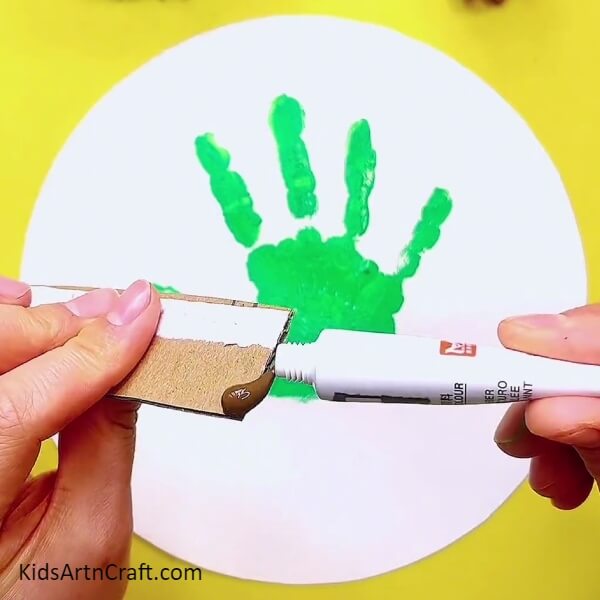
Now, we will be using a cardboard piece as a paintbrush. Make sure that the cardboard piece has a flat and even surfaced end. Pour some brown paint on this flat end as shown in the picture below.
Step 4: Painting With The Cardboard Piece
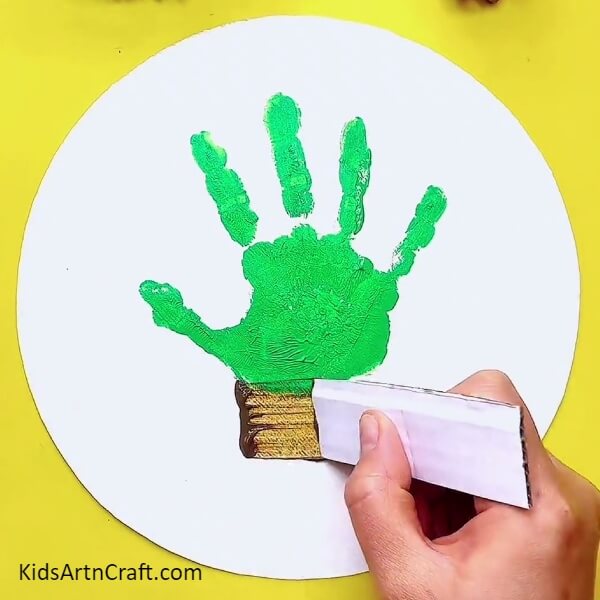
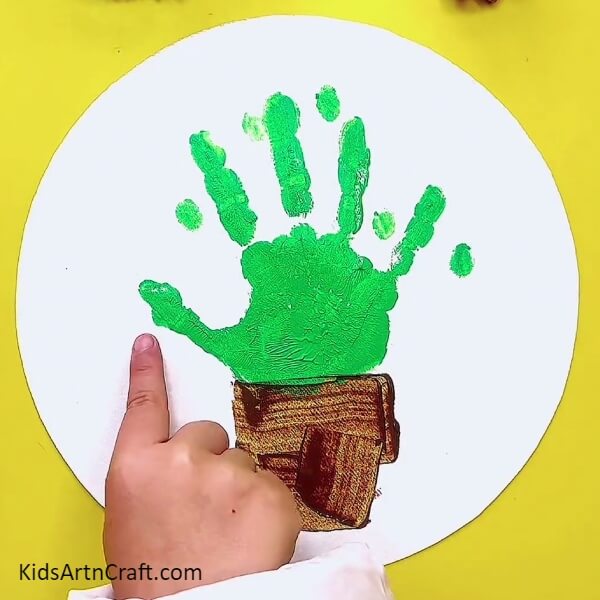
Hold this cardboard piece like a paintbrush and make a horizontal stroke right below the hand imprint. It should be equal to the size of the palm. See the picture below for reference.
Step 5: Painting More Brown Strokes
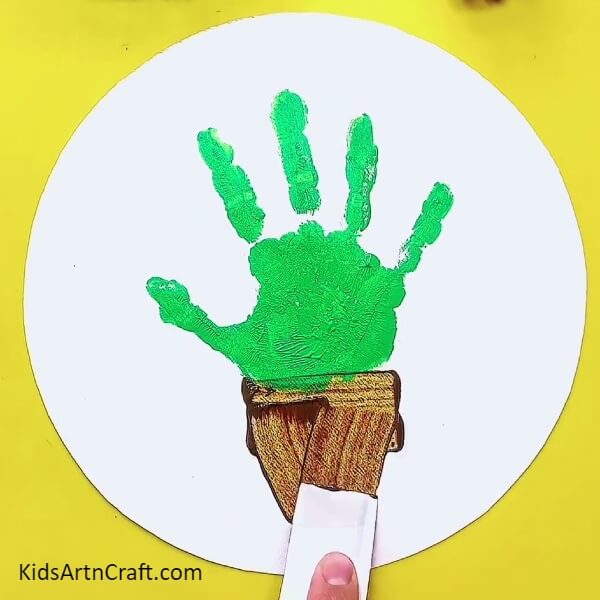
Collect some more brown paint on the cardboard end and paint two vertical strokes below the horizontal one. These strokes need to be slightly slanted. Level the bottom of these lines to give it the shape of the pot. See the picture below for reference.
Step 6: Making Some Fingerprints On The Sheet
Take some green paint on your index finger and stamp it in the spaces between the fingers and another one a little below the thumb. See the picture below for reference.
Step 7: Using More Colors To Stamp On The Sheet
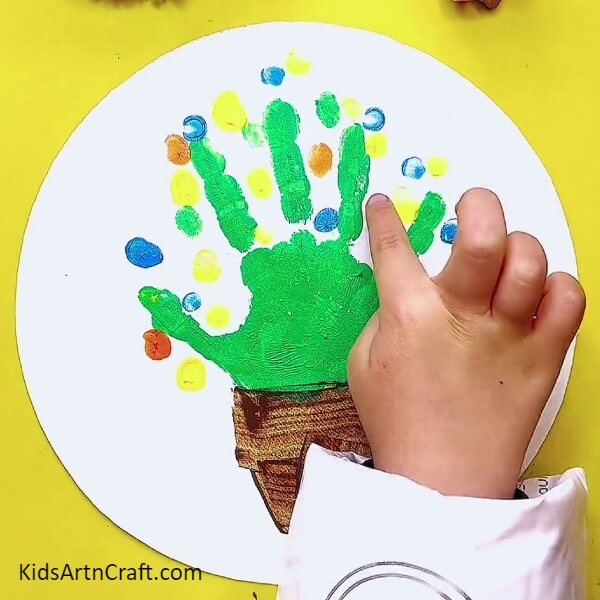
Repeat the process using yellow, blue, and brown paint and make similar imprints throughout the spaces between the fingers. The imprints should fill the empty spaces, making the picture look more fuller. See the picture below for reference.
Step 8: Using Some Maroon Paint To Fill In More Color
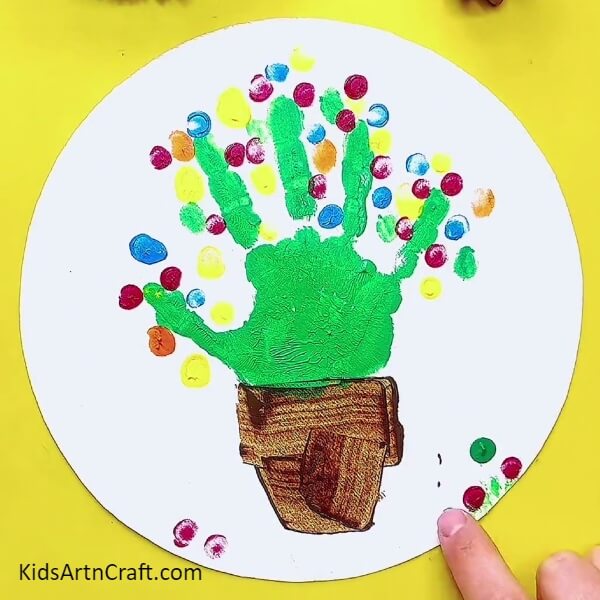
Take some maroon paint onto your index finger and make more imprints in the spaces between the fingers. This will add some more vibrant color to the painting. Now, stamp some imprints using the same maroon color at the bottom of the white sheet on both sides of the pot as shown in the picture below.
Finally Stamping Some Final Imprints
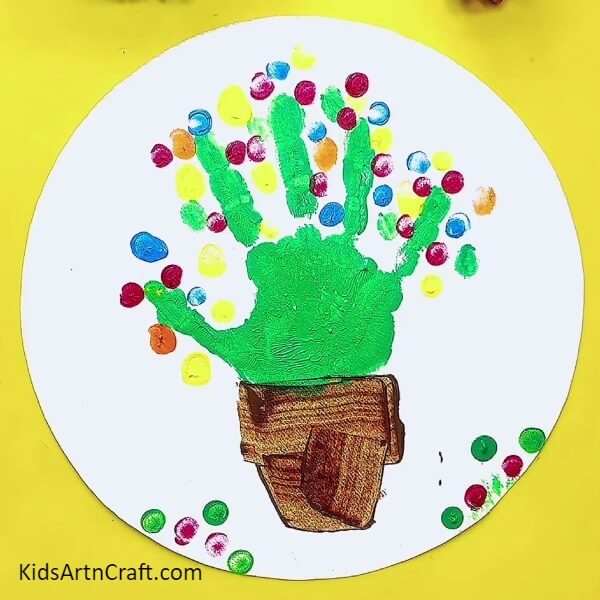
Using some green paint stamp some imprint next to the maroon imprint that you just stamped at the bottom of the sheet. See the picture below for reference.
This completes the tutorial and we are left with an amazing painting. The simplicity of this craft makes it extremely beginner friendly. You are not even required to lift a brush and still, the painting comes out pretty decent. You learned great painting techniques in this tutorial and discovered new props to make painting more fun and easy. You can record it as one of the milestones of your child or hang it on the walls of your home. Keep involving your toddler in making such crafts to develop their understanding of art and expand the horizon of their creativity.
See you in the next tutorial. Till then, good luck and goodbye.
Thank you for visiting the website.
Follow us on Youtube for art and craft tutorials and much more.
More Articles from Kids Art & Craft
- DIY Giraffe Handprint Craft Tutorial For Kids
- Handprint Craft Paper Frog Easy Craft for Kids
- DIY Handprint Tiger Easy Craft For Kids
- Amazing Jute Basket Craft Making Step By Step Tutorial For Kids
- Sweet Lollipops Artwork Step by Step Tutorial For Kids