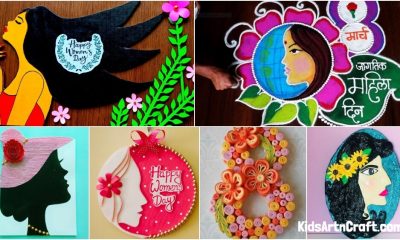
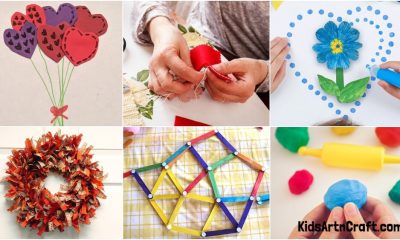


DIY and Crafts
How to Use Paper Quilling Tools

Quilling pearls has its use in a lot of crafts that we create and gives a funky as well as cool professional look to your craft. It is also important that we have enough knowledge about the numerous quilling tools present, it will also help us know the function of each distinct tool and thus we can enhance our work. So lets gather some information about the tools we need while making quilling pearls or doing any craft with quilling paper, let’s get started.
How to Use Paper Quilling Tools
- QUILLING PEN: It has a thin pointed nib on a holding structure and is used to roll the quilling strips and thus form a circular pearl.
- CIRCLE SIZER: This is a board with multiple shapes and sizes and is used to shape the quilling bead after it is rolled using the quilling pen. With the help of this you can make very funky shaped quilling pearls. After rolling the quilling strip place it in whatever size circle you want and it will automatically open up and take the desired size.
- CRAFT GLUE: This is a very basic and at the same time one of the most important tools as after creating the desired shape it is used to secure the quilling pearl for further use.
- QUILLING STRIPS: This is again a basic need, this is the base with which we actually make the quilling pearls and are even available in different width and we can use them according to our need.
- QUILLING CRIMPER: This is a tool with two wheel like structure, this helps in giving the quilling strip a pattern. We need to insert the strip between the two wheels and roll in and thus we will get a designer quilling strip.
- BORDER BUDDY:B This tool comes in a set of three structures together that is Square, circle and triangle. Connect the structure you want to use to the base, and start wrapping a quilling strip around apply a bit of glue to avoid the slipping of the strip, wrap it all around and slide the desired shape out. Secure the end with glue to retain the shape.
- QUILLING COMB: This is basically a weaving board for quilling structures and is used to create symmetric shapes. Secure a quilling strip at the last teeth of the comb, perform the required design followed by cutting out the extra sheet of paper and pull the shape out to obtain your beautiful creation.
- QUILLING MOULD: This board actually helps creating uplifted shapes which can be further used and is one of the most important tools of this range. Use a quilling pen to roll a strip and place it in a desired mold once it takes it shape push it a bit back ward so that it takes the shape accordingly. after taking out the bead from the mold glue it overall to secure the given shape.
- QUILLING COACH: With a quilling pen it often becomes difficult to make bigger sized pearls so here this tool comes to our rescue and helps us create bigger circles. Insert the quilling pen into the hole in the couch and you are all set to go ahead.
This was a brief discussion about some quilling tools which we use regularly to create quilling crafts, go through the article to know the exact use of each of these. Hope this information turns out to be useful.