Fall & Autumn
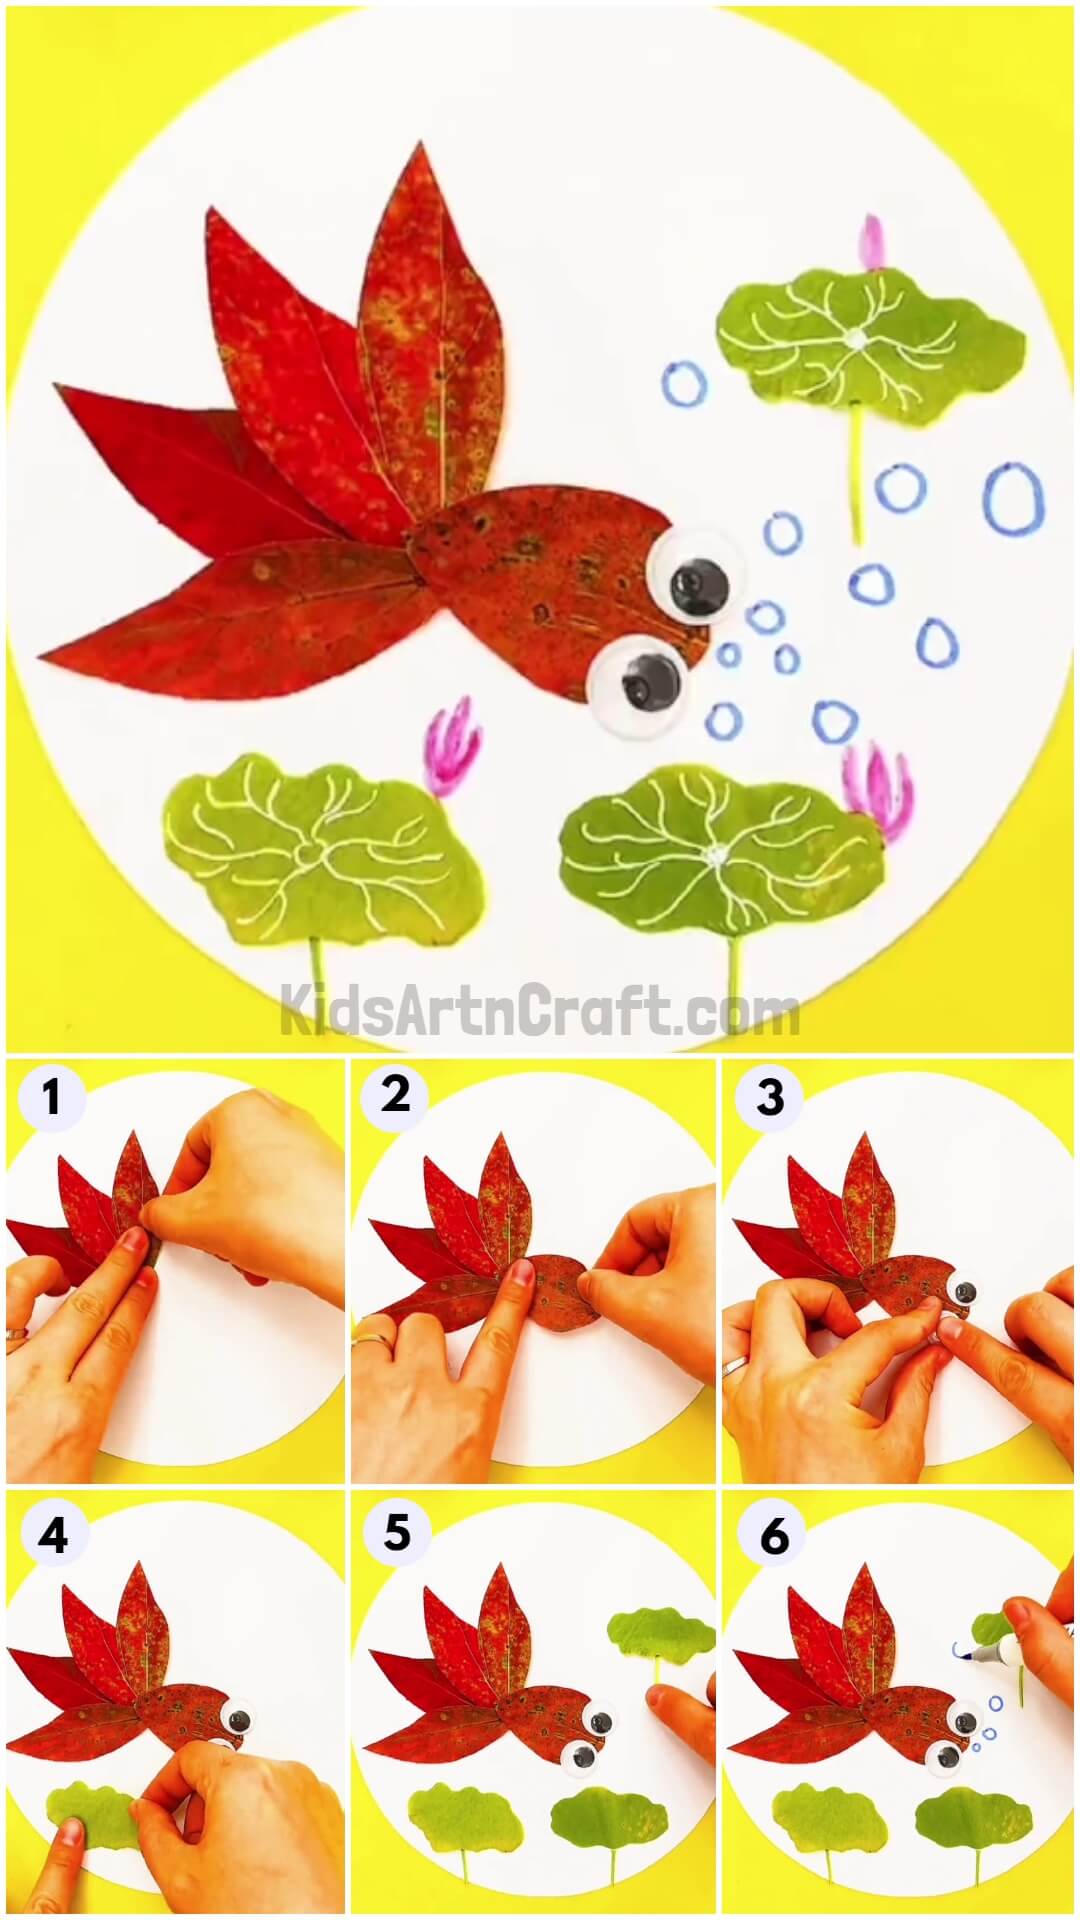
Beautiful Red Fish Swimming In Water Craft From Fall Leaves

This article will teach you how to create a beautiful red fish out of autumn leaves and make it look like it’s swimming in water. Follow the instructions to make this one-of-a-kind decoration for your house or as a present.
Art and crafts can enhance your child’s imagination and creativity skills. Fish is one of the interesting sea creatures and you definitely have to include this one under your sea crafts. This easy-to-make red fish watercraft is made with simple items and a lot of fun and creativity. The art materials used in this tutorial are toxins-free and harmless but should be used with adequate supervision and guidance. Art and crafts are necessary for the holistic development of the child. So, follow this simple step-by-step tutorial and embrace your inner artist with fun and sophistication.
Beautiful Red Fish Swimming In Water Craft

Read More: Learn To Make Easy Heart Shaped Paper Mouse Craft
Materials Required
- Sheet of paper
- Some leaves of red and green
- Glue
- Pair of scissors
- eyes of the fish
- Sketch pens
Procedure
Step 1: Take Three Red Leaves And Stick Their Ends Together
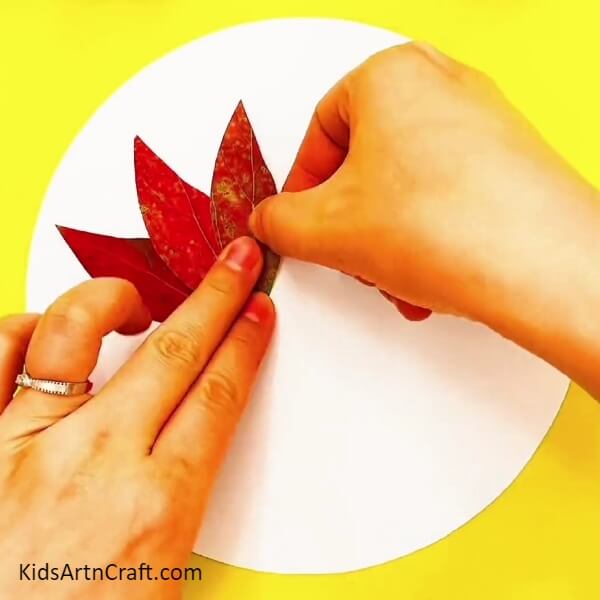

For the first step take three red leaves of small size and stick their ends together on the left side of the sheet with the help of glue. Hold the leaves for a few seconds until the glue dries up.
Step 2: Stick A Small Red Leaf Behind The Three Leaves

With the help of glue stick a small red leaf beneath the three red ones on the sheet of paper.
Step 3: Stick The Eyes Of The Fish
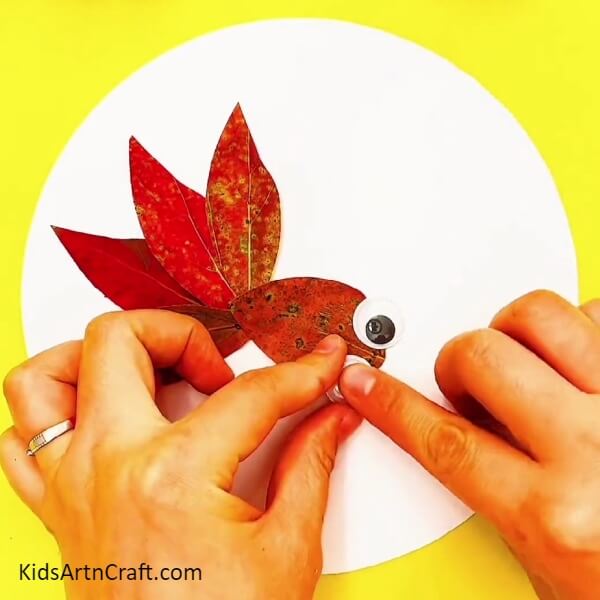
Secure the eyes of the fish with glue. Hold it for a few seconds until the glue dries up.
Step 4: Take A Green Leaf And Give It A Cloud Shape
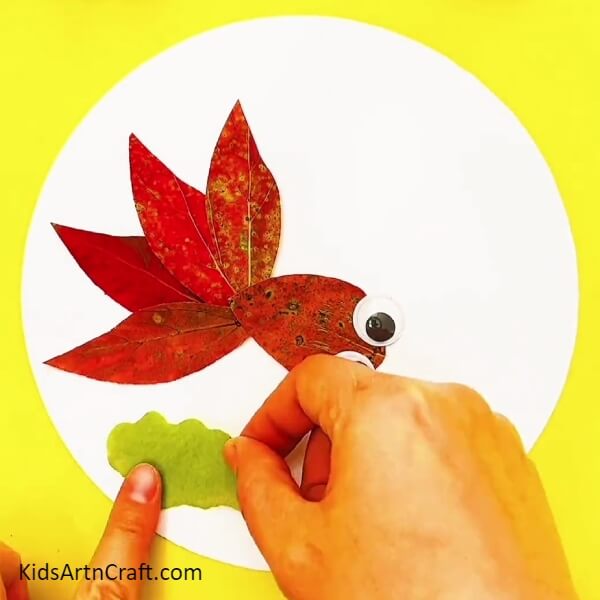
Take a green leaf and cut it into the shape of a cloud with the help of a pair of scissors. Stick the leaf below the fish with the help of glue.
Step 5: Stick More Such Green Leaves And Draw Its Stem
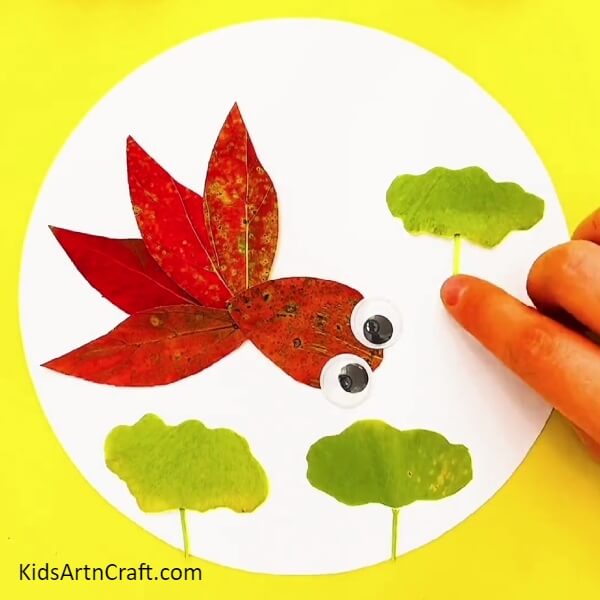
Paste more such green leaves by giving them a cloud shape on the sheet of paper. Take a green sketch pen and draw a stem from it below the green leaves.
Step 6: Make Tiny Bubbles On The Sides Of Leaves
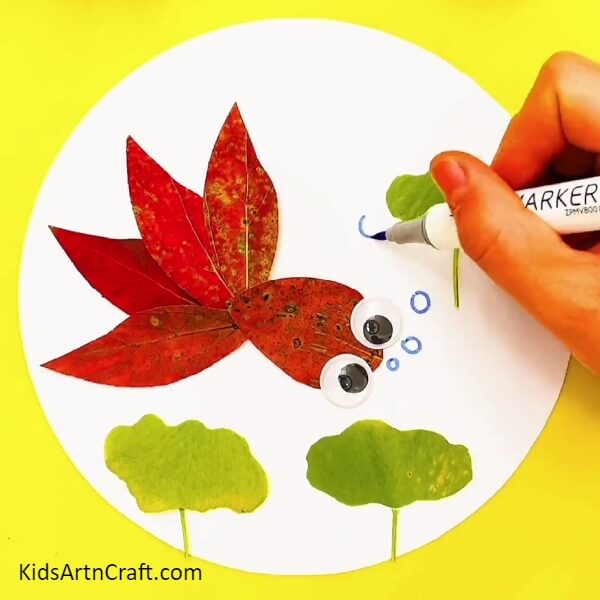
Next, take a blue sketch pen and draw tiny bubbles on the sides of the green leaves.
Step 7: Make A Design On The Green Leaves
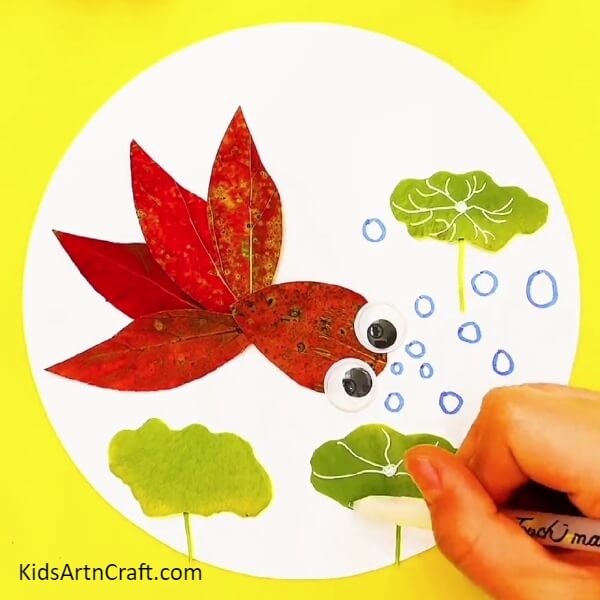
Take a white sketch pen and draw the veins of the leaf with it.
Step 8: Take A Pink Sketch Pen And Draw Bushes
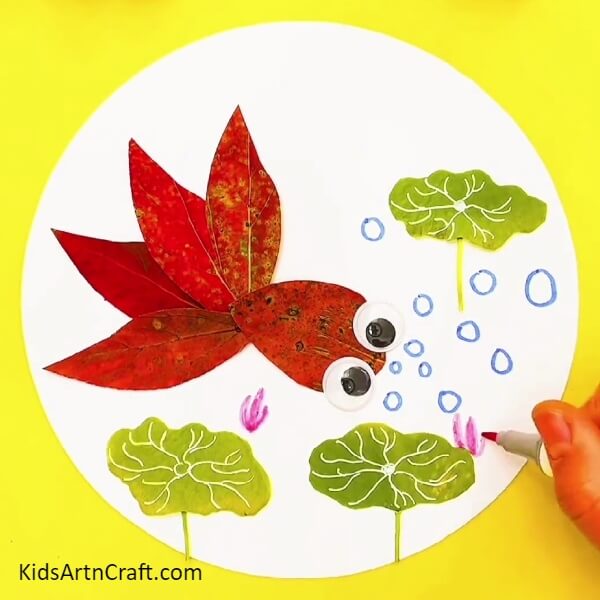
Finally, we are at the last step take a pink sketch pen and draw bushes from it.
Woohoo With This We Have Successfully Completed Our Craftwork!
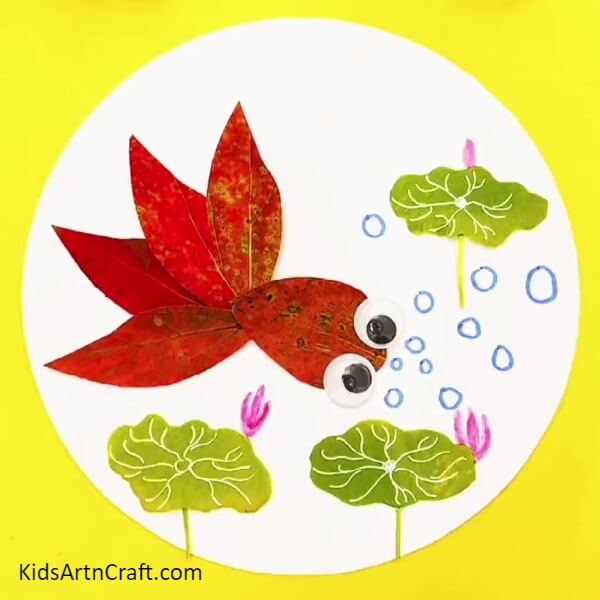
With some effort and a little bit of patience, we successfully completed our redfish craft.
I hope you have had super fun and created some long-lasting memories while creating this craftwork. Share your experience with us in the comment section. For more such easy-peasy art and craft tutorials check out our website.
Have A Great Day Ahead
Follow us on Youtube for art and craft tutorials and much more.
More Articles from Kids Art & Craft
- DIY Easy Paper Chick Craft For Kids
- DIY Heart Shape Cat Craft for Valentine’s Day
- Heart Shaped Paper Mouse Craft Step by Step Tutorial
- How to Make Easy Paper Snowflakes Tutorial
- DIY Paper Tree Crafts for Kids Easy Tutorial