


Paper Crafts
Origami Paper Fish Using Clay Craft Tutorial For Kids

Explore the underwater world through this craft! This tutorial will guide you in making a paper underwater scenery with fish and greenery!
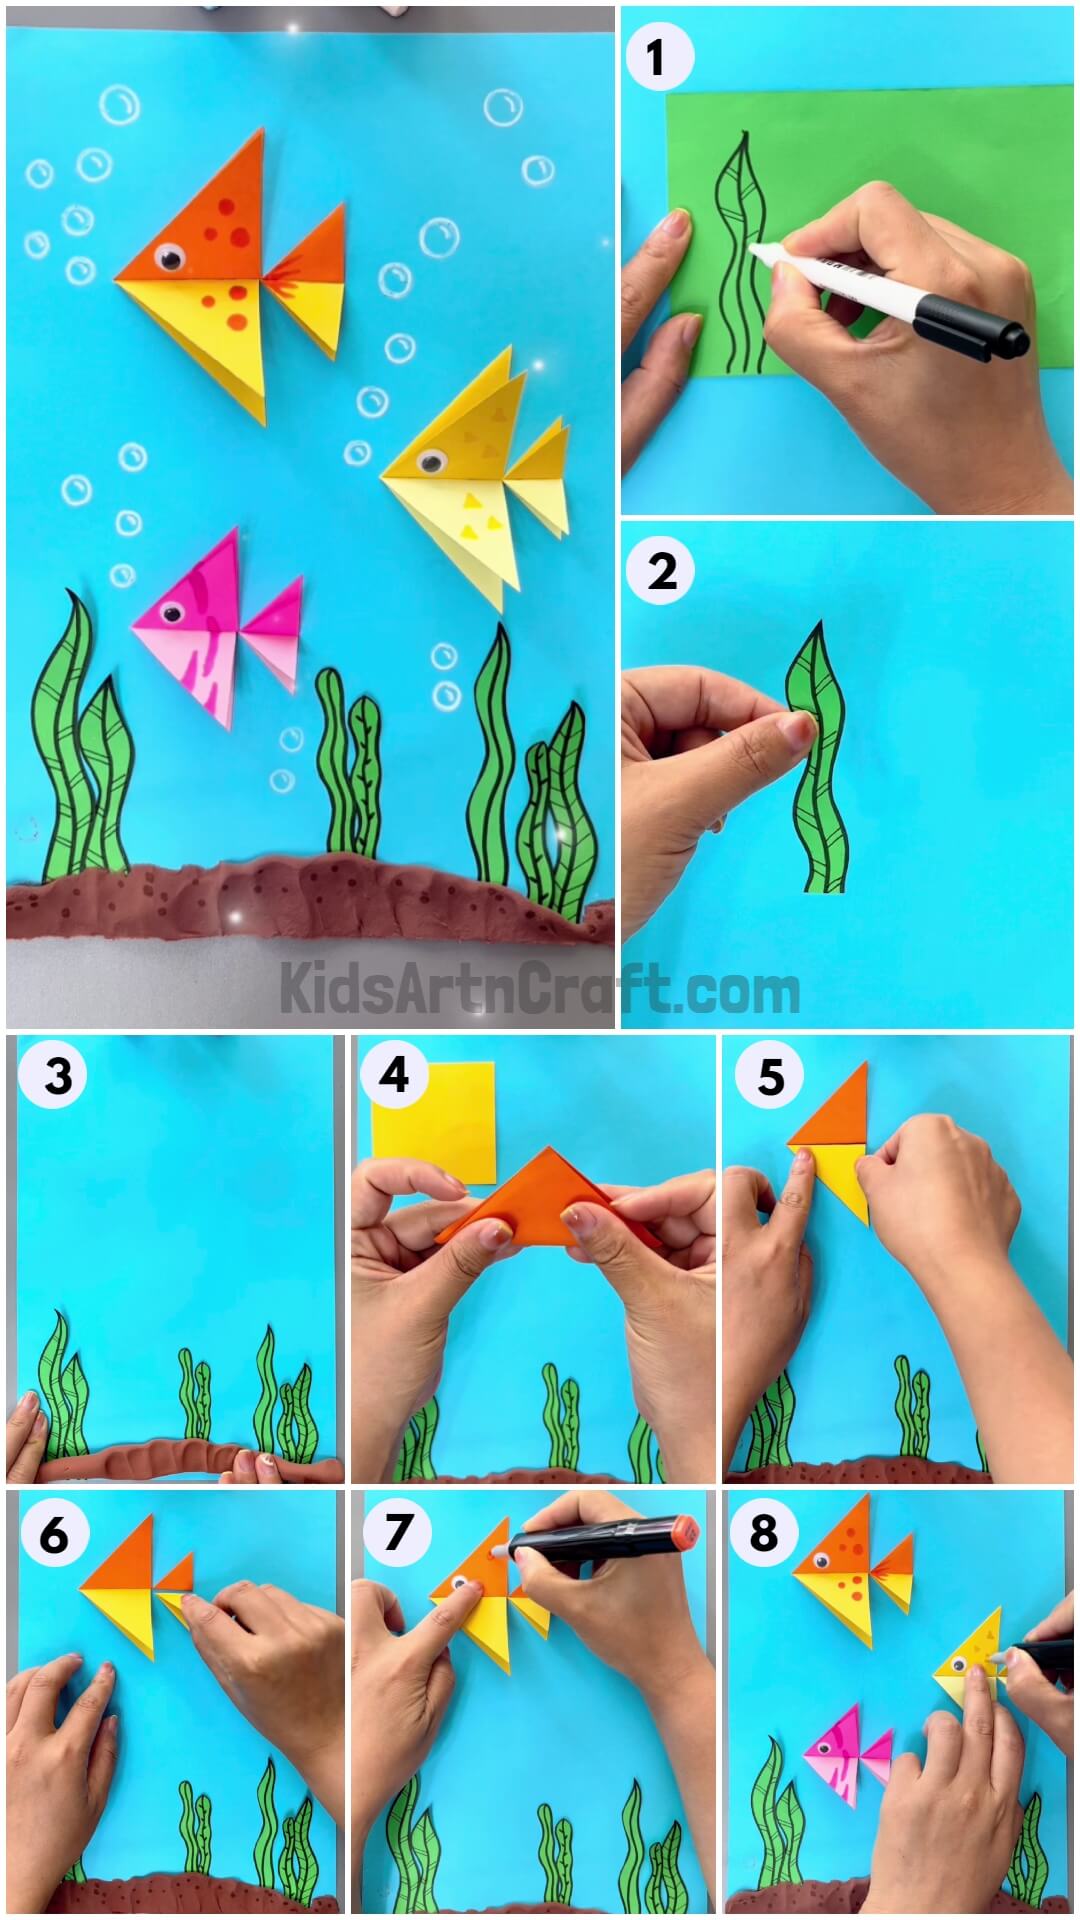
We welcome you here on this step-by-step tutorial on making paper underwater scenery including colorful fish and the land with water plants! This craft is suitable for kids of all ages! Through this craft-making, they will acquire and enhance various motor skills and creativity too! Kiddos love to create something colorful and unique now & then, and this craft will be the perfect fit for their next creation! They will love to take a dive in their imaginary underwater world! Let’s begin!
Easy Origami Paper Fish For Kids
Read More: Easy Paper Origami Boat Step-by-step Tutorial For Kids
Materials Required
- Colored Paper Sheets
- Scissors
- Glue
- Colored Pens (Black And White)
- Sketch Pens (Black, Orange, Yellow, Brown, And Pink)
- Googly Eyes
- Brown-Colored Super Clay
Procedure
Step 1: Drawing A Water Plant
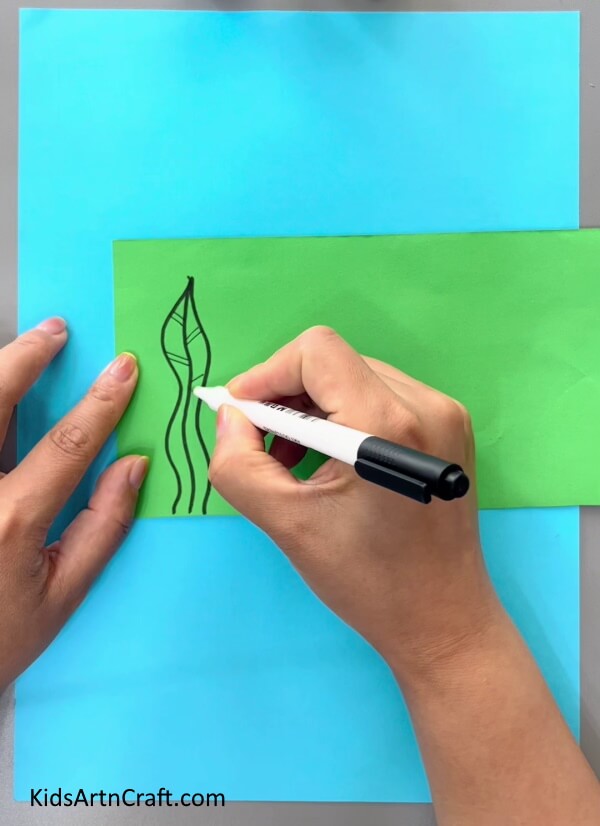
Begin this craft by taking a blue paper sheet as the base for this craft, a green paper sheet, and a black sketch pen. Using the sketch pen, draw a wavy water leaf plant over the green sheet, and using a black pen, make the slanting lined veins of the leafy plant on both sides of it.
Step 2: Cutting Out The Plant
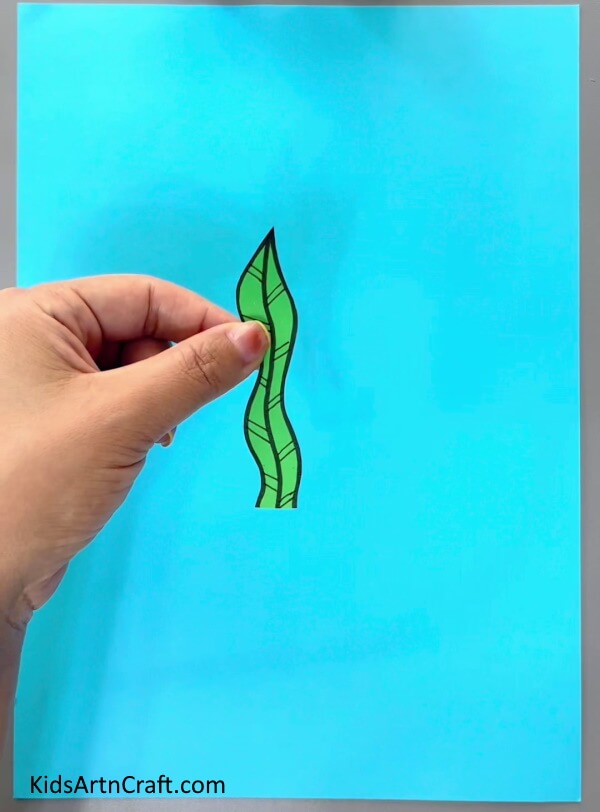
Using scissors, cut out your drawn water plant along the boundary of it.
Step 3: Pasting The Water Plants
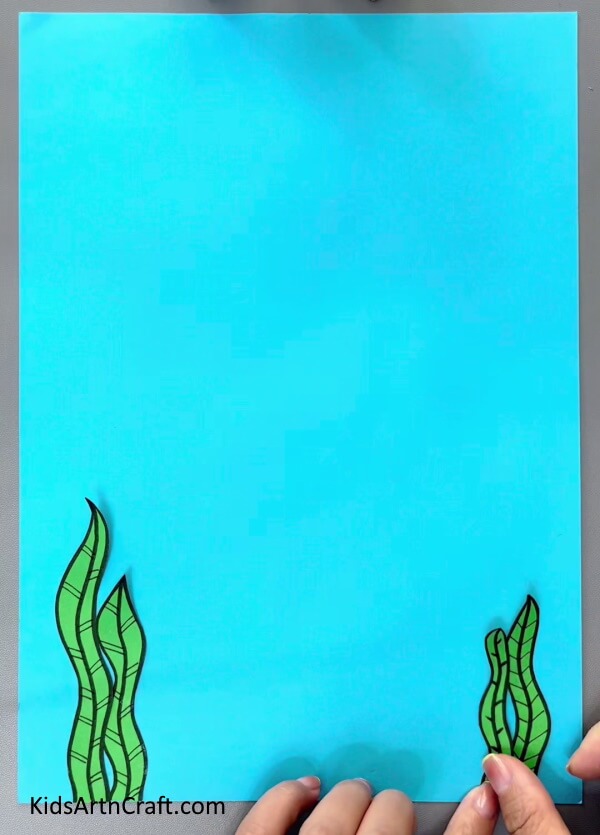
Make and cut out more wavy water plants from the green paper sheet. Now, using glue, paste 2-2 water plants on the sides of the base at the bottom as shown in the image.
Step 4: Pasting More Water Plants
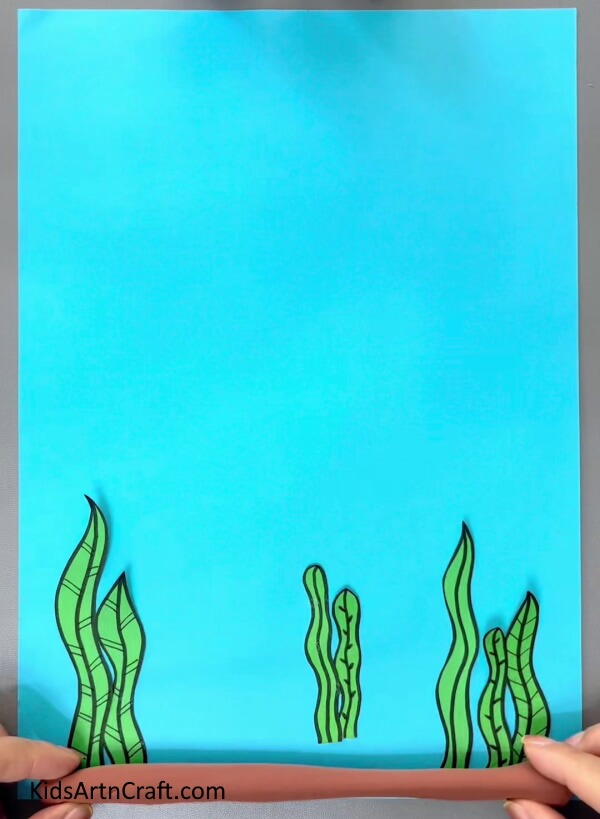
Again, cut out 3 more wavy water plants of different textures as shown in the image, and using glue paste the 2 in the middle of the base at the bottom by leaving a little space from the end. Paste the other water plant on the right side along the already pasted ones.
Step 5: Making The Ground
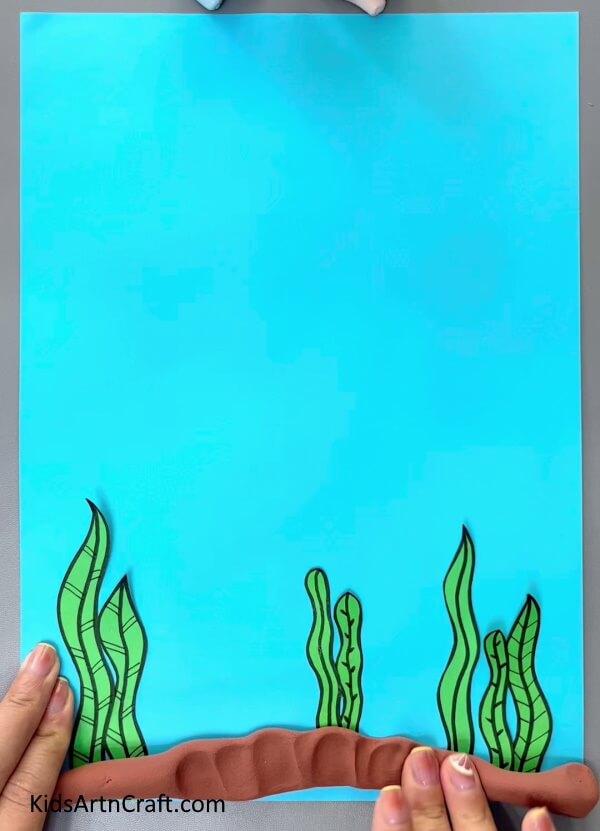
Take a brown-colored super clay and make a long thick roll of it. Place it at the bottom of the base making a little loop in the middle and press the roll to flatten it. This will become the ground underwater.
Step 6: Detailing The Ground
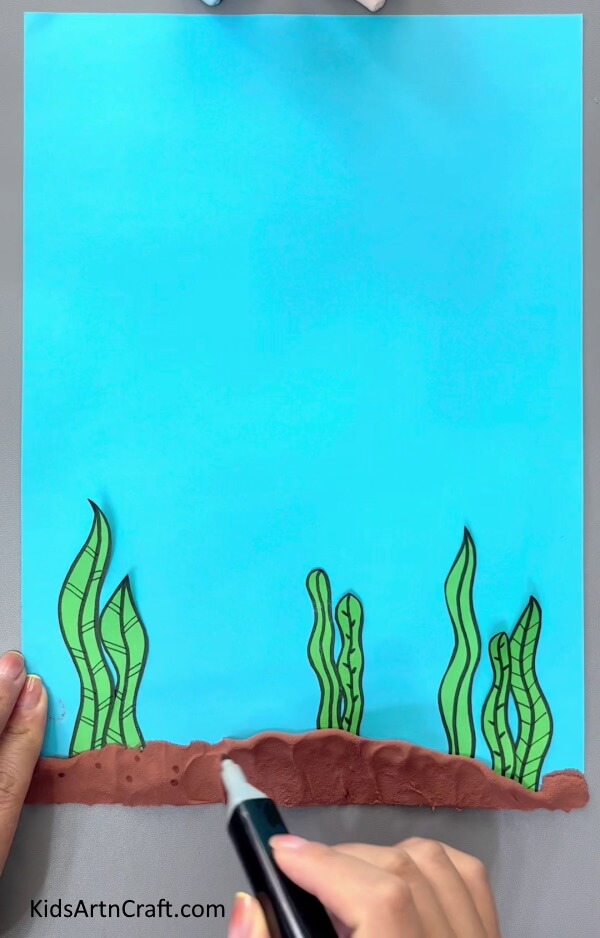
Take a brown sketch pen and make random dots over the clay ground basically on the upper part of it.
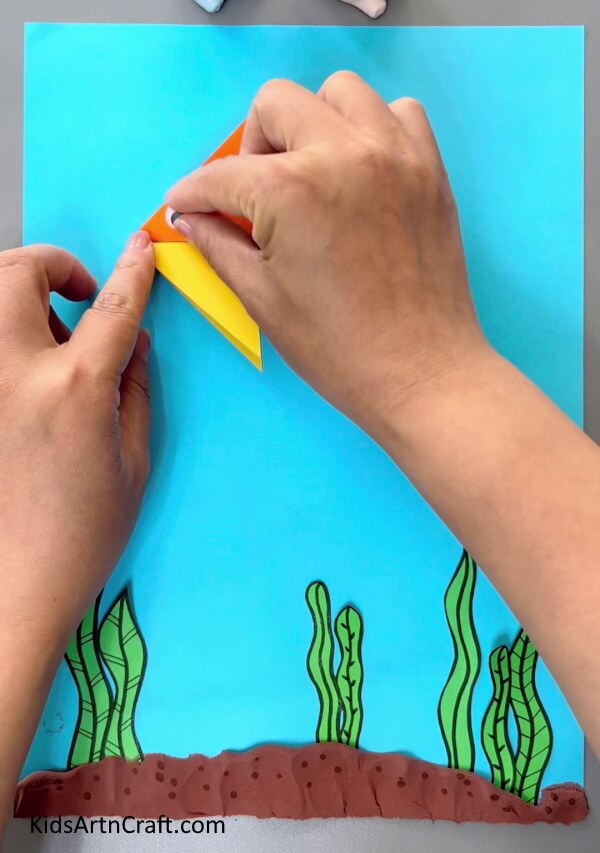
Step 7: Folding A Paper Square
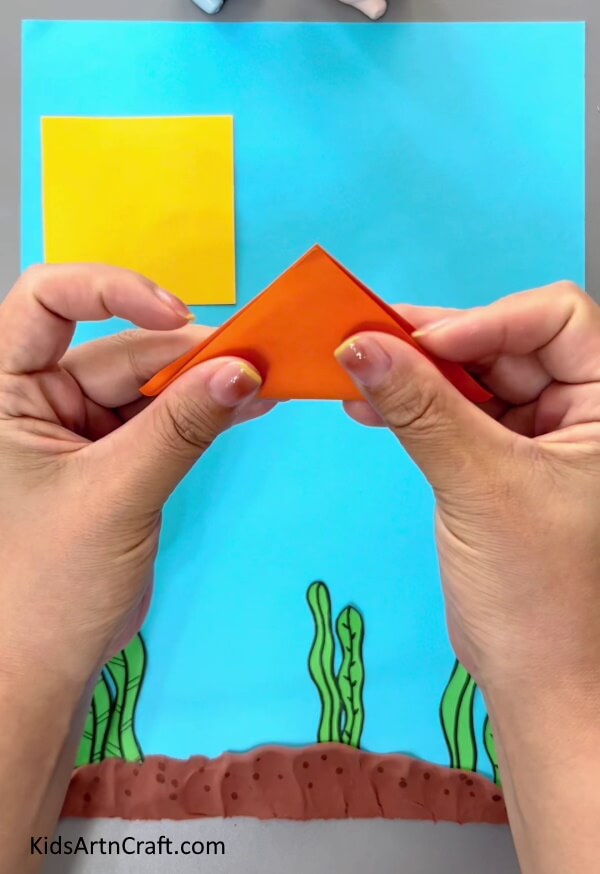
Take an orange and yellow colored small paper square. Fold the orange square’s corner to its opposite one and make a crease. You will obtain a triangle.
Step 8: Cutting The Triangle
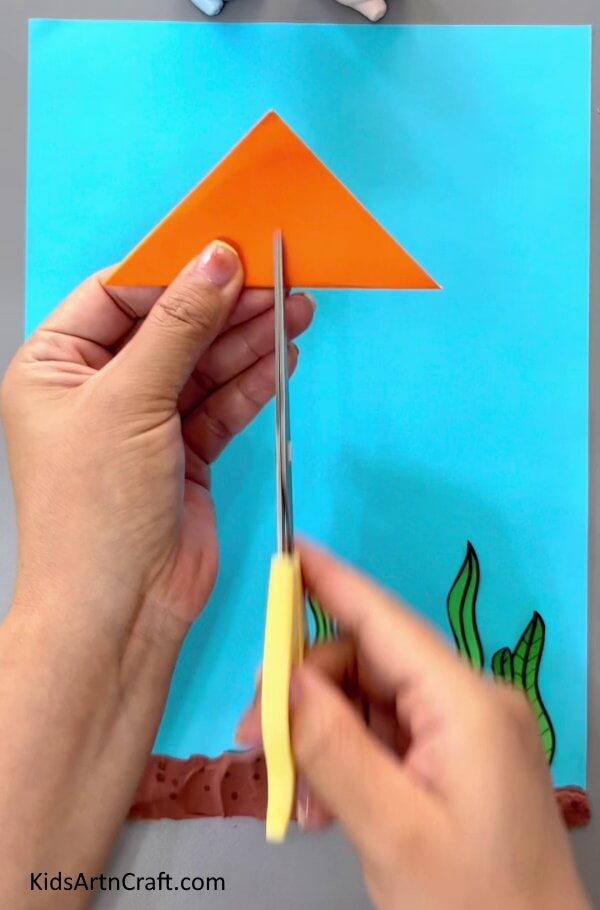
Using scissors, cut the triangle into 2 further smaller triangles from the middle as shown in the image.
Step 9: Pasting A Smaller Triangle
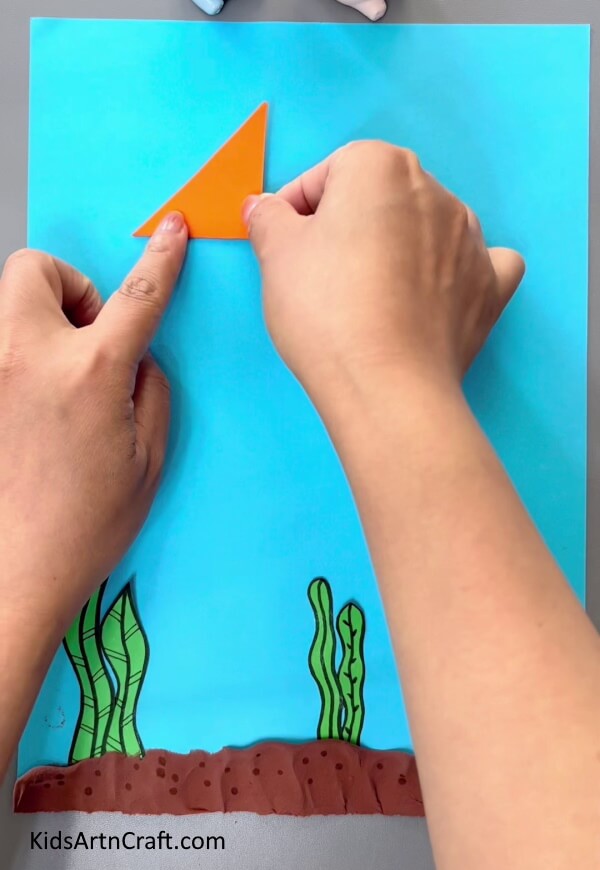
Paste a smaller triangle over the left top of the base using glue. Make sure to paste the triangle so that the perpendicular sides are below and on the right.
Step 10: Pasting A Yellow Triangle
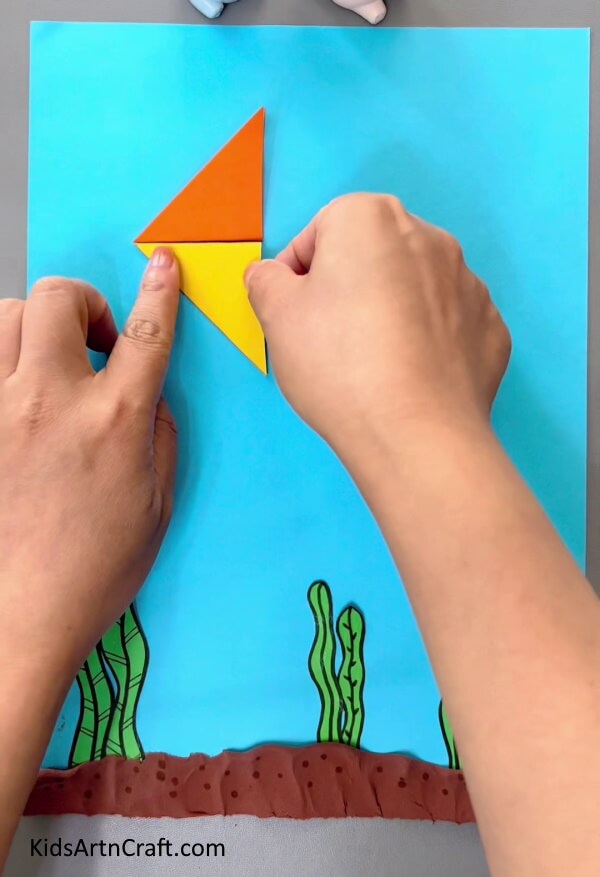
In the same way, you created and pasted the orange triangle, paste a yellow triangle just beneath the orange one to make it look like a mirror image of the orange one. These 2 triangles will all together form the body of a fish.
Step 11: Making The Tail of The Fish
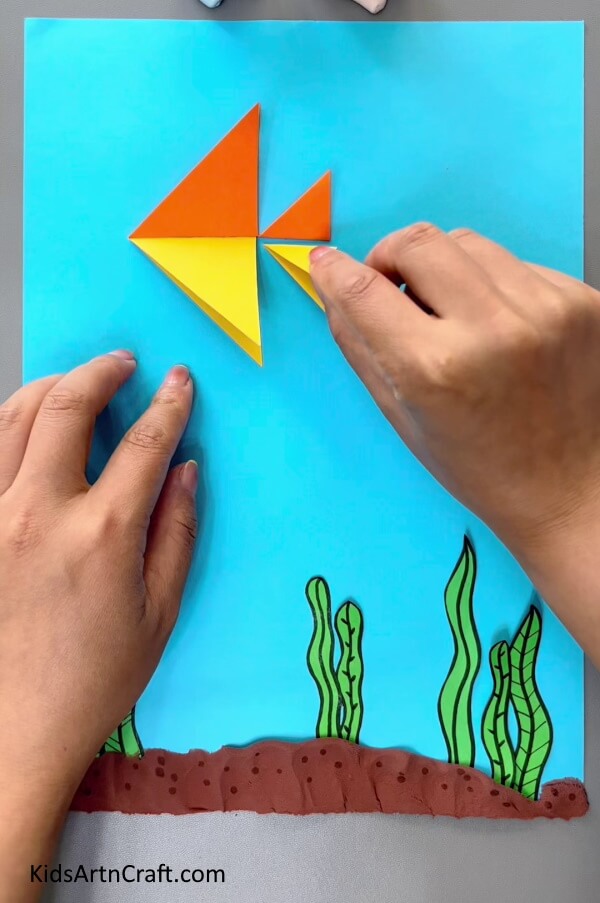
For the tail, cut out further 2 smaller triangles from the yellow and orange paper. Now, stick these 2 in the same way you pasted the larger ones, behind them. This will be the tail of the fish.
Step 12: Making The Eye Of The Fish
Paste a googly eye on the body of the fish at the front of the orange triangle using glue.
Step 13: Detailing The Fish
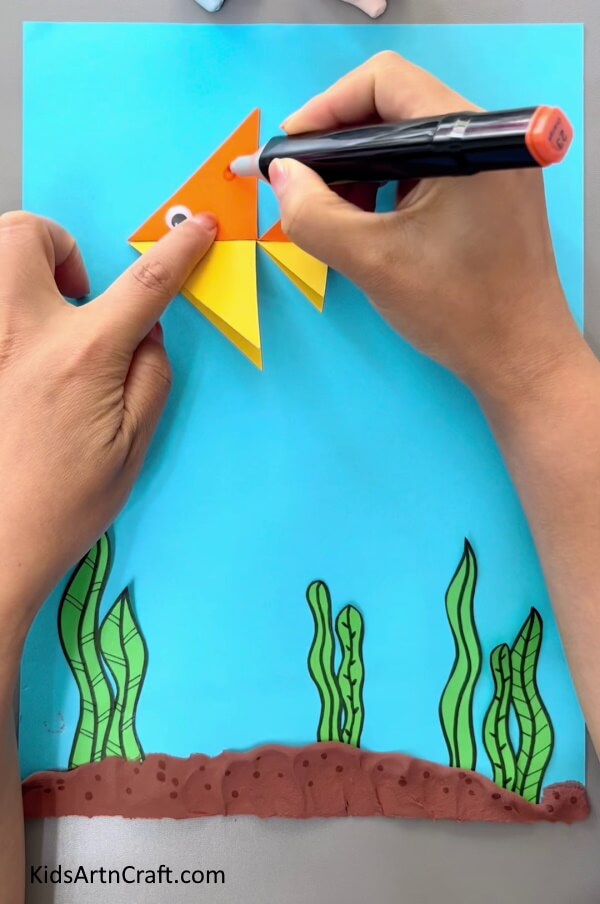
Using an orange sketch pen, make 3-3 dots on the yellow and orange triangle of the fish’s body. Also, from the training of the tail make thick strokes on the corner of it.
Step 14: Making More Fish And Detailing Them
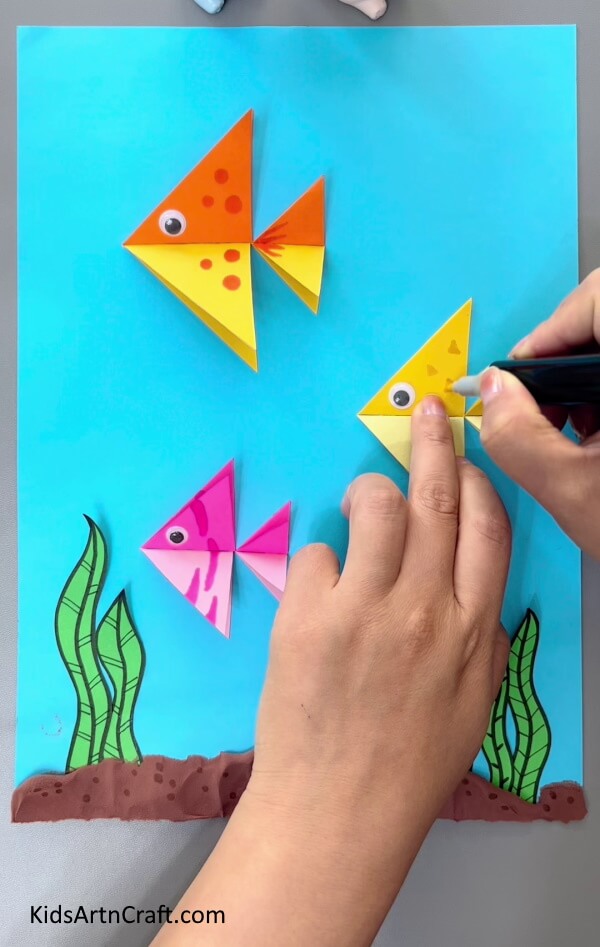
Following the same, make 2 more triangular fish, one with a dark pink and light pink combination and the other with a yellow and lime combination. Detail these fish using the pink and yellow sketch pen by making pink curved lines on the pink fish’s body and yellow triangles on the yellow fish’s body.
Your Colorful Fish Underwater Paper Craft Is Ready!
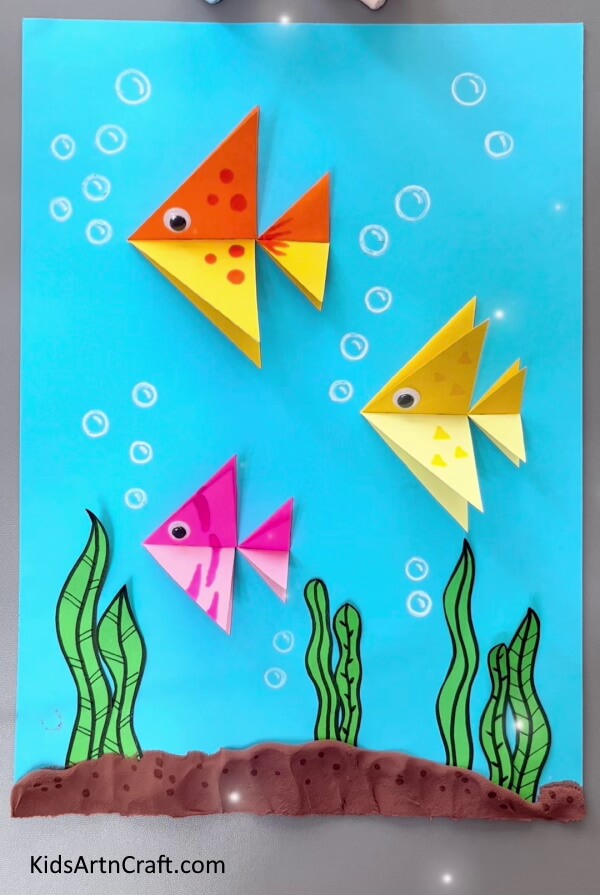
For the last step, draw bubbles on the base using a white pen as shown in the image.
Woohoo! You have finally completed your colorful fish underwater papercraft!
This craft has driven your motor skills like drawing, cutting, playing with clay, and many more! What a fun craft experience, isn’t it?! I know it is! You can decorate this craft in your room by hanging it up on the wall, it will surely beautify the appearance of your room! You can even customize your fish color combinations into our favorite ones! Or can even add your touch of creativity to it, just like you imagine! Make it as unique as you are!
We are hoping you liked the article and the description in it! Do give it a like and drop your feedback in the comments section below!
Thank you for visiting our website!
Follow us on YouTube for art and craft tutorials and much more.
More Articles from Kids Art & Craft
- Easy Paper Fish Craft Tutorial for kids
- DIY Paper Fish Craft Easy Tutorial for kids
- How to Make Easy Paper Fish Craft For Kids
- DIY Easy Yellow Paper Fish Craft Tutorial For Kids
- DIY Paper Origami Basket Step-by-step Tutorial For Kids


