Paper Crafts
Easy Origami Rabbit Face Craft tutorial for kids

This fun craft activity for kids shows how to make a 3D paper rabbit face using origami. It’s easy to follow the step-by-step directions and kids of all ages can make their own rabbit face in only a few minutes.
Welcome to this origami bunny face tutorial! This tutorial is a step-by-step guide for making an origami bunny face! With clear instructions, you can make this cute bunny face in minutes! Only using up some most common crafty supplies we will guide you to make it! This cute and easy bunny will surely bring a smile to your face after completion! You can create different colored bunny faces with various expressions and decorate them in your room! You can also use them as bookmarks, also teach your friends to make them, and flaunt your skills!
How To Make An Origami Rabbit Face Tutorial For Kids

Read More: DIY Paper Butterfly Easy Craft For Kids
Materials Required
- Green Origami Paper
- Black Pen And Red Marker
- Pink Paper
- Scissors
- Glue
Procedure
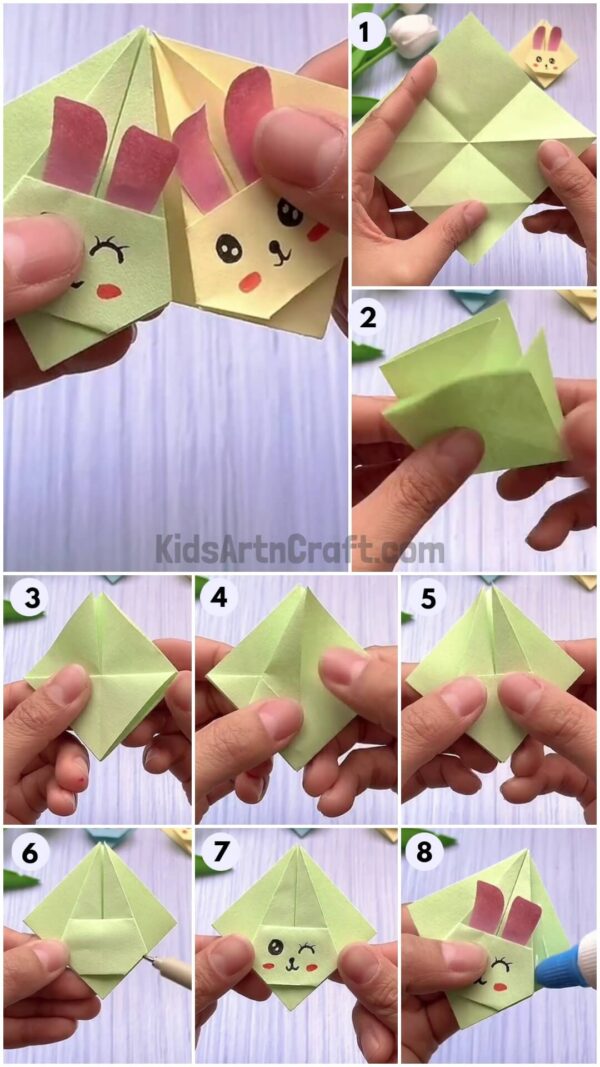
Step 1: Folding And Making Creases
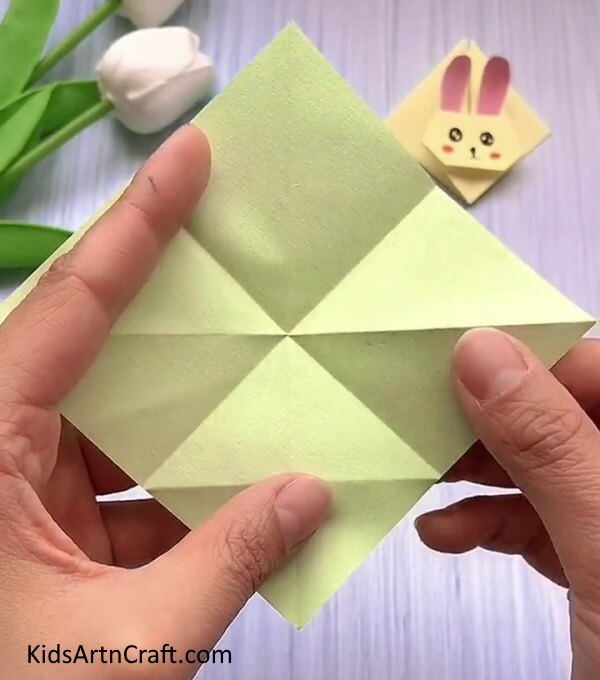

Let’s start this cute origami by taking green origami paper. Folding the sides paper in half and again in half, crease it and unfold it again to form ‘+’ creases. Now, from the corners of the paper fold the paper to form a diagonal crease, unfold it and again fold the other corner to form an intersection of diagonal creases, unfold it.
Now, hold one corner of the paper and fold it to the intersection, make a crease, and unfold again. follow the same for all the corners.
Step 2: Squash Folding The Corners
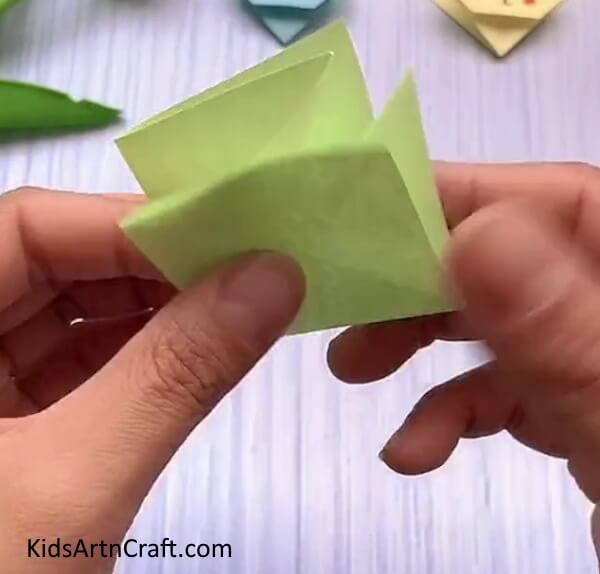

Now, from the 2 horizontal corners, squash folds them inside.
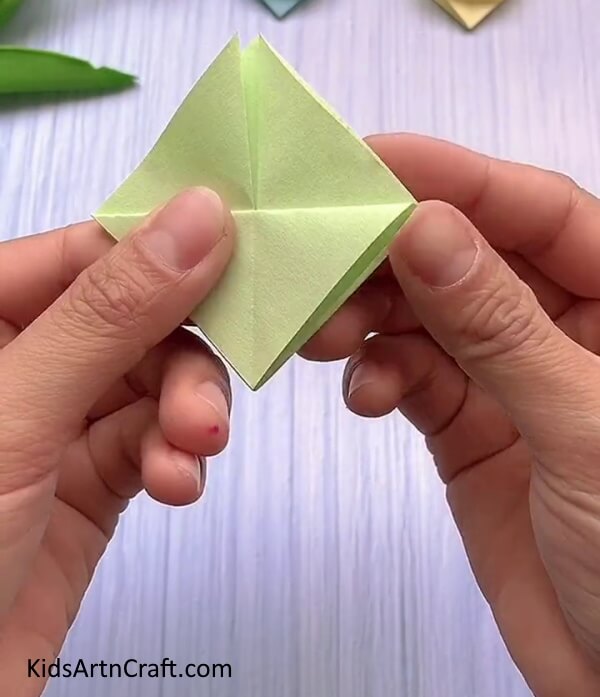
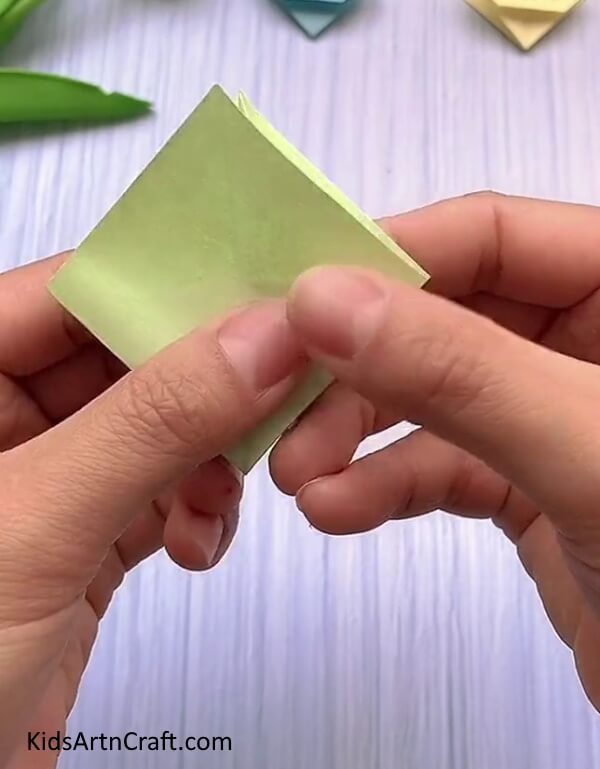
Step 3: Forming A Diamond
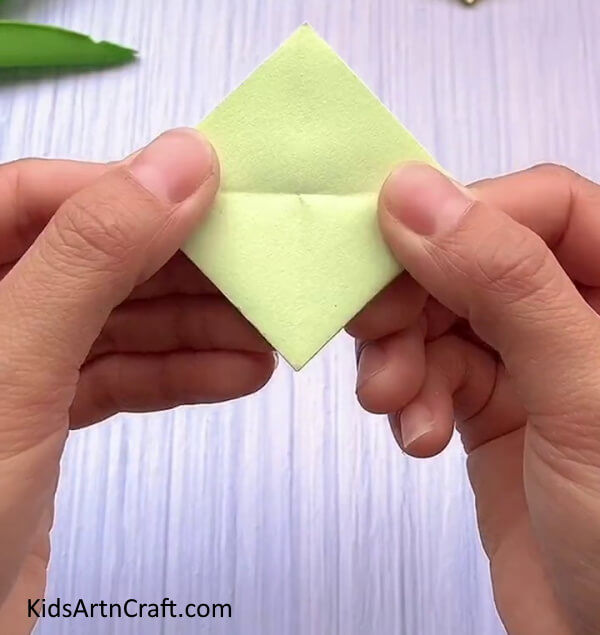

After squash folding the horizontal corners inside, overlap the bottom corner over the top to form a diamond shape.
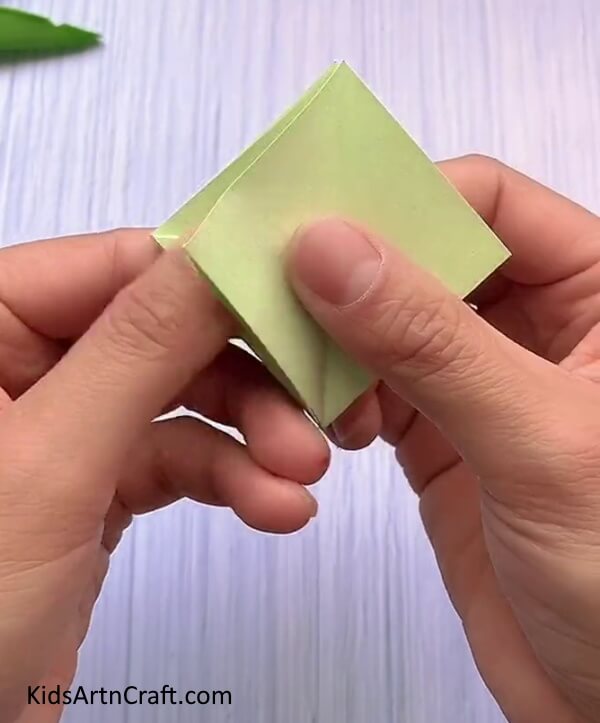
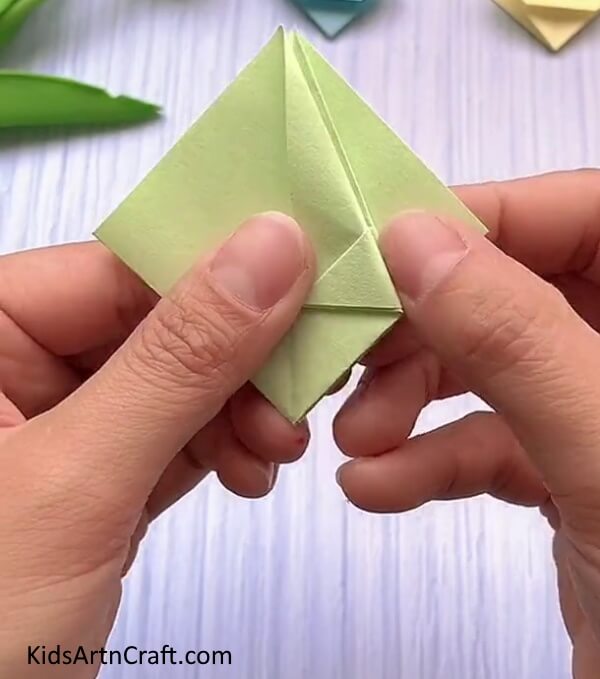
Step 4: Folding Along The Crease

Fold the open-end corner of the diamond along the horizontal crease.
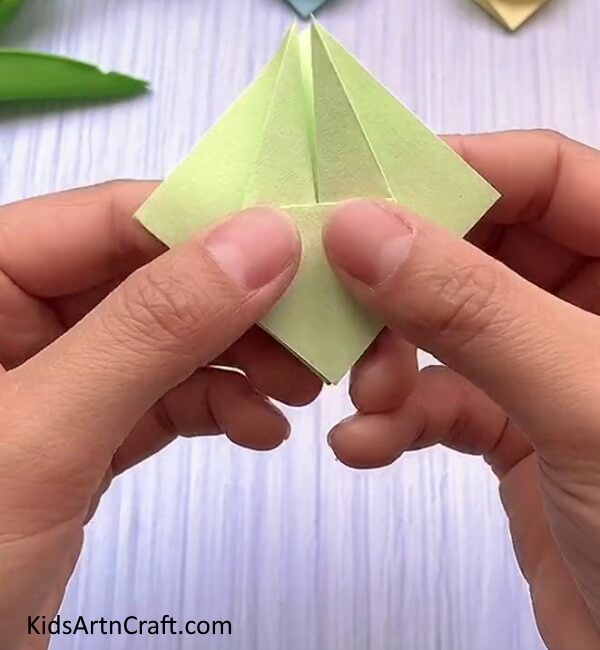
Step 5: Folding The Diamond To The Adjacent Side

Fold open the diamond from the right adjacent side.
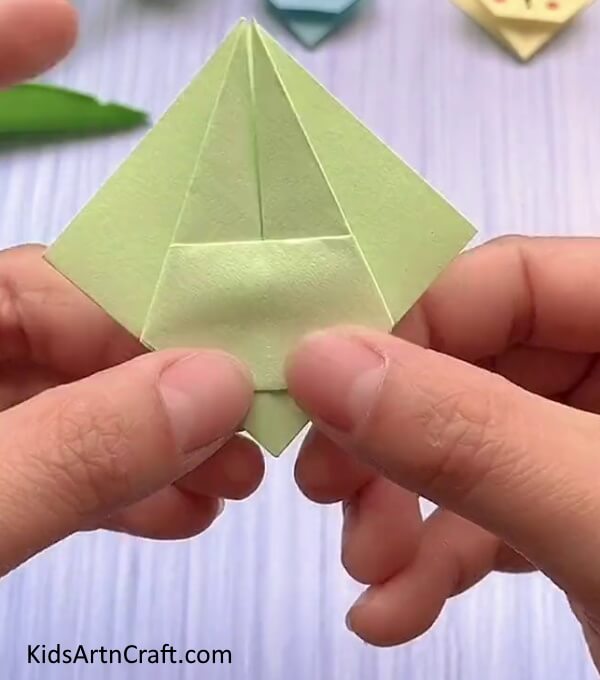
Step 6: Folding The Corner To The Crease

Fold the left corner to the middle crease.
Step 7: Unfolding Back To The Diamond

Unfold the paper to get back to the diamond.
Step 8: Folding The Diamond To The Other Adjacent Side

Fold open the diamond from the left adjacent side.
Step 9: Folding The Corner To The Crease

Fold the right corner to the middle crease.
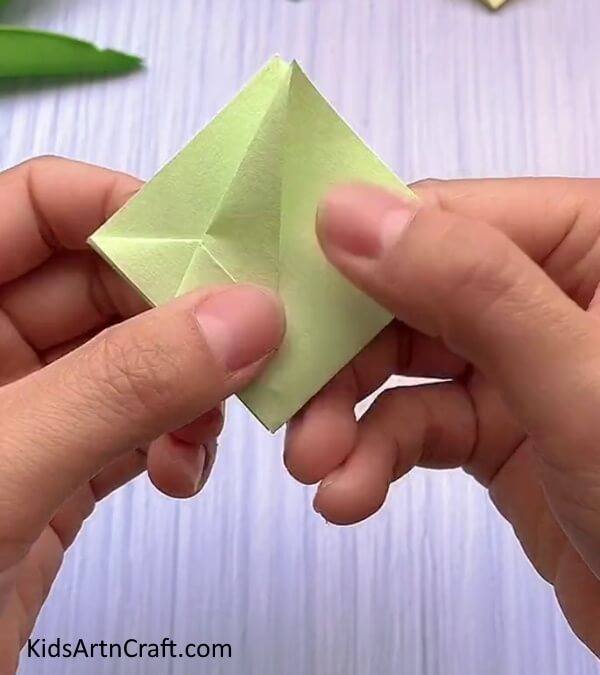
Step 10: Unfolding Back To The Diamond

Unfold the paper to get back to the diamond. You will see a kite shape now.
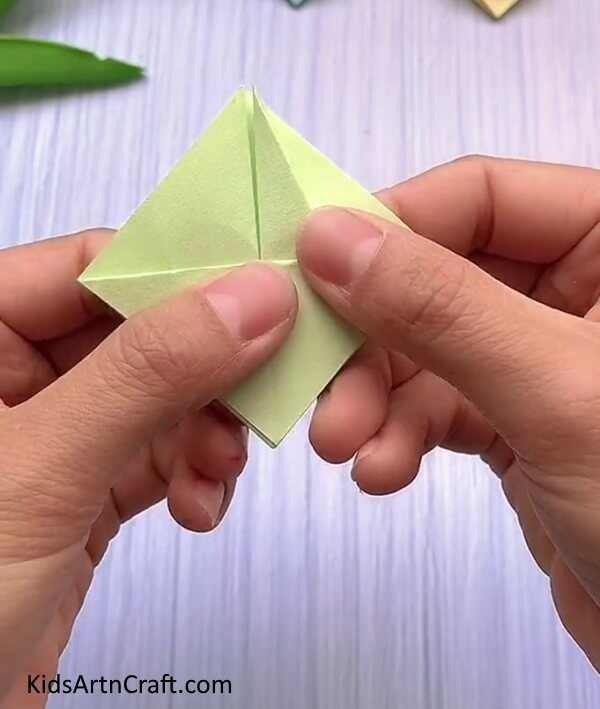
Step 11: Folding The Bottom Corner Inside
Fold the bottom corner of the kite inside it.
Step 12: Taking A Black Pen
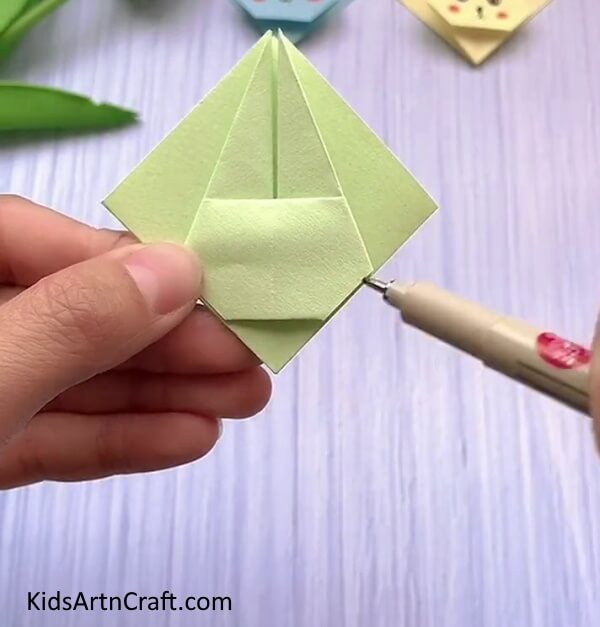

Take a black pen to draw a rabbit face.
Step 13: Drawing The Face Details
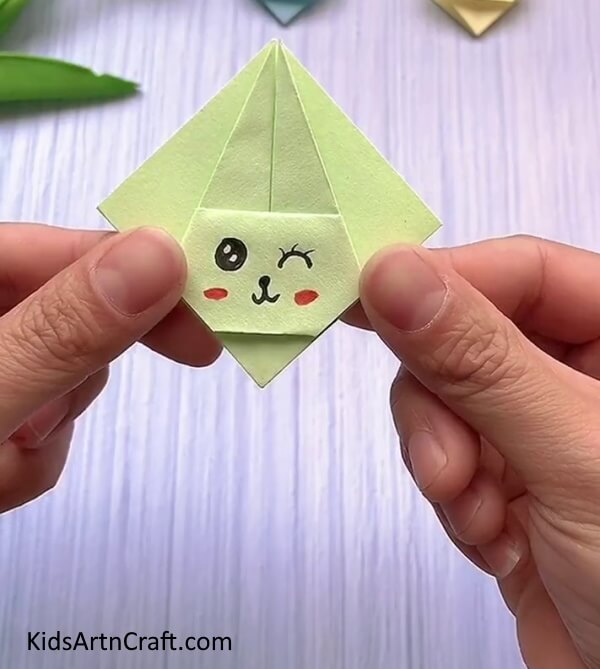

Draw the eyes, nose, and mouth of the rabbit. Also using a red marker make blush over the cheeks.
Step 14: Making Ears
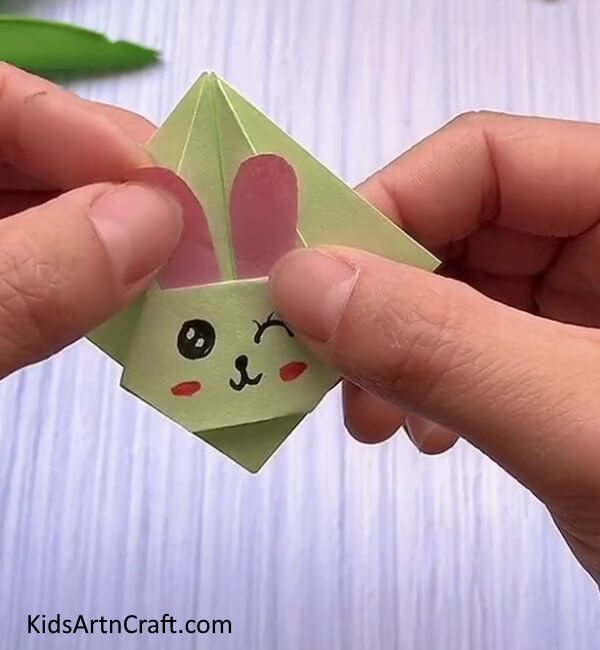
Cut out two bunny ears from pink paper and place them inside over the face.
Step 15: Applying Glue
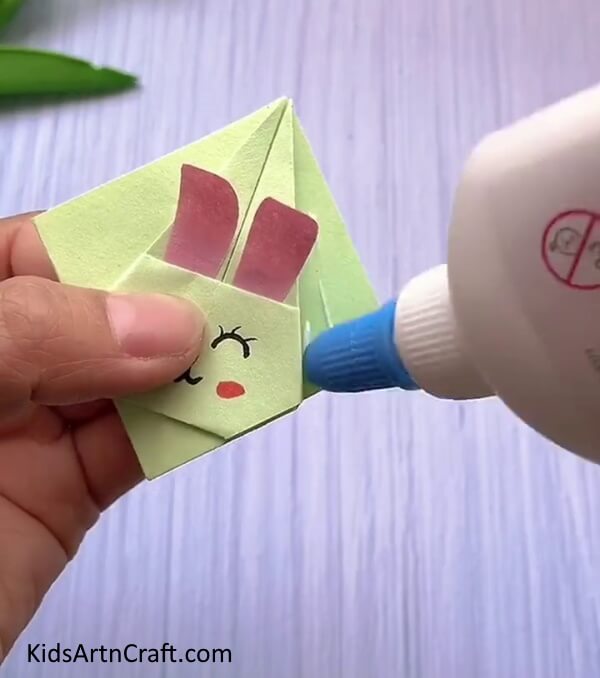

Apply glue to the side part of the bunny as shown in the image.
Your Origami Bunny Face Is Ready!
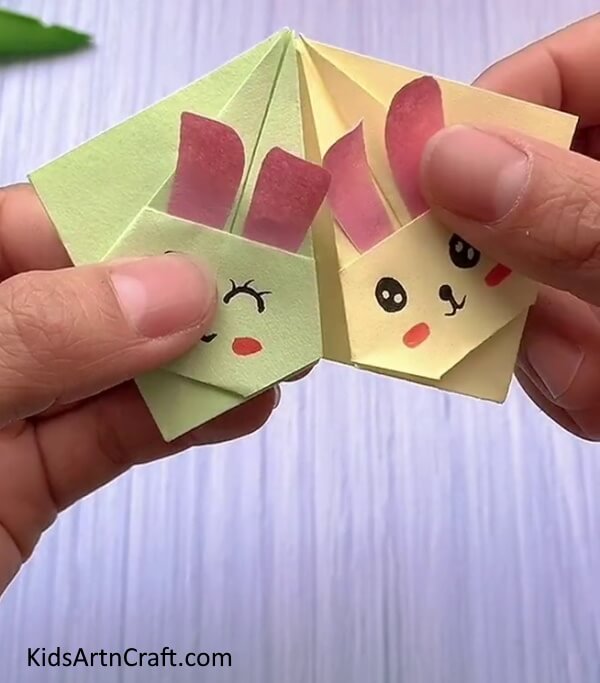

For the last step, paste another bunny’s face over the glue by putting the other bunny’s corner inside the first. Congratulations! Your cute bunny origami face is ready in no time!
Some More Bunny Craft Tutorial
DIY Project paper cup bunny for youngsters

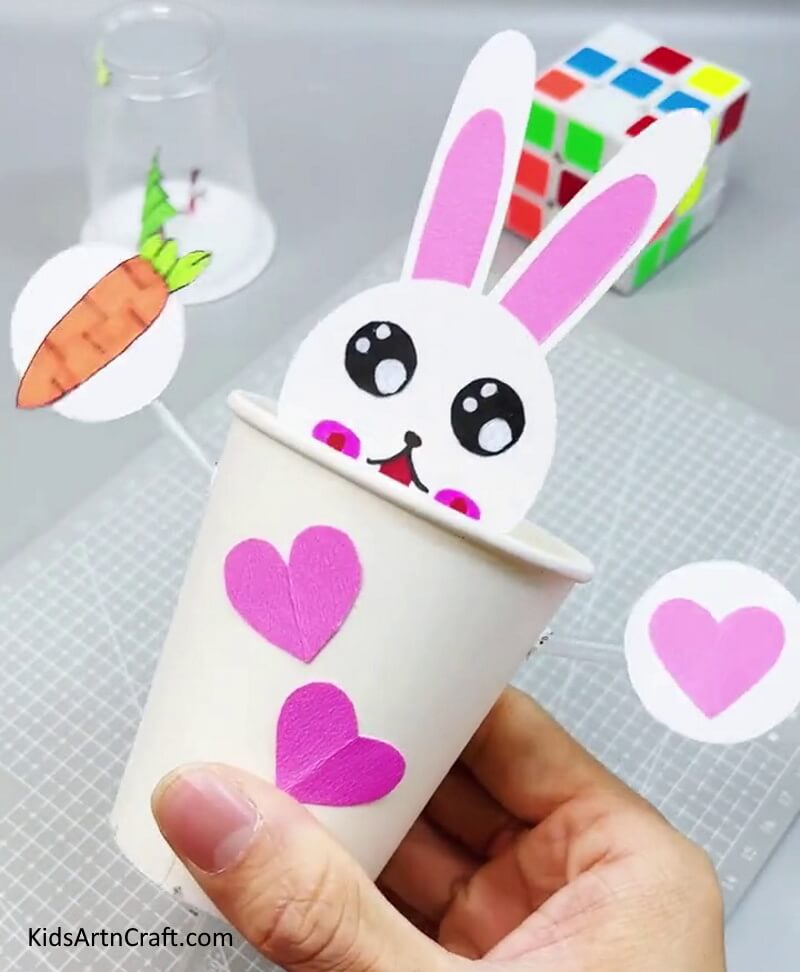
Image Source/Tutorial: Kids Art & Craft
This DIY project is perfect for youngsters! With just a few simple materials, they can make an adorable paper cup bunny. It’s a great way to get creative and have fun with the kids!
This cute bunny face will surely bring a smile to everyone’s face! Kids will love to see and collect them! Bunnies are literally the cutest animals and making them will be the favorite origami craft of your little ones! Add up this cute bunny to your origami collection! Now!
Follow us on Youtube for art and craft tutorials and much more.
More Articles from Kids Art & Craft
- Origami Paper Plane Craft Tutorial For Kids
- Easy Ladybug Craft For Kids Using Leaves and Paper
- How To Make Paper Dinosaur Origami Craft Easy Tutorial
- Easy Paper Folding Crafts Video Tutorial for Kids
- How to Make Origami Flower Easy Tutorial For Kids