Kids Activities
Paper Elephant with a Moving Trunk – Step by Step Tutorial

Learn how to make your own paper elephant with a moving trunk! This step-by-step tutorial is perfect for kids and adults looking for a fun craft project. With just a few simple materials, you can create this adorable elephant in no time!
Welcome to this step-by-step tutorial on how to make an adorable paper elephant with a moving trunk! With just a few simple materials, you will be able to craft a fun and unique 3D elephant in no time. Not only is this craft project great for kids, but it’s also a great way to practice your origami skills. So grab your supplies, and let’s get started!
Easy To Make Paper Elephant Craft With A Moving Trunk

Read More: Simple Way To Make Paper Flower Tree Craft
Materials Required
- Colored Papers (Pink, Black, and White)
- Glue
- Scissors
Procedure
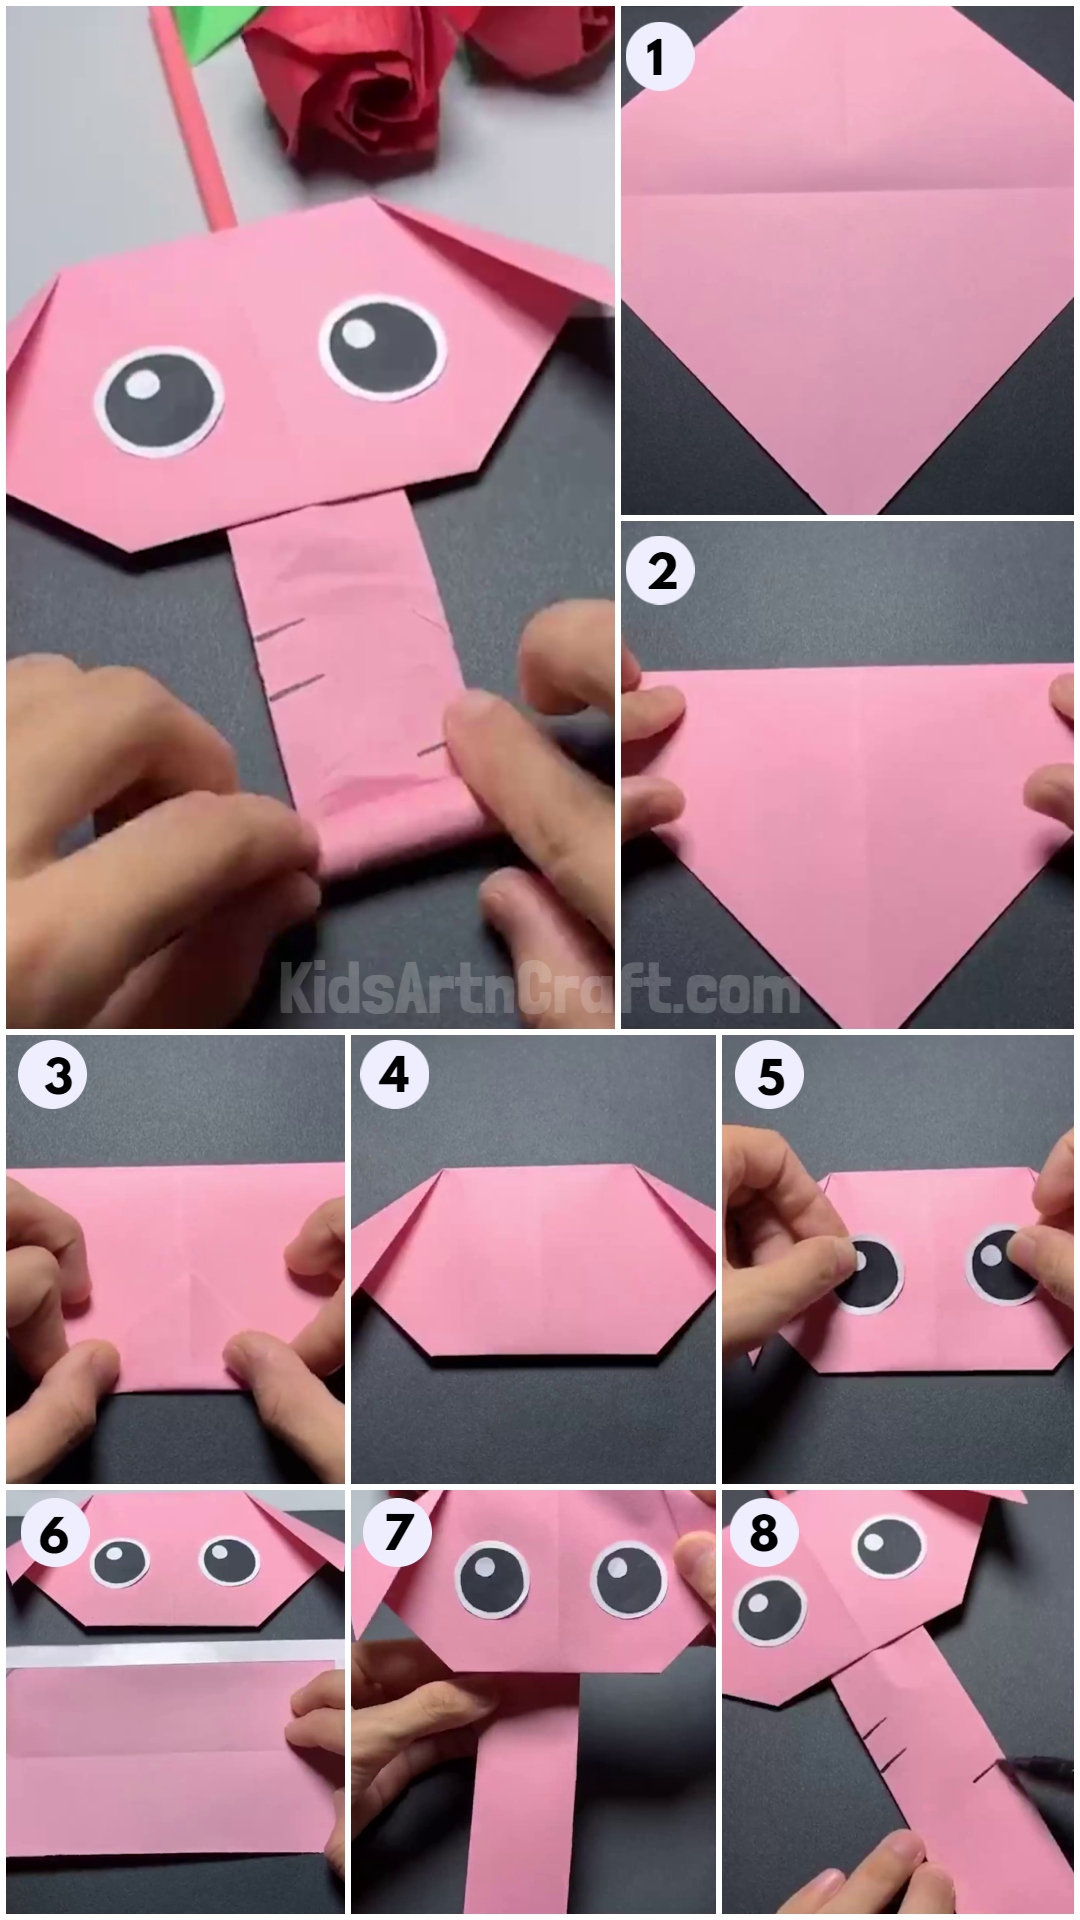
Step 1: Making Paper Elephant
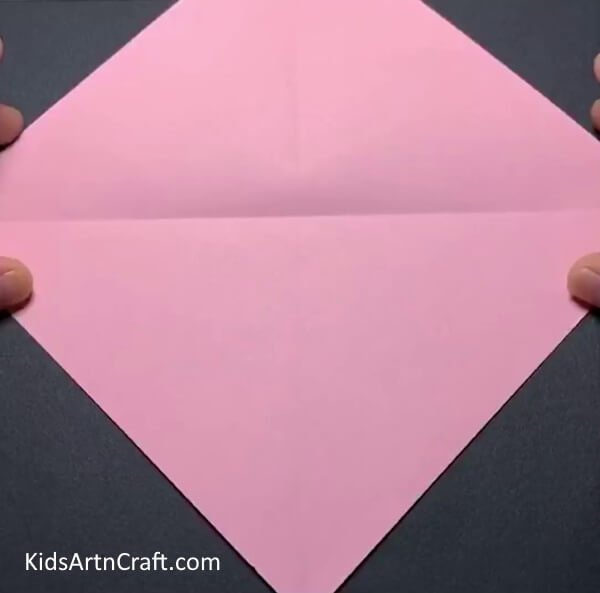

Firstly, take a pink square shape craft paper. Turn the paper diagonally, to make it a diamond shape.
Step 2: Folding Paper From the Middle
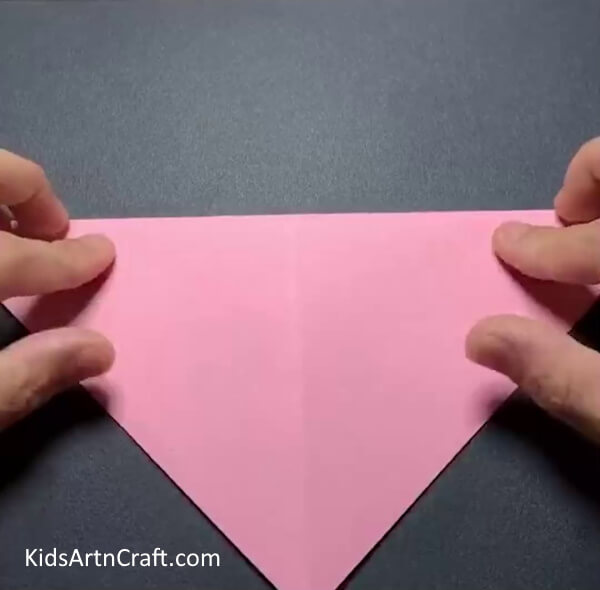

Fold the paper from the middle to make it half.
Step 3: Fold the Paper In the Lower Triangle
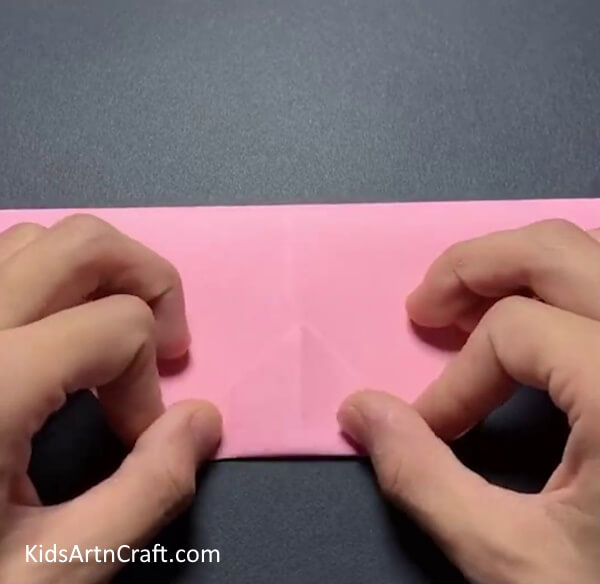

Now, fold the lower triangle of the paper in an upwards direction. And turn the paper.
Step 4: Folding Paper to Make Ears
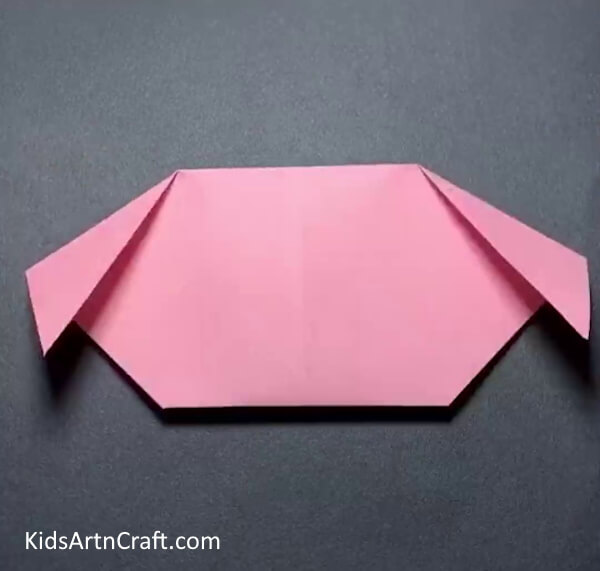

To make ears of the elephant, bring the left corner in the downward direction. Repeat the same with the right corner.
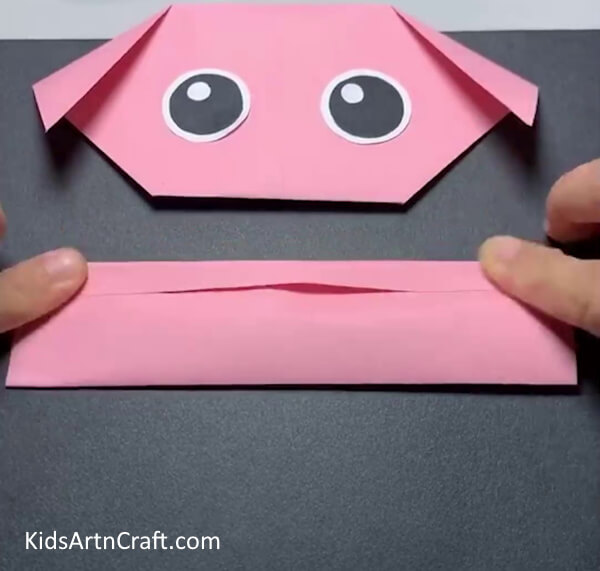
Step 5: Making Eyes
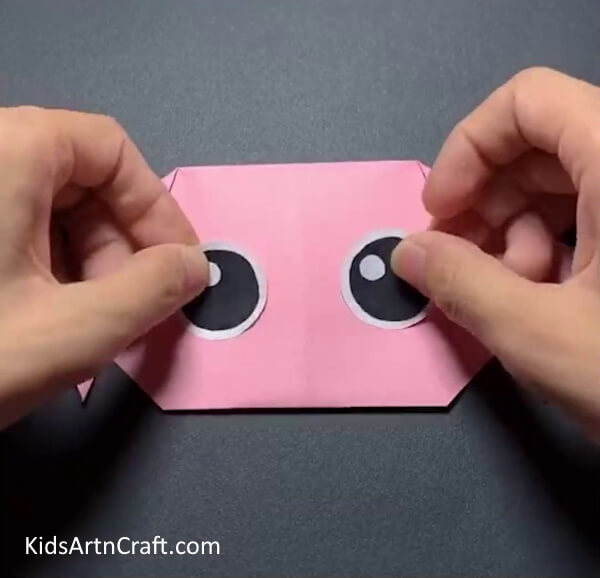

Paste the handmade googly eyes on the face. Make eyes using a black and white sheet.
Step 6: Making Trunk of Elephant
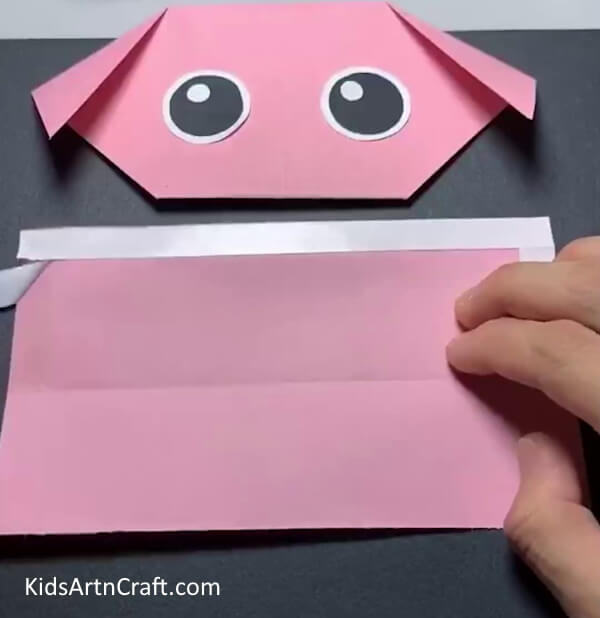

To make the trunk of the elephant, take a rectangle-shaped pink paper and stick double side tape on one side of the length and width of the paper.
Step 7: Removing Tape
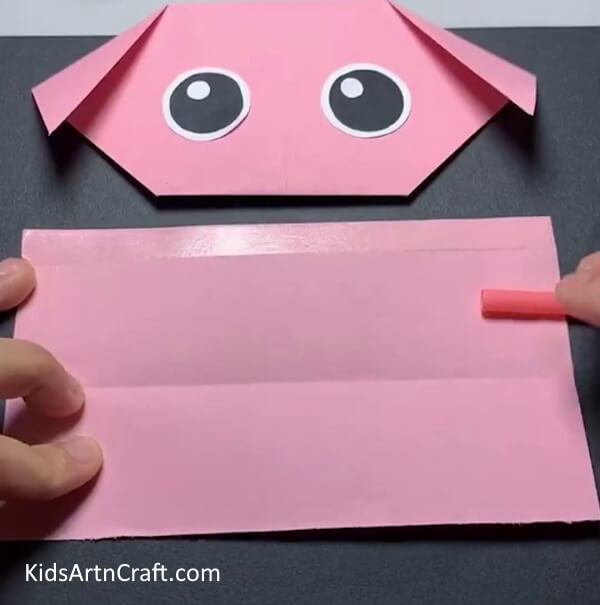

Remove the tape from the corners.
Step 8: Folding Trunk
Fold the paper and stick the corner edges to the paper.
Step 9: Paste The Trunk
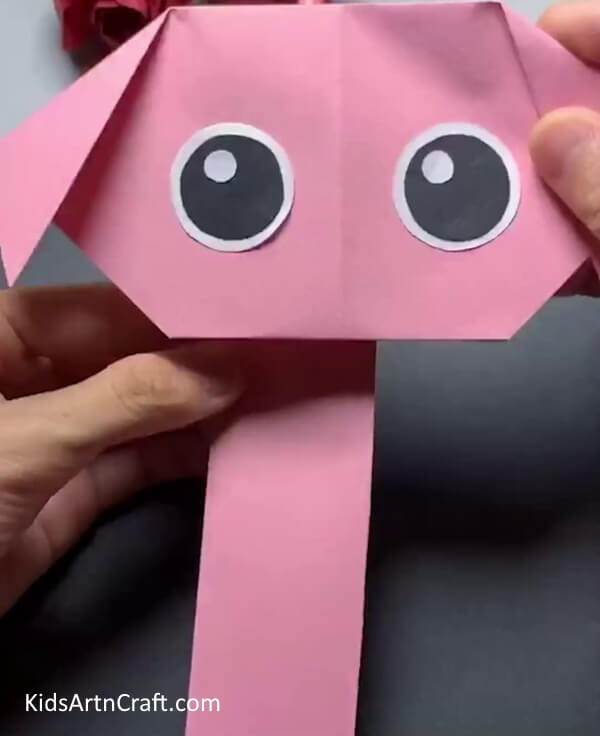

Paste the trunk behind the elephant.
Step 10: Draw Details on the Trunk
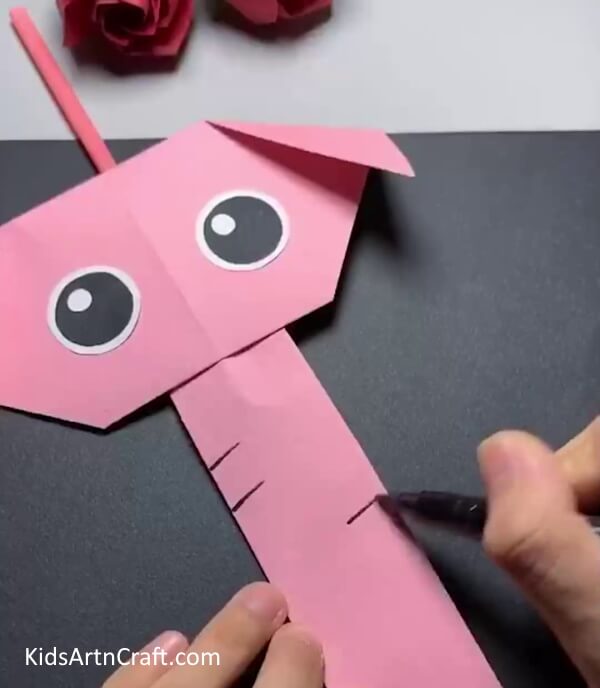

Draw details on the trunk using a marker. And roll the trunk.
Handmade Cute Paper Elephant Craft Is Ready!
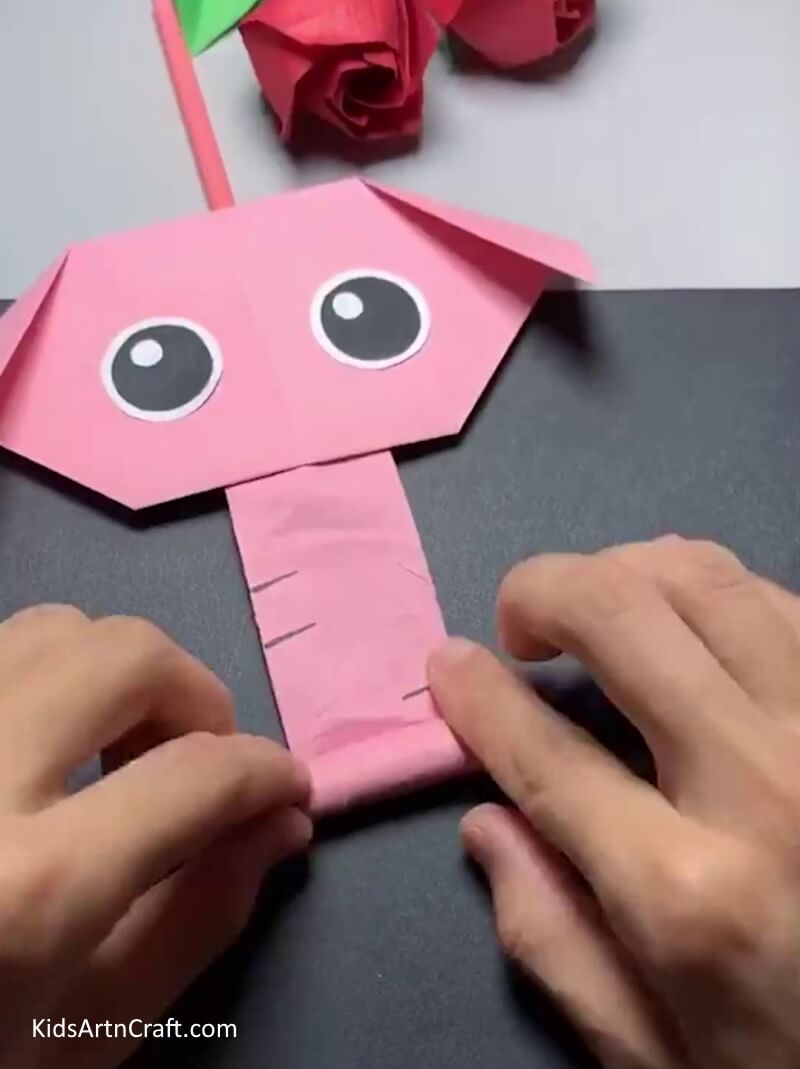

Yayay! Your paper elephant craft is ready to move its trunk and play with you!
This tutorial was a great way to make an impressive paper elephant with a moving trunk. With a bit of patience and creativity, you can make your own unique elephant that can be enjoyed! We hope you enjoyed the process and have a new decorative piece to show off!
Some More Elephant Craft Tutorial
Simple Elephant Animal Craft Using Paper Cup

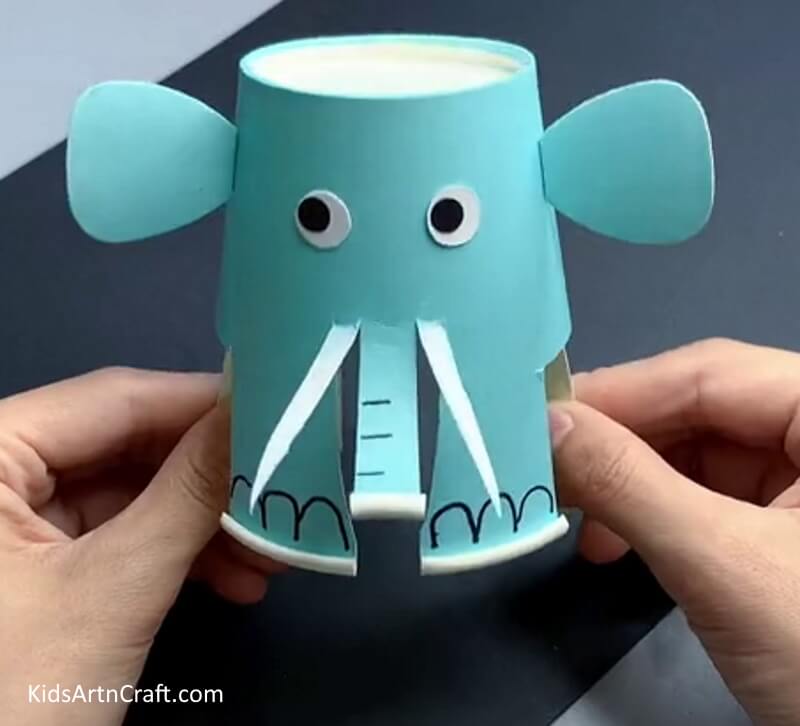
Image Source/Tutorial: Kids Art & Craft
This craft is great for younger children to make. All that is needed is a paper cup, some paint, and a few other materials. With a few simple steps, you can create an adorable elephant craft that kids will love!
FAQs Related To Paper Elephant with a Moving Trunk
1. What type of paper should I use for making a paper elephant?
For making a paper elephant, use lightweight paper such as tissue paper, printer paper, or construction paper. Thicker paper will be too difficult to fold and shape into the desired form.
2. What tools do I need to make a paper elephant with a moving trunk?
To make a paper elephant with a moving trunk, you’ll need scissors, a glue stick, printer paper, and a wooden dowel. With these tools, you can easily create a fun and interactive paper elephant!
3. Are there any special techniques for making the trunk move?
Yes, there are special techniques that can be used to make the trunk move, such as using a lever, rope, or even a winch. It is important to use the right technique for the size and weight of the trunk to ensure safe and effective movement.
4. How long will it take to make a paper elephant?
Making a paper elephant can be a fun and creative project. Depending on the complexity of the design, it can take anywhere from an hour to a few days to make a paper elephant.
5. What other techniques can I use to make the paper elephant look more realistic?
To make the paper elephant look more realistic, try using a variety of techniques such as crumpling the paper to create texture, using markers to create shadows, and adding highlights with white or metallic pens. Additionally, try using smaller pieces of paper to create more detailed features.
6. What steps do I need to take to make the paper elephant stand up?
To make the paper elephant stand up, you need to fold the paper along the dotted lines and then glue the flaps together. Finally, you can use tape to secure the elephant’s trunk and legs.
Follow us on Youtube for art and craft tutorials and much more.
More Articles from Kids Art & Craft
- Paper Cutting Shapes Crafts
- Fun To Make Blue Paper Sunflower Craft For Kids
- Paper-Cutting Designs For Projects
- How To Make Sunflower Clock Craft Using Paper
- DIY Paper Flower Craft – Step-By-Step Tutorial