


Paper Crafts
Pretty Paper-Straw Butterfly Step-by-step Craft Tutorial For Kids

Looking for a way to make a Pretty Paper – Straw Butterfly? Well, your search is now, officially over. Here is a Step – by – step Tutorial for Kids. Come on, gather your materials, and let us start.
Welcome to this step-by-step tutorial on how to make a pretty paper-straw butterfly. This is super fun and easy DIY craft which can be made by kids as well as adults. And kids will enjoy making it for sure. You will need some basic materials which are easily available. Also, you will need some basic craft skills to make it. It is quite a creative craft activity. You can brush up your craft skills from this and learn various other tricks and techniques. The difficulty level is low, so you can learn a lot from this. The final outcome is just, phenomenal. The colorful sheet really makes it look so pleasing and just, absolutely beautiful. So, without any further ado, let us get started.
Beautiful Paper-Straw Butterfly For Kids
Read More: Make a Handy Paper Origami Pouch For Kids
Materials Required
- A colorful sheet of paper
- A pair of scissors
- A Paper straw
- A double tape
- A cello tape
- A pencil
- A punching machine
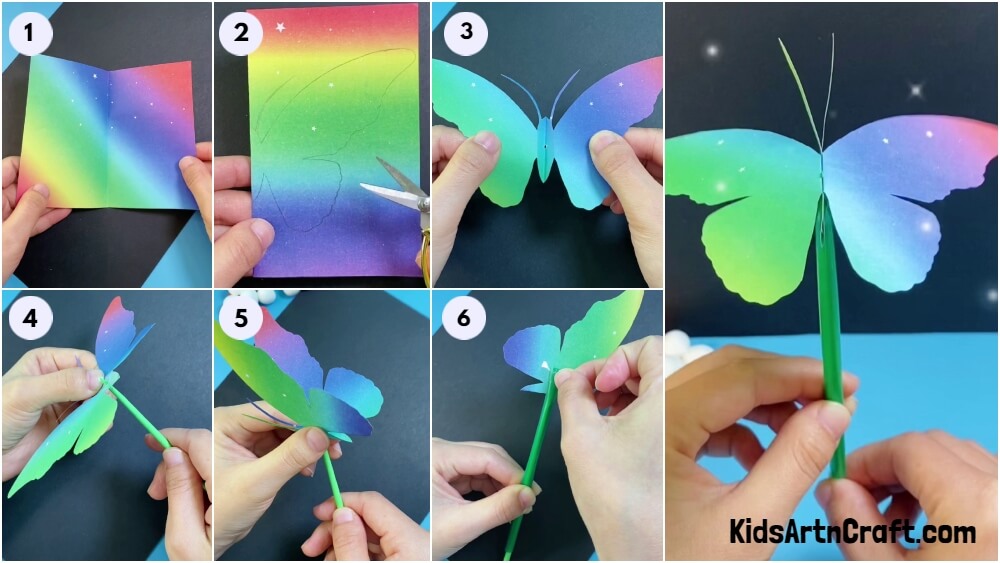
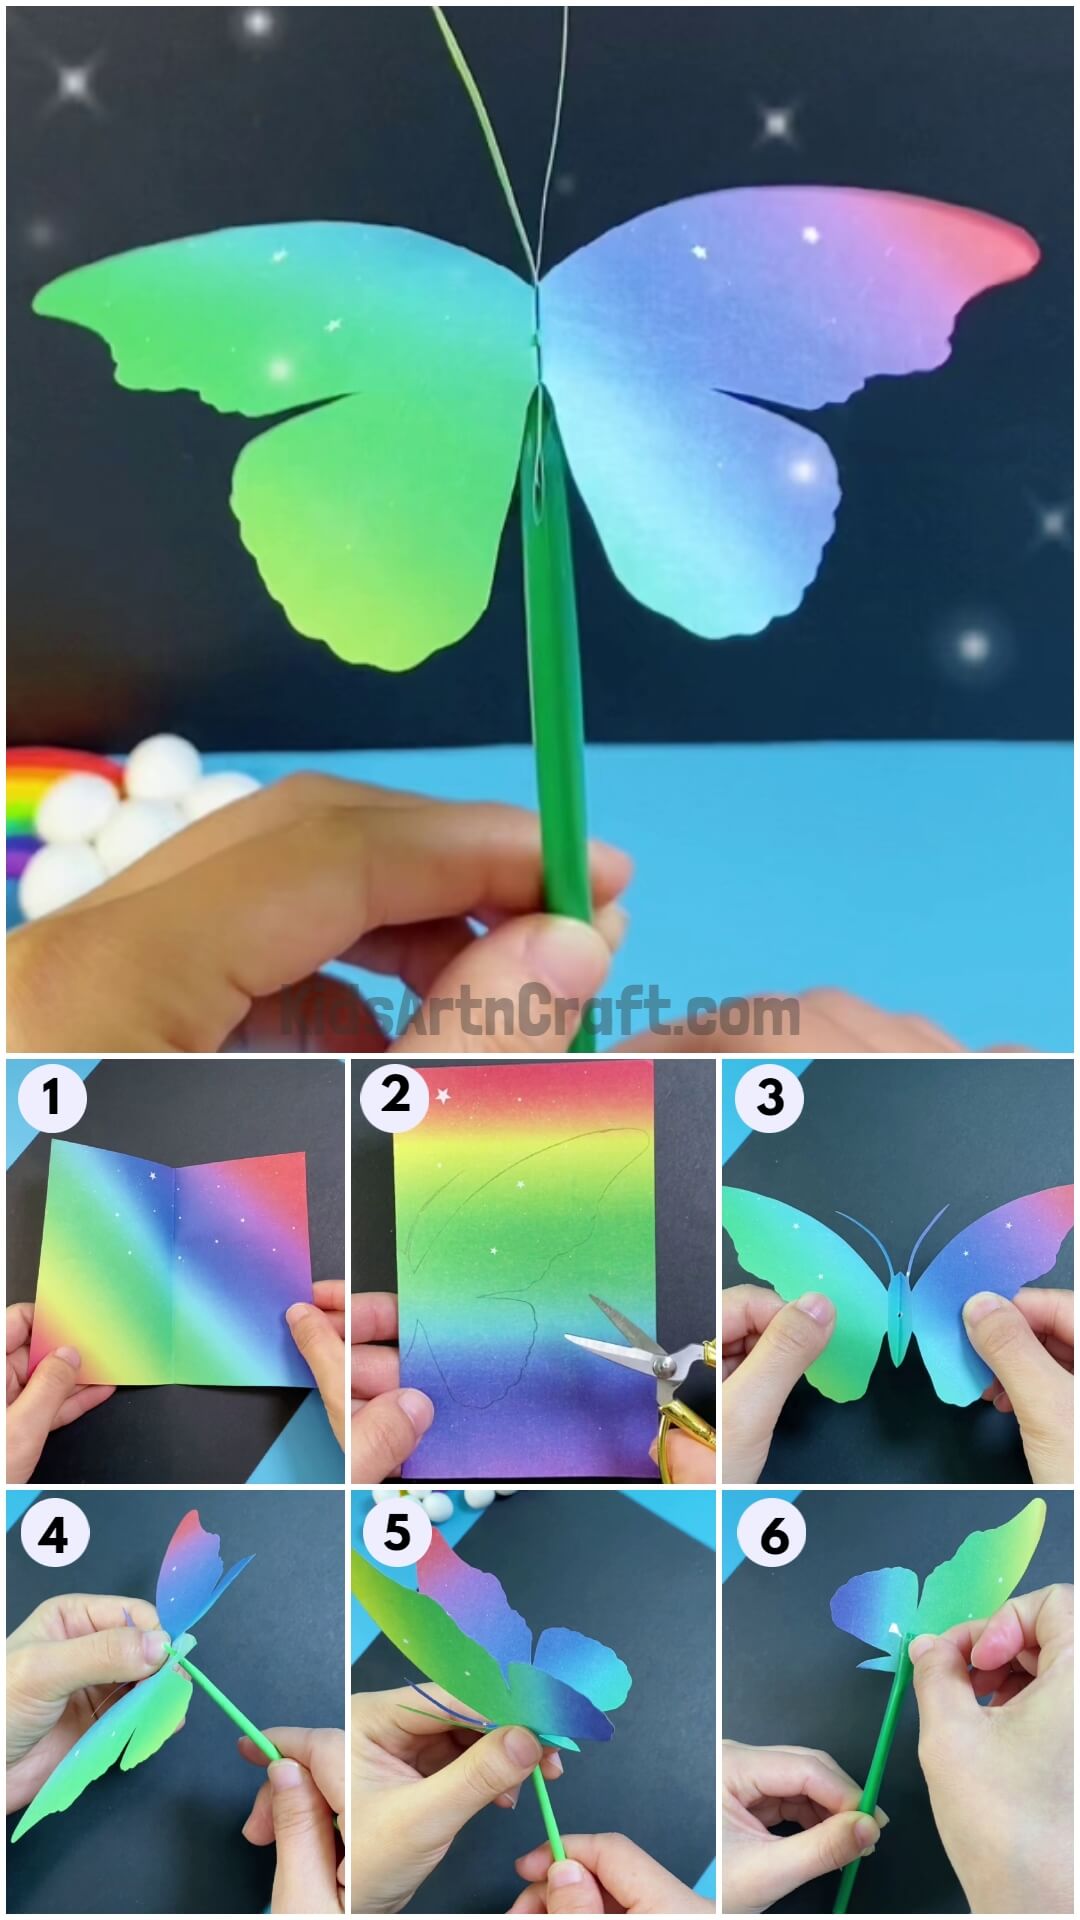
Procedure
Step 1: Taking A Colorful Sheet Of Paper And Fold It
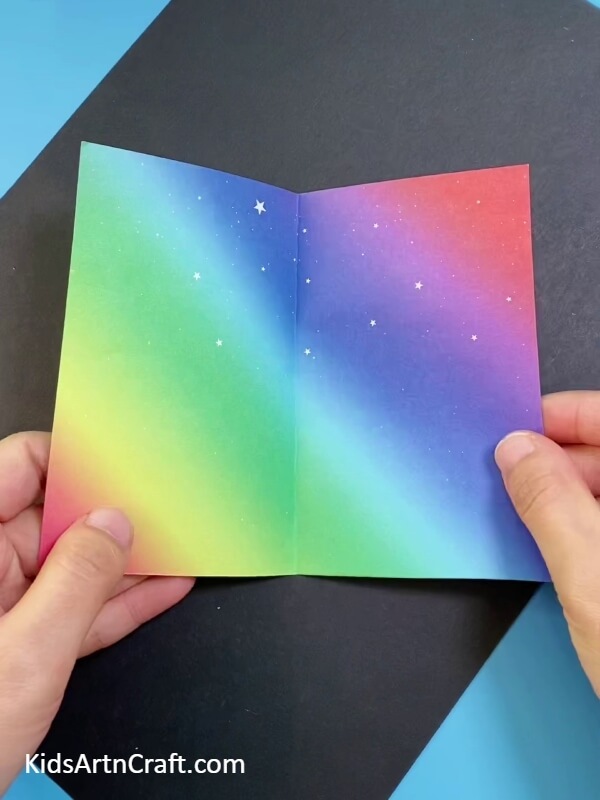
Take a colored sheet of paper. Now, start this craft activity by folding the colorful paper from the middle. Make sure, both sides are equal and there are no multiple creases.
Step 2: Grab Your Drawing Pencil And Make A Butterfly On The Sheet
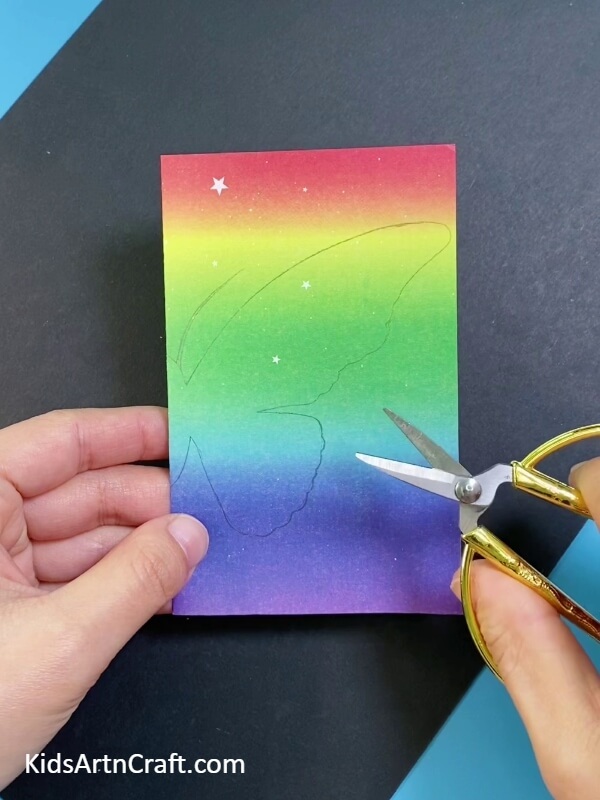
After getting the crease, fold the paper. Get hold of your pencil and construct a half-butterfly. Next, take a pair of scissors and carefully cut along the outline of the butterfly, while making sure that the other half of the folded sheet behind, remains unmoved and the cutting that comes out is symmetrical.
Step 3: After Cutting Along The Border Of The Butterfly, Unfold The Sheet
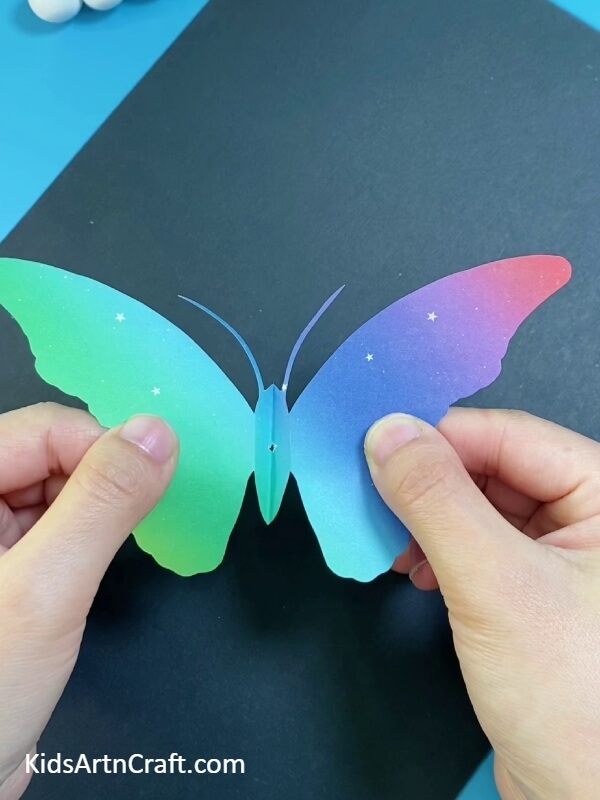
After carefully cutting the silhouette of the half butterfly drawing, unfold it along the crease. Now, it will look like this as shown in the image above. You will observe that it has turned into a full butterfly.
Step 4: Finding The Double Tape And Paste It On The Body Of The Butterfly
Now that you have the butterfly, get a double-sided tape and stick it at the back of the butterfly’s body, in the middle.
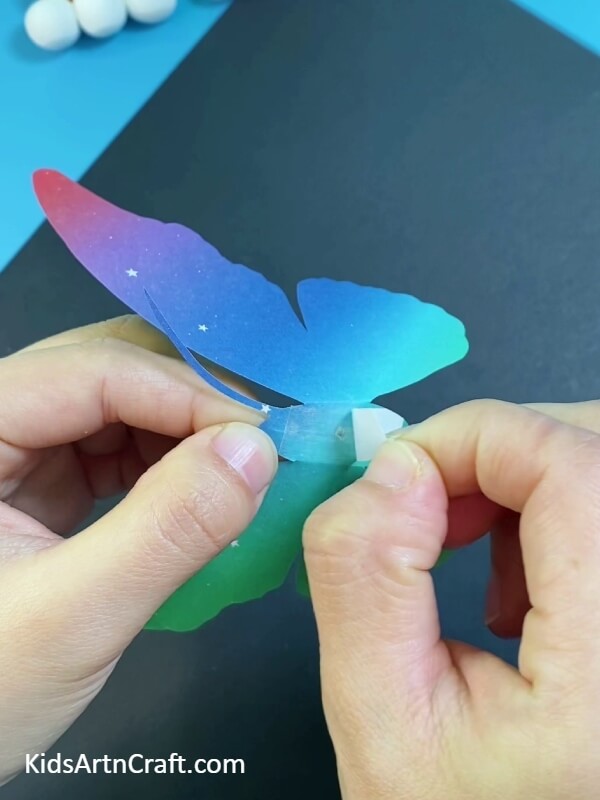
Step 5: Punch A Hole In The Lower Middle Part Of The Butterfly
Remember, the double tape is still not stuck. Get the punching machine and punch a hole in the lower, middle part of the butterfly. Grab the straw and make it pass through the hole, not completely though. Only insert a little portion of the straw.
Step 6: Now, Finally Stick The Double Tape After Inserting The Straw
After you have correctly instilled the straw, paste that double-sided tape you stuck, in a previous step. Stick it along with the straw and hold it for a few seconds for it to get the grip and stay intact.
Step 7: Get Another Straw And A Pair Of Scissors To Cut
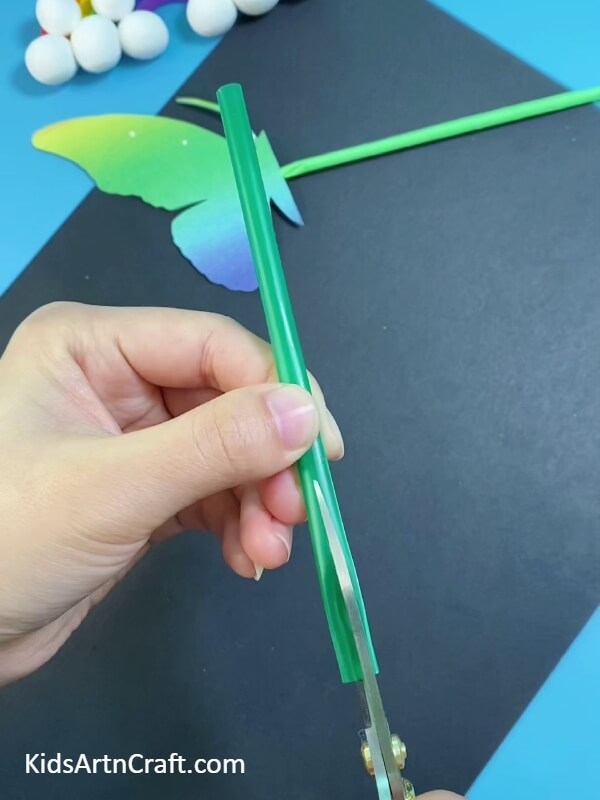
Take a new straw and a pair of scissors. Start cutting from one side of the straw. Cut it in a way that, that portion is two stems, originating from the center. Do not cut too much, just a little bit. You can take assistance from the reference image above.
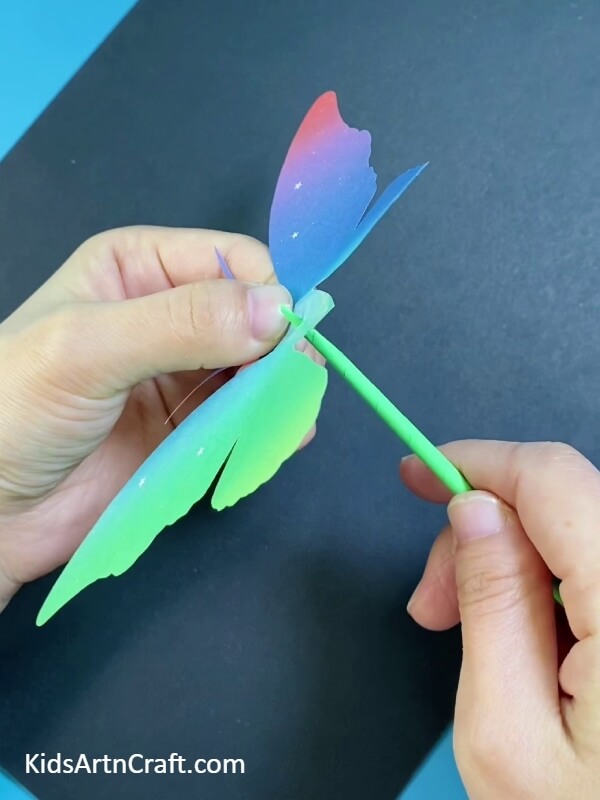
Step 8: Now, Take The Previous Straw And Insert It Into The Straw You Have Recently Cut
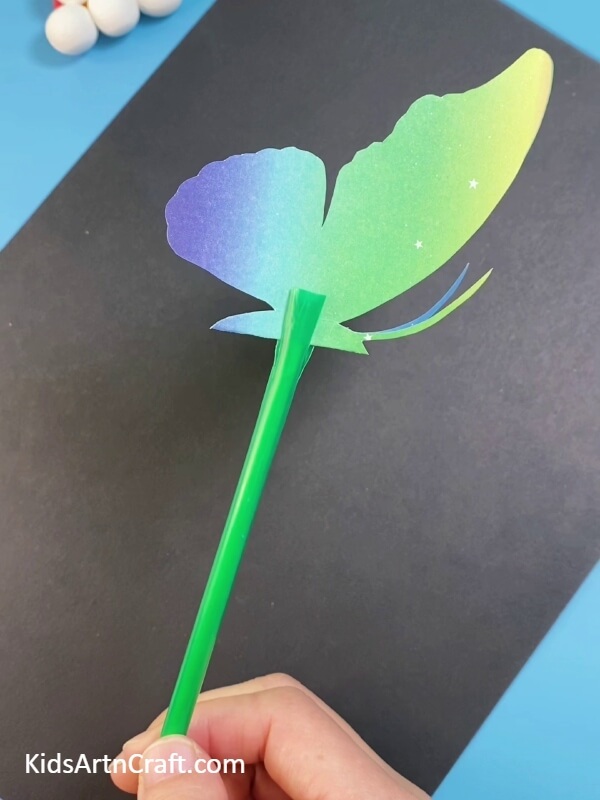
Now, get back to that straw butterfly that you made a step earlier. Take that and insert in into the straw that you recently have cut from one side in previous step. Remember, the wings will face upwards. Just to be sure and to avoid confusion, take the help of the reference image posted above. It should look exactly like in the referred image.
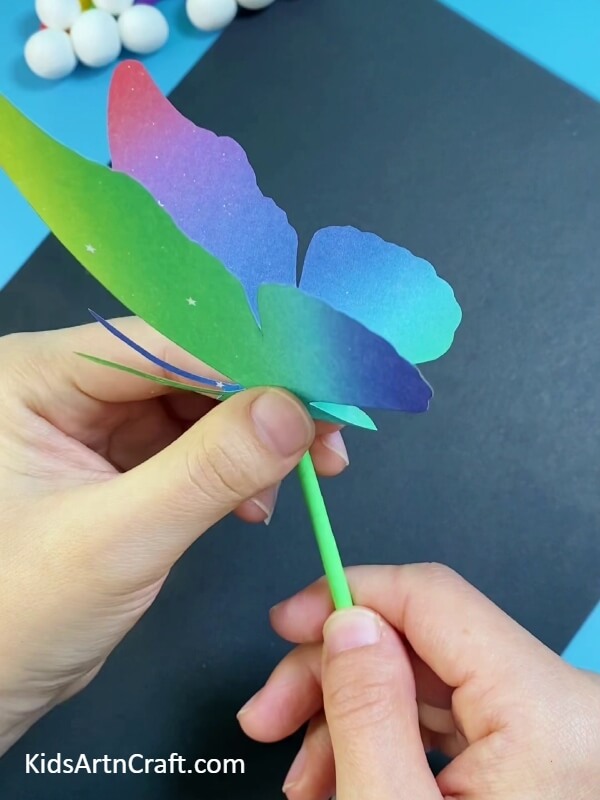
Step 9: For The Final Step, Take A Cello Tape And Paste It, Just To Ensure Its Grip
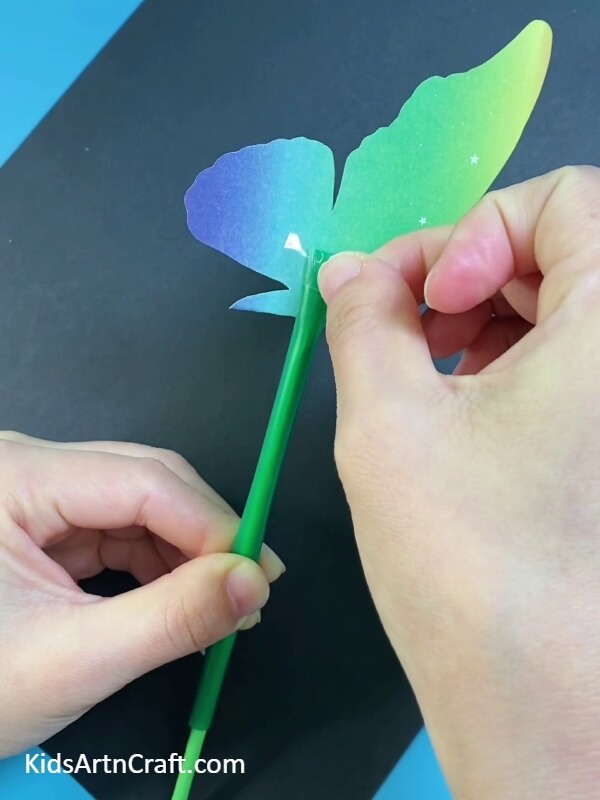
You are now just this one step away. Take a piece of cello tape and stick it where the straw and the butterfly are joined. This will keep the grip intact.
And Voila… You Are Done! Beautiful, Right?
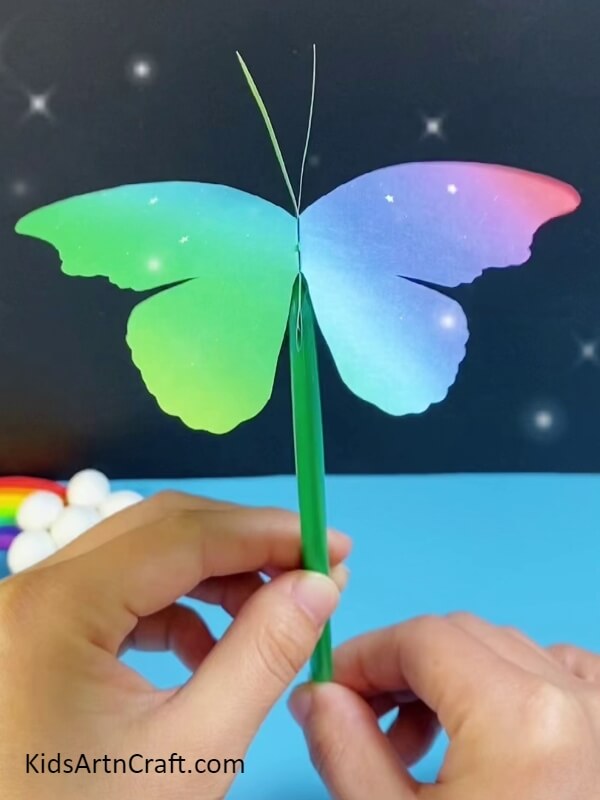
Oh, if it is not just absolutely adorable! The colored sheet is really bringing out the colors. It looks elegant yet glamorous, like a much pleasant, more pastel version of all the cool, vibrant colors. After making this, you surely might have come across at least a few new things that you learned. Grabbing your experience from this one, you can experiment making something similar by compiling your own idea, by a similar technique. For starters, you can make other birds, but of course, there is much scope beyond as well.
For More Butterfly Craft Tutorial
Using Paper to Create Origami Butterfly Crafts with Kids
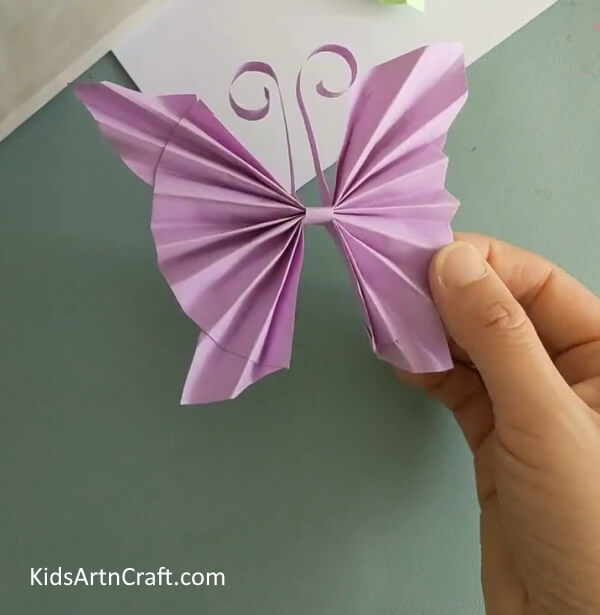
Image Source/Tutorial: Kids Art & Craft
Creating origami butterflies with kids is a fun and creative way to spend time together. Using only paper, scissors and glue, kids can make beautiful and colorful butterflies that can be used for decoration or as gifts. This activity is great for kids of all ages and is sure to bring hours of joy.
Well, do not forget to mention your suggestions, opinions, experiences, reviews, etc., anything that you would like to share in the comment section. We would genuinely love to hear from you. We hope you enjoyed making this with us. For more such, similar and different art and craft ideas, articles, tutorial, etc., have a look at the website. Thank you for your time. Have a good day.
Thank you for visiting our website!
Follow us on Youtube for art and craft tutorials and much more.
More Articles from Kids Art & Craft
- Easy Paper Butterfly Craft For Kids
- How to make Paper Butterfly Easy Tutorial For Kids
- Paper Butterfly Craft Easy Tutorial for Kids
- DIY Paper Butterfly Easy Craft For Kids
- Paper Butterflies Step by Step easy tutorial for kids


