


DIY and Crafts
Easy To Make Pear-Fruit Worm Craft Tutorial For Kids

This fun and easy-to-make craft tutorial is perfect for kids! Learn how to make a cute and creative pear-fruit worm with minimal materials. Perfect for a crafty afternoon!
Welcome to this step-by-step tutorial on how to make a pear-fruit worm craft. This craft is very easy and beginner friendly which will enhance your craft ability. This will require very basic materials which will be available easily in any art and craft store. So without any further ado, let’s get started.
DIY Pear-Fruit Worm Craft Tutorial
Read More: Summer Watermelon Drink Artwork For Kids
Materials Required
- Colourful Papers
- Black sketch pen
- Different colours sketch pens like pink, blue etc
- White paper
Procedure
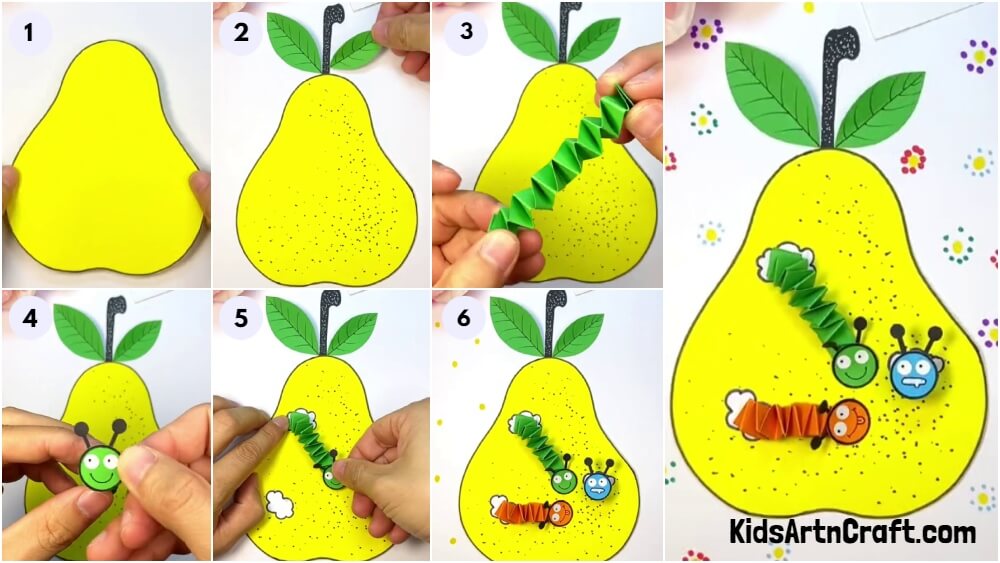
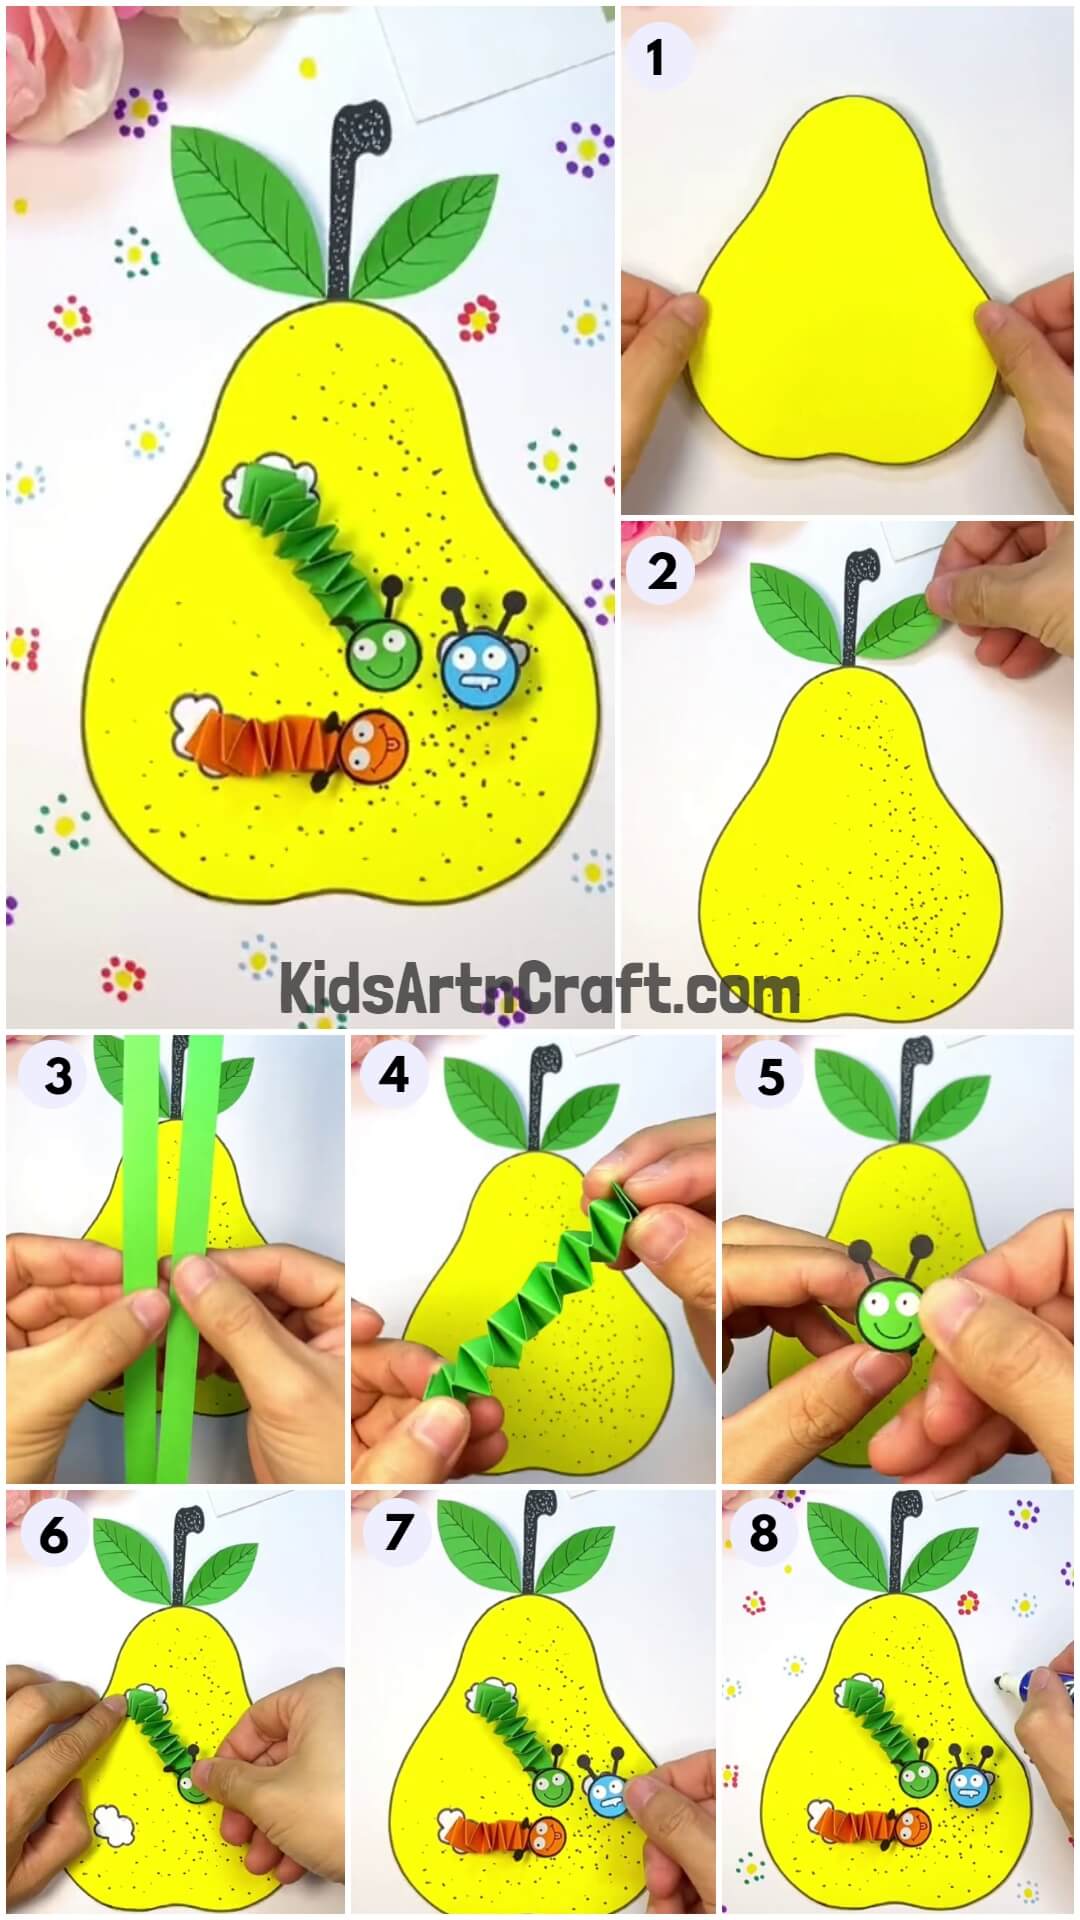
Step 1: Make Pear Shape With Yellow Craft Paper
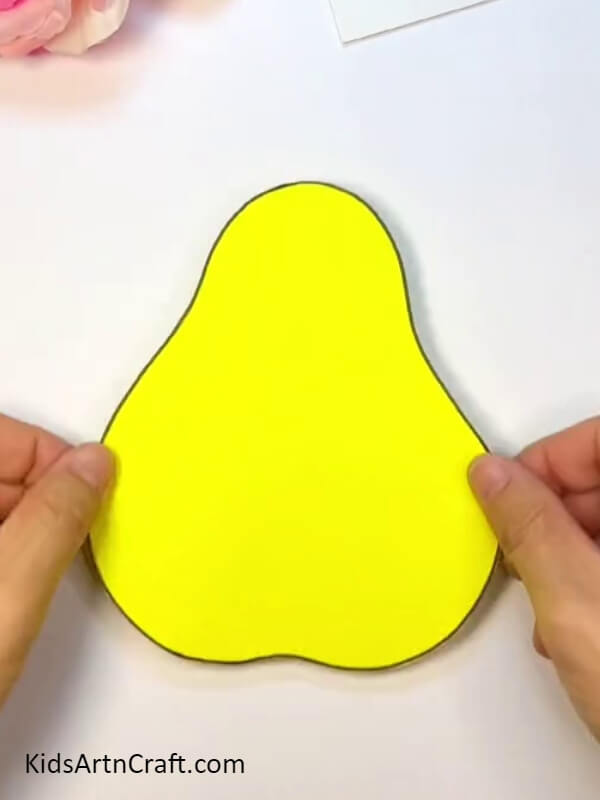
Take yellow paper. Start cutting out pear shapes from the yellow craft paper as shown in the photo above.
Step 2: Make The Stem Of The Pear Fruit With The Help Of Black Paper
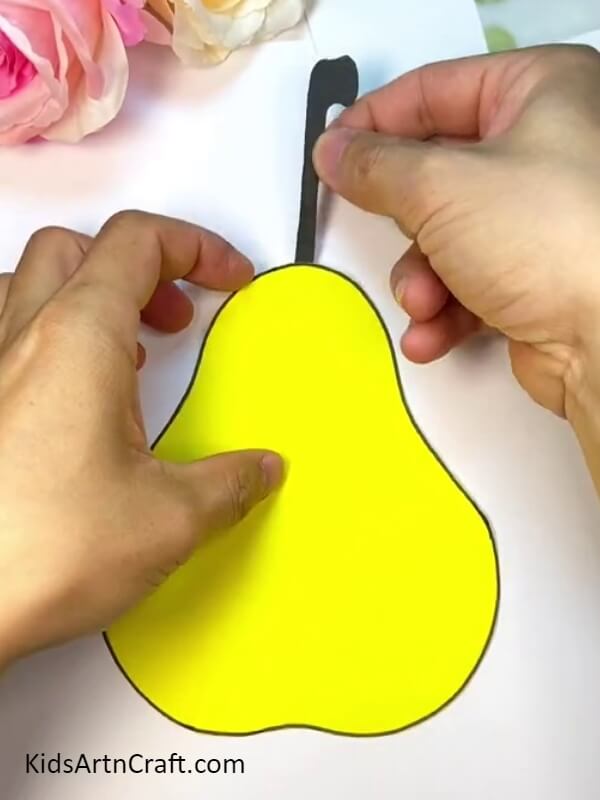
Take black craft paper. Cut out stem from black craft paper in stem shape as shown in the photo above.
Step 3: Make Dots In The Stem With Marker And Pear With Black Sketch Pen
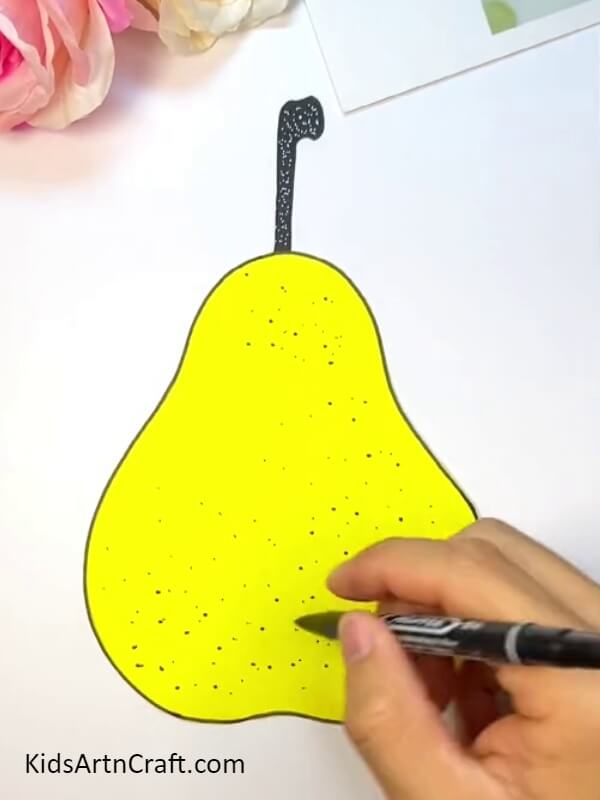
After cutting out the pear shape and stem with craft paper. Now it’s time to make dots to make it realistic. Make dots with a black sketch pen and make white dots with a white marker on the stem of the pear.
Step 4: Make Leaves Of Pears With Green Craft Paper
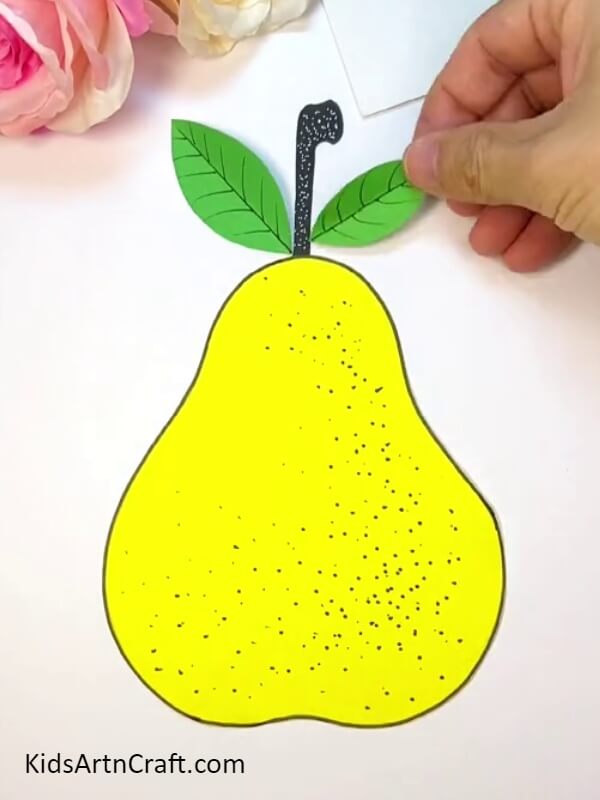
Make leaves with green craft paper by cutting them into the form of leaves. Now after cutting make veins with a black sketch pen as shown in the photo above.
Step 5: Take Two Vertical Strips Of Green Craft Paper To Make Worms
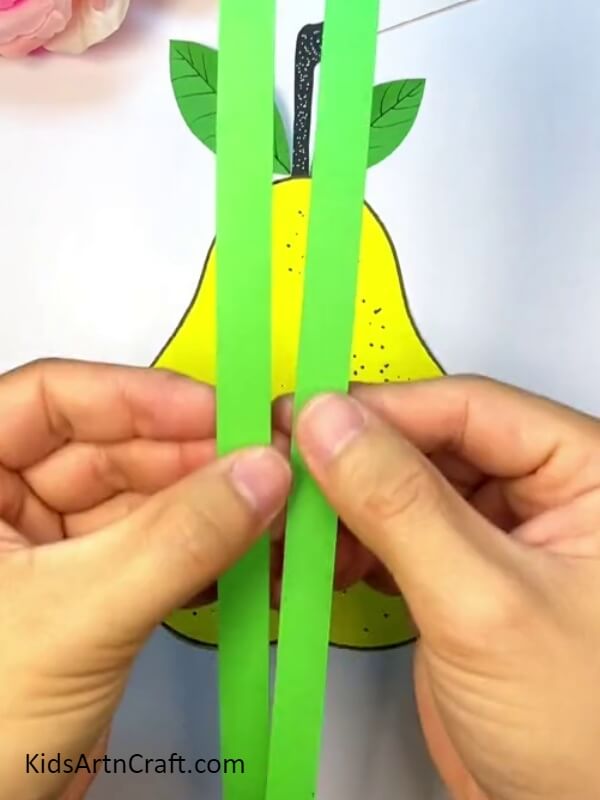
After making the pear, cut out a vertical strip of green colour craft paper as shown in the photo above.
Step 6: Start Folding The Vertical Strip Of Paper To Make Worms
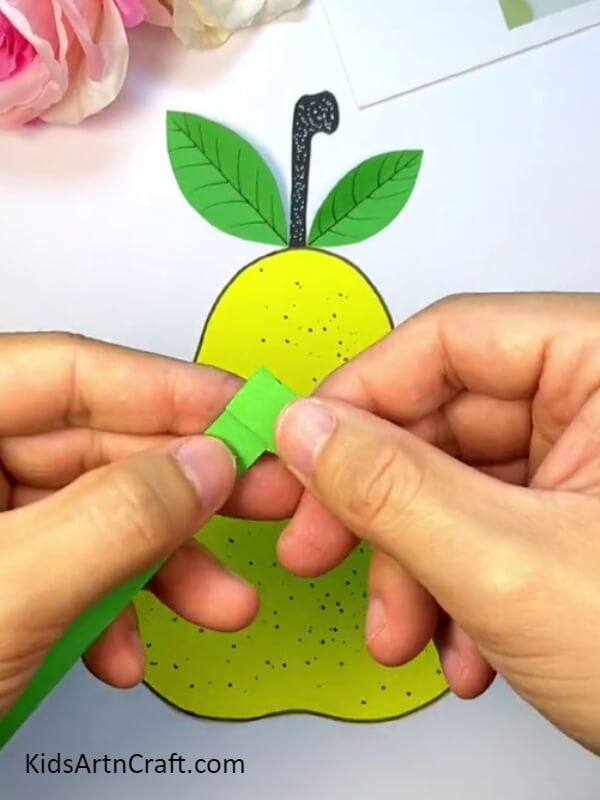
After cutting the vertical strip of paper. Now start folding the paper in a square shape as shown in the photo above.
Step 7: Folding The Paper Such That It Form Folds Like This
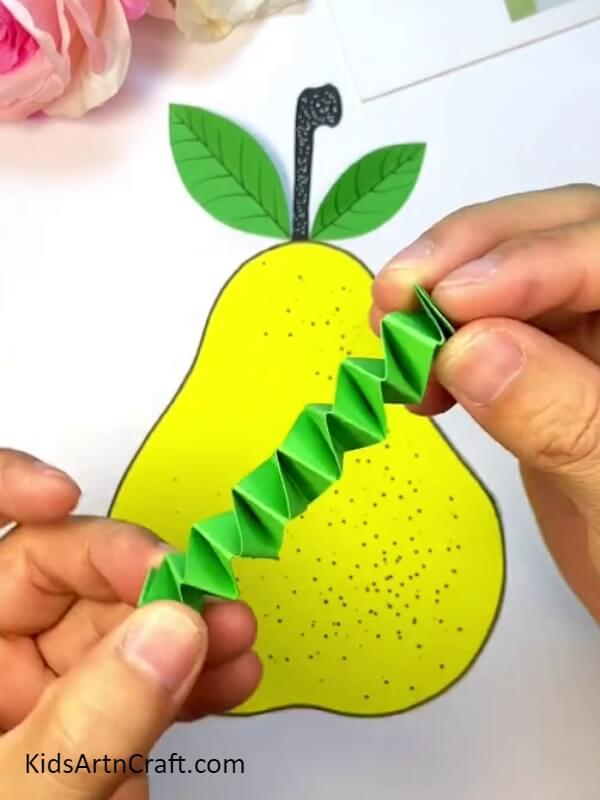
Continue folding the paper till starts making folds like this. It should look like chains as shown in the photo above.
Step 8: Make Worm Faces And Sticking It Above The Folds
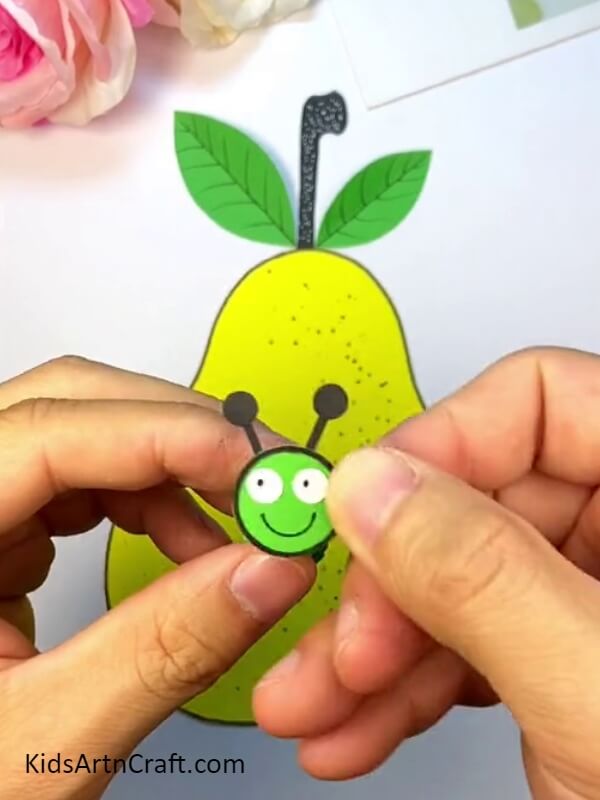
After folding the paper in the form of a worm’s body. Now it’s time to make the shape of the worms. For this cut our circle from the green craft paper. Make eyes with a white marker and make a smile with a black sketch pen. After that stick it above the folded paper which we have made for the body of the worm.
Step 9: Make More Worms With Blue And Orange Craft Paper
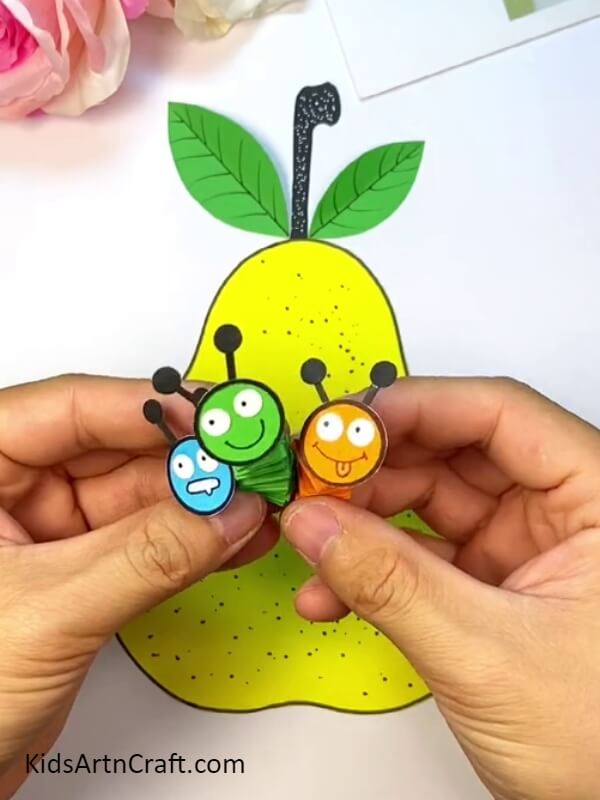
After making one worm. Now start making the other two worms with orange and blue craft paper in a similar way by making folds for their bodies and making different kinds of faces as shown in the photo above.
Step 10: Makings Holes In The Pear
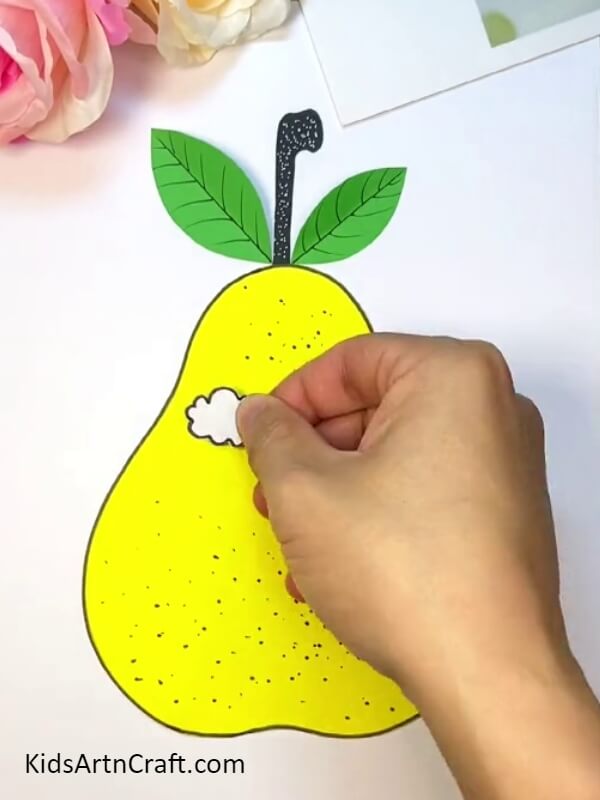
After making worms, now it’s time to make holes in the pear for them to come out of the pear. For this cut out a cloud shape from the white paper as shown in the photo above. Stick them in the pears as shown in the photo above.
Step 11: Start Sticking The Worms In The Holes Of The Pears
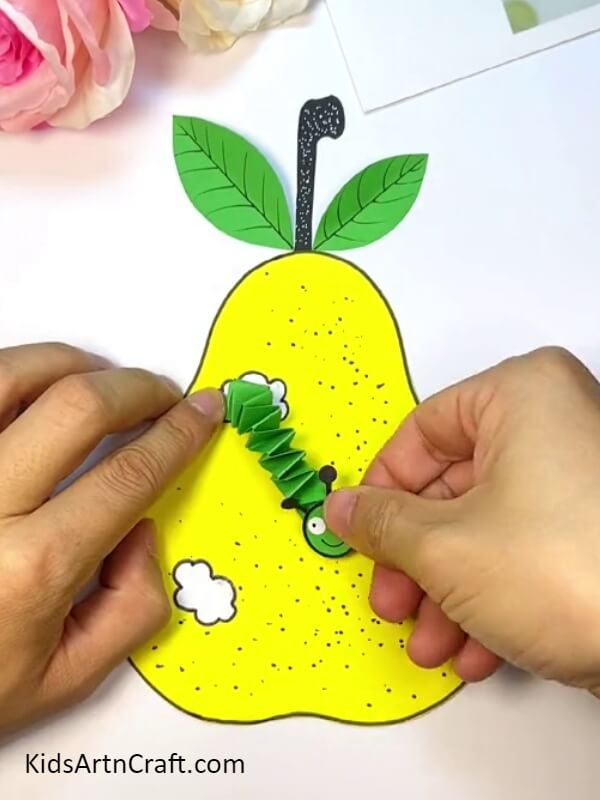
After making holes in the pear, now it’s time to make worms come out from the. For this start sticking the worms with the gluestick to make them out of the holes of the pear.
Step 12: Sticking All The Worms In The Holes
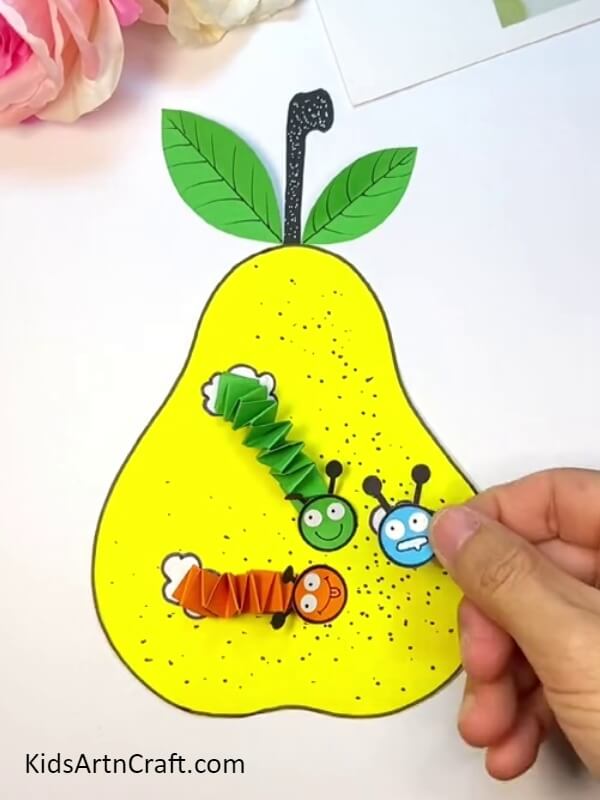
After sticking the first worm, now start sticking the orange and blue coloured worms in different holes as shown in the photo above.
Step 13: Sticking All The Worms In The Holes Of The Pear
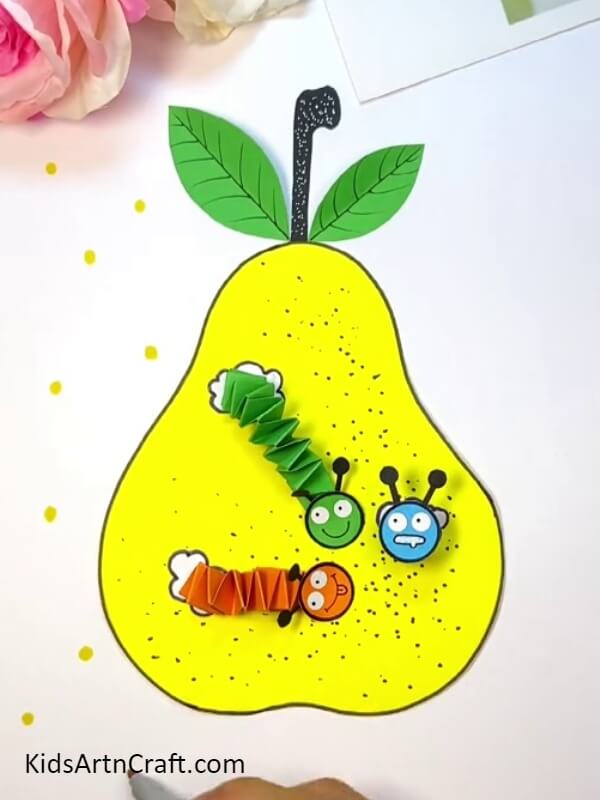
Now after sticking all the worms in the holes of the pear our pear with worm craft will look like this as shown in the photo above.
Step 14: Make Dots Decoration Around The Pear With Worms
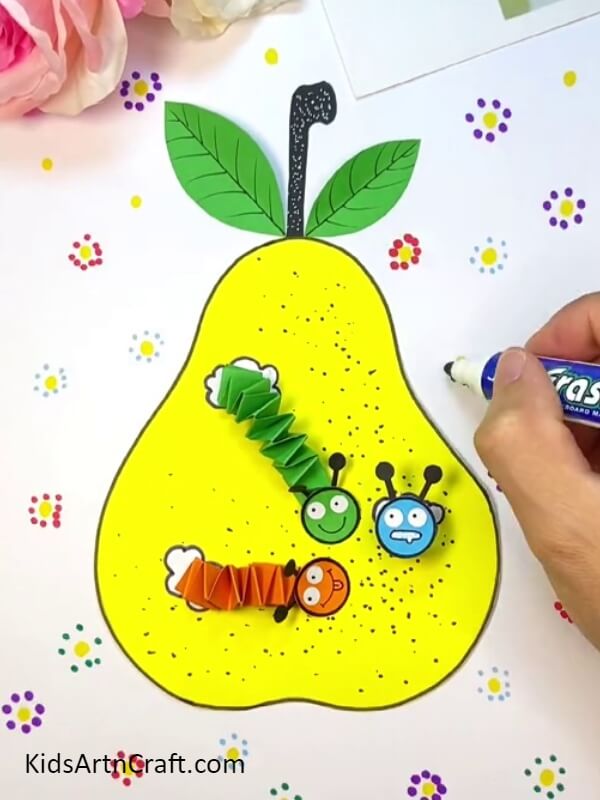
After sticking worms into the pear’s holes. Now it’s time to make some decorations around the pear with coloured sketch pens. For this take different colour sketch pens like pink blue, green, yellow and whichever you find, then start drawing small dots in the shape of flowers around the pear on the white paper as shown in the photo above.
Our Pear-Fruit Worm Craft Will Look Like This
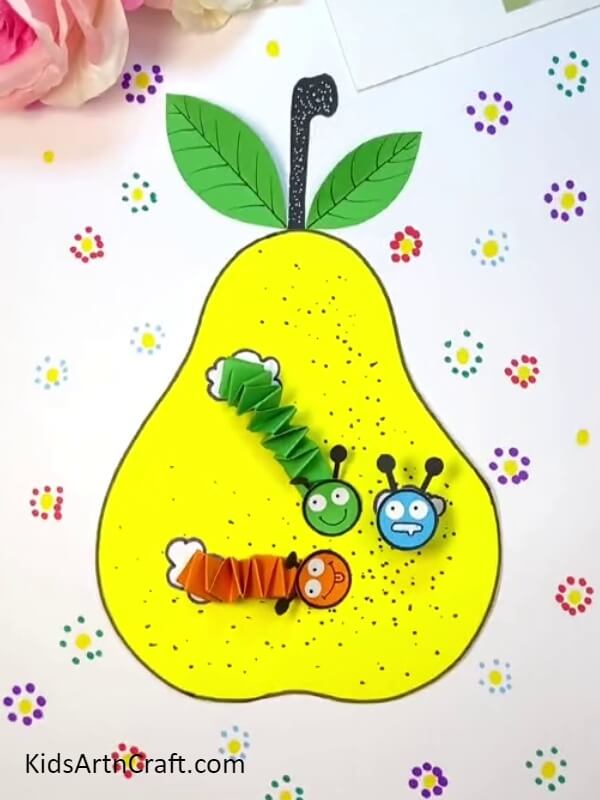
Tada! Our pear-fruit worm craft is ready. This pear is not fresh but yet very enjoyable to make. Please feel free to make any changes as per your choice, and be more creative by adding more details. You can try other fruits as well. Also don’t forget to enjoy the process. Now it’s time for you to try them out. This craft is beginner friendly as well. Also, let us know much you enjoy the process and how helpful you find the tutorial. We would love to read your comments.
Thank you for visiting our website!
Also, make sure to visit other articles as well.
Follow us on Youtube for art and craft tutorials and much more.
More Articles from Kids Art & Craft
- Caterpillar Crafts & Activities for Kids
- Pigeon Drawing & Sketches For Kids
- Fairies in Jar Craft Ideas for Kids
- DIY Christmas Yarn Wreath Ideas
- Farm Animal Crafts for 3-Year-Olds


