Kids Activities
How to Make Simple Paper Tree in Easy Steps

Create a simple paper tree in easy steps! Learn how to make a paper tree with simple materials like paper, scissors, and tape. Step-by-step instructions and pictures are included. Perfect for a fun DIY project or a crafty decoration.
Welcome to this simple paper tree craft tutorial! With just a few simple supplies, you can make a beautiful paper tree in a few easy steps. This craft project is perfect for kids of all ages and can be used for many different decorations and activities. So grab some paper and get ready to get creative!
Simple Paper Tree Craft Tutorial in Easy Steps
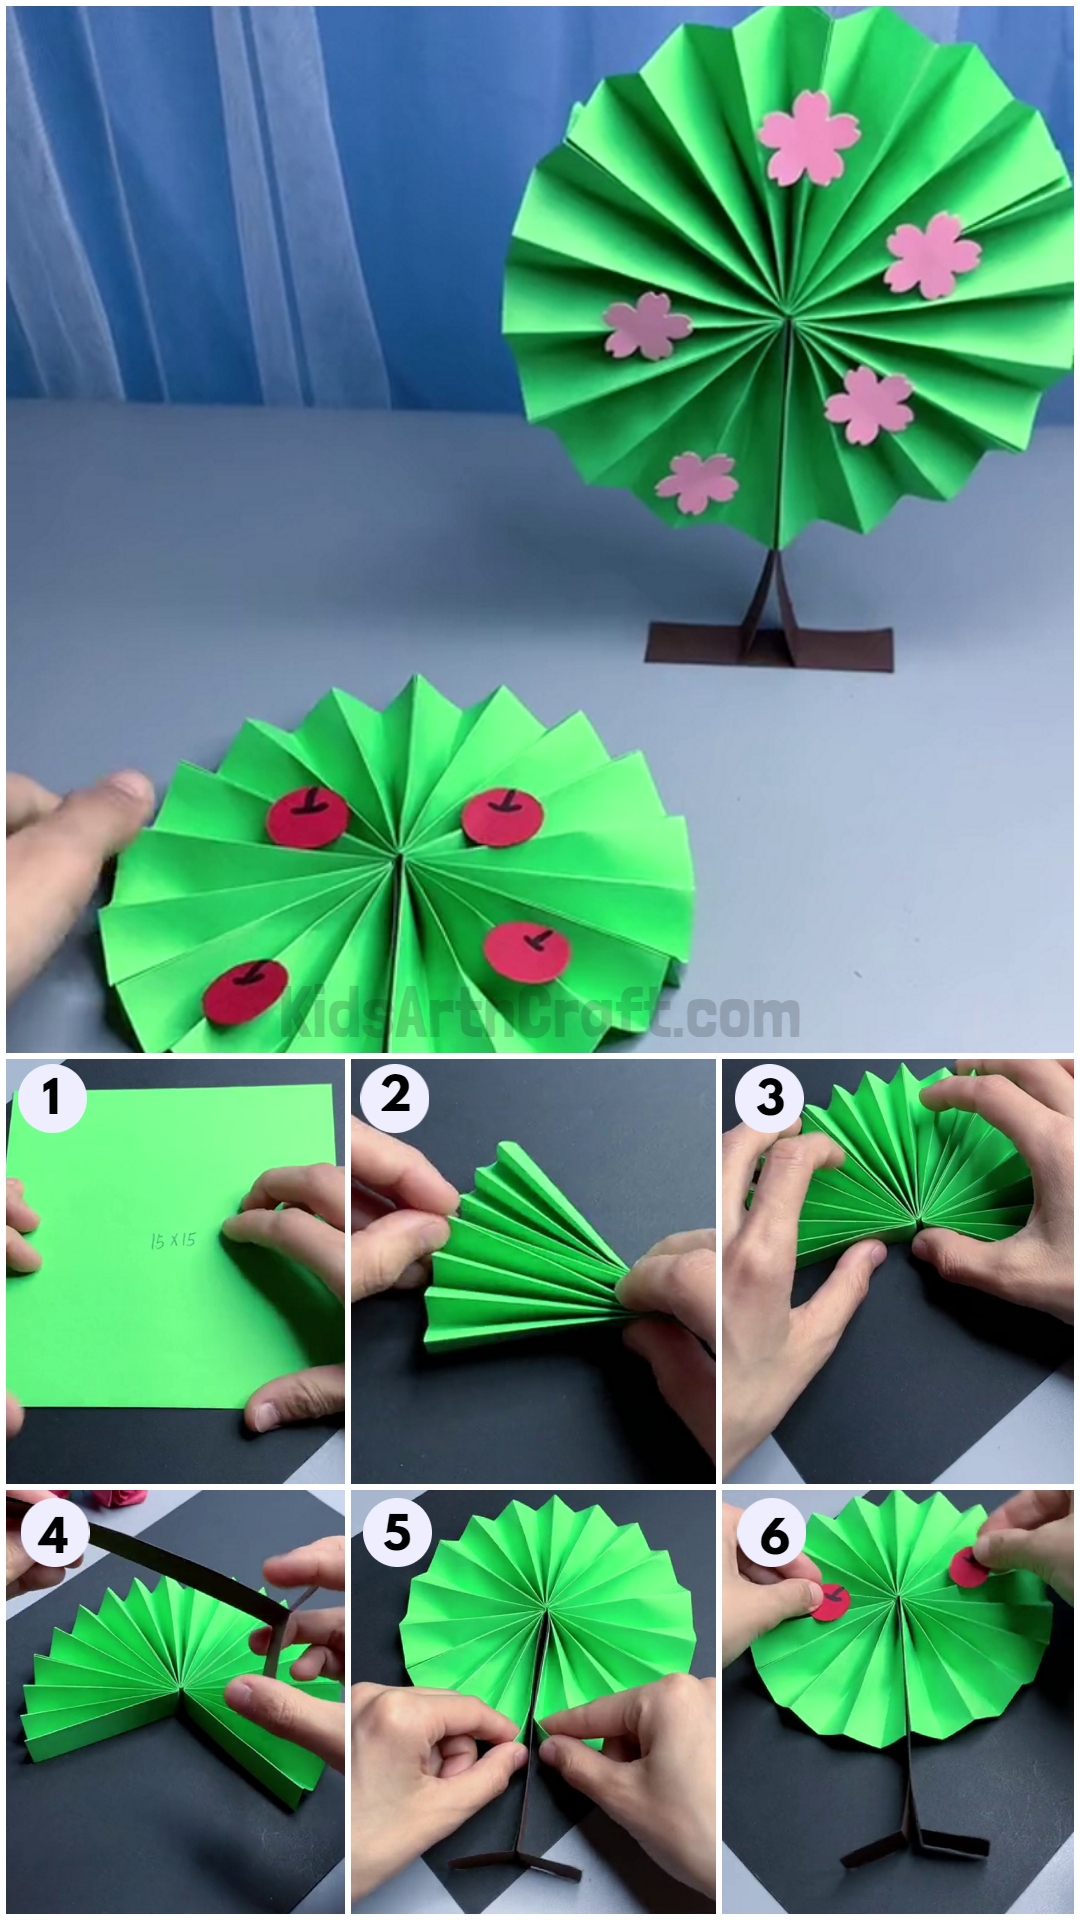
Materials Required:-
- Colored Paper (Green, Red, and Brown)
- Glue
Read More: DIY Paper Flower Craft – Step-By-Step Tutorial
Step 1: Making Paper Tree
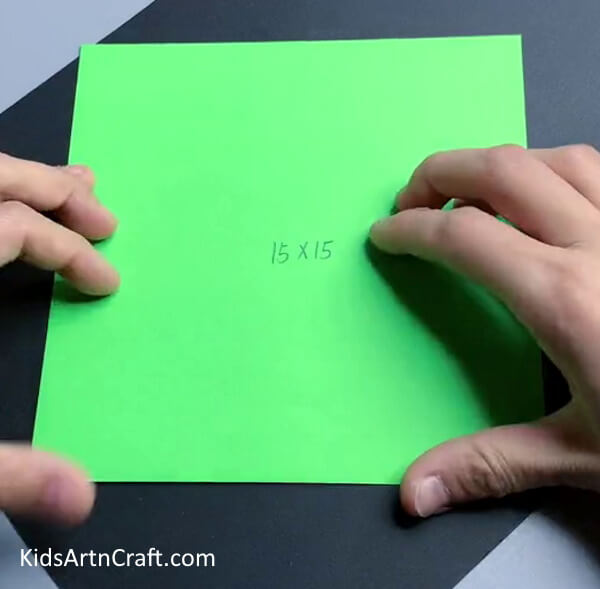
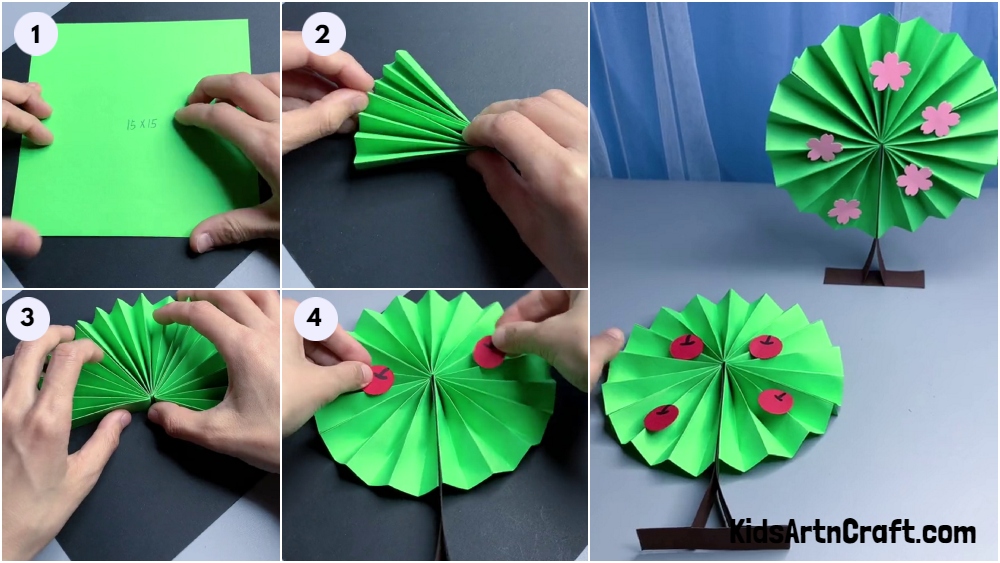
To make the paper tree craft, we need 15*15 cm square-shaped green paper.
Step 2: Folding The Green Paper
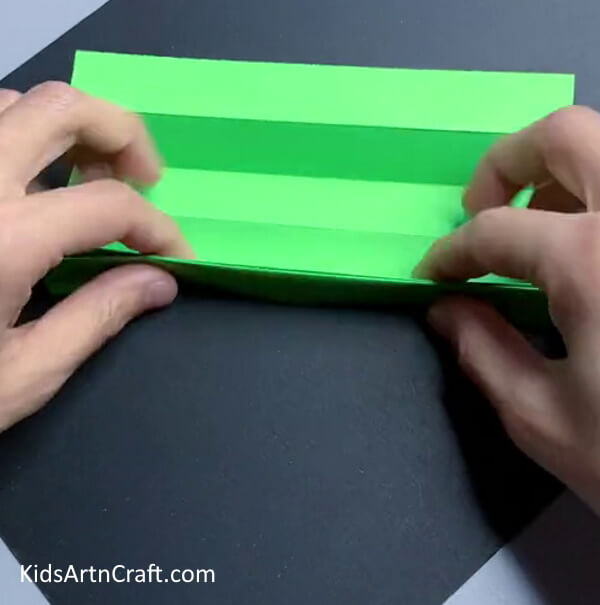
Now, make a fold about 2cm wide. Turn the paper over to the other side and make the same fold. Continue this process of turning the paper and folding it until the end.
Step 3: Folding The Paper In The Half
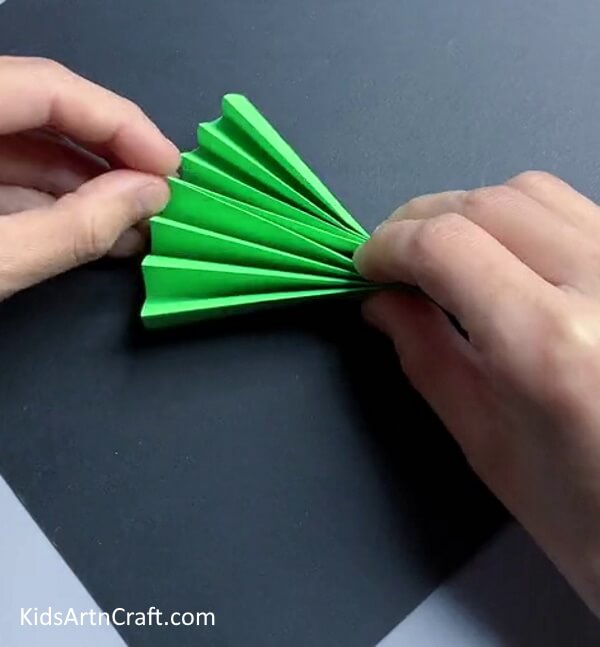
Fold half of the paper along with the width. Stick the inner half of the paper to each other.
Step 4: Pasting The Papers Together
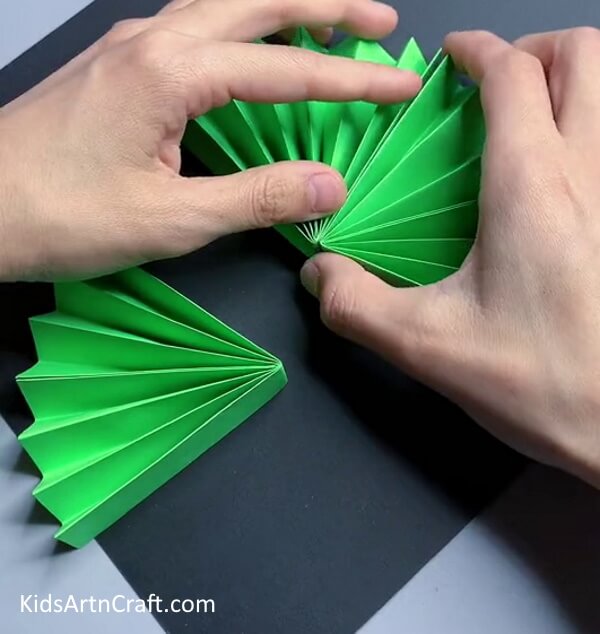
Repeat the same process of turning and folding the paper. And add it to the previous one.
Step 5: Pasting Another Folded Paper
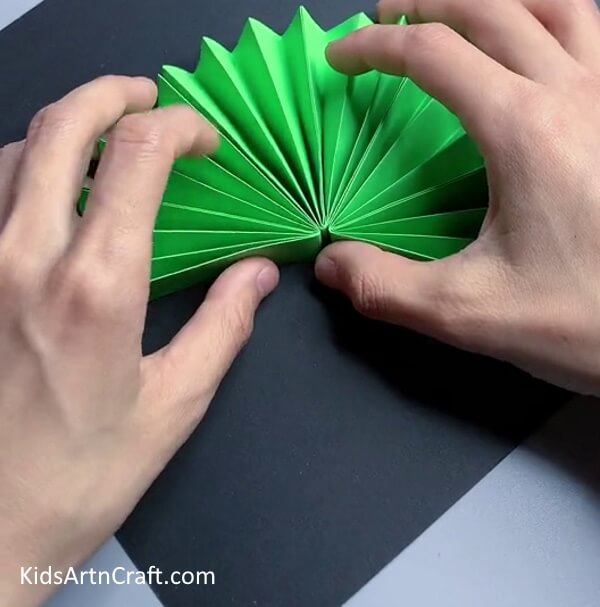
Make the two pleated semicircles. Now paste them together.
Step 6: Making Trunk Of The Tree
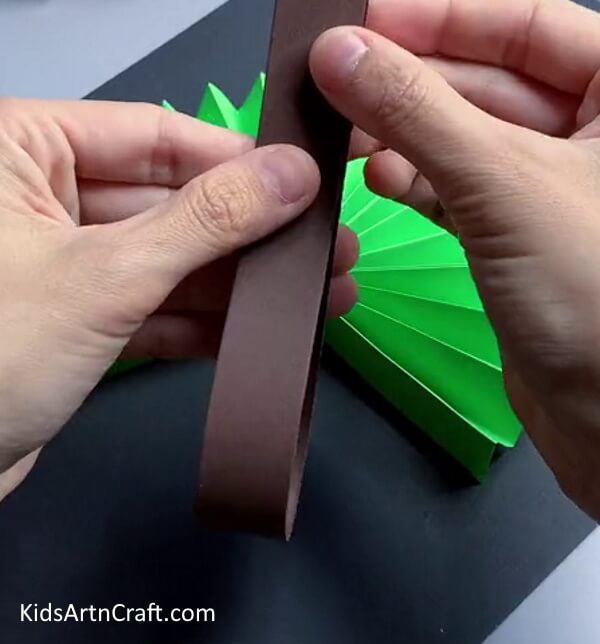
To make the trunk of the tree, take a piece of brown paper in a rectangle shape and fold it in half.
Step 7: Making Trunk
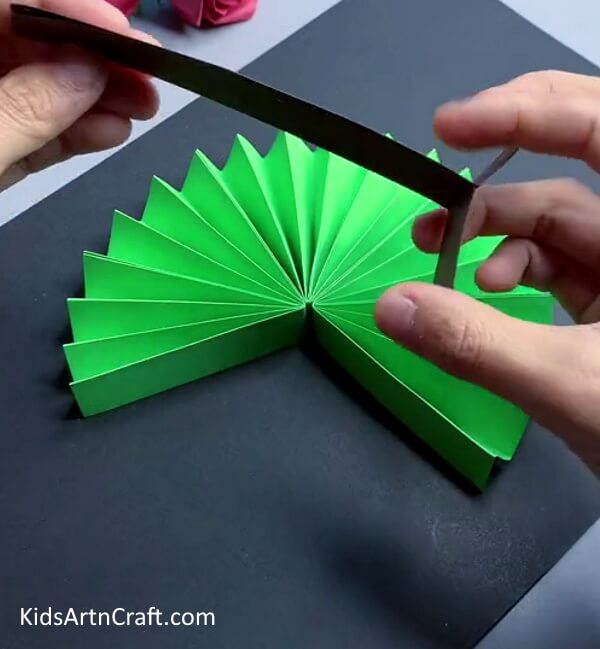
Paste the half by leaving the ends of the paper. And fold them in the opposite direction.
Step 8: Pasting Trunk To The Tree
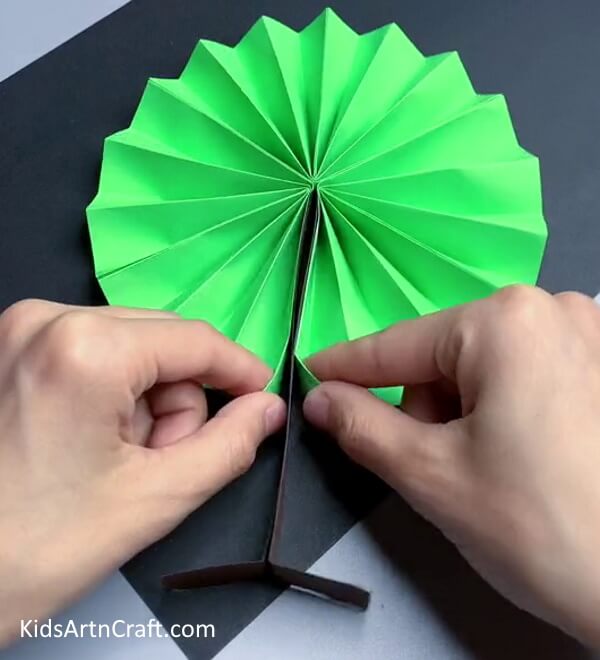
Paste the trunk to the tree so that the pleated semicircle should get a full circle shape as shown in the above image.
Step 9: Making Fruits To The Tree
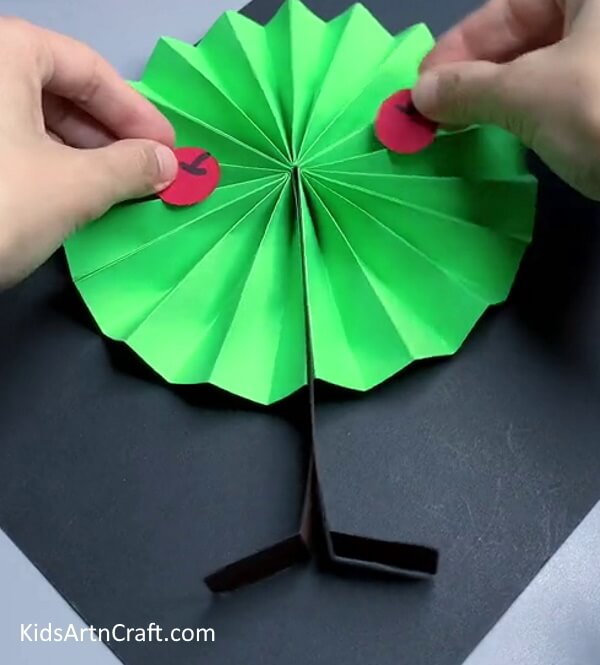
Using a red sheet, you can add fruits to the tree.
Step 10: The Tree Is Ready!
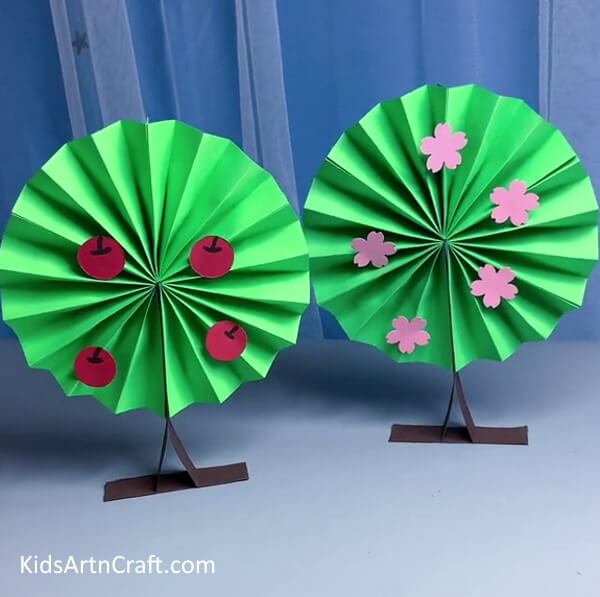
Your paper craft tree is ready. You can customize the fruits or flowers you want.
Final Image – Simple Paper Tree Craft For Kids
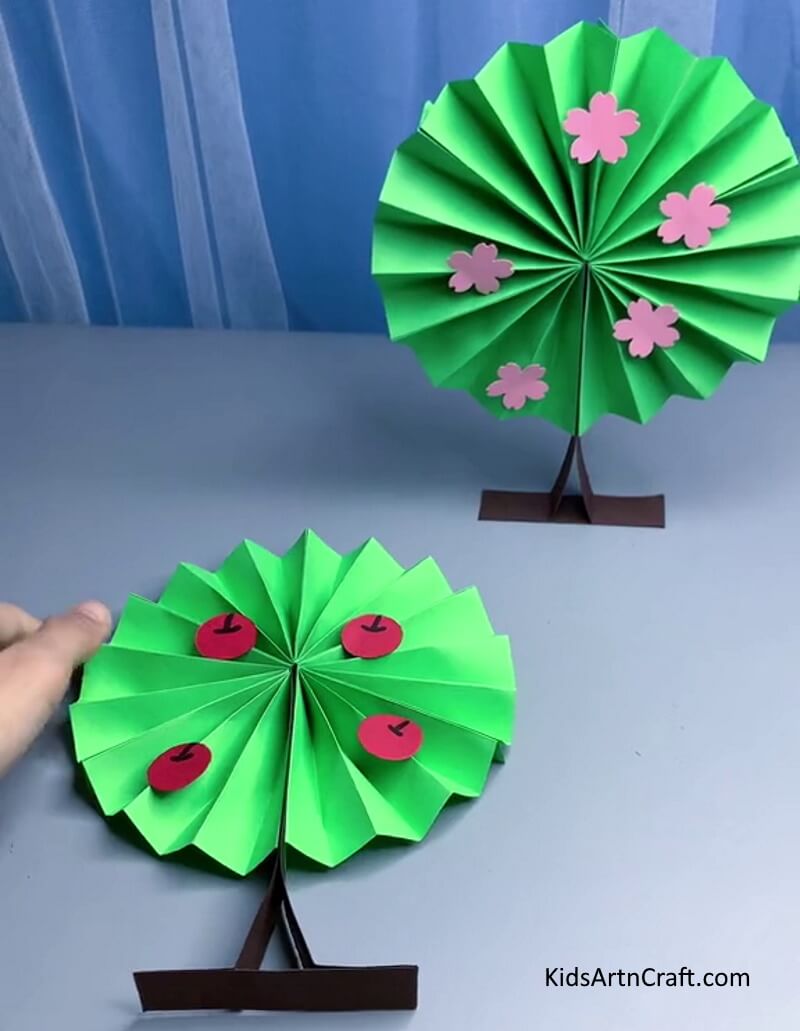
This simple paper tree craft tutorial is a great way to add a bit of creative flair to your home decor. With just a few easy steps, you can easily make a unique, beautiful paper tree to brighten up any room. Give it a try today with your kid. Enjoy!
Making a simple paper tree is a fun and rewarding activity for all ages. By using just a few simple materials, you can easily create your own unique paper tree that you can proudly display in your home or office.
Some More Tree Craft Tutorial
Easy To Make Paper Tree Craft For Kids
Image Source/Tutorial: Kids Art & Craft
This paper tree craft for kids is a fun activity that is easy to make and perfect for any season. All you need are some basic supplies and a few minutes of time to create a cute tree that your kids will love. Enjoy!
Lovely Ginkgo Fall Leaf Tress Craft For Kids
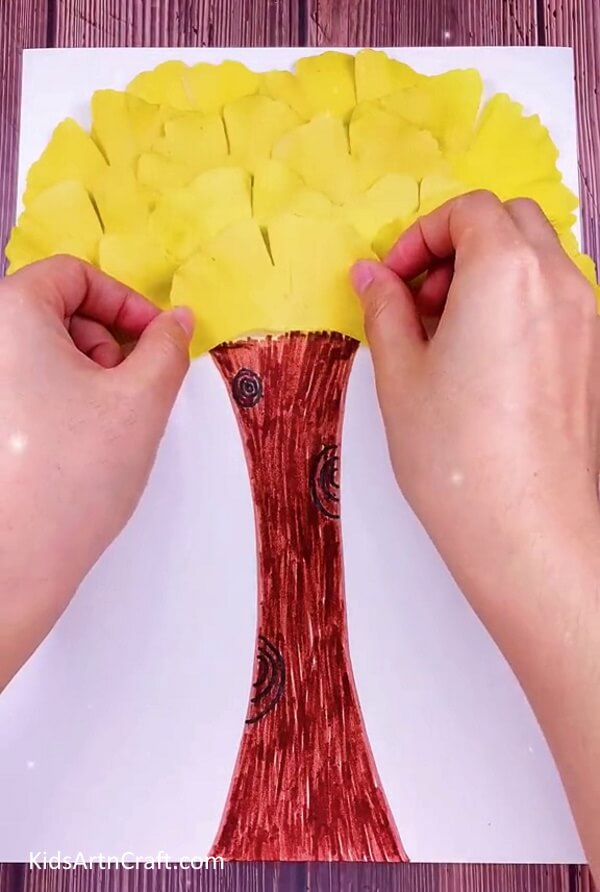
Image Source/Tutorial: Kids Art & Craft
This craft is perfect for kids to do during the fall season – it’s fun and easy to make and uses simple materials like construction paper, scissors, and glue. The finished product is a beautiful Ginkgo fall leaf tree that will look great in any window or room!
FAQs Related To How to Make Simple Paper Trees in Easy Steps
1. What materials are needed to make a simple paper tree?
You will need paper, scissors, a pencil, glue, and some optional decorations such as sequins or markers.
2. How do you make a simple paper tree?
First, you will need to draw a tree shape on the paper with the pencil. Then, cut out the shape. Next, use the scissors to cut the paper into thin strips. Finally, take the strips and glue them together to form the tree shape.
3. Can I use any type of paper to make a simple paper tree?
Yes, you can use any type of paper, including construction paper, cardstock, or even copy paper.
4. How can I make my simple paper tree look more realistic?
You can decorate your paper tree with sequins or markers to make it look more lifelike. You can also glue some small leaves or pieces of tissue paper onto the tree.
5. What other ways can I use to make a simple paper tree?
You can also make a paper tree using origami techniques. You can fold the paper into various shapes and then glue them together to form the tree.
6. How can I make my simple paper tree last longer?
If you want your paper tree to last longer, you can use a glue gun to secure the pieces together. You can also seal the paper tree with a coat of varnish or sealant.
Follow us on Youtube for art and craft tutorials and much more.
More Articles from Kids Art & Craft
- Fun To Make Paper Chick Craft
- Easy Paper Toy Crafts Make At Home Video Tutorial for Kids
- Cute Paper Crafts Video Tutorial for Spring Season
- Easy To Make Paper Butterfly Craft – Step-By-Step Tutorial
- Recycled Turtle Craft With Sun Using Leaves


