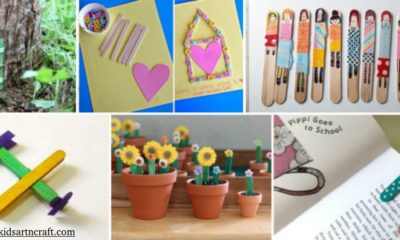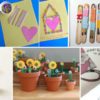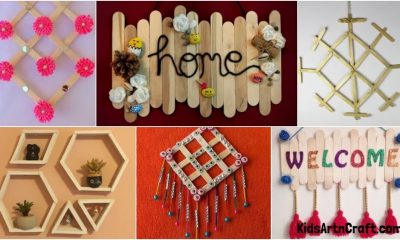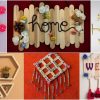


Popsicle Stick Crafts
Beautiful Swing Popsicle Stick Craft Tutorial For Kids

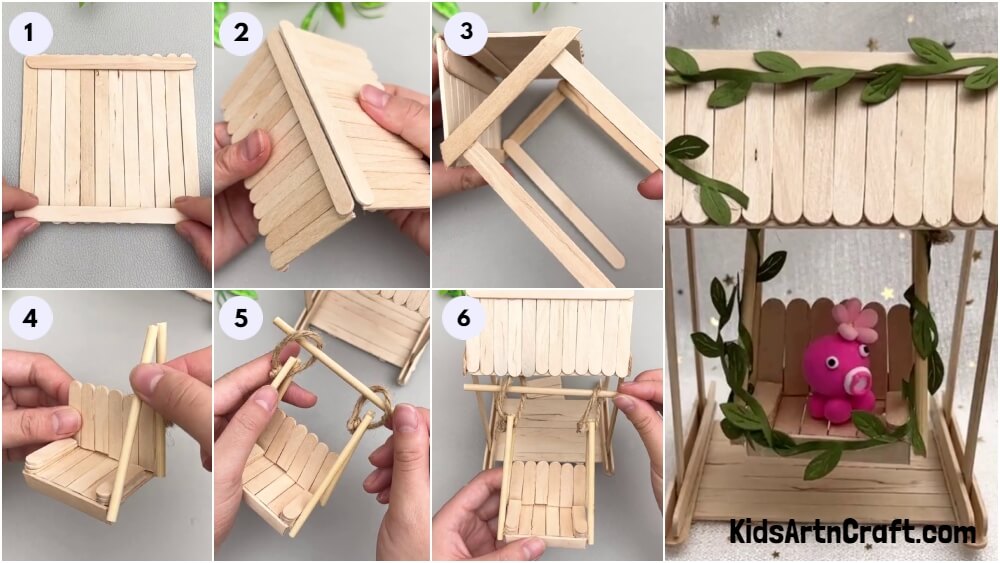
If you wanted a pretty swing in your garden then this is an alternative for you! This tutorial will guide you on making a mini swing!
Do not miss out on this craftwork! Dive into your imagination by creating a pretty swing of your dreams! This step-by-step tutorial will serve you as a guide on each and every step of making this popsicle stick swing from arranging to pasting, this article has got you covered on everything! This easy craft will be a piece for showcasing in your home or even used as a gift for your loved ones! It will thrive everywhere! This craft is a prefect option for all the craft lovers out there for sure! Let’s get up to their level by making a stunning popsicle stick swing!
Easy Beautiful Swing Popsicle Stick Craft For Kids

Read More: Cool Airplane Popsicle Stick Craft Step-by-step Tutorial For Kids
Materials Required
- Popsicle Sticks
- Wooden Sticks
- Craft Cutter
- Hot Glue Gun
- Scissors
- Green Paper Sheet
- A Pencil
- Jute Rope
Procedure
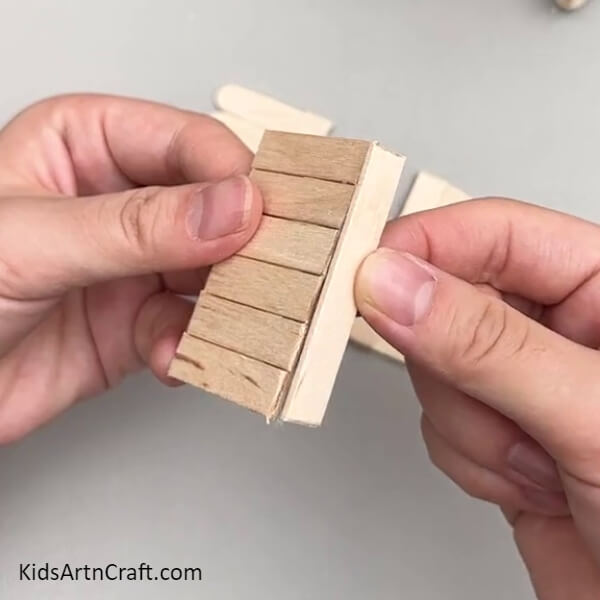
Step 1: Placing 12 Popsicle Sticks Together
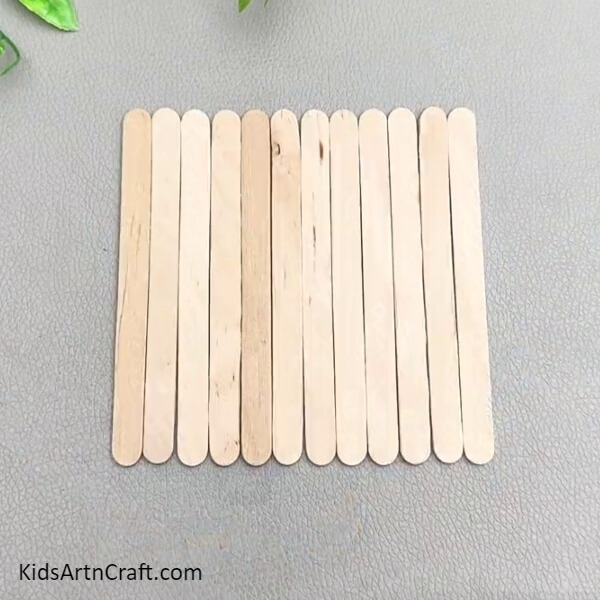
To begin this craft, take 12 popsicle sticks and place them together vertically as shown in the image.
Step 2: Pasting 2 Popsicle Sticks Over The Ends
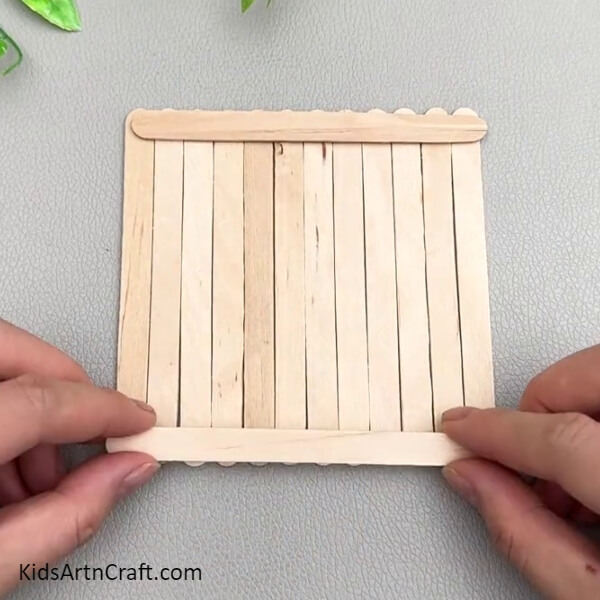
Using hot glue, paste 2 popsicle sticks horizontally on the top and bottom ends of the 12.
Step 3: Cutting The Sticks Structure Into 2 Halves
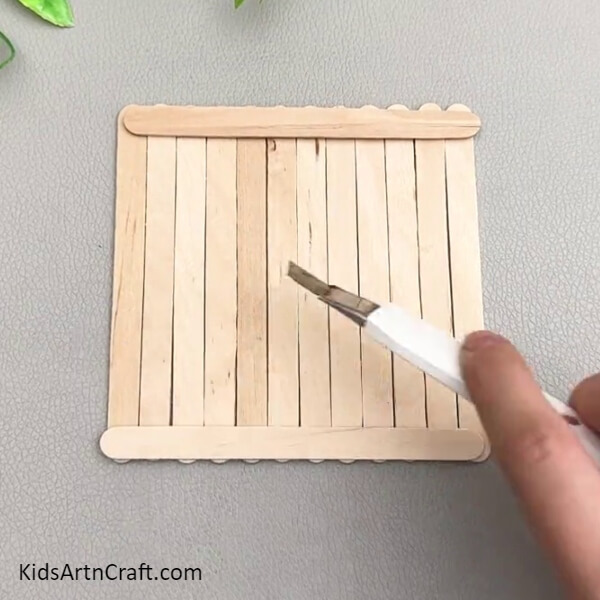
Using a craft cutter, cut the popsicle stick figure into half horizontally.
Step 4: Applying Hot Glue On The Back
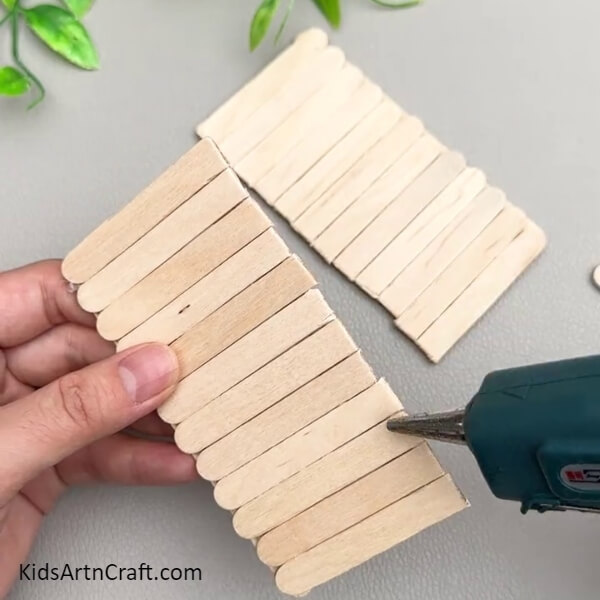
Turn the halves to the back side and using a hot glue gun, apply hot glue on the cut side of the figures.
Step 5: Pasting A Popsicle Stick Over Glue
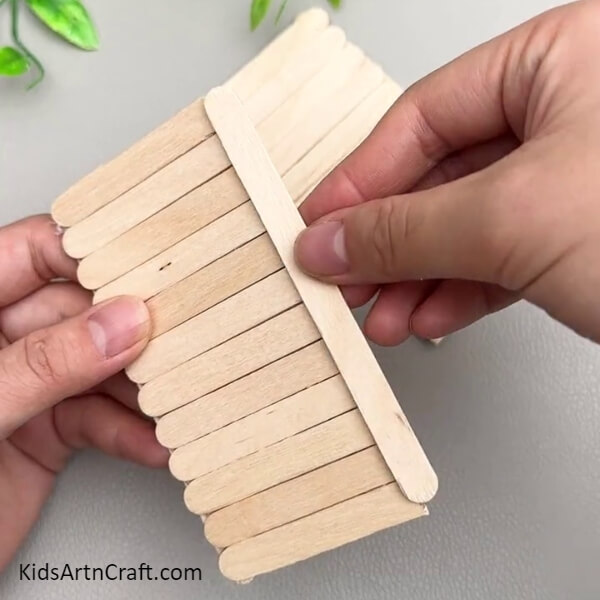
Paste a popsicle stick on the applied hot glue. This will be the slabs of the roof.
Step 6: Sticking The Slabs Together
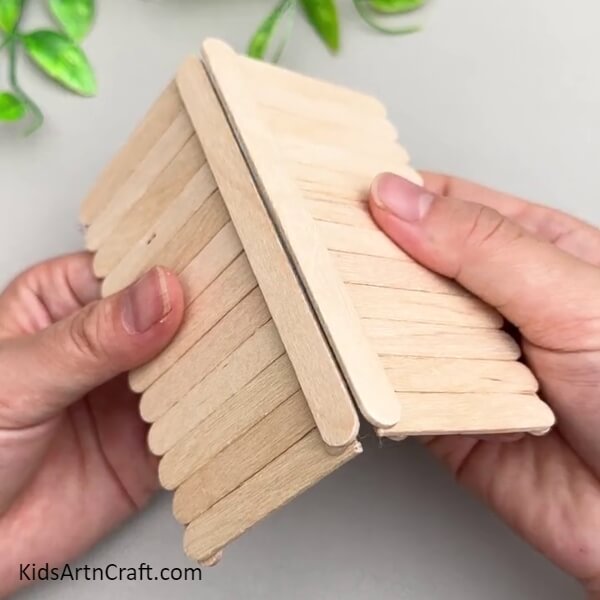
Using hot glue, paste the slabs together slantingly to form the roof.
Step 7: Making Triangles
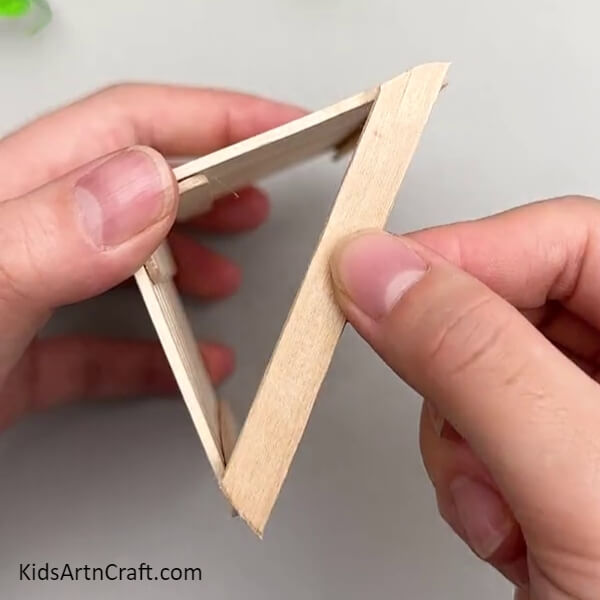
Cut out a piece of popsicle stick to paste it on the sides of the roof and form triangles on each side using hot glue.
Step 8: Making The Pillars
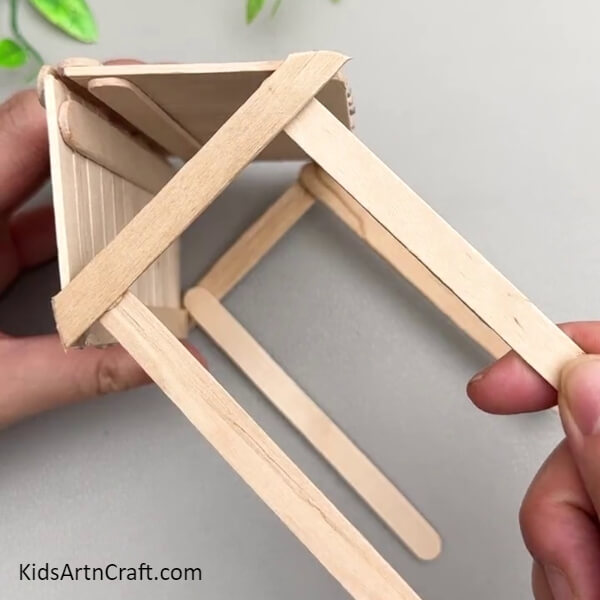
Paste 4 popsicle sticks on each corner of the roof triangle to make the pillars using hot glue.
Step 9: Making The Stand From Pillars
To make the stand for the pillars, popsicle sticks on the ends of the 2 pillars which share the same triangle on both sides using hot glue as shown in the image.
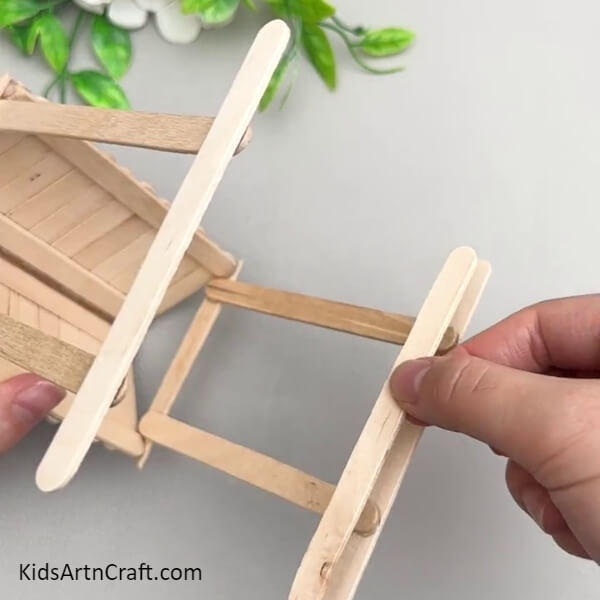
Step 10: Completing Making The Stand
Following the same, make the stand of the other pillars sharing the same triangle and keep your roof stand-up.
Step 11: Making The Base
Place 2 popsicle sticks horizontally together and paste 2 popsicle sticks on the ends of them vertically using hot glue. This will be the base.
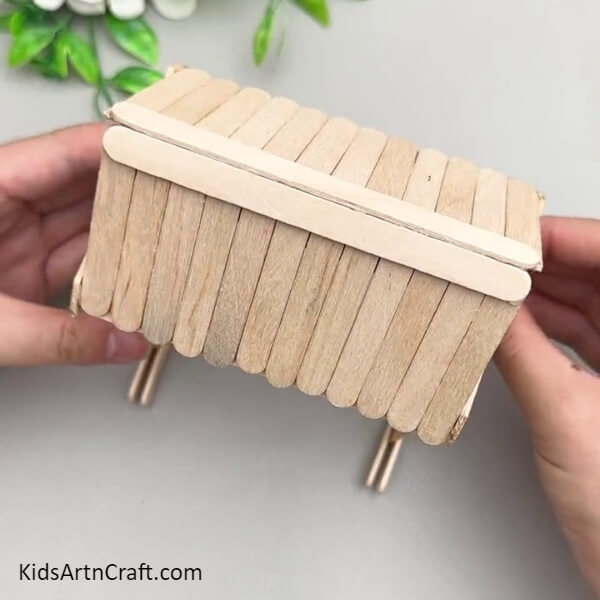
Step 12: Pasting The Roof Over The Base
Using hot glue, paste the standing roof over the base’s vertical sticks.
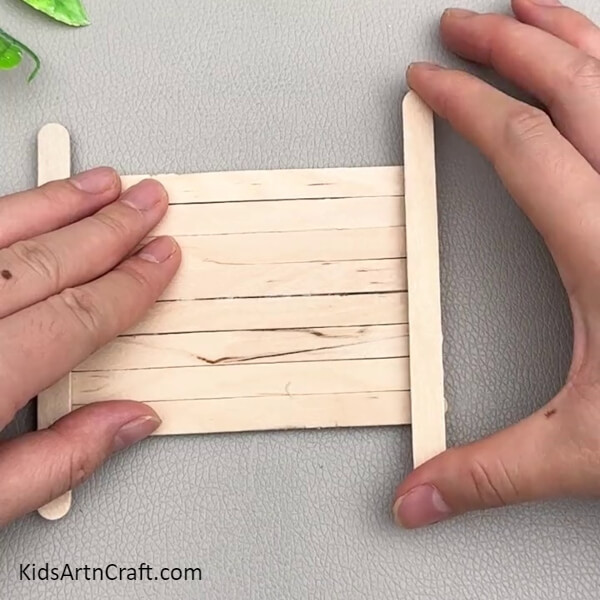
Step 13: Making The Parts Of The Swing Seat
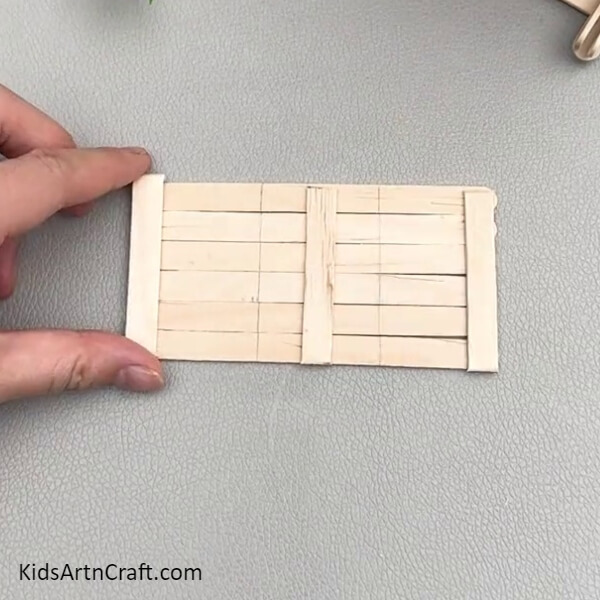
Place 6 popsicle sticks together horizontally and cut out 3 popsicle stick pieces of the size of the breadth of 6 popsicle sticks rectangle and paste 2 of them on the ends and one in the middle vertically using hot glue. Now, using a pencil mark 2 vertical lines over the figure to divide the rectangle into 3 equal parts.
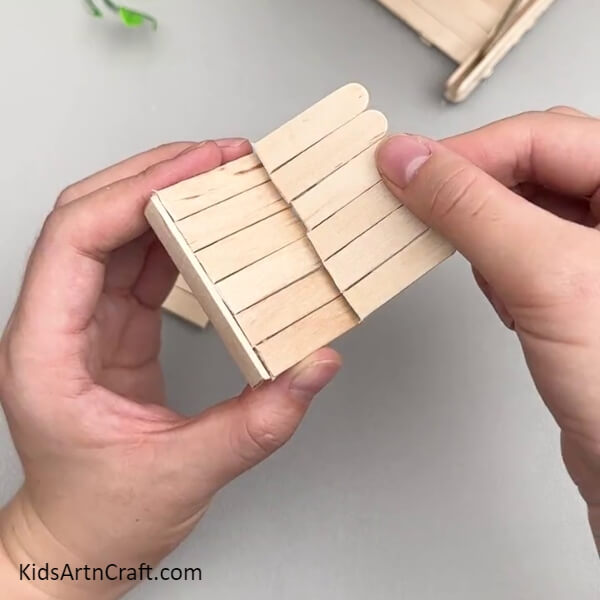
Step 14: Making A Seat
Using a craft cutter, cut out the pieces of your swing seat along the drawn lines. Now, take the middle piece and stick a piece of popsicle stick over the longer side of it perpendicularly on the boundary as shown in the image using hot glue, this will be the seat.
Step 15: Attaching The Backrest To The Seat
Take the other cut part of the rectangle and paste it over the seat opposite to the perpendicular stick and a little tilted, keeping the curved edge upward using hot glue to make the backrest of the seat.
Step 16: Making The Handles

Cut out 6 curved pieces of popsicle sticks of the same size and paste them on the seat sides with 3-3 pairs of them to make the handles of the swing seat.
Step 17: Pasting A Wooden Stick Piece On The Seat
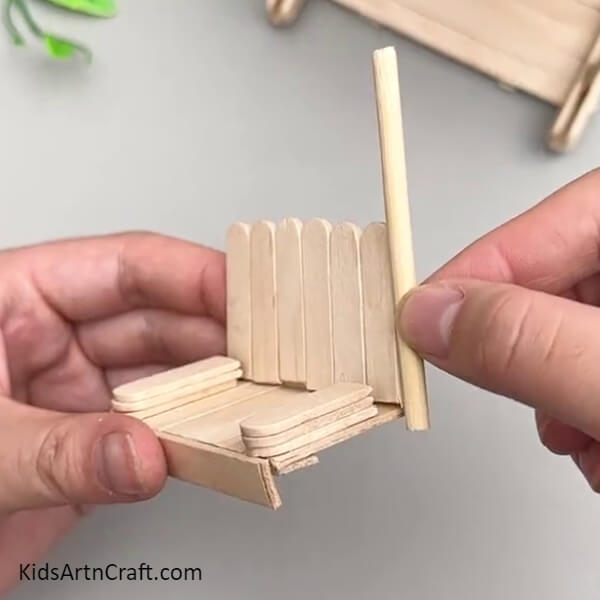
Cut out a wooden stick using a craft cutter and paste it along the backrest side on the boundary using hot glue as shown in the image.
Step 18: Inserting A Rope Loop
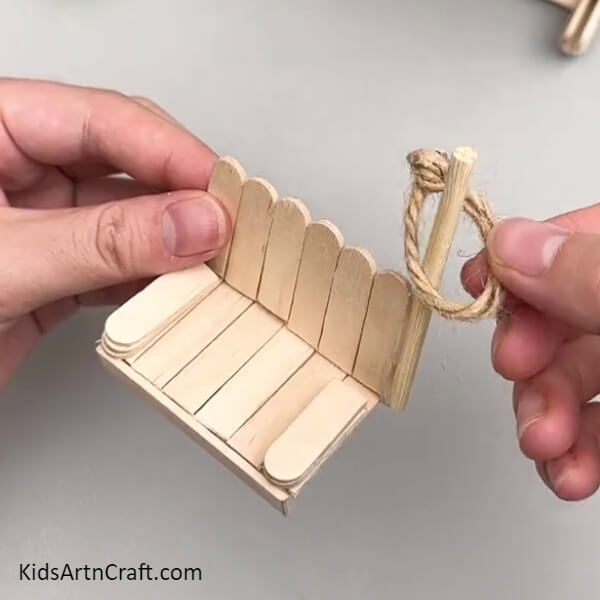
Make a loop of jute rope and insert it into the wooden stick.
Step 19: Pasting Another Wooden Stick
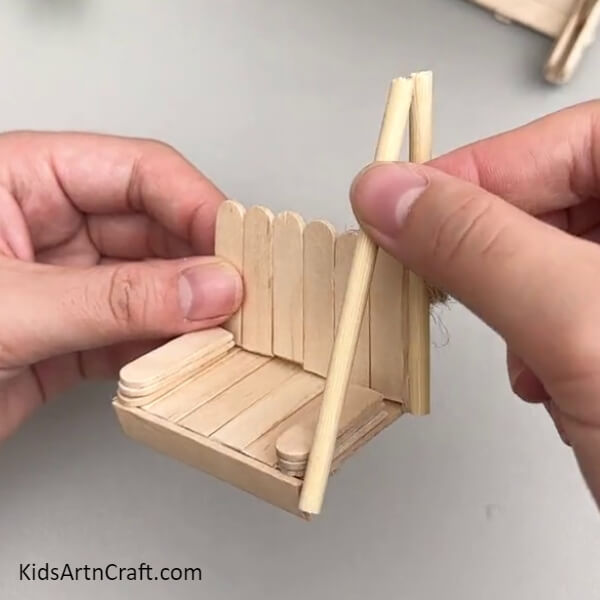
Paste another wooden stick from the corner of the seat to the top of the already pasted wooden stick using hot glue to make a triangle of them.
Step 20: Making Another Wooden Stick Triangle And Inserting Stick In The Loops
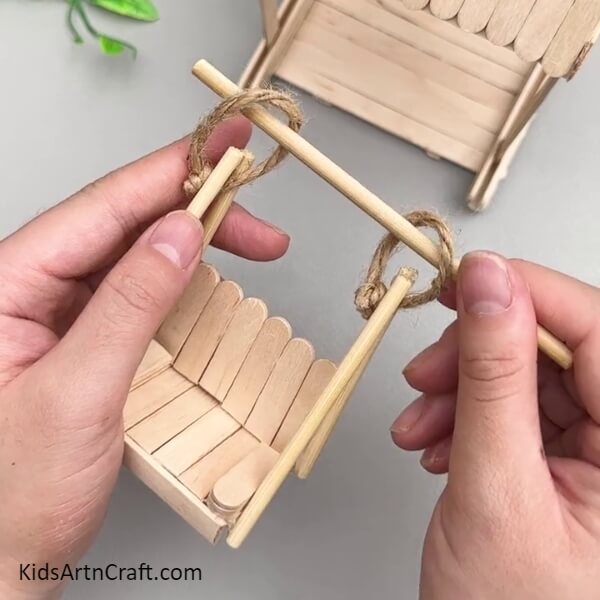
Following the same previous steps, make another wooden stick triangle of the same size as the one you already made on the side of the seat. Now, take the loops up and insert a wooden stick through both loops. This completes your swing seat.
Step 21: Sticking The Swing Seat In The Roof Base
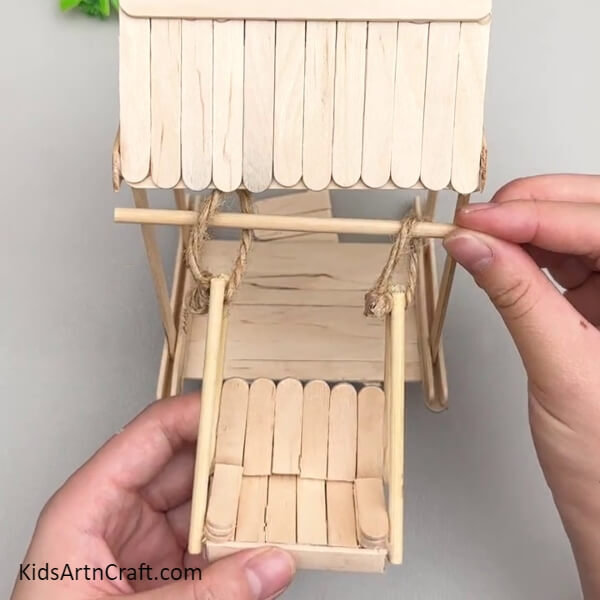
On the side triangles of the roof, stick the wooden stick inserted in the loops using hot glue to complete your swing.
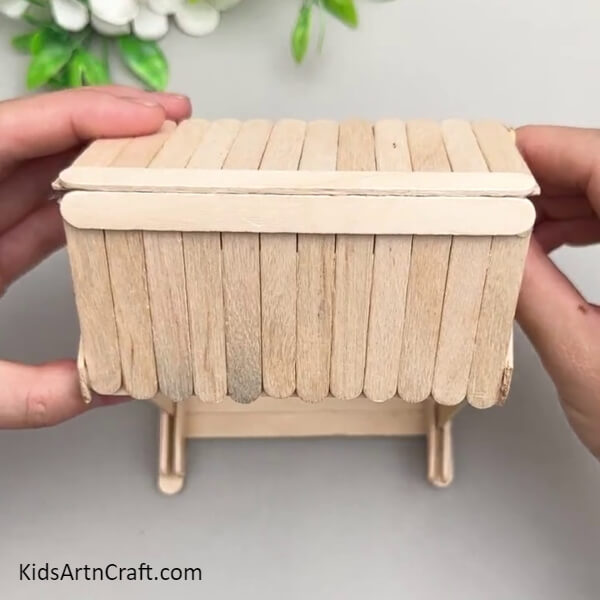
This Is The Final Look Of Your Wooden Swing Craft!
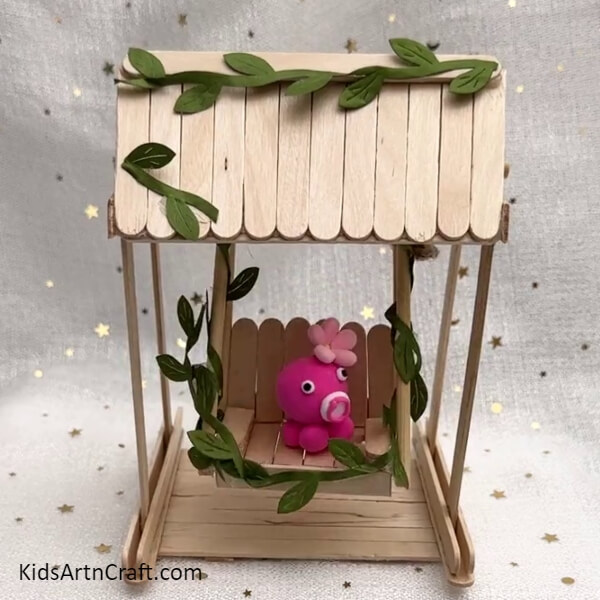
Cut out some leaves attached with a long strip of green paper and paste them onto the swing wooden sticks and some on the roof as shown in the image.
Congratulations! Look at the amazing swing that you’ve created! Your prettiest swing is ready in no time!
Show off your amazing creation to everyone in the room! Flaunt your crafting skills by teaching your friends to make it too! This will be a fantastic craft to make in your boring afternoon hours to create something stunning that everyone will admire! You could even give colors to your popsicle stick swing to match it with your room or anything you like! Your imagination is the limit to customizing this craft swing!
We hope you enjoyed making it as much as we did. Mention your suggestions, experiences, and opinions in the comment section; we would love to hear from you.
Follow us on Youtube for art and craft tutorials and much more.
More Articles from Kids Art & Craft
- Unique Popsicle Stick Flower Vase Craft Tutorial For Beginners
- Creative Popsicle Sticks Archery Toy Craft Making Idea For Beginners
- Popsicle Sticks Chair Craft-Making Tutorial
- DIY Hatching Baby Dinosaur Craft Using Popsicle Stick
- Learn To Make Popsicle Stick Dragonfly Craft