Painting
Pretty White Cherry Blossom Flower Vase Painting Craft Idea

This craft is great for spring! Paint a vase to look like a white cherry blossom flower using a few materials and steps. It will bring beauty to any room.
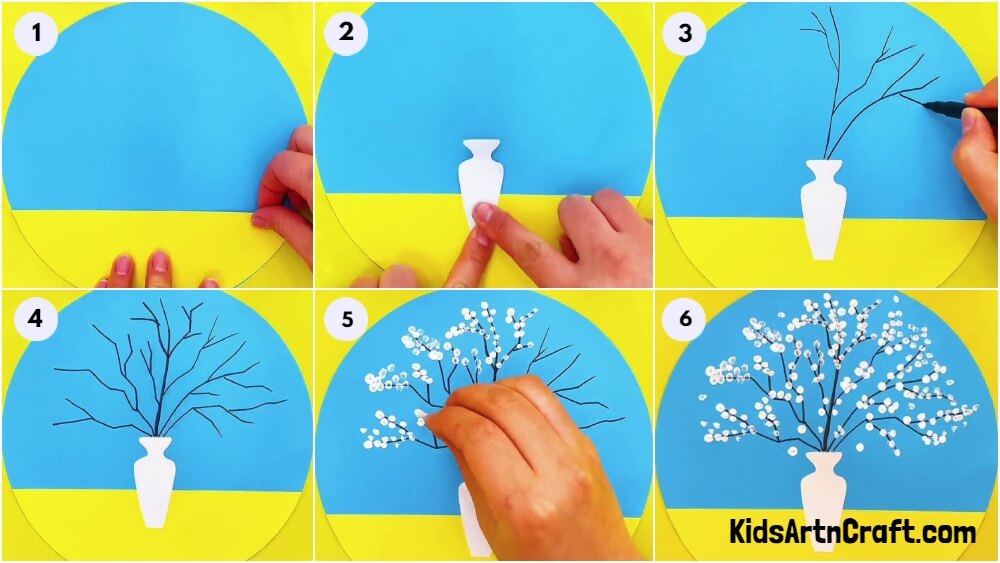
Welcome to this step-by-step tutorial on how to paint a white cherry blossom flower vase! This is a fun activity for kids and can also be a stress buster for adults. In this craft, we will learn to paint a pretty little flower vase in a few simple steps. All that we need for this craft is colored paper, paint, marker, and earbuds. Come on, let’s paint a beautiful flower vase to hang in our rooms.
Pretty White Cherry Blossom Flower Vase Painting Step-by-Step Tutorial
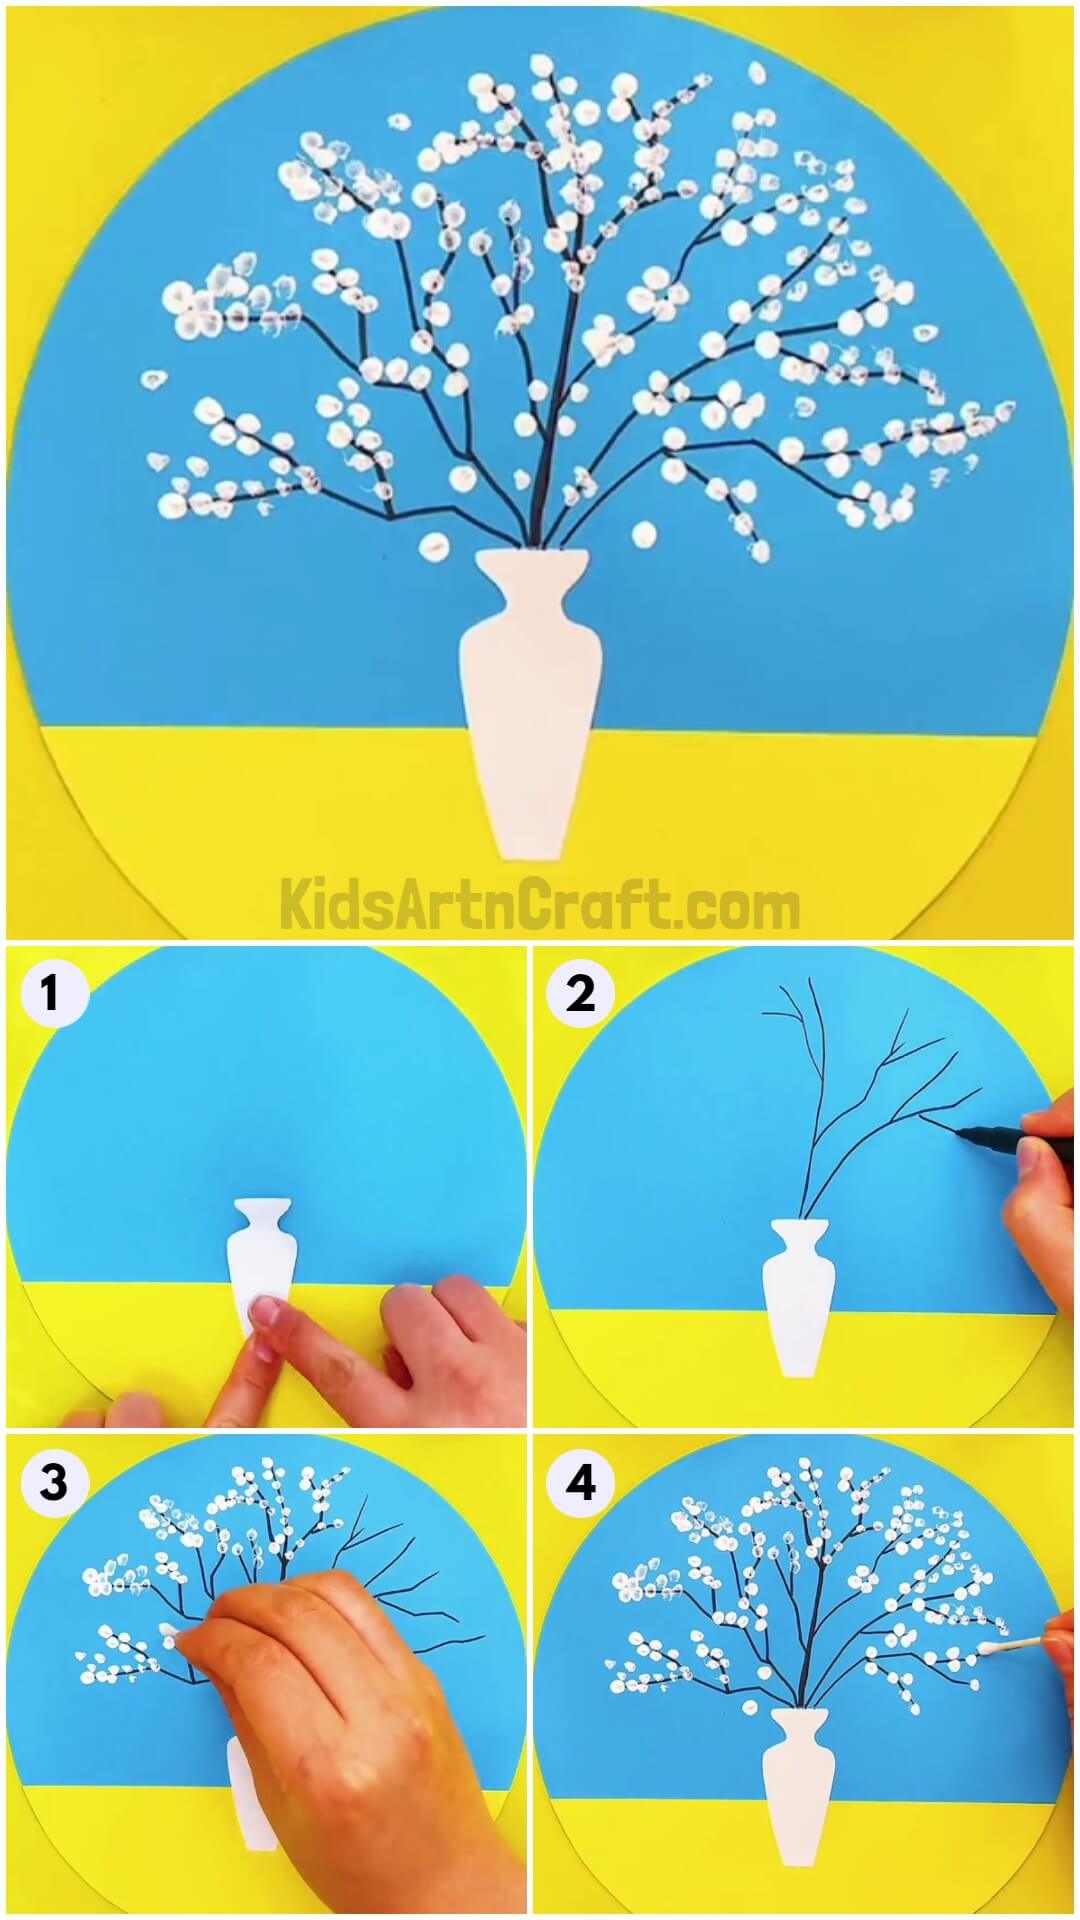
Read More: Pretty Poppy Flower Garden Painting Art For Kids
Material Required
- Sheets of colored paper (We are using blue, yellow, and white papers here)
- Scissors and glue
- Black marker
- White acrylic paint
- Earbuds
Procedure
Step 1: Make A Background For Our Vase Painting
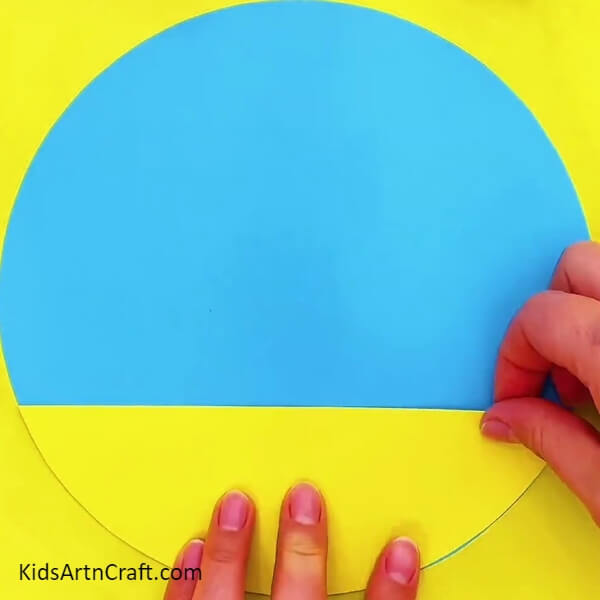
Let’s start by cutting a circle of radius 10-15 cm from the blue color paper. Now cut a semi-circle from the yellow paper in proportion to your circle and stick it to the bottom part of the circle as shown in the picture.
Step 2: Making The Vase
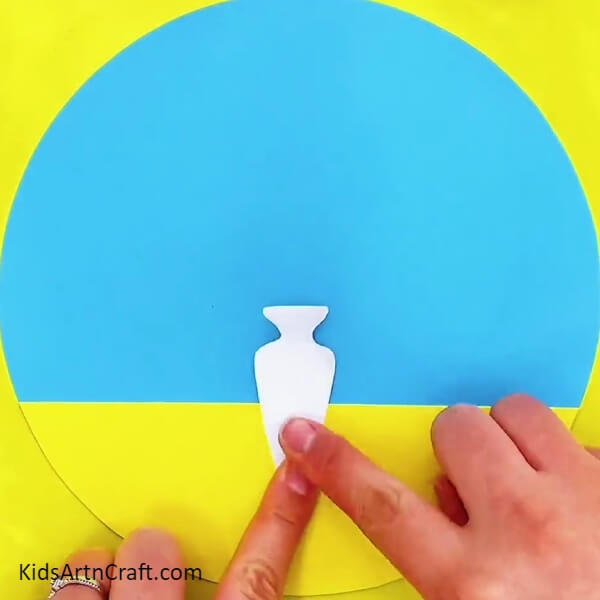
Using scissors, cut out a small vase from white paper. Now stick the vase to our background.
Step 3: Drawing The Branches
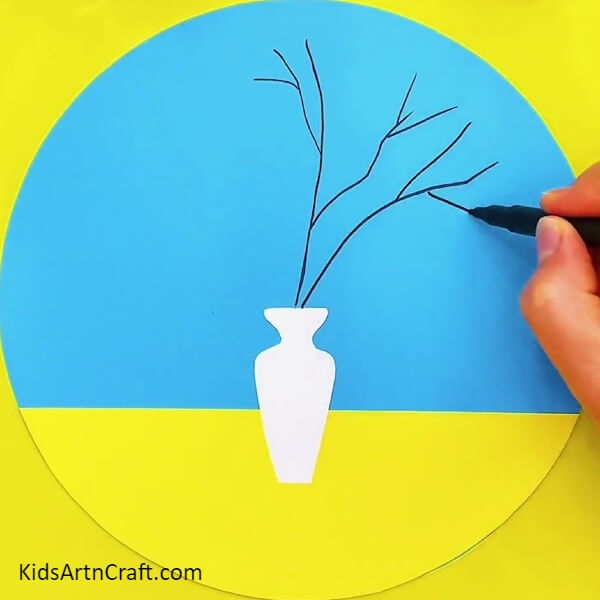
Now let’s draw the branches. Use a black marker to draw the branches.
Step 4: Completing The Branches
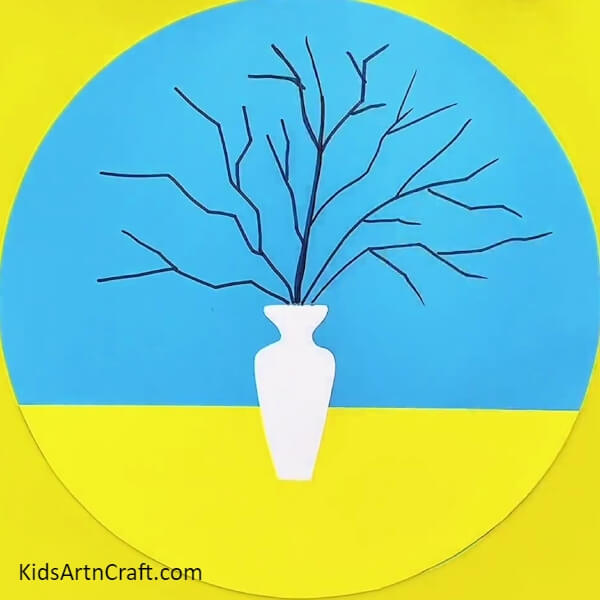
Complete drawing the branches. Our vase is now ready for some pretty flowers.
Step 5: Painting The Cherry Blossoms
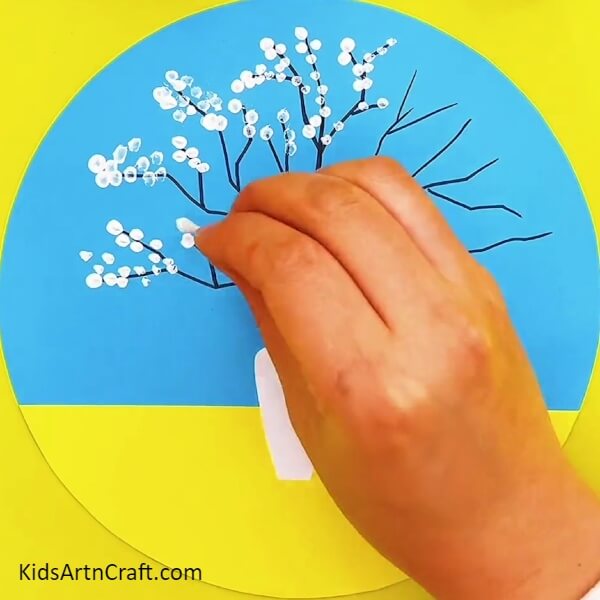
Now dip the earbud in white paint and press it on the branches to make our pretty white cherry blossoms.
Step 6: Adding More Flowers To The Vase
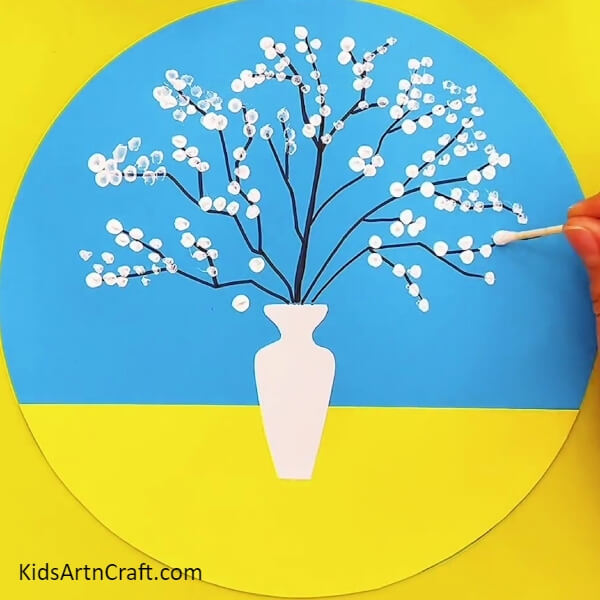
Using the earbud, add more and more flowers to the branches to make our vase look prettier.
Finally, Our White Cherry Blossom Vase Painting Is Ready!
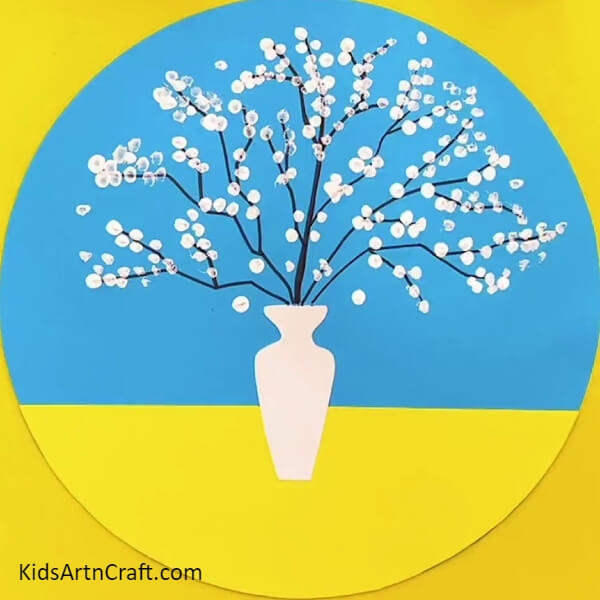
Our vase is now pretty with all the cherry blossoms blooming. This is a very easy painting that can be taken up by both adults and kids alike. You can get more creative by painting other pretty flowers on the vase to make it look more beautiful.
Hope you liked the step-by-step vase painting tutorial. We would love to see your suggestions and thoughts in the comment section below. Also, visit our website for more simple craft ideas!
Thank you for visiting our website.
Follow us on Youtube for art and craft tutorials and much more.
More Articles from Kids Art & Craft
- How to make Sunflower From Paper Cup Craft
- How to Make Clay Flower Easy Tutorial for Kids
- Realistic Tree Landscape Stamp Painting Using Fruit foam
- Cute Penguin Hand Outline Painting Tutorial For Kids
- Handmade Rainbow Painted Rock Ideas


