Fall & Autumn
Leaf Turkey Craft Step By Step Tutorial For Kids

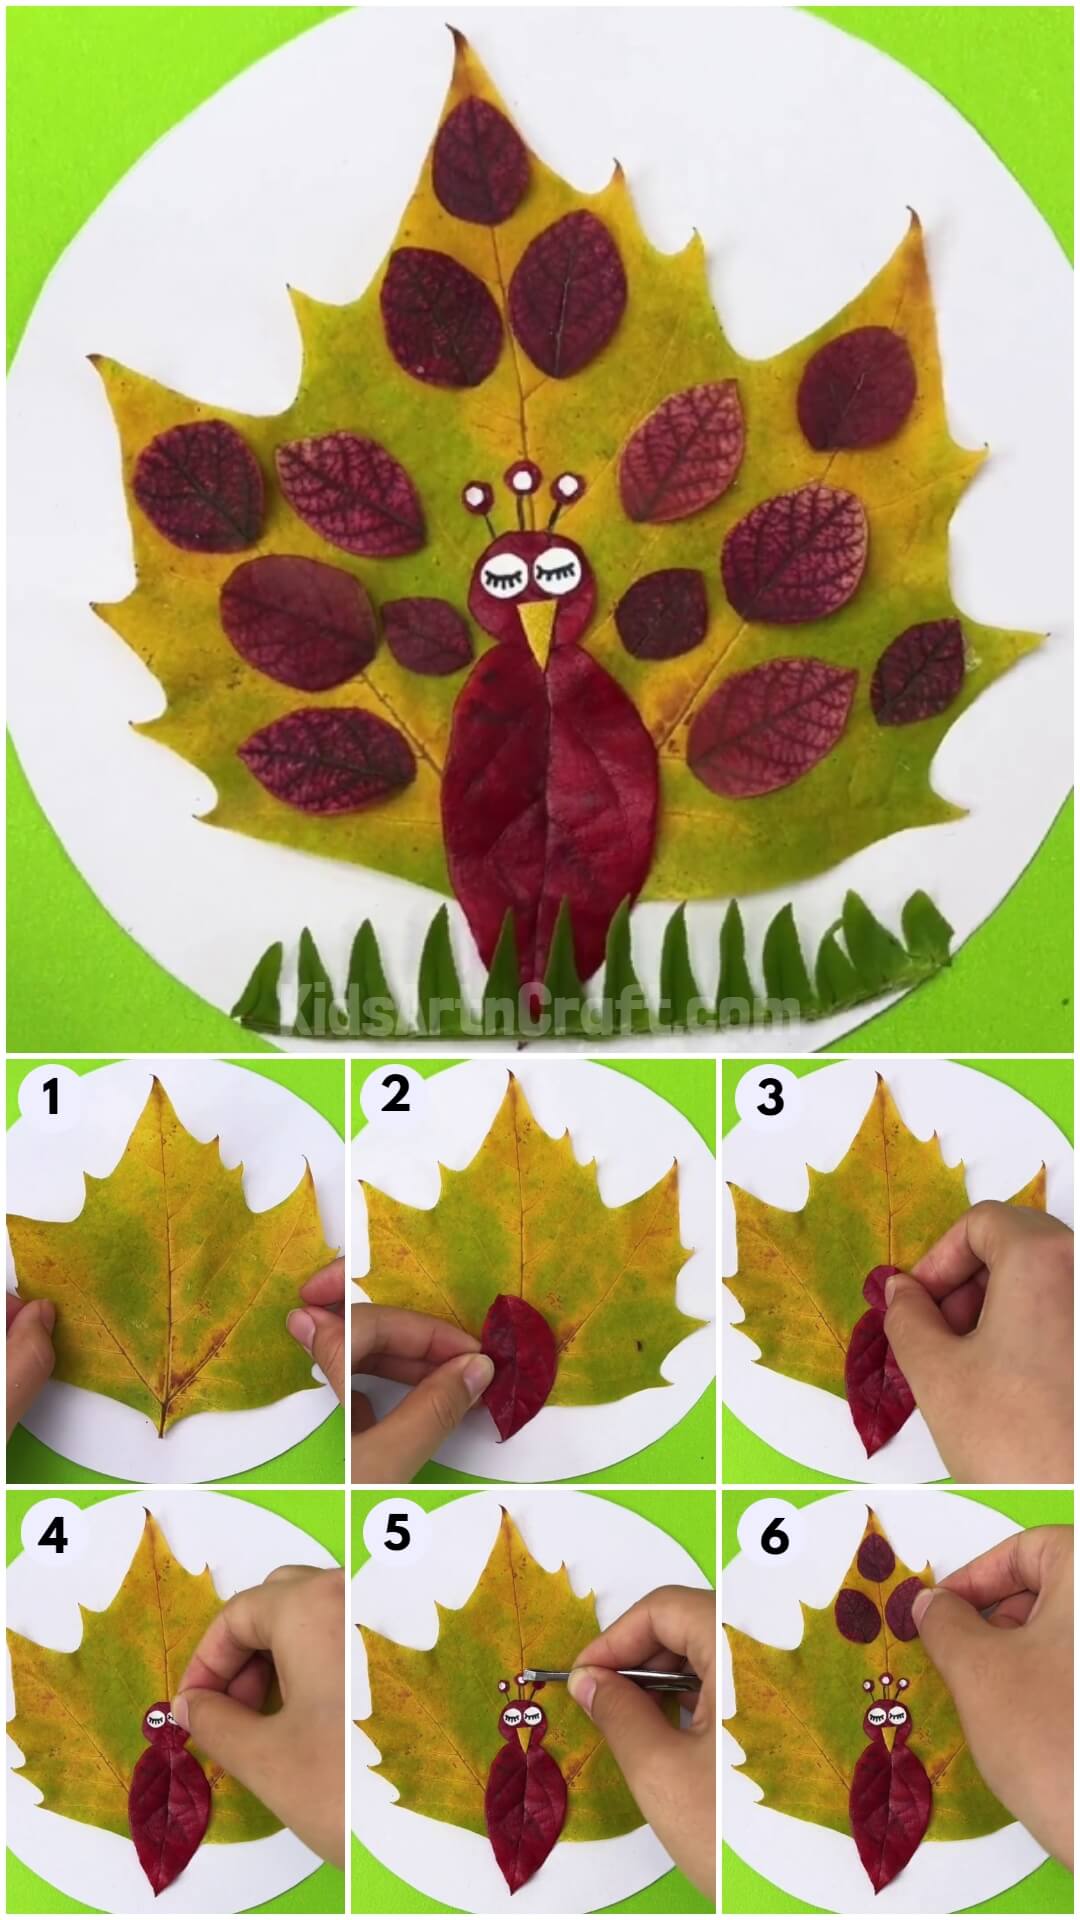
Looking for a budget-friendly craft with minimal craft supplies? Here you got a step-by-step tutorial for making a turkey with fall leaves!
Make up a pretty craft using up those waste fall leaves!! Yes, you heard it right! Through this tutorial, you will be able to make a turkey with the fall leaves! Isn’t it amazing? Creating something beautiful out of mere waste. This craft will be a fun time pass for you and you can create it with the minimal craft supplies you already have with you! To add up to its benefits, it is full of creativity and motor skills, and your kiddos, themselves will love to engage in this learning activity! What are you waiting for? Let us begin!
Easy Leaf Turkey Craft For Kids
Read More: Creative Fall Leaf Lotus Craft Tutorial For Kids
Materials Required
- White Paper Sheet
- Fall Leaves (Red, Yellow, And Green)
- Scissors
- Glue
- Black Marker
Procedure
Step 1: Gathering Materials
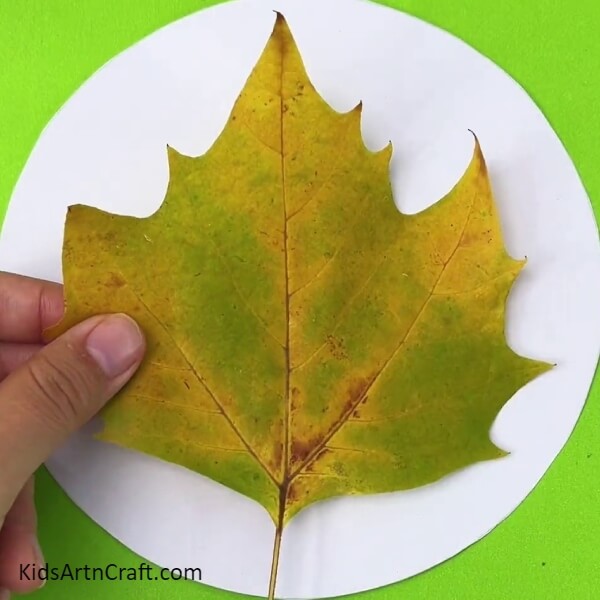
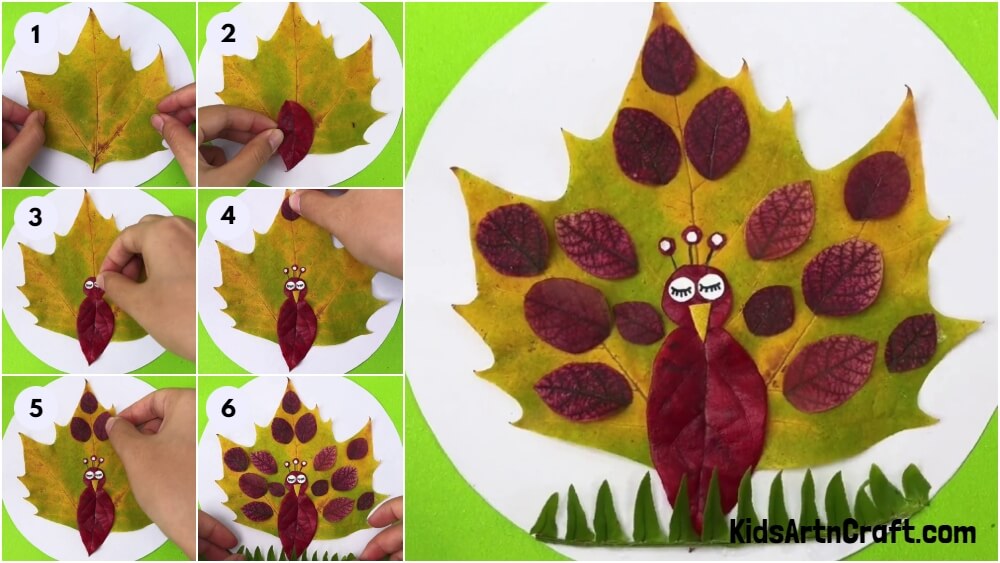
To begin this craft, take a white paper sheet and using scissors cut it down into a circle to make the base for the craftwork and a fall maple leaf.
Step 2: Cutting The Stem Of The Leaf
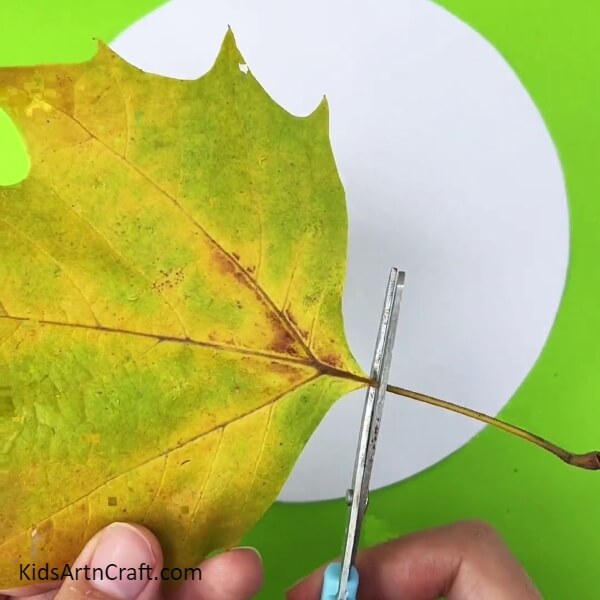
Using scissors, cut out the stem of the maple leaf.
Step 3: Pasting The Leaf On Base
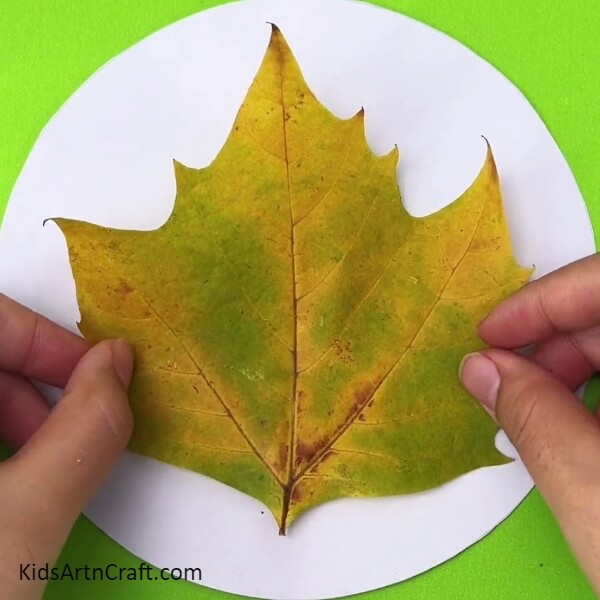
Using glue, paste the leaf in the center of the base. This will become the train of the turkey.
Step 4: Cutting Out The Stem Of A Red Leaf
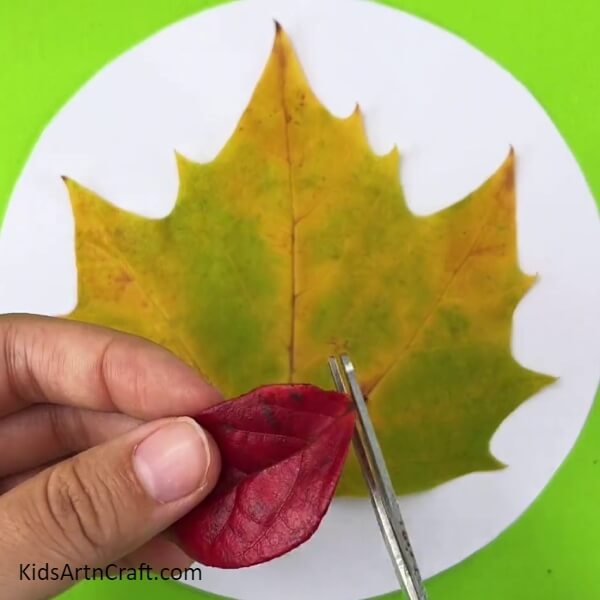
Using scissors, cut out the stem of a red fall leaf.
Step 5: Pasting The Red Leaf
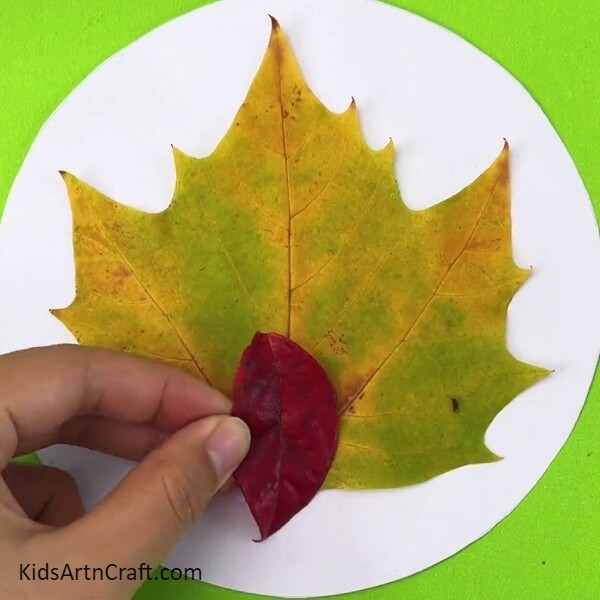
Using glue, paste the red fall leaf inverted over the maple leaf in the bottom center in a way that the little part of it comes over the base. This will be the body of the turkey.
Step 6: Pasting A Red Leaf Circle
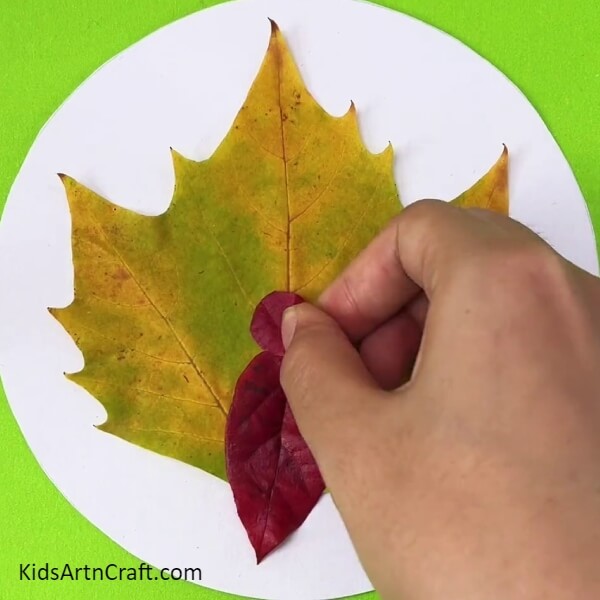
Using scissors, cut out a small circle from another red fall leaf and paste it above the body using glue to make the face of the turkey.
Step 7: Pasting Eyes
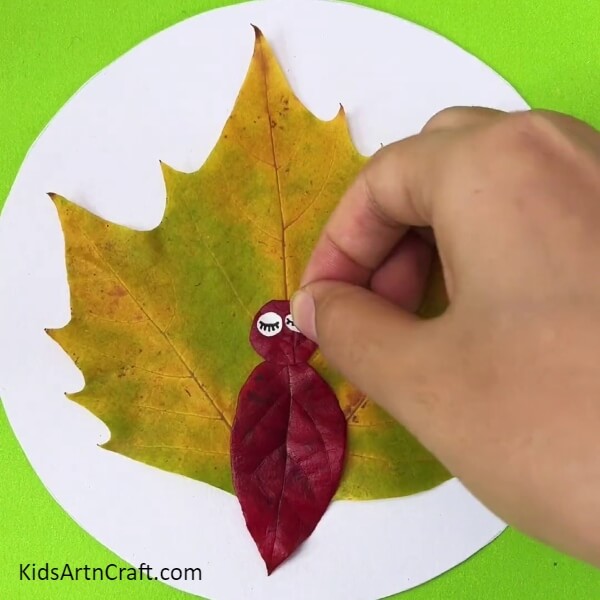
Using scissors, cut out 2 small circles from white paper, and using a black marker, draw curved closed eyes over the circles with some eyelashes too. Now, paste these eyes over the face side by side using glue.
Step 8: Pasting A Beak
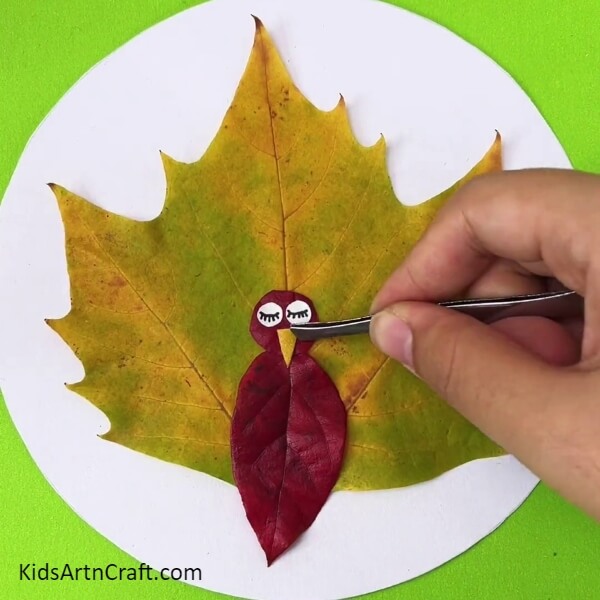
From a yellow fall leaf, cut out a long triangular beak and paste them in the middle below the eyes using glue and craft tweezers.
Step 9: Making Crest Over The Head
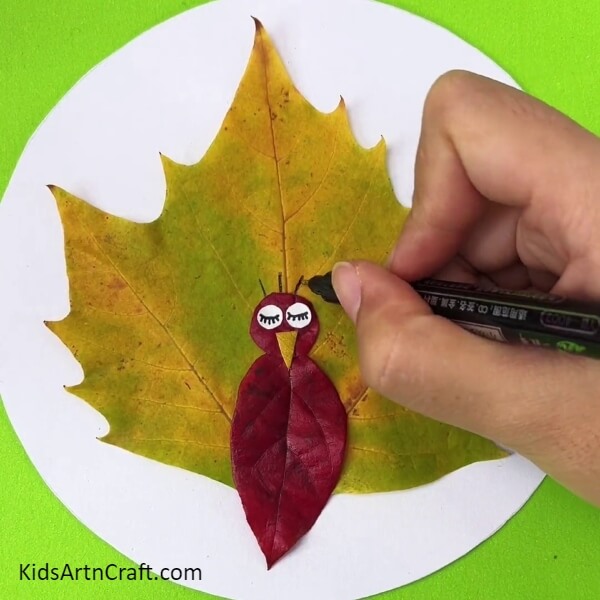
Using a black marker, make 3 lines above the head of the turkey as shown in the image to make the crest above its head.
Step 10: Making Crest Feathers
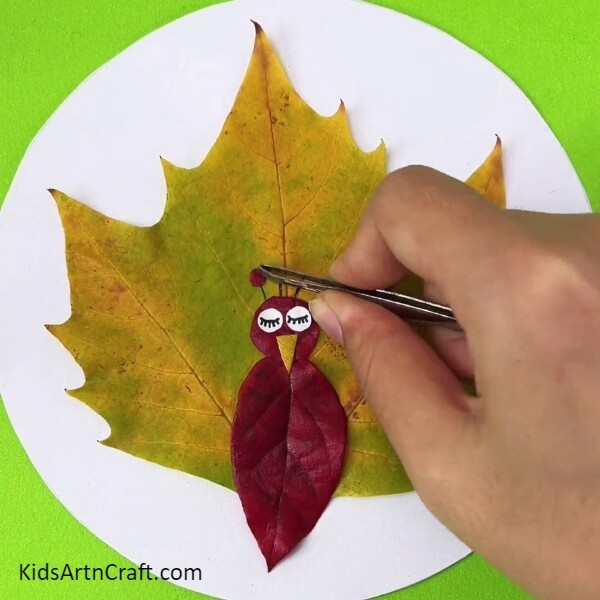
Cut out 3 small circles from a red fall leaf using scissors and paste them above the crest lines using glue and craft tweezers to make the crest feathers.
Step 11: Detailing The Crest Feathers
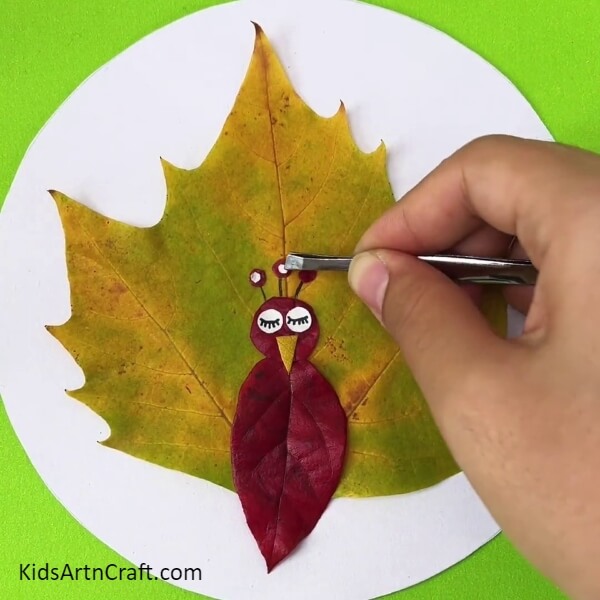
Cut out further 3 smaller circles from white paper using scissors. Paste them over the leaf circles using glue and craft tweezers to detail the crest feathers.
Step 12: Making A Feather Over Its Train
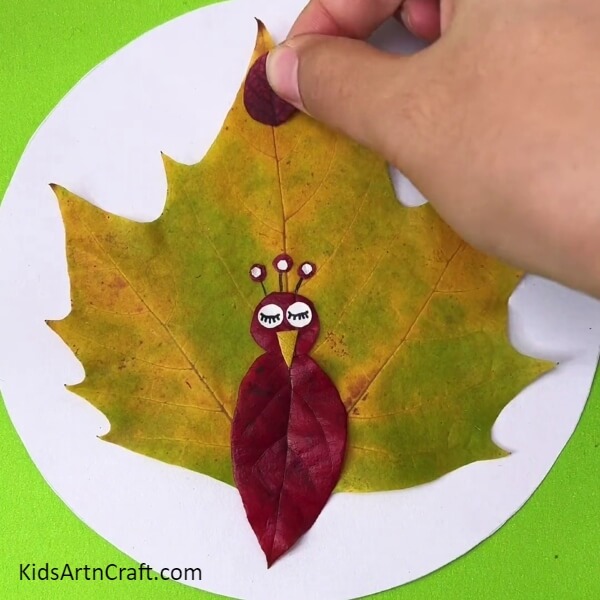
Take a small oval-shaped red fall leaf and paste it using glue over the top-mid of the maple leaf train to make a feather over it.
Step 13: Making More Feathers
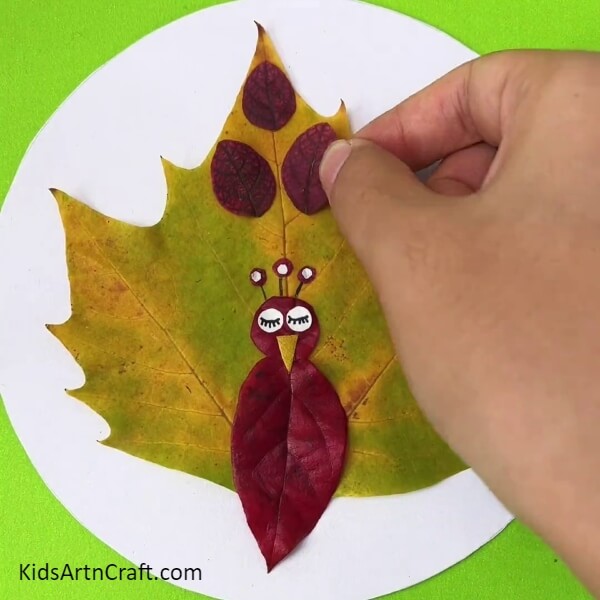
Paste further 2 oval-shaped small leaves below and on the sides of the already pasted one.
Step 14: Completing Making The Feathers
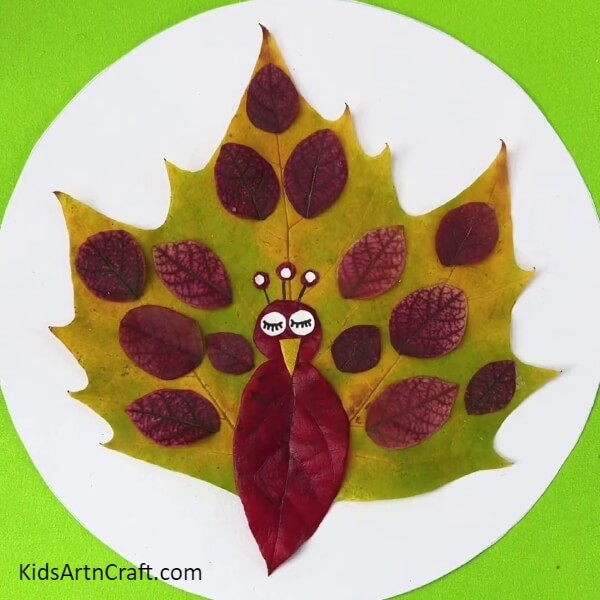
Fill the train by paste the leaf feathers using glue as shown in the image.
Step 15: Making Some Grass
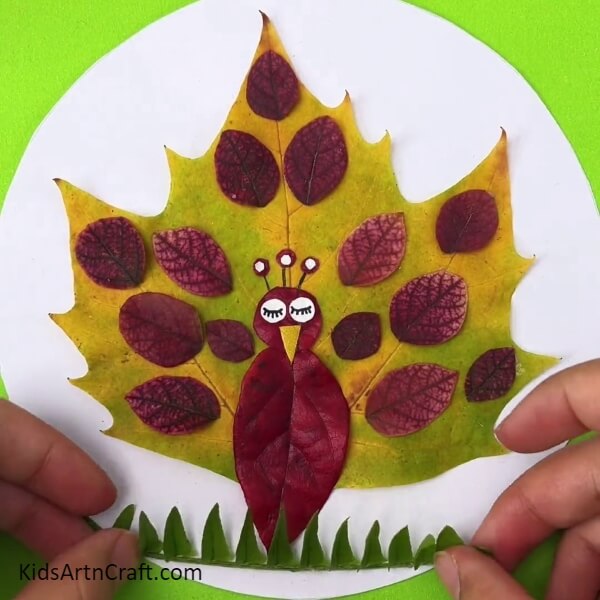
From a green leaf, cut out conical grass from the middle vein of it using scissors and paste it beneath the turkey’s body on the base using glue to make the grass beneath it.
Your Leaf Turkey Is Now Ready!
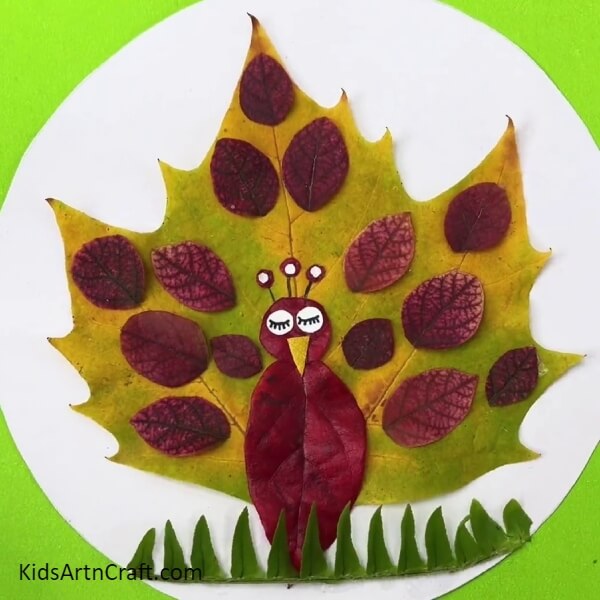
Voila! You have finally completed your amazing turkey!
You can make this craft on Thanksgiving, I’m sure it will be a banger on that occasion! Show it off to your friends and family to let them admire this amazing craftwork of yours! You can gift it to your loved ones on Thanksgiving as a good luck sign and this will bring a smile to their faces! With this tutorial and your little bit of creative imagination, you can turn this turkey craft into a peacock one too! Unleash your crafty self within you and rock on!
If you liked the article, do give it a like and share it with your knows to keep us motivated to bring such crafts for you! Leave us a comment in the comments section as well, we would love to hear from you!
Follow us on Youtube for art and craft tutorials and much more.
More Articles from Kids Art & Craft
- Creative Aeroplane Fall Leaves Craft For Beginners
- Pretty Birds Singing Leaf Craft Tutorial For Kids
- DIY Leaf Fish Underwater Scenery Craft Tutorial For Kids
- Realistic Tree Craft Using Fall Leaves Step-by-step Tutorial
- How To Make Paper-Leaf Peacock Craft For Kids


