Fall & Autumn
Easy To Make Fall Leaves Bird Craft Step-by-step Tutorial For Kids

This guide will teach kids how to make a nice Fall Leaves Bird Craft. With easy to find supplies, anyone can make this craft quickly.
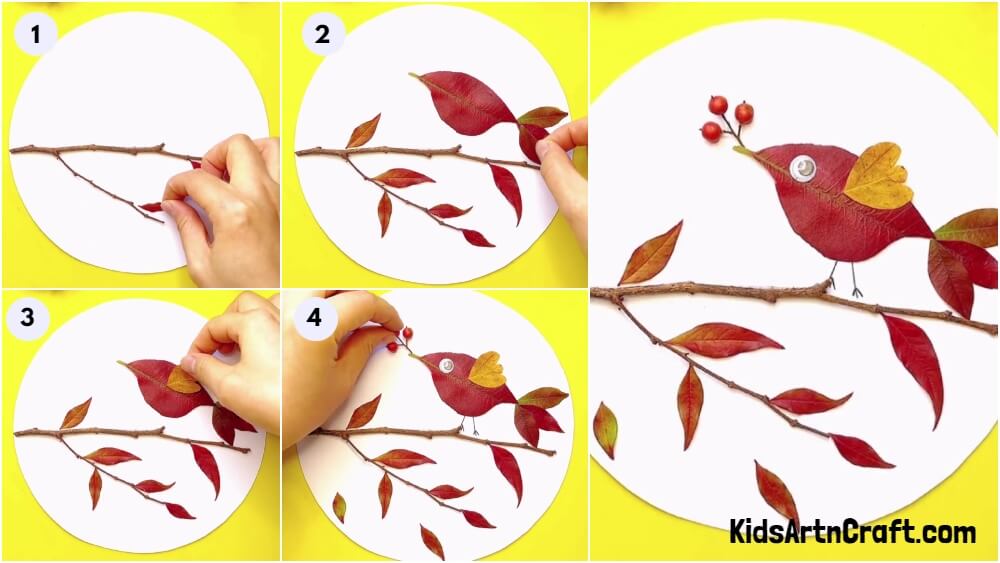
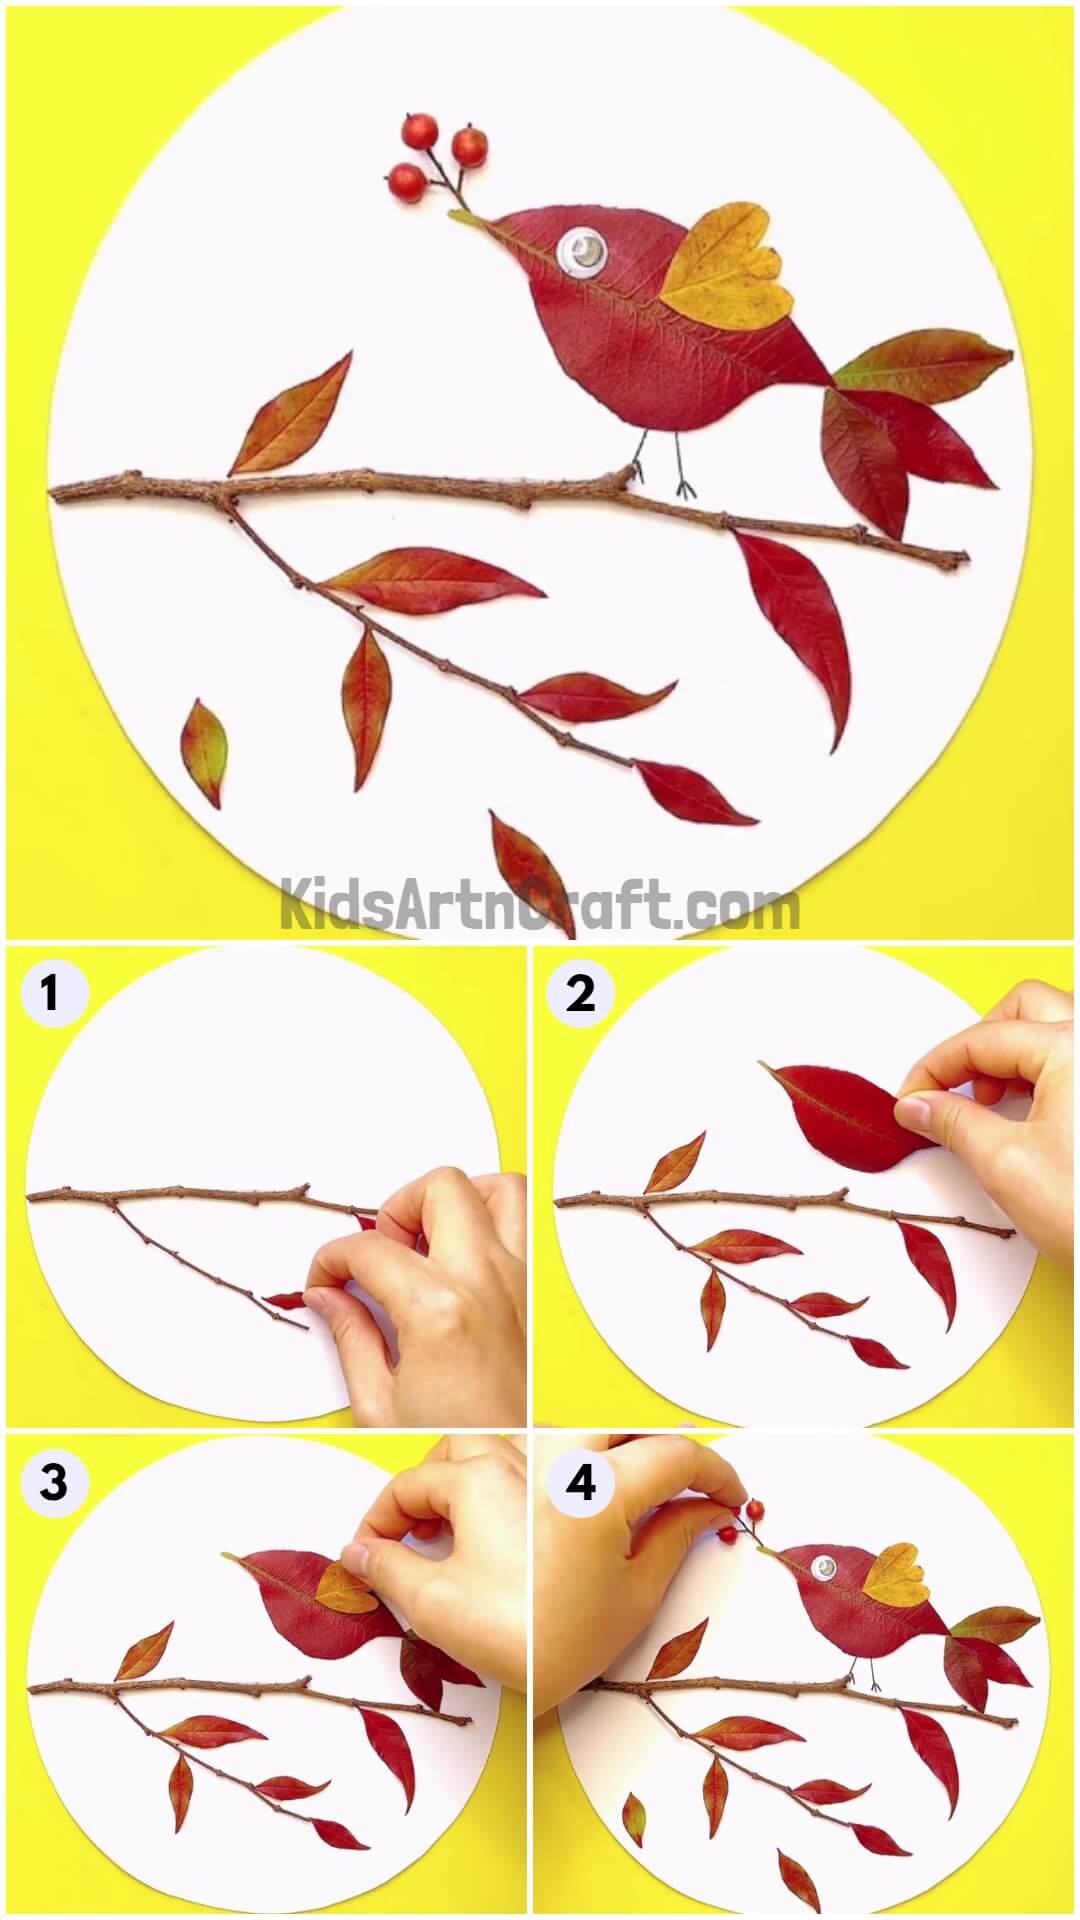
This tutorial will teach you to make a bird craft using leaves. Not just any bird but a bird relaxing on a branch after collecting food for itself. It’s very simple and fun to make and the material also can be very enjoyable to work with. You just need some sheets and leaves to make it. Gather some fallen leaves and big twigs from the park. Do not pluck leaves from trees. So, collect all the material required, and let’s get started.
DIY Make Fall Leaves Bird Craft For Kids
Read More: DIY Ladybug Leaf Craft Step-by-Step Tutorial For Beginners
Materials Required
- A white sheet of paper
- A big twig with two branches
- Red and yellow colored leaves in different shapes and sizes
- Small red berries attached to tiny branches
- Glue stick
- A pair of scissors
- Googly eyes
- Black sketch pen
Procedure
Step 1: Starting With The Sheet Of Paper
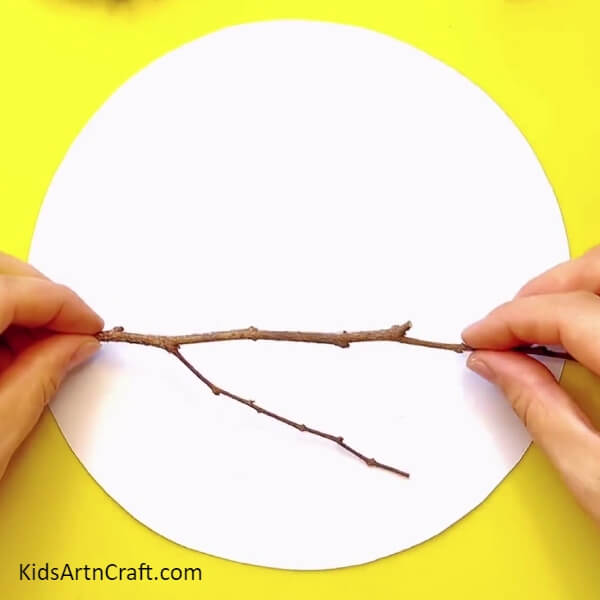
Take a white sheet of paper and cut a big circle out of it and place it on the table. Now, take a big twig and apply some glue to it. Finally, paste it, horizontally, a little below the middle of the sheet. The smaller branch of the twig should be placed at the bottom section of the sheet. See the picture below for reference.
Step 2: Pasting A Small Leaf On The Sheet
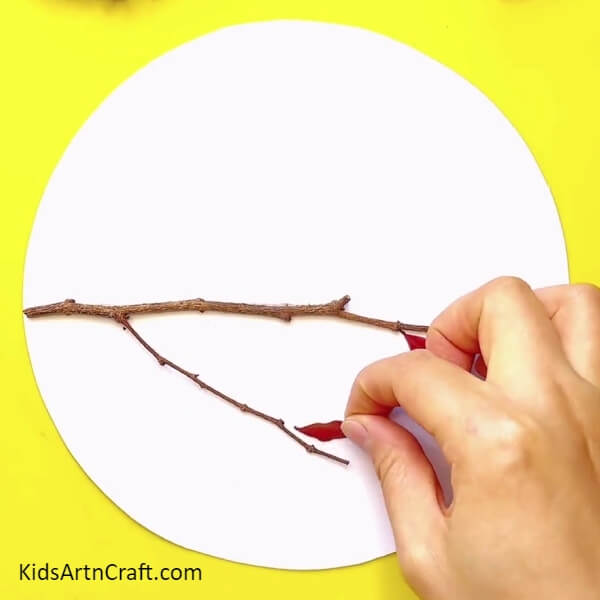
Take a small red leaf and paste it on the sheet above the top side, at the end of the small branch attached to the twig. See the picture below for reference.
Step 3: Pasting More Leaves On The Sheet
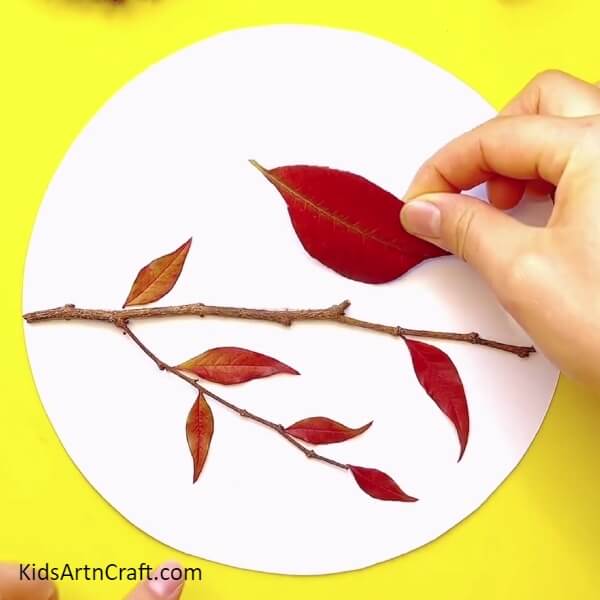
Take four small red leaves and paste one above the top side, one at the beginning of the smaller branch, one at the tip of the branch, another below the bottom side in the middle of the branch, and the final one above the point where the twig meets the branch. Now, take a big red leaf and trim both ends of the section below the midrib of the leaf. The trimmings should make the leaf resemble a small bird. Finally, paste it at a distance above the middle of the twig. See the picture below for reference.
Step 4: Pasting More Small Leaves
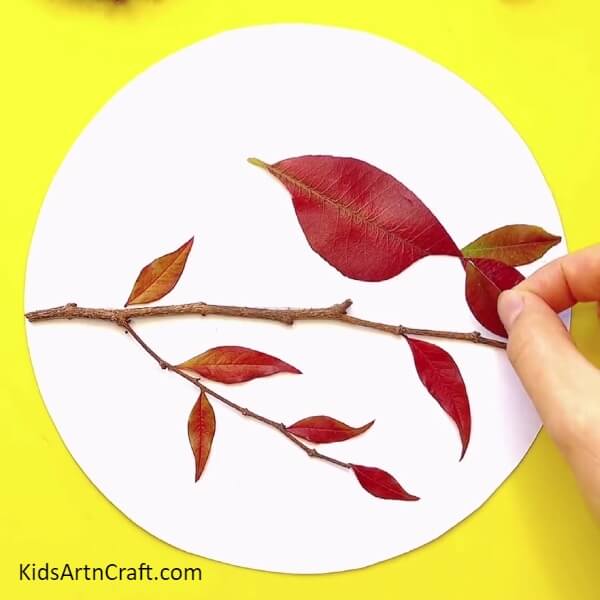
Take three small red leaves and paste both at the back end of the big leaf, one tilted a little upwards and the second one tilted a little downwards covering a little area of the previous small leaf. Paste the final leaf in the middle of these two leaves. It should resemble the tail of a bird. See the picture below for reference.
Step 5: Make Some Wings For The Bird
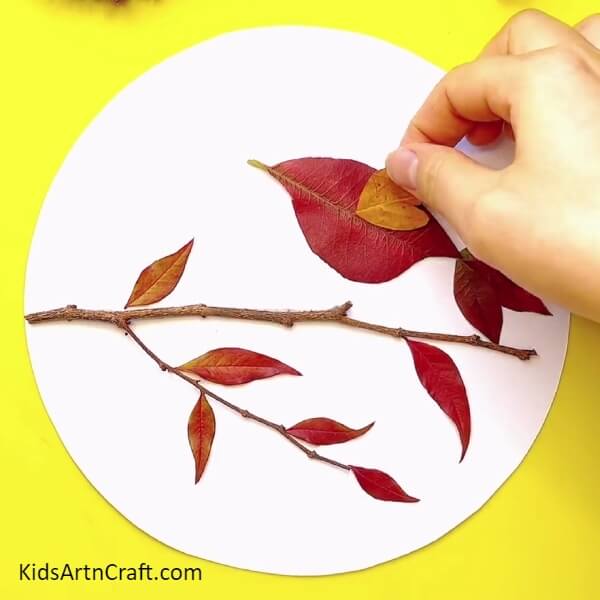
Take a small yellow leaf and cut it into a small wing shape resembling somewhat to a heart. Paste the wing on the big leaf in the middle of the section above the midrib. Now, take a medium-sized red leaf and paste it below the bottom side of the twig. See the picture below for reference.
Step 6: Pasting The Googly Eye
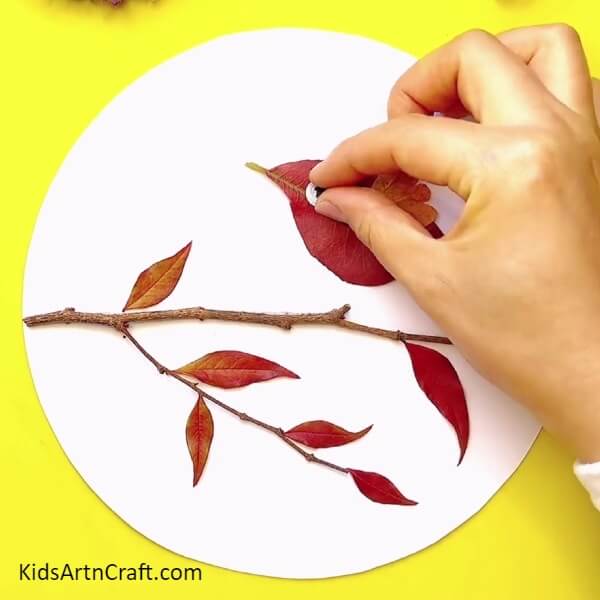
Paste a single googly eye right in the middle of the front end of the big leaf. See the picture below for reference.
Step 7: Adding A Pair Of Legs To The Bird
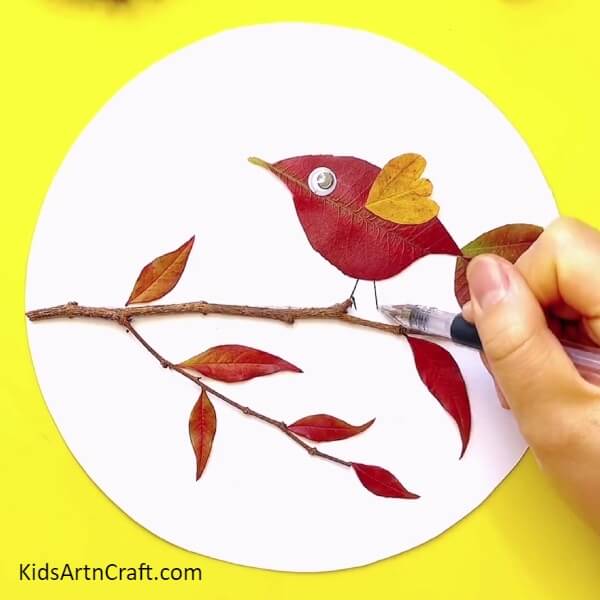
Take a black gel pen and draw a small pair of legs below the red leaf. These legs should lie between the bird at the twig below. See the picture below for reference.
Step 8: Pasting The Berries On The Sheet
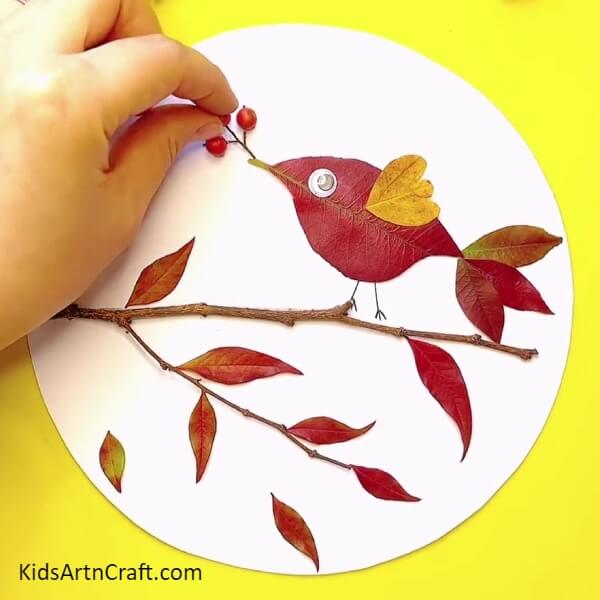
Take the branch containing small berries and paste it in front of the bird right at the top as shown in the picture below.
Finally, The Lovely Little Bird Relaxing On The Twig
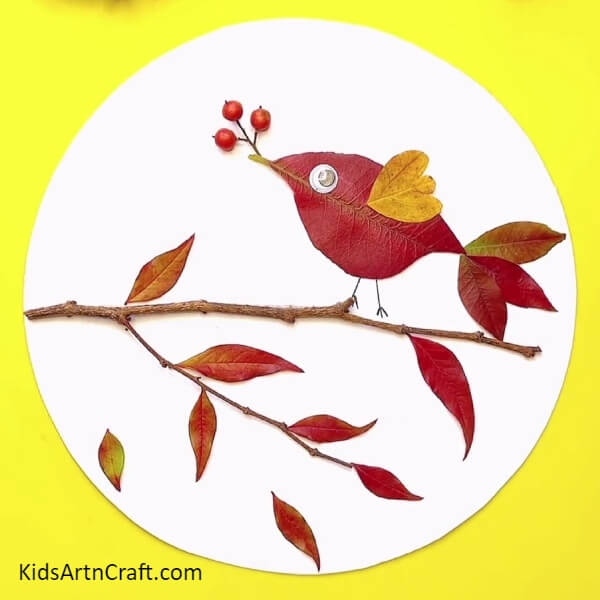
This completes the process of making this craft and we are left with a beautiful craft of a little bird with little wings and a tail sitting on a branch with plenty of leaves attached to it.
Some More fall Leaf Craft Tutorial
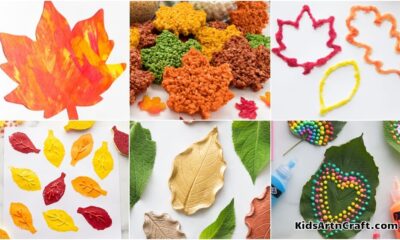
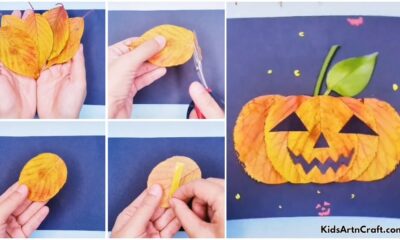
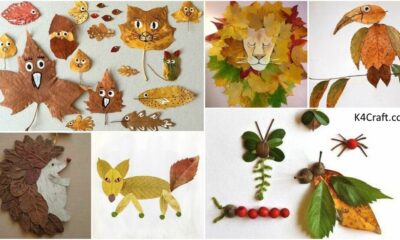
Creating Fall Leaves Craft With Children
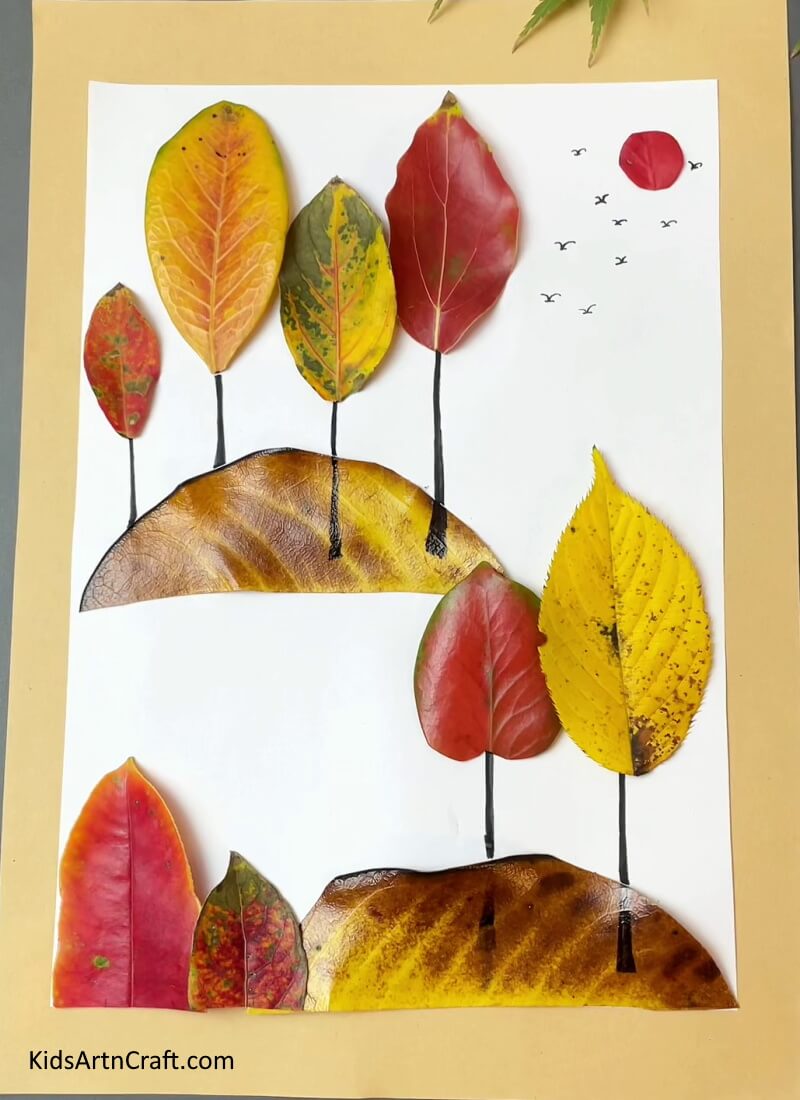
Image Source/Tutorial: Kids Art & Craft
Creating Fall Leaves Craft with children is a fun and creative way to explore the changing of the seasons. It is a great way to get children to think about the beauty of the changing leaves and to get creative with their own unique designs.
This tutorial taught you to work with all-natural objects to create a craft. You learned good pasting and positioning skills as well. You can hang it on the walls of your room, or doors of your home, or paste it in your art book. Keep practicing the skills that you learn in these tutorials and think of more such unique and inexpensive stuff to make crafts with in order to bring originality to your art and craft. Good luck and goodbye.
Follow us on Youtube for art and craft tutorials and much more.
More Articles from Kids Art & Craft
- Giraffe and Bird Leaf Craft Tutorial For Kids
- How To Make Easy Fall Tree Craft From Leaves
- Fall Leaf Craft Tutorial for Kids
- Simple Fall Leaf Boy Craft Tutorial For Kids
- Easy Leaf Art And Craft Tutorial for Kids


