


Fall & Autumn
DIY Ladybug Leaf Craft Step-by-Step Tutorial For Beginners

Learn how to make an adorable DIY ladybug leaf craft with this step-by-step tutorial. Perfect for beginners, this fun craft is a great way to get creative and use up some of your craft supplies.
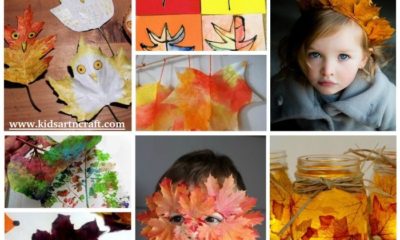
Hello, budding artists! We present to you an amazing craft idea made entirely of dried leaves. This ladybug leaf craft is easy to make and is an eco-friendly craft activity. It reuses and upcycles the dried leaves in making a beautiful ladybug leaf craft. Kids will find it easy to follow the steps and complete this craft on their own. Gather dried leaves in different colors that are fallen from the trees. Don’t pluck the leaves directly from the trees and harm nature. Let’s begin!
Easy Ladybug Leaf Craft For Kids
Read More: Learn To Make Leaf Owl Easy Tutorial For Kids
Materials Required
- Dried maple leaf
- Dried red leaves
- Glue
- Scissors
- Black marker
- Craft sheet(White)
- Googly eyes
Procedure
Step 1: Pasting A Maple Leaf
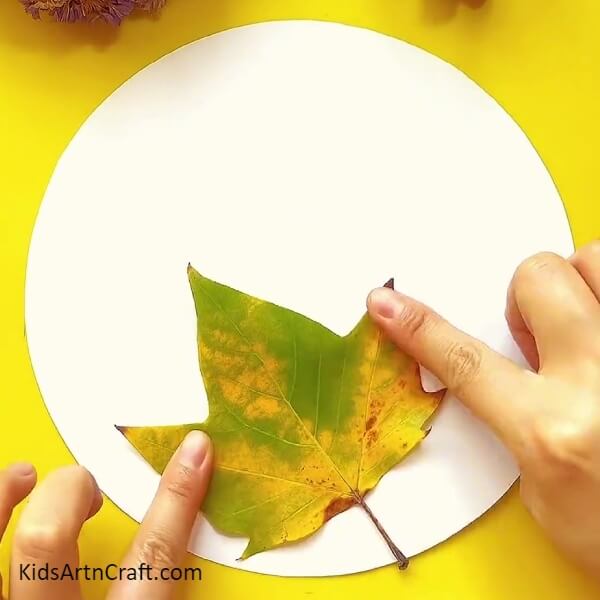
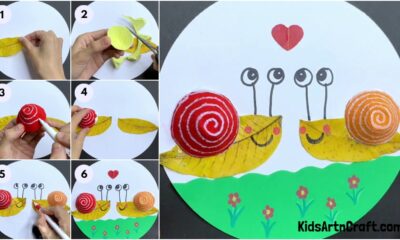
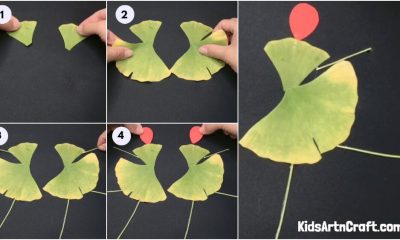
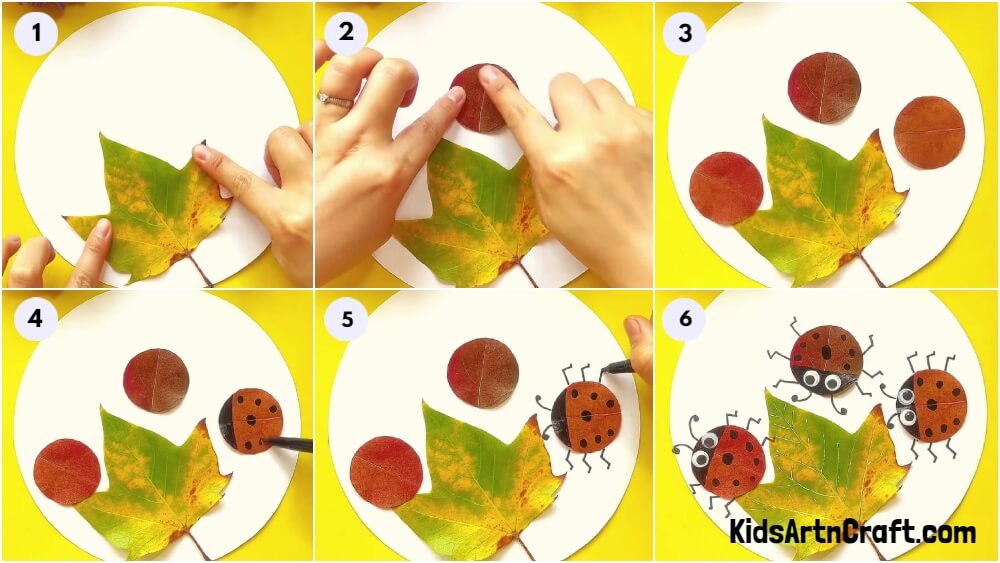
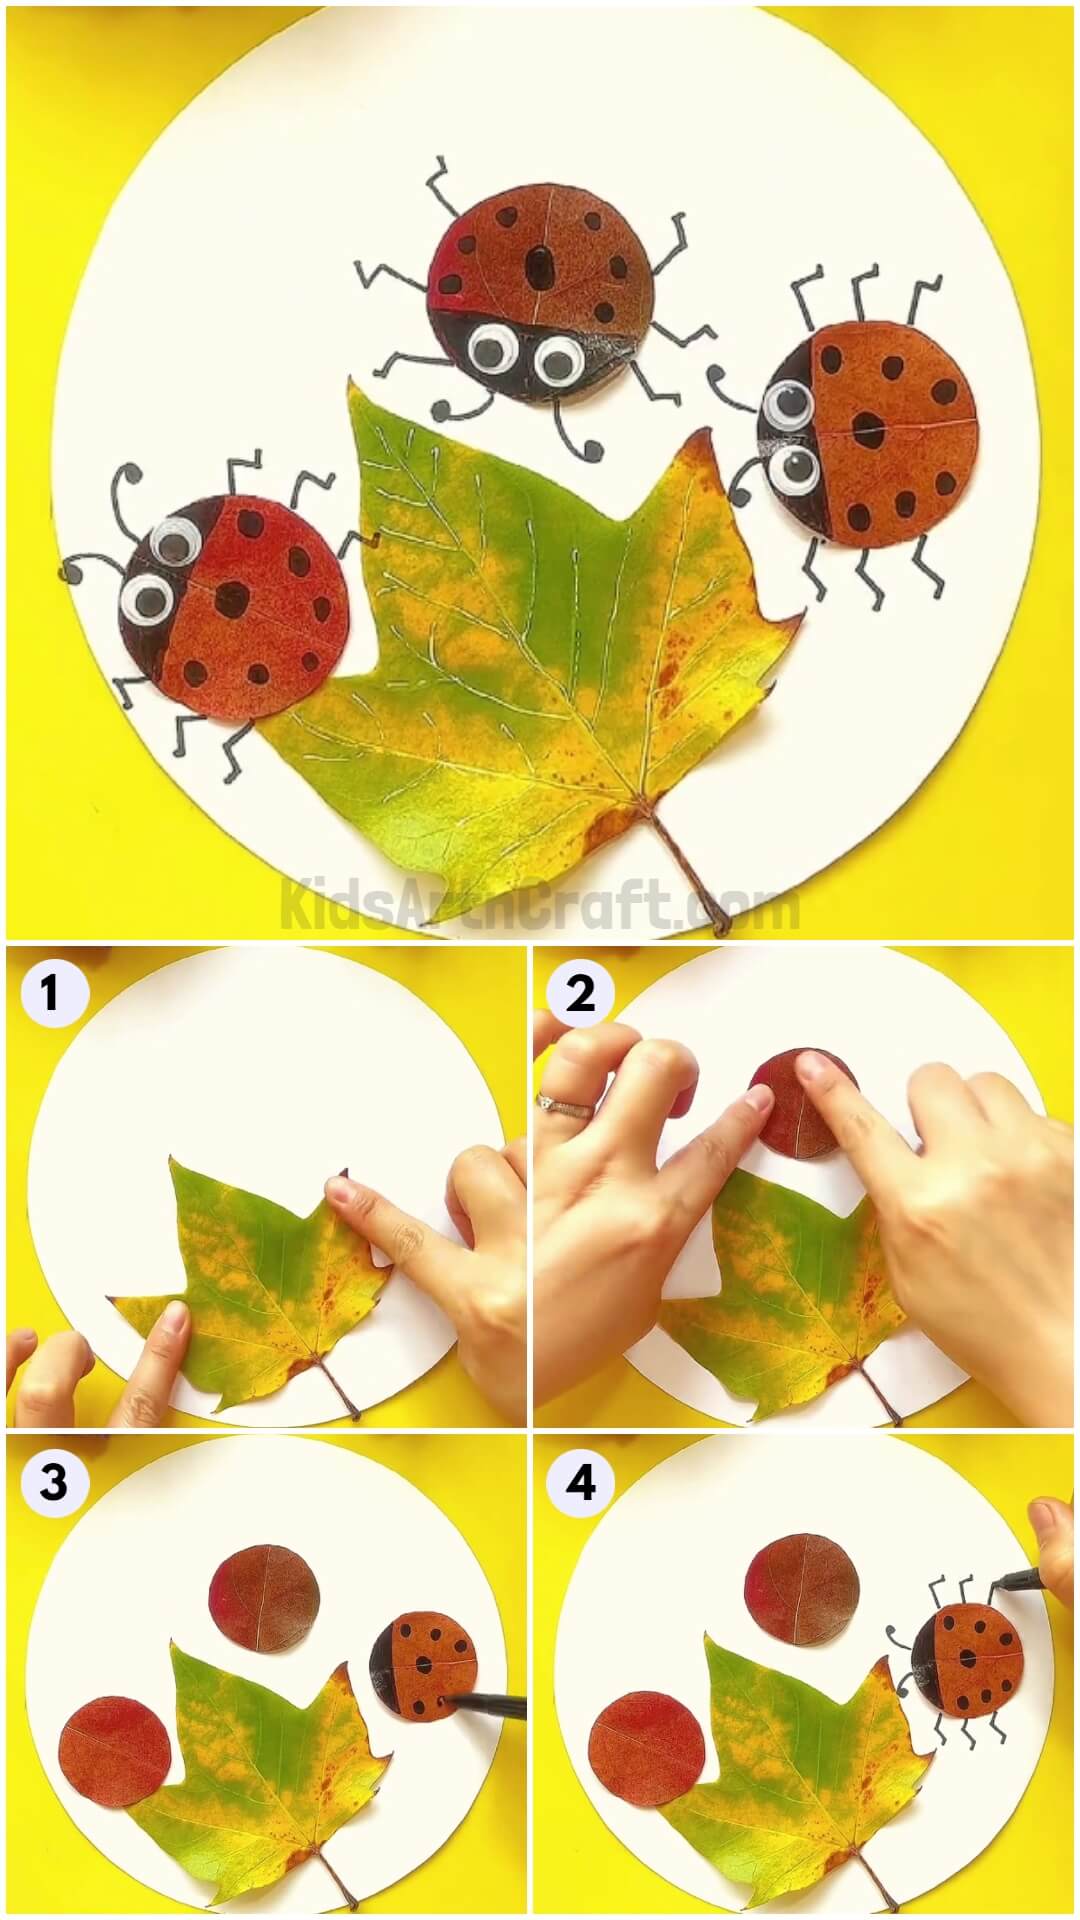
Let’s begin this craft by taking a white craft paper. Cut it into a big white circle. This will act as a base of our craft. Next, take a yellow, dried maple leaf and paste it in the middle, near the bottom of the circle.
Step 2: Pasting A Circular Red Leaf
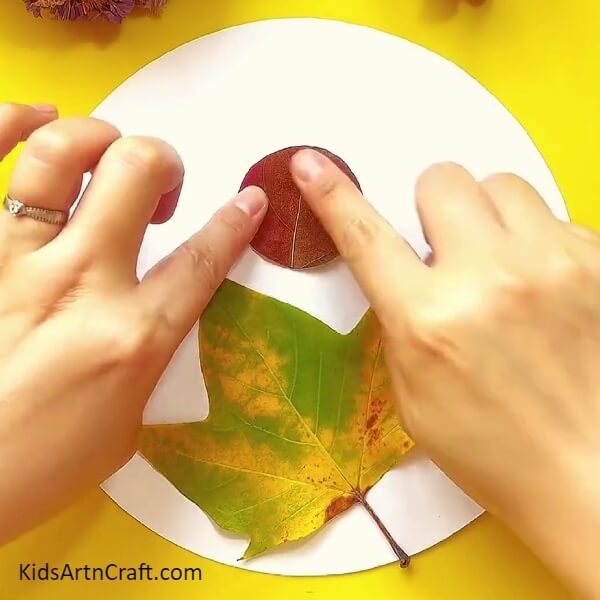
Take a dried red leaf and cut it into a circular shape. Paste it above the maple leaf as shown. This will become the body of the ladybug later.
Step 3: Pasting More Circular Red Leaves

Similarly, cut two more red leaves in circular shapes and paste them around the maple leaf as shown in the image.
Step 4: Making The Ladybug’s Body
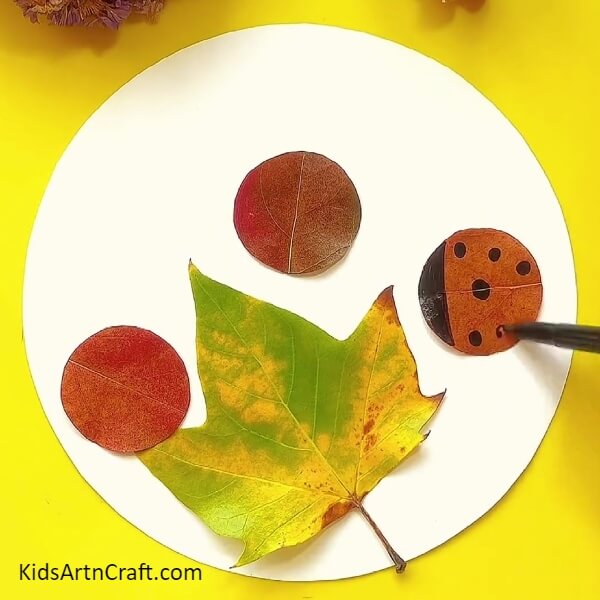
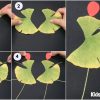
Take a black marker and draw a semicircle on the left side of a circular red leaf. Then, draw small circular dots on the rest of the leaf as shown in the image.
Step 5: Making The Legs And The Antenna
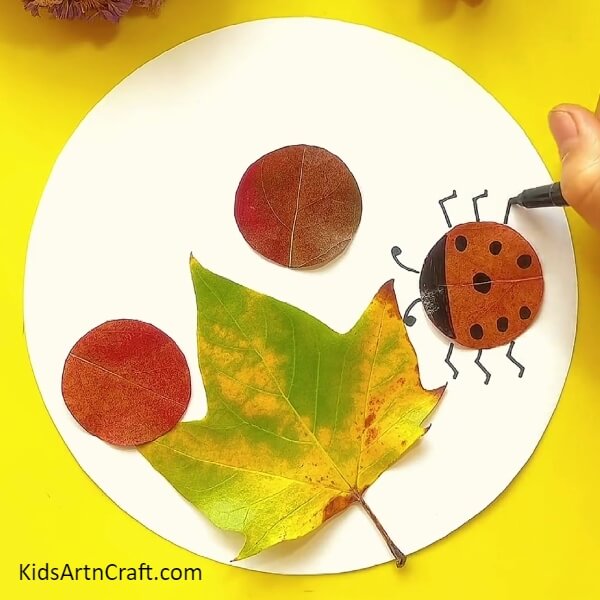
Using the black marker, draw the legs and the antennas of the ladybug as shown.
Step 6: Pasting The Eyes

Take googly eyes and paste them in front of the ladybug to make its eyes as shown.
The DIY Ladybug Leaf Craft Is Ready!
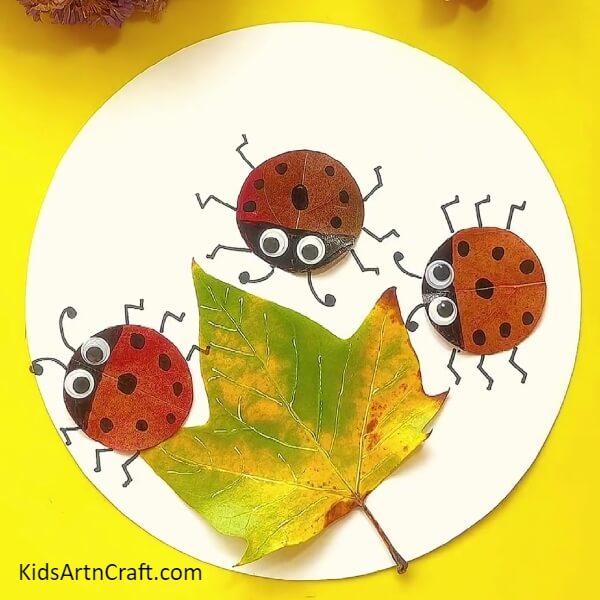
Repeat the above steps and complete the bodies of all the ladybugs by drawing the black spots and pasting the googly eyes on them. And that’s it! The cute ladybug leaf craft is ready in no time!
Cutting and pasting the leaves in different shapes will help refine the motor skills of the children. They will learn how to recycle items creatively. This activity will help them boost their creative intellect. This beautiful craft piece can be used as a beautiful wall decor. This art decor can be a great addition to your home during the fall season. Follow our website for more interesting ideas!
Follow us on Youtube for art and craft tutorials and much more.
More Articles from Kids Art & Craft
- Easy Snail Craft using Egg Carton and Leaf – Step-by-Step Tutorial
- Easy Fall Leaf Craft Step by Step For Kids
- Easy Leaf Fall Artwork And Craft for Kids
- Simple Fall Leaf Boy Craft Tutorial For Kids
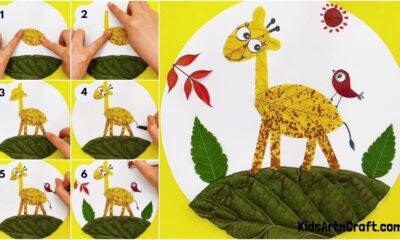
- How To Make Giraffe Art And Craft With Fallen Leaves