


DIY and Crafts
How To Make Giraffe Art And Craft With Fallen Leaves

Create unique and fun art projects with fallen leaves and recycled materials for kids of all ages! Learn how to make Giraffe art and craft using fallen leaves, a few supplies, and some imagination. Perfect for a fall day or as a rainy day activity.
Giraffes are one of the most beloved animals, graceful and majestic. And what better way to enjoy them than to make art and crafts with fallen leaves? Whether you want to create something to decorate your home, give as a gift, or use as a party decoration, this tutorial will show you how to craft a unique giraffe art piece with fallen leaves. So get creative and let’s get started!
Giraffe Art And Craft With Fallen Leaves For Kids – Step by Step Tutorial
Read More: Sunflower Seeds Flower Craft – Step-By-Step Tutorial
Material Used:
- Fallen Leaves Of Different Shapes, Sizes, And Colors
- Cardboard Or Construction Paper (For The Background)
- Twigs And Leaves
- Black Marker Or Pen (For Details)
- Pencil (For Sketching The Giraffe’s Outline)
- Googly Eyes
Procedure
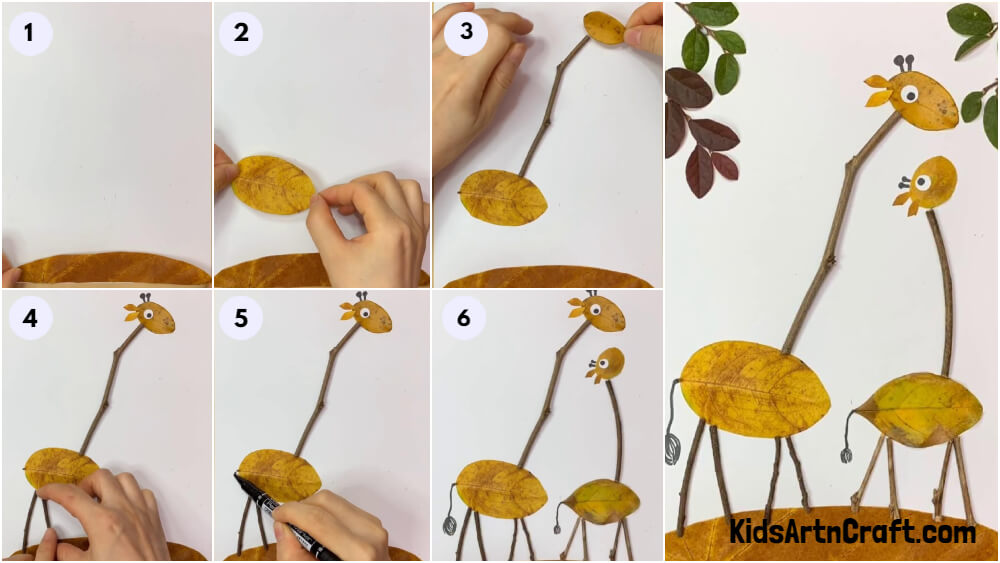
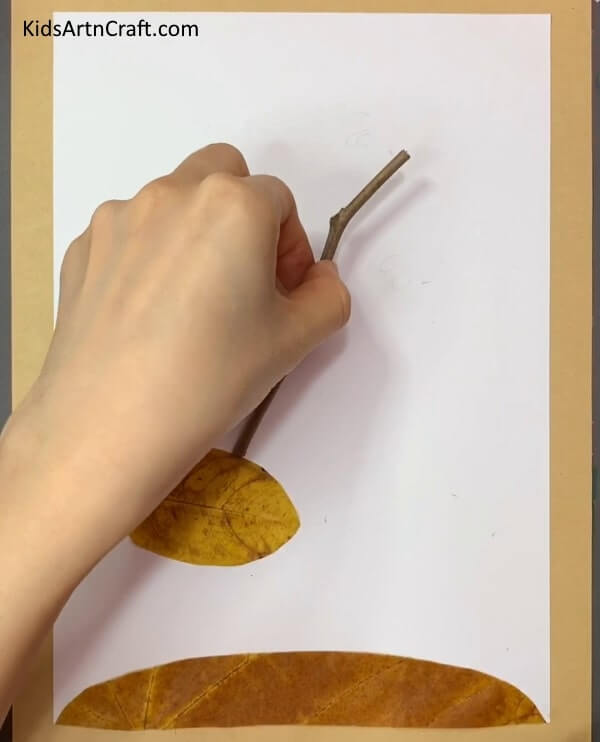
Step -1: Prepare The Background
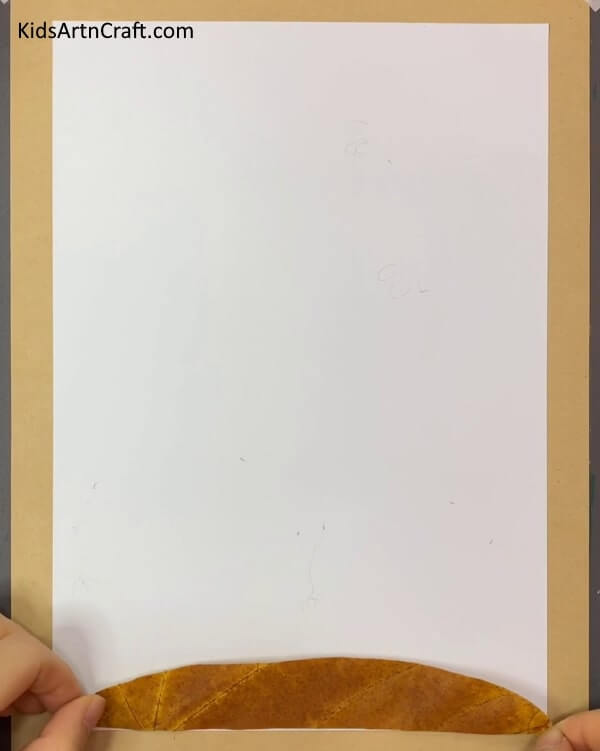
Choose a piece of cardboard or construction paper as your background. Select the largest fallen leaf to use as the base. Using glue, adhere it to the cardboard or construction paper as shown.
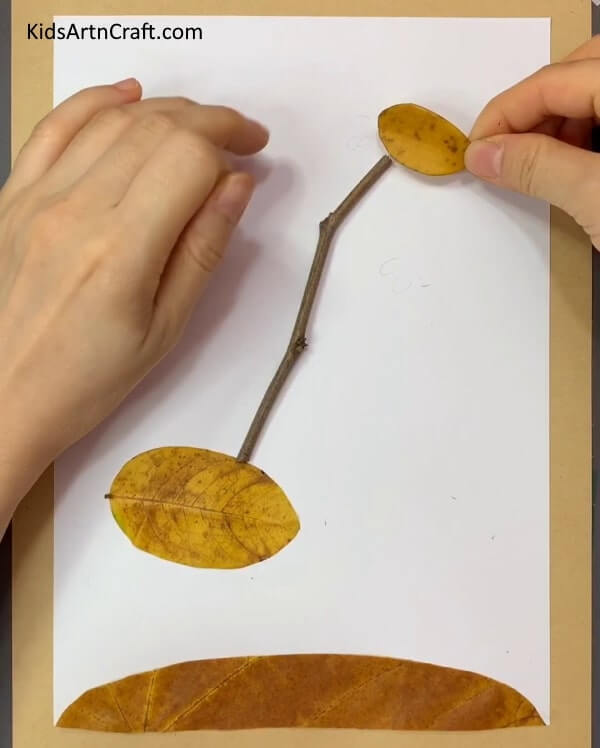
Step -2: Sketch The Upper Body
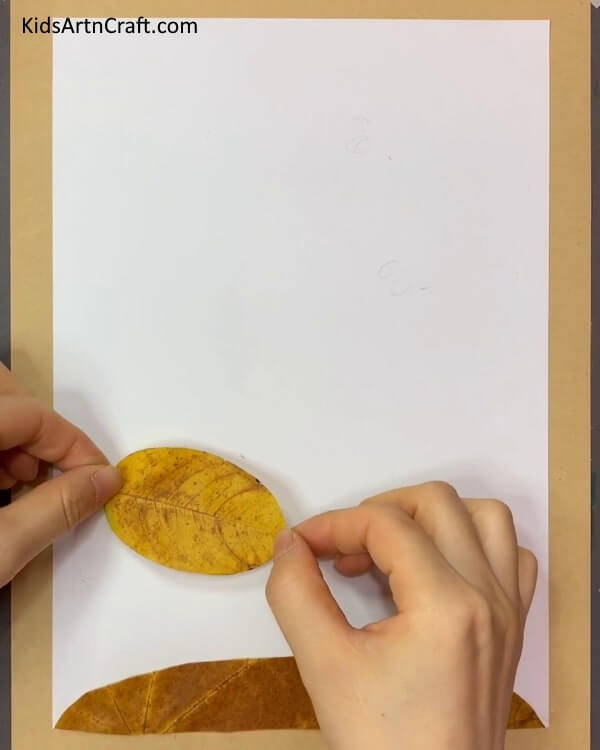
Using larger leaves for the body and a large twig for the neck and back, sketch the upper body of the giraffe. Look at the above image for reference.
Step -3: Use Twig For The Body
After gluing the items onto the sheet, use the small leaf for the head.
Step -4: Add The Head
Tilt it slightly to resemble the head of a giraffe.
Step -5: Tilt The Head
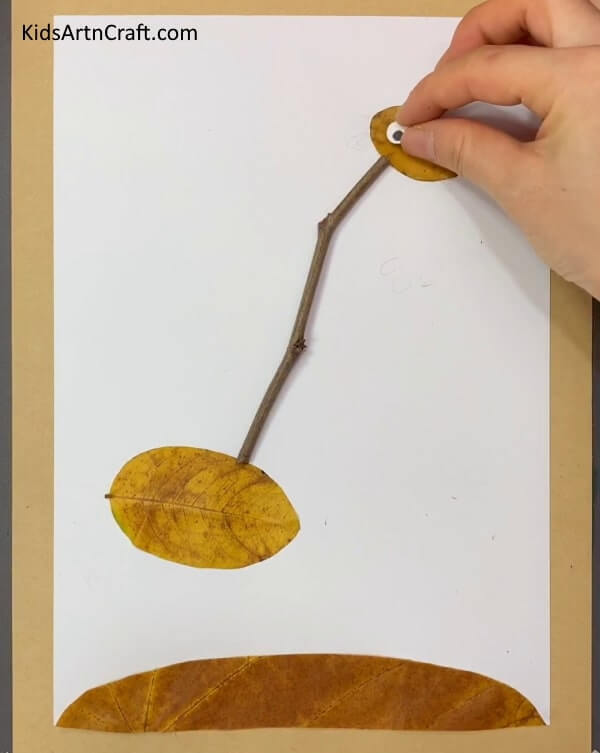
For the eye section, use the googly eyes and attach them carefully to the face as shown in the picture above. For the ear part, refer to the other step provided below.
Step -6:Attach The Googly Eyes
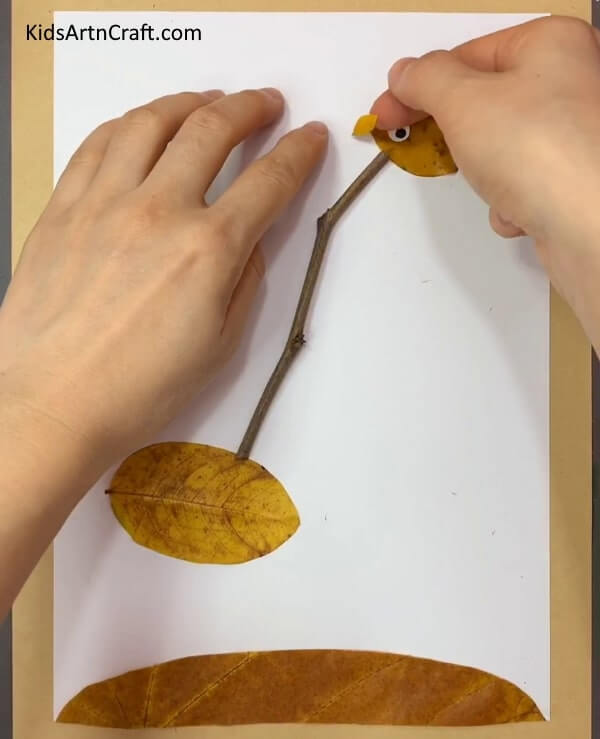
To form its ears, follow the above directions using two very small leaves. We are almost finished, but first, it is time to add some detailing.
Step -7:Sketch The Horns
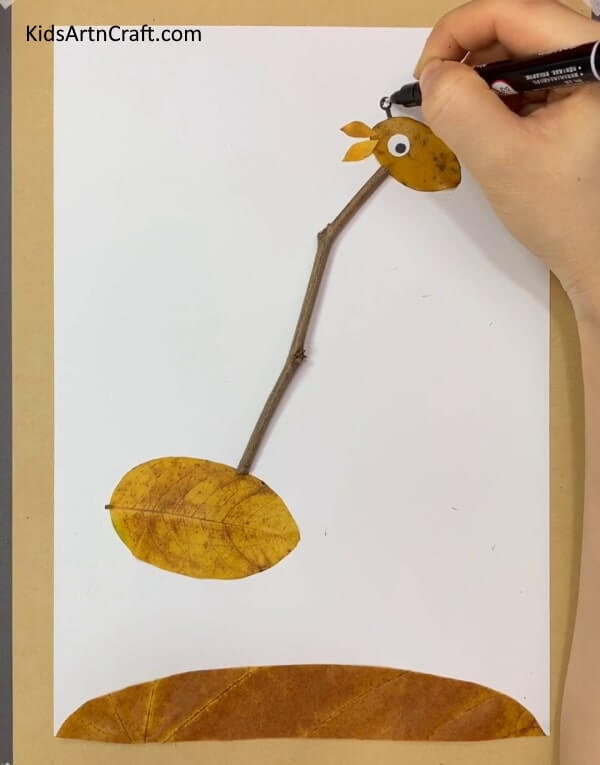
Grab a black marker and sketch the giraffe’s horns for a finishing touch. Get ready for the next crucial step!
Step -8: Create The Legs
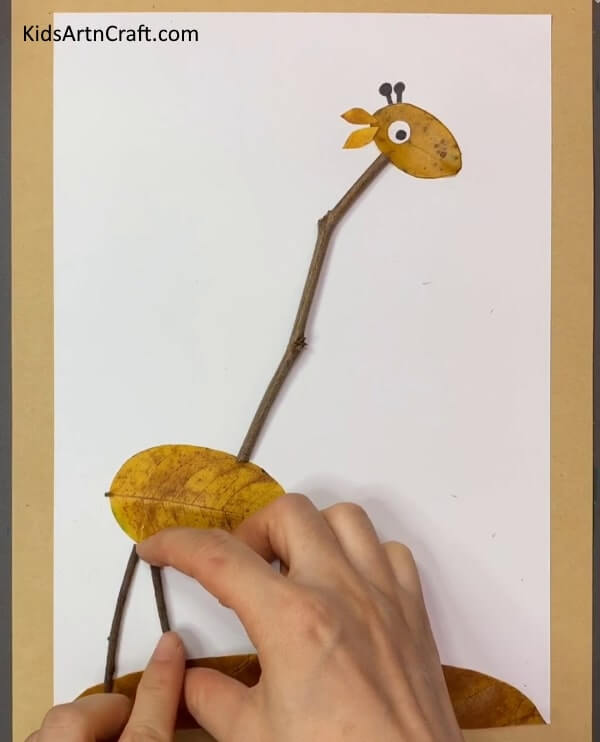
To create the legs, break two twigs into four equal halves. Begin attaching them in a triangular pattern. If you need help, refer to the image for guidance.
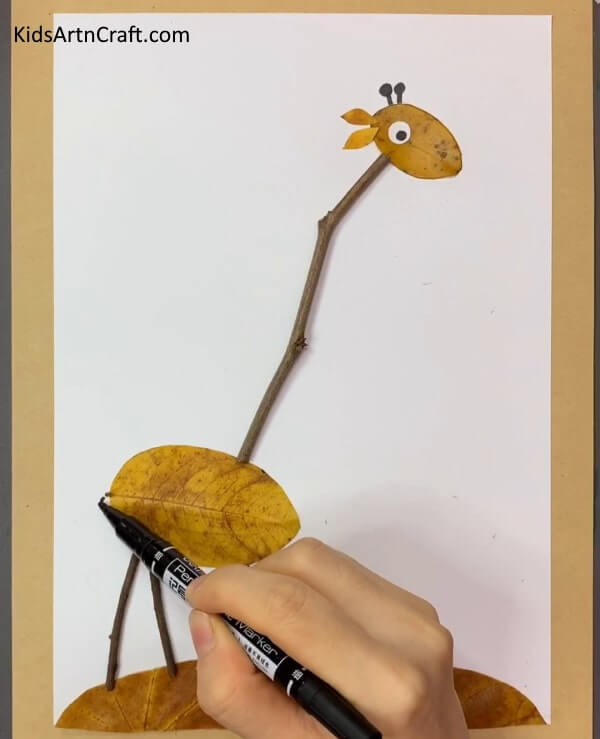
Step -9: Add Details To The Tail
To add details to the giraffe’s tail, take a black marker or pen and follow the above directions. Make sure to be as creative as you like!
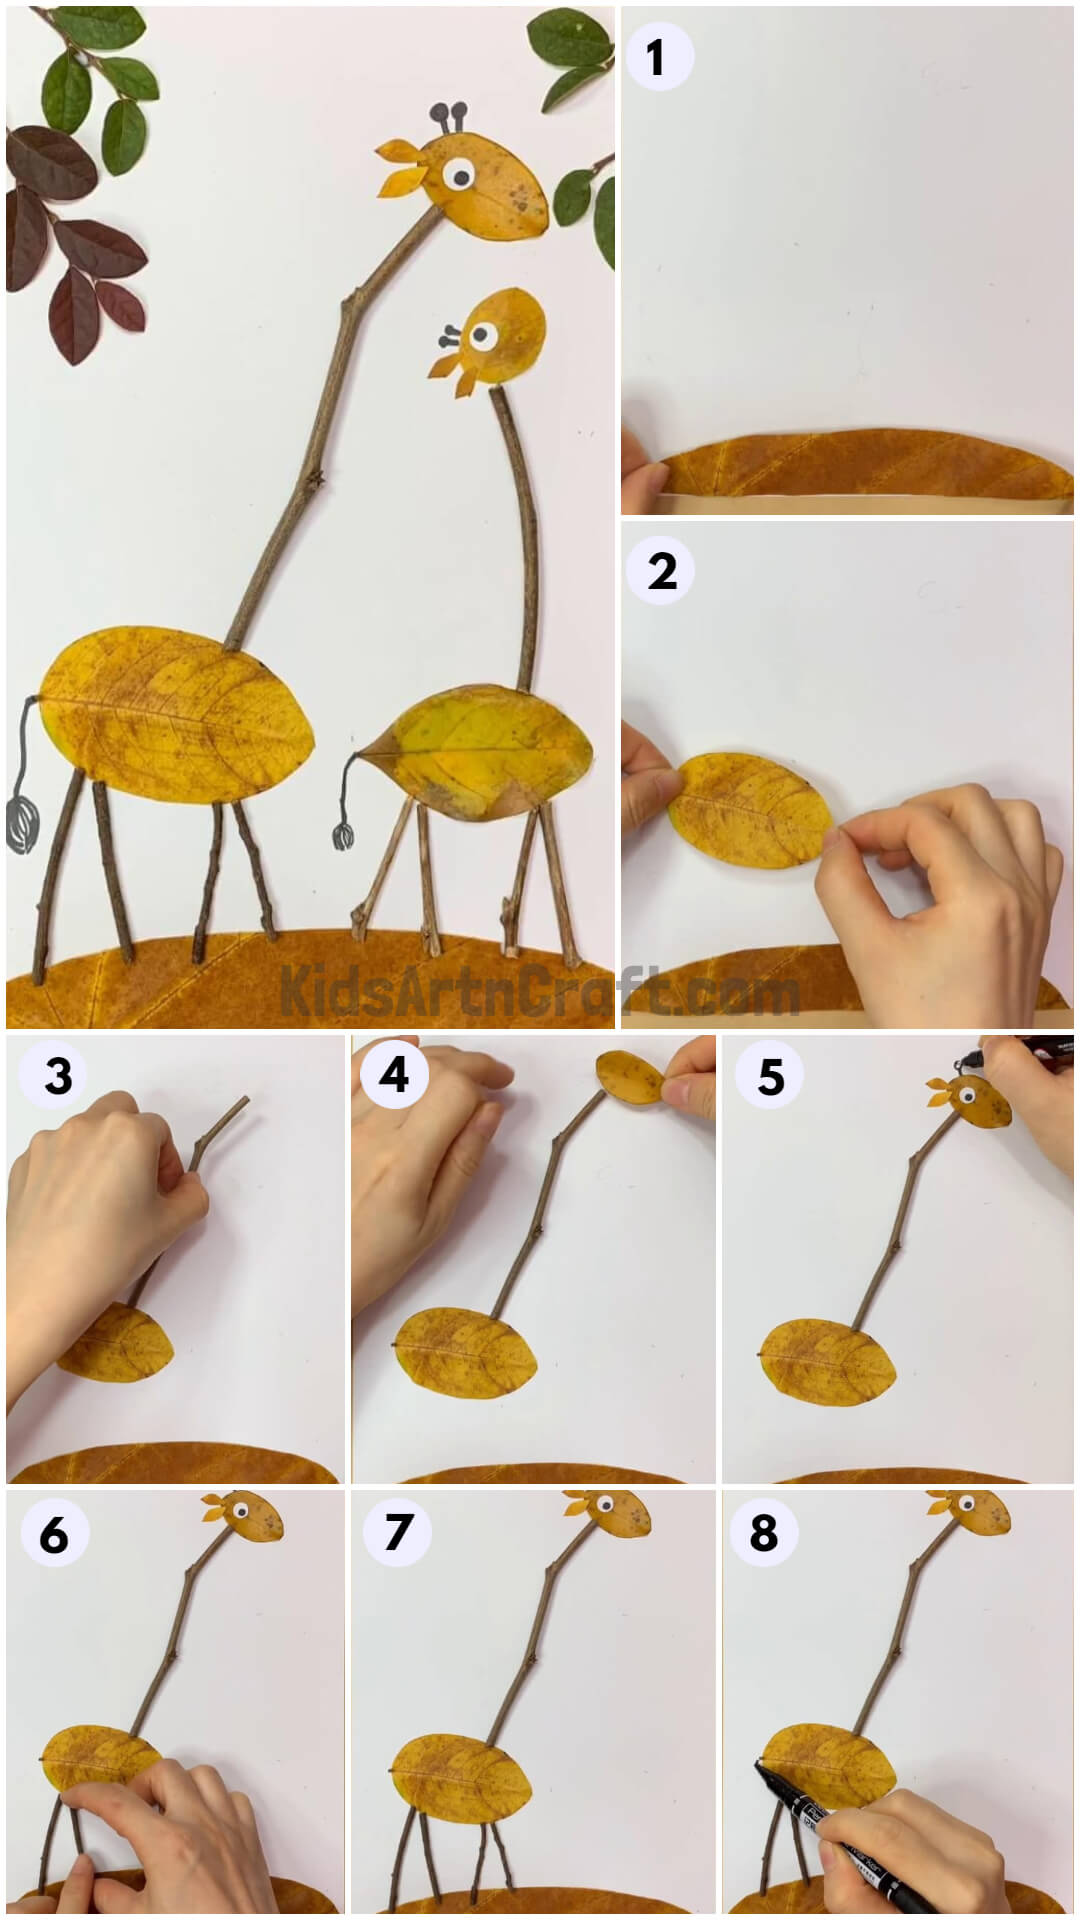
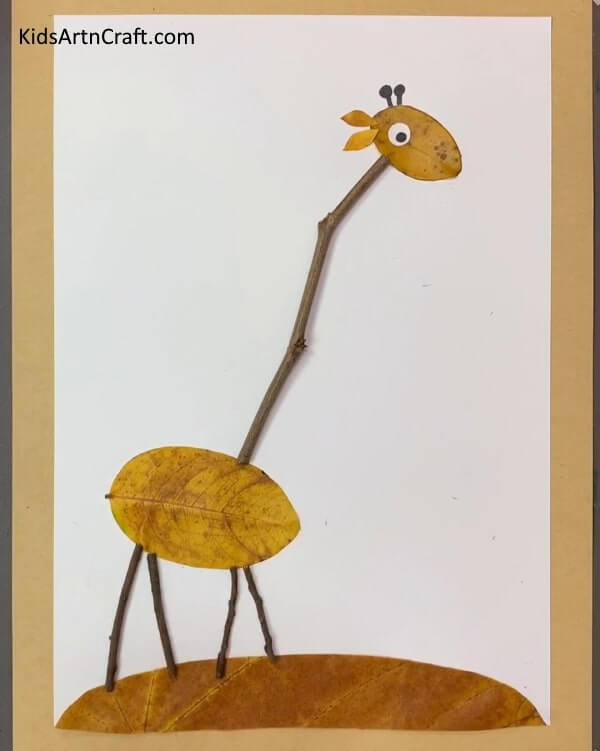
Step -10: Complete The Project
Congratulations, you have completed your giraffe art and craft project using fallen leaves! If you enjoyed making it, why not try creating a baby giraffe using the same steps as above?
Step -11: Try Adding a Baby Giraffe
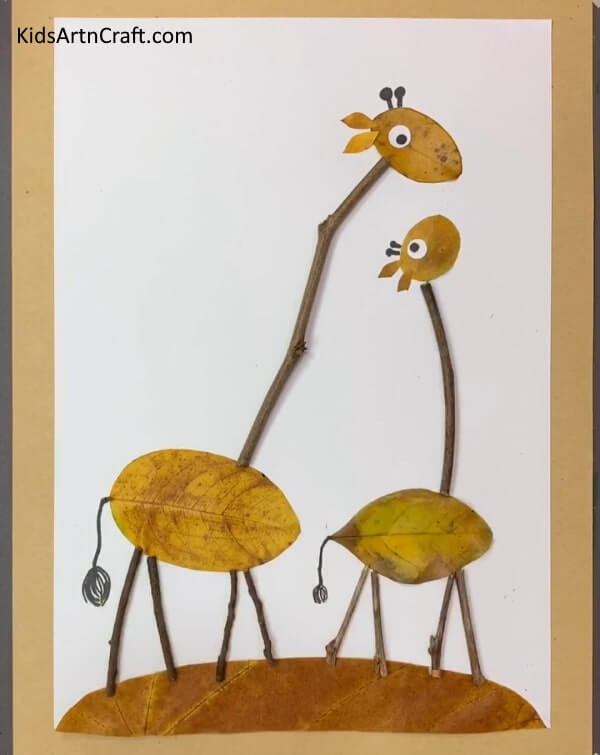
Your final artwork should resemble something like this.
Final Step: Add Leaves For Finishing Touches
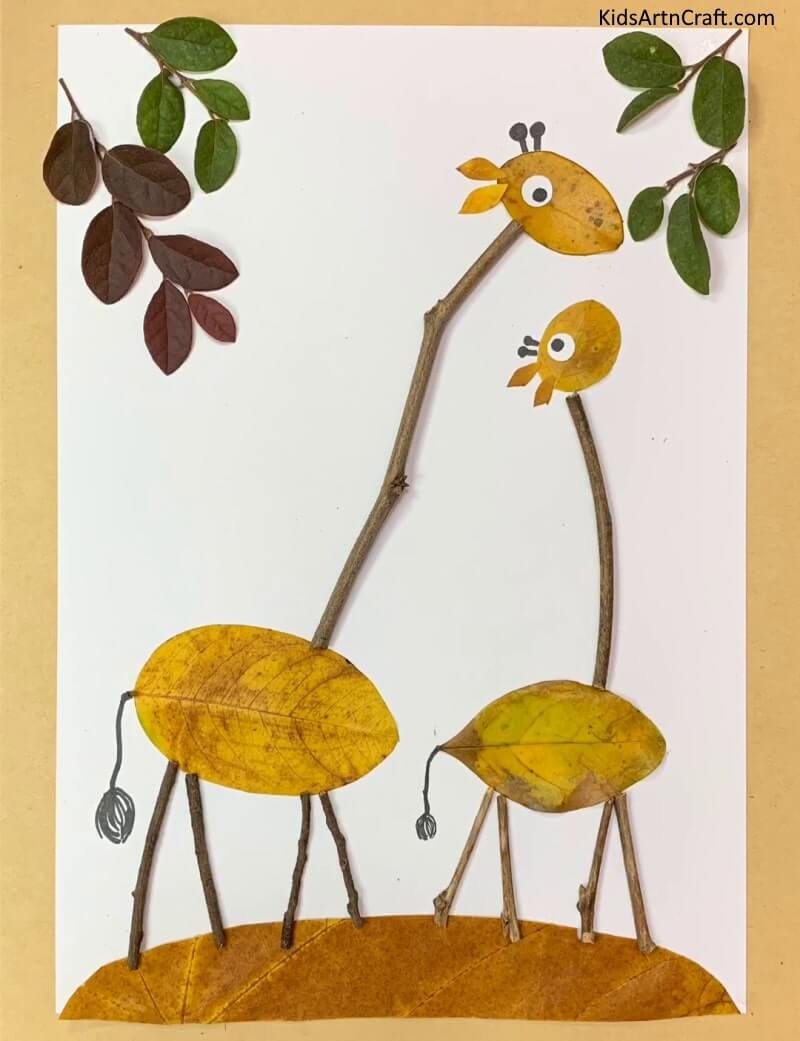
For a more refined look, add some leaves in the corners as shown. This will give your giraffe art and craft project an extra pop of color and detail.
Some More Giraffe Craft Tutorial
Creative Giraffe Artwork With Peanut Shells For Children
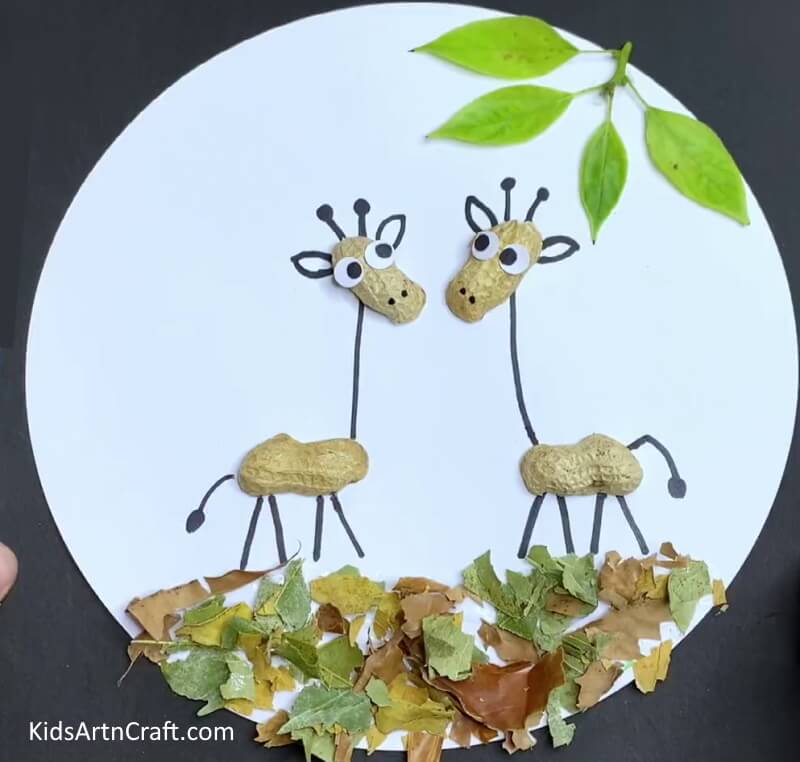
Image Source/Tutorial: Kids Art & Craft
This creative giraffe artwork is perfect for engaging children in fun and creative activities. It uses peanut shells to create an adorable giraffe design that is sure to delight kids. It’s a great way to get kids interested in art and creativity.
DIY Giraffe Craft Using Clay for Kids
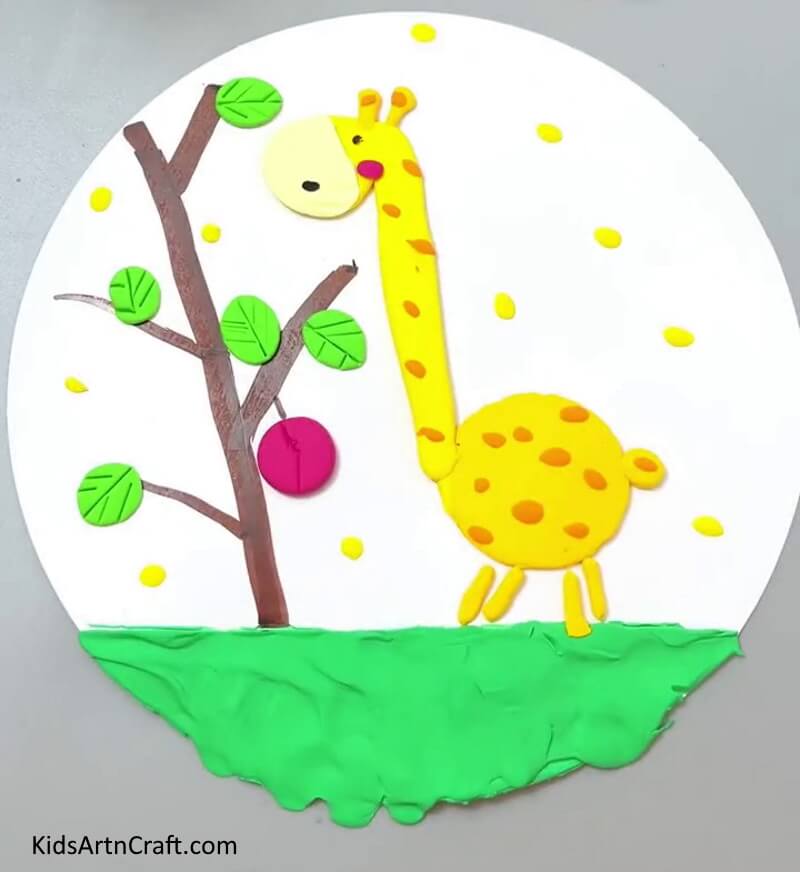
Image Source/Tutorial: Kids Art & Craft
This clay giraffe craft is perfect for kids to get creative and have fun. It’s an easy and fun craft to make and the finished product is adorable! It’s perfect for a rainy day activity or a craft to do with friends.
FAQs
What materials are needed to make a giraffe art and craft with fallen leaves?
You will need a variety of fallen leaves, some string, scissors, and a glue gun.
How do I prepare the fallen leaves?
Start by collecting and sorting the leaves by size and color. Then, choose the leaves you want for each feature of your giraffe.
What type of leaves should I use?
Choose leaves with interesting shapes and colors. You will need a variety of small and large leaves of different colors and textures.
How do I make the giraffe’s body?
Start by forming an oval shape using the string. Then, glue the leaves onto the string in a pattern that resembles the shape of a giraffe’s body.
How do I make the giraffe’s head?
Find a large, round leaf and glue it onto the top of the giraffe’s body. Then, glue a few leaves around it to form the giraffe’s head.
Remember that there are countless possibilities for your projects. This marks the end of the manual. Enjoy the process of creating!
Follow us on Youtube for art and craft tutorials and much more.
More Articles from Kids Art & Craft
- Super-Easy Bookmarks Crafts That Kids Can Make Themselves
- Easy Leaf Art For Kindergarteners With Your Parents – Step-by-Step Tutorial
- Easter Egg Chick Craft Using Popsicle Stick
- Creative Way To Make Sunflower Seed Shell Tree Craft For Kindergarteners
- Fun To Make Paper Chick Craft


