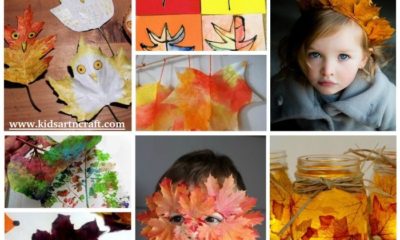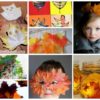


Fall & Autumn
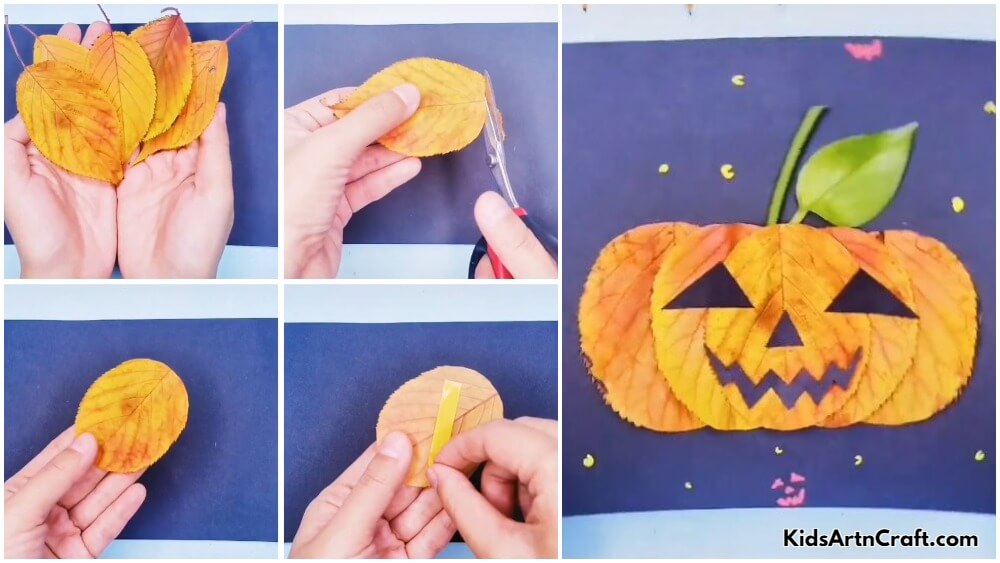
Easy to Make Pumpkin Craft with Fall Leaves – Step by Step Instructions Easy Tutorial

Pumpkins are a variety of squash that is usually used as a decoration for Halloween and also are a big part of the American and Canadian thanksgiving feast. They are one of the biggest vegetables there ever is and they are extremely delicious. Pumpkins were the oldest vegetables dating from 7,500-5,000 BC. Pumpkins are extremely healthy and nutritious.
Halloween is around the corner and let’s get started by making cute pumpkin crafts for home decorations.
How to Make a Pumpkin Craft
Materials Required:
- 5 yellow dried leaves.
- Scissors
- Double-sided tape
- Glue
- Stem
- Leaf
- Purple sheets
Instructions:
Let’s make a cute pumpkin!
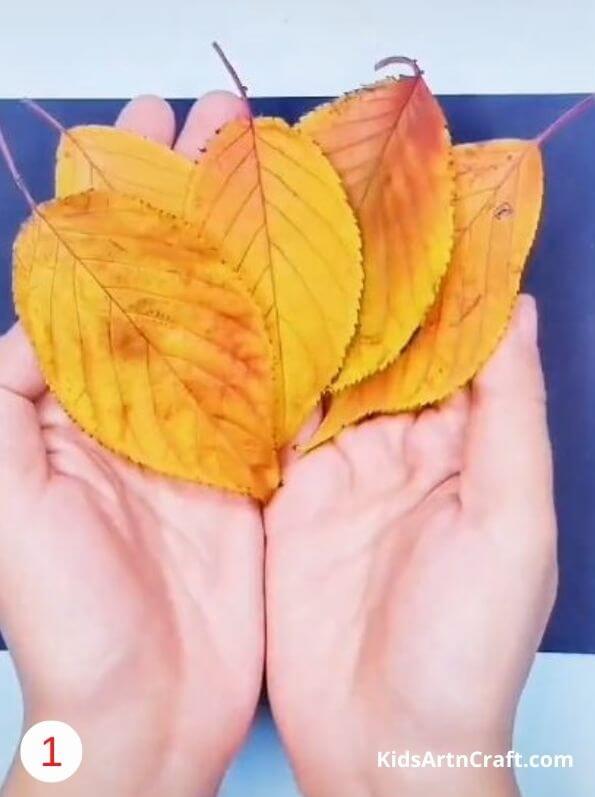
Step 1 – Leaves
Collect the dried yellow leaves.
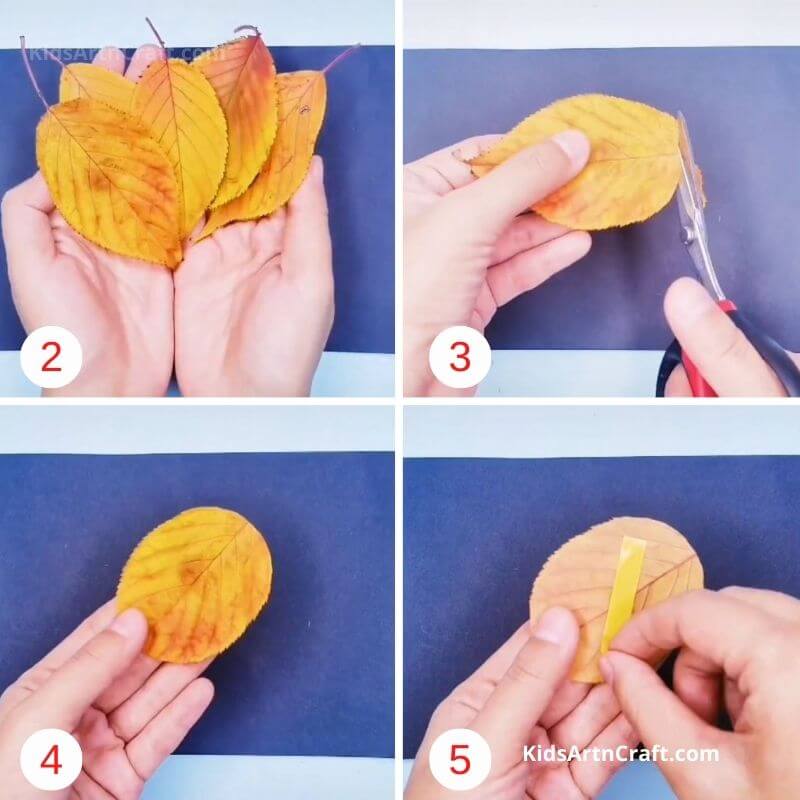
Step 2 – Leaves
Keep the leaves on the purple sheets.
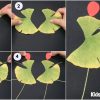
Step 3 – Cut
Cut the ends of the leaves in a circular manner.
Step 4 – Leaves
Keep all the the cut leaves aside.
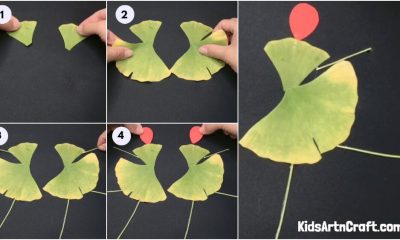
Step 5 – Tape
Apply the double-sided tape on the back side of a leaf.
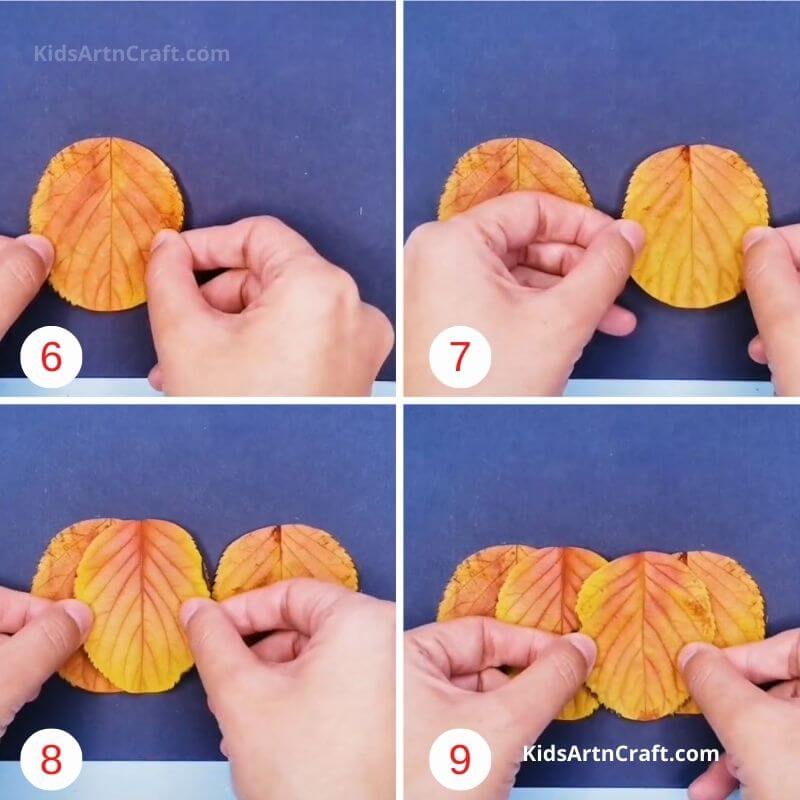
Step 6 – Stick
Stick the leaf facing down on the purple sheet.
Step 7 – Stick
Stick the second leaf next to the first one, leaving a gap.
Step 8 – Stick
Stick the third leaf, half on top of the first leaf.
Step 9 – Stick
Stick the fourth leaf, a little on the second and third leaf.
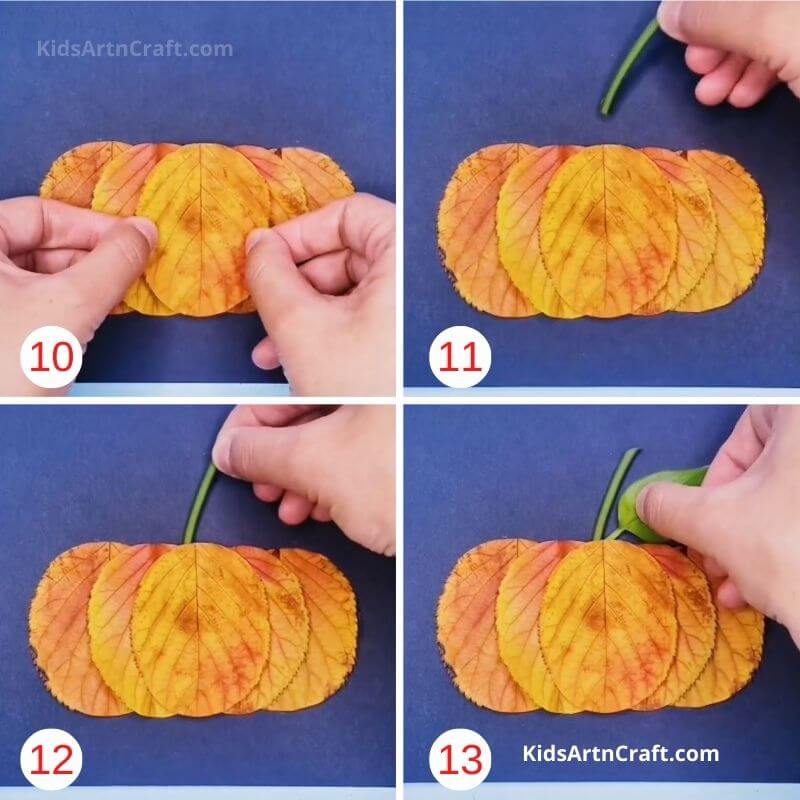
Step 10 – Stick
Stick the fifth leaf on top of the third and fourth leaf, exactly in the center. The4 pumpkin is ready
Step 11 – Stem
Take the stem out and keep it ready.
Step 12 – Stick
Stick the stem on top of the pumpkin.
Step 13 – Leaf
Stick the leaf beside the stem.
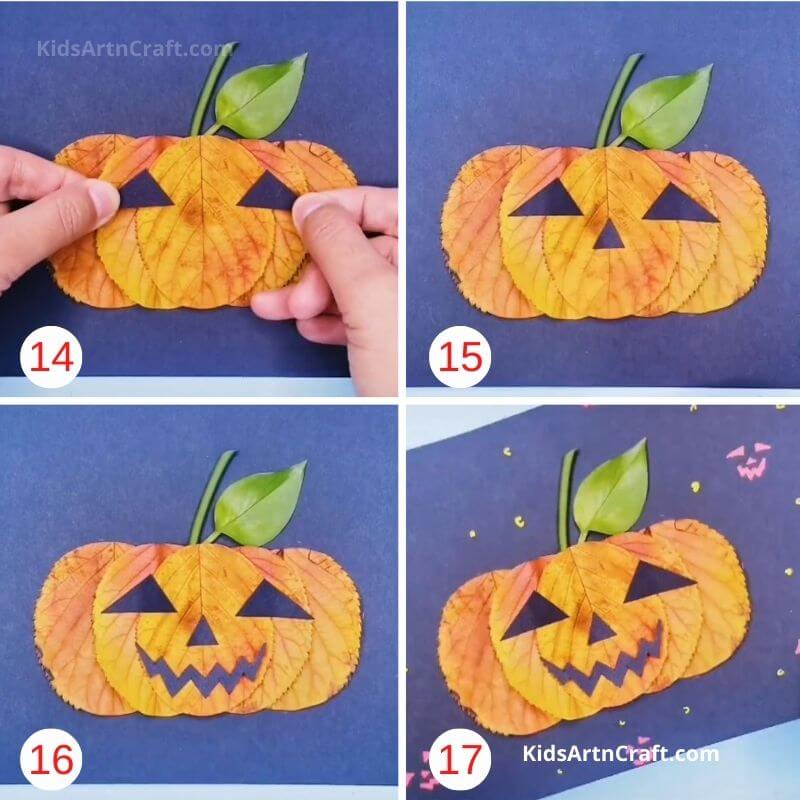
Step 14 – Eyes
Make a cut-out of a pair of eyes and stick it on the pumpkin.
Step 15 – Nose
Make a cut-out of the nose and stick it.
Step 16 – Mouth
Make a cut-out of the mouth and stick it on the pumpkin.
Step 17 – Decotrate
Decorate rest of the purple sheet with pumpkin faces.
Your pumpkin craft is ready!
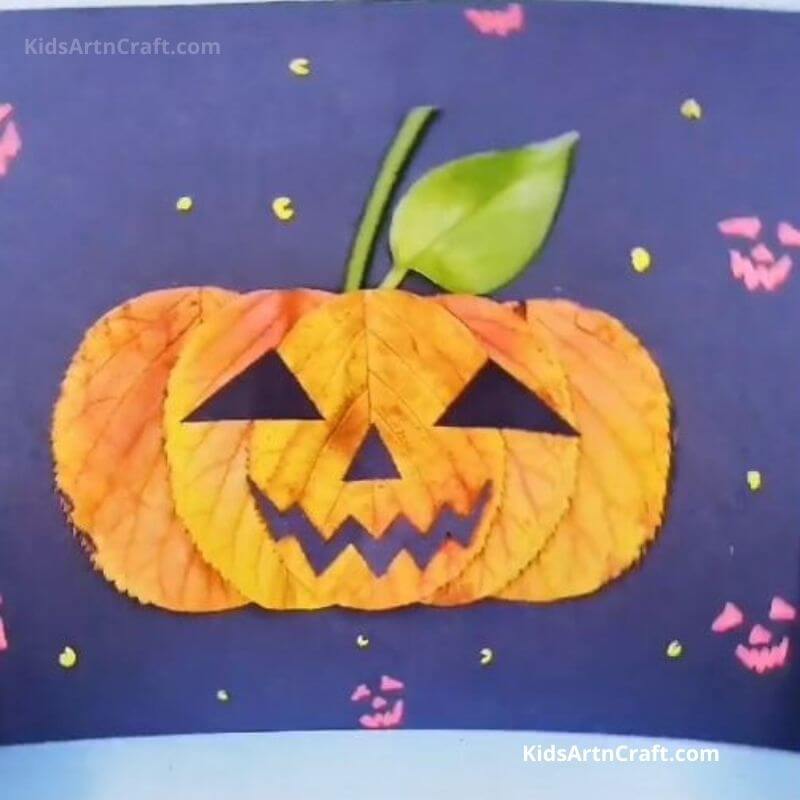
This is such a cute way to create pumpkin craft for Halloween decorations. You can use this as a decoration for the room and halls during Halloween. This is a very good way to engage kids and teach them about the importance of Halloween and pumpkins. So get started on your pumpkin craft!
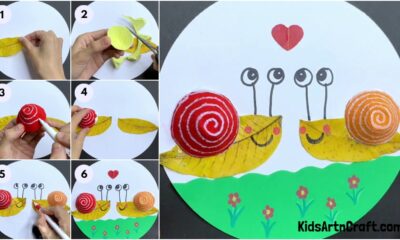
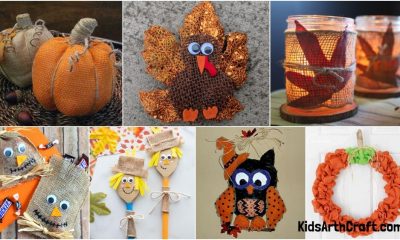
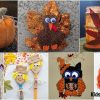
Some More Pumpkin Craft Tutorial
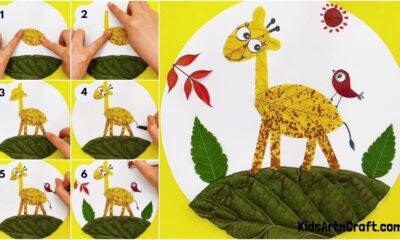
Learn To Make Pumpkin Craft Using Paper
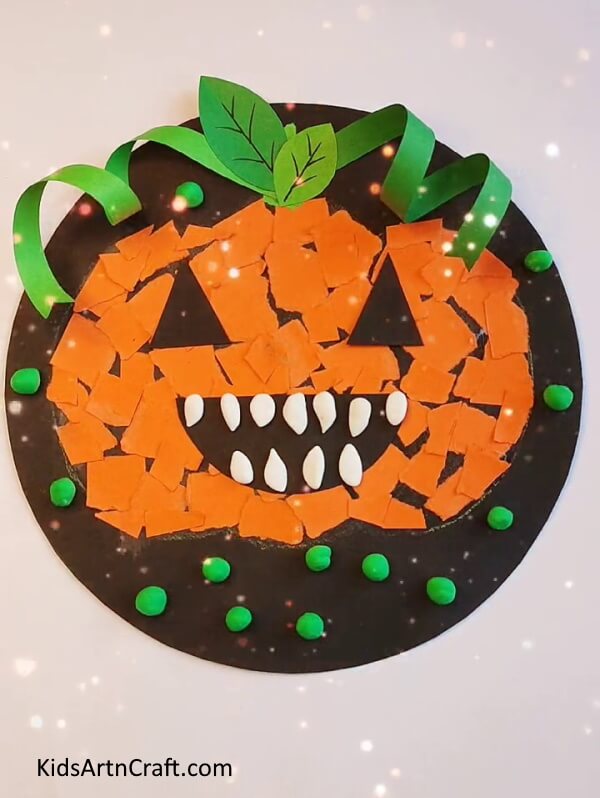
Image Source/Tutorial: Kids Art & Craft
Learning how to make pumpkin crafts out of paper is a simple and fun craft to do with the family. It’s a great way to get creative and make something beautiful for the upcoming fall season.
Fun facts about pumpkins:
- Pumpkins are actually a fruit.
- Pumpkin seeds have medicinal value in them.
- The word ‘pumpkin’ comes from the Greek word, pepon, which means a “large melon”.
- The yellow-orange flowers that bloom on the pumpkin vine are edible.
- Pumpkins are grown in every continent except Antarctica.
- The world’s heaviest pumpkin weighed over 2,600 pounds.
- The largest pumpkin pie was 3,699 pounds.
- Each pumpkin has almost 500 seeds.
- There are more than 45 varieties of pumpkins.
- 90% of a pumpkin is water.
FAQ on Easy to Make Pumpkin Craft with Fall Leaves – Step by Step Instructions Easy Tutorial
1. What materials do I need for the pumpkin craft?
Answer: You will need fresh or artificial pumpkin, fall leaves, scissors, glue, and a paint brush.
2. How do I prepare the pumpkin for the craft?
Answer: If you are using a fresh pumpkin, you will need to cut the top off and scoop out the insides. If you are using an artificial pumpkin, you can skip this step.
3. How do I attach the fall leaves to the pumpkin?
Answer: You can use a hot glue gun or craft glue to attach the leaves to the pumpkin.
4. What type of paint brush should I use?
Answer: You should use a small paint brush or foam brush.
5. How do I arrange the leaves on the pumpkin?
Answer: You can arrange the leaves in a pattern or randomly.
6. How long does it take for the glue to dry?
Answer: It usually takes about 30 minutes for the glue to dry.
7. Can I use other materials for this craft?
Answer: Yes, you can use other materials such as fabric, ribbons, or buttons to decorate the pumpkin.
8. How do I make the pumpkin look realistic?
Answer: You can use light and dark eye shadows or paint to add dimension and make it look more realistic.
9. How do I store the pumpkin craft?
Answer: You can store the pumpkin craft in a cool, dry place.
10. How long will the pumpkin craft last?
Answer: Depending on the materials you used, the pumpkin craft can last for several weeks to months.
Read More:
- Easy Pumpkin Crafts for Kids
- Bat Paintings for Kids
- Halloween Origami Ideas That Kids Can Make
- Tangerine Crafts & Activities for Kids
- How To Make An Origami Goat With Kids