Fall & Autumn
Realistic Tree Craft Using Fall Leaves Step-by-step Tutorial

Create your own beautiful realistic tree craft using fall leaves with this easy step-by-step tutorial. Learn how to create a unique and eye-catching decoration for your home or office!
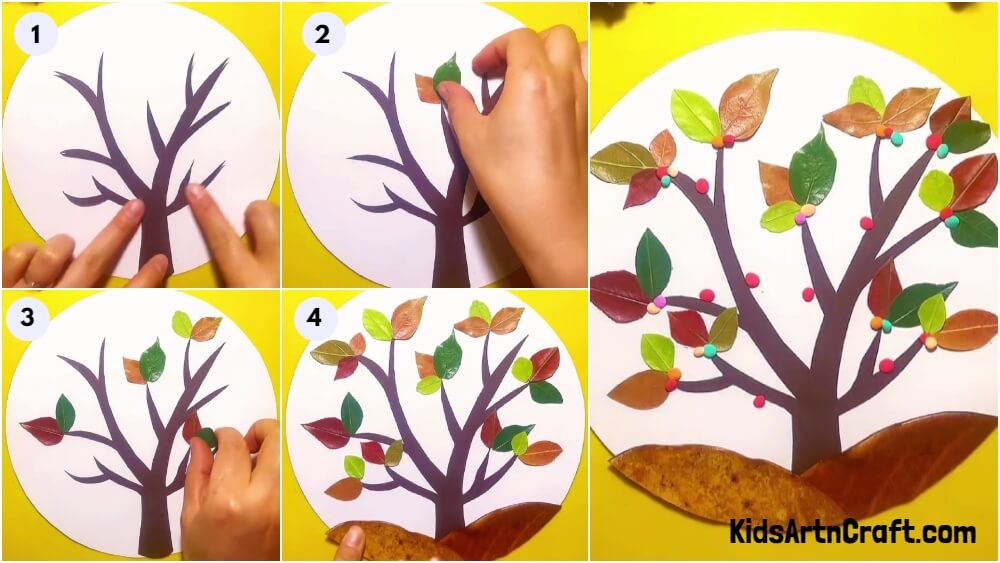
Welcome to this step-by-step tutorial in which we will make a realistic tree using fall leaves. This is a sustainable craft idea that helps in recycling dried leaves. This tree craft will be liked by children as well as adults. With very few materials and with your creativity, you can make this beautiful piece of art. Let’s get started!
Easy Tree Craft Using Fall Leaves
Read More: Simple Fall Leaf Boy Craft Tutorial For Kids
Materials Required
- Colored Paper (White and Brown)
- Scissors
- Glue
- Fallen Leaves Of Different Colors And Sizes
- Thermocol Balls
Procedure
Step 1: Making The Tree
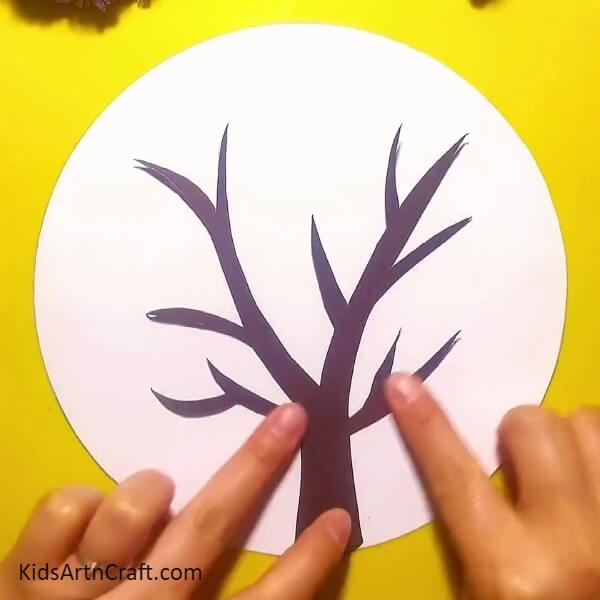
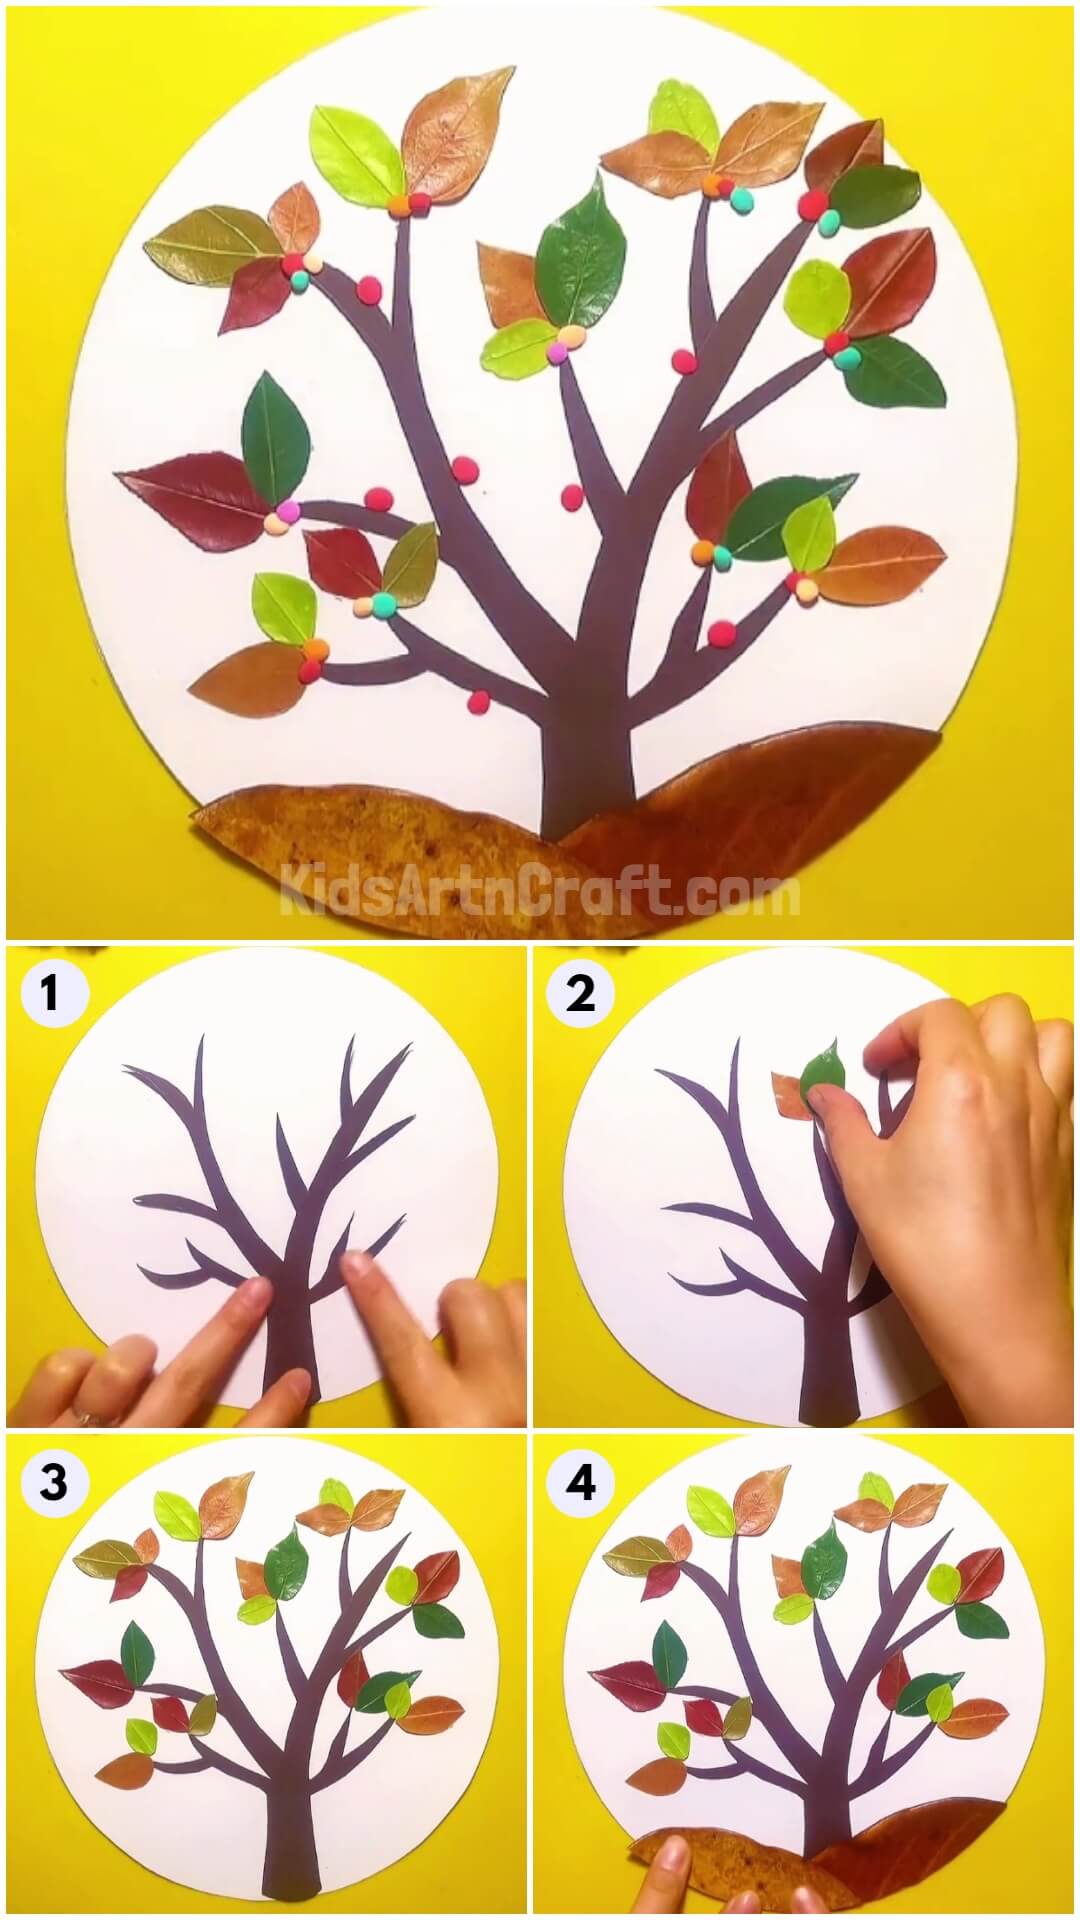
Let’s get started by cutting out a circle from the white paper. Now draw and cut out a tree from the brown coloured paper. Paste the tree on the bottom part of the circle that we have cut out.
Step 2: Sticking The Leaf
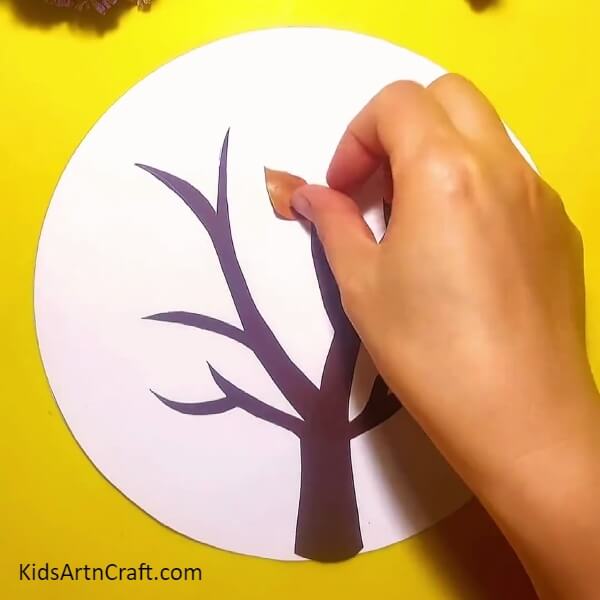
Start sticking the smaller leaves to the branches of the tree using glue.
Step 3: Pasting Another Color Leaf
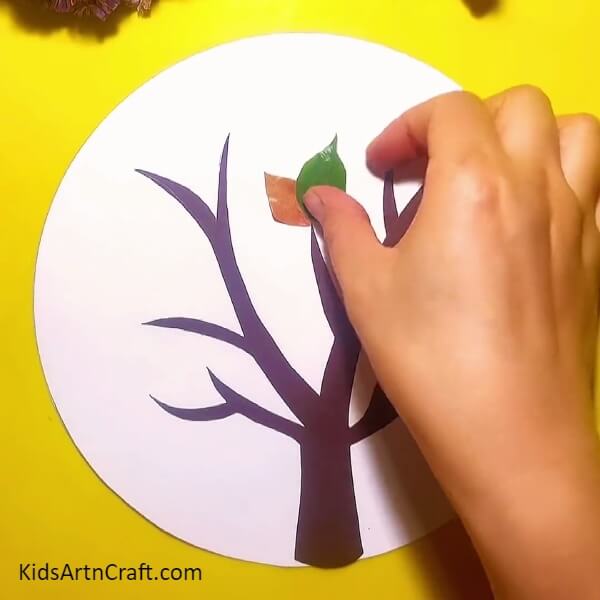
Try pasting leaves of different colors to make our tree more realistic.
Step 4: Pasting More Leaves
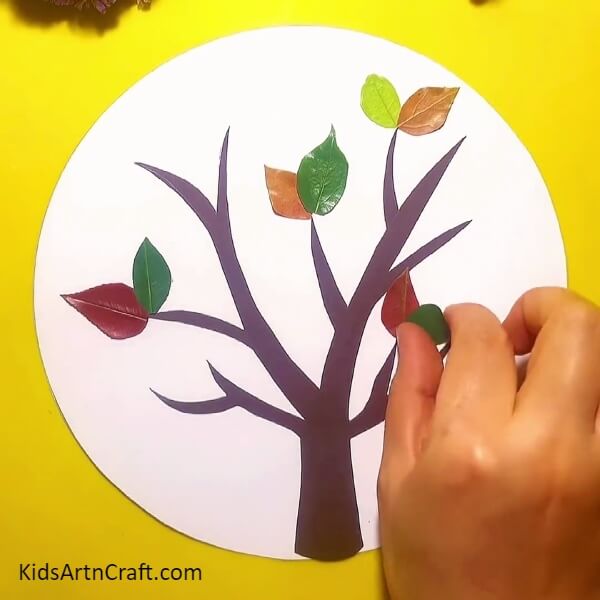
Add more leaves to our tree.
Step 5: Filling The Branches With Leaves
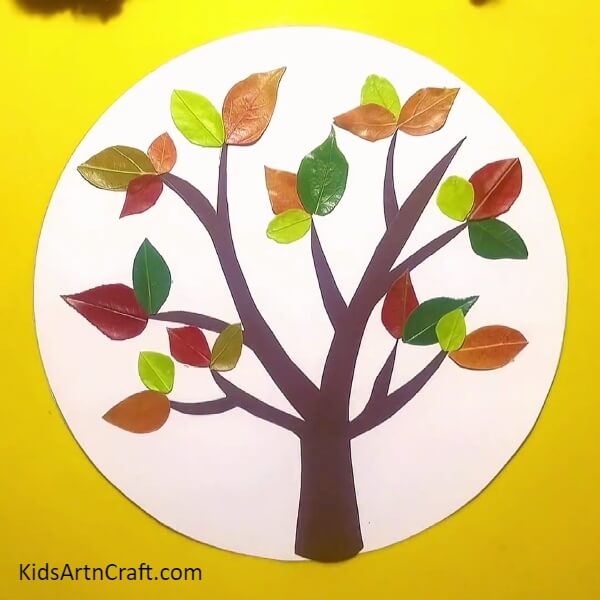
Stick leaves of different to all branches to make the tree look evergreen.
Step 6: Setting The Ground
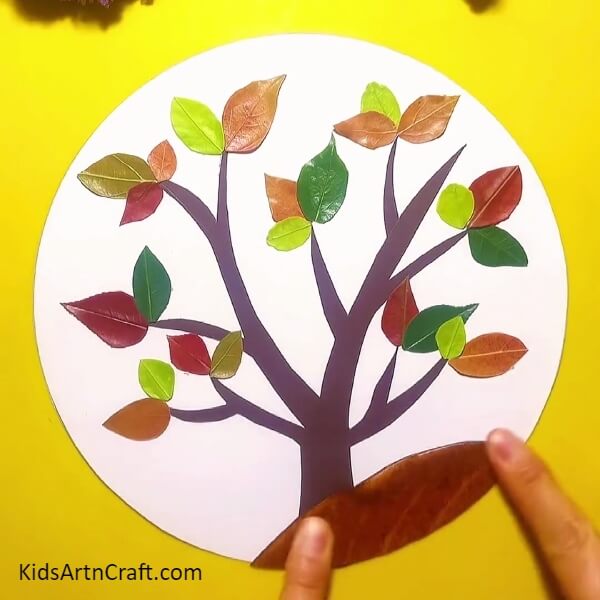
Now for the ground, paste a big leaf on the bottom part of the tree as shown.
Step 7: Finishing Setting The Ground
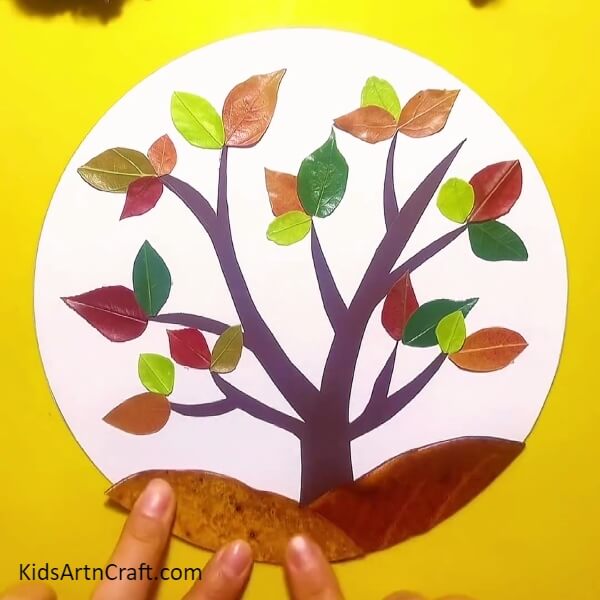
Paste another leaf as shown to complete setting the ground.
Step 8: Adding Flowers To The Tree
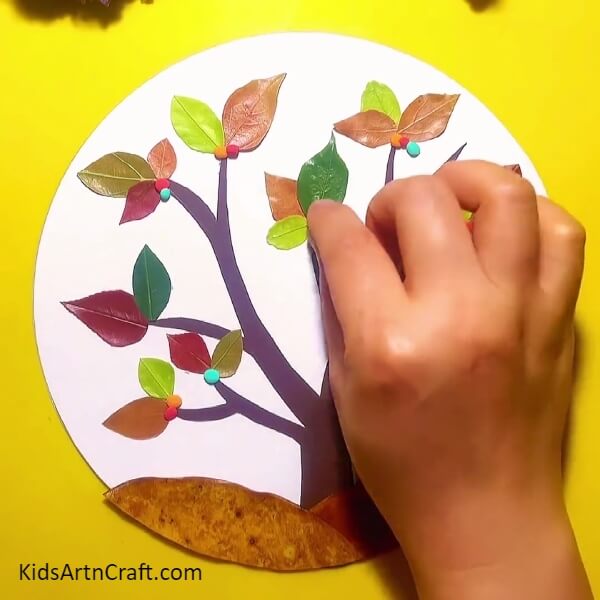
For the flowers, paste colorful clay balls on the branches using glue.
Now, Our Realistic Tree Craft Is Ready!
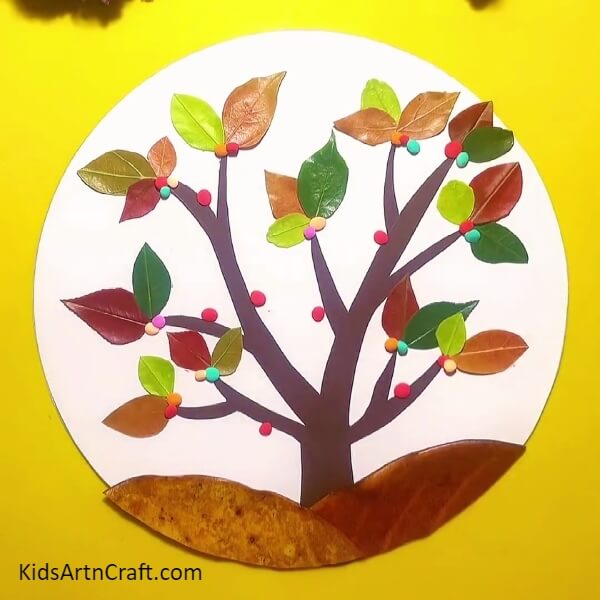
Congratulations, Realistic Fall Leaves Tree Craft Is Ready!
This is a simple craft work that can engage both children and adults. Collecting fallen leaves and flowers can make children feel more connected with nature. Unleash more of your creativity and add more detailing to make your tree more realistic. Also, do not forget to check more of our craft and DIY ideas.
Some More Tree Craft Tutorial
Easy to make a Ginkgo fall Leaf Tree Craft For Little Ones
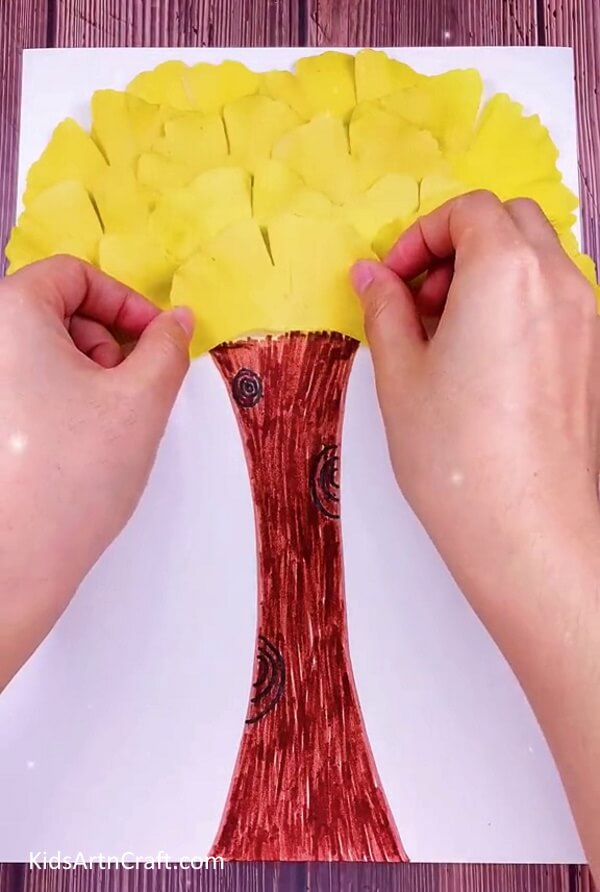
Image Source/Tutorial: Kids Art & Craft
This Ginkgo fall leaf tree craft is a perfect activity for young children. It is simple to make and sure to provide hours of fun. Kids can create their own unique trees with colorful leaves and explore their creativity.
Thank you for visiting our website.
Follow us on Youtube for art and craft tutorials and much more.
More Articles from Kids Art & Craft
- DIY Ladybug Leaf Craft Step-by-Step Tutorial For Beginners
- Giraffe and Bird Leaf Craft Tutorial For Kids
- How To Make Easy Fall Tree Craft From Leaves
- Easy Fall Leaf Craft Step by Step For Kids
- Fall Leaf Craft Tutorial for Kids


