Recycled Crafts
Easy Chicken Craft Tutorial for Kids and Beginners

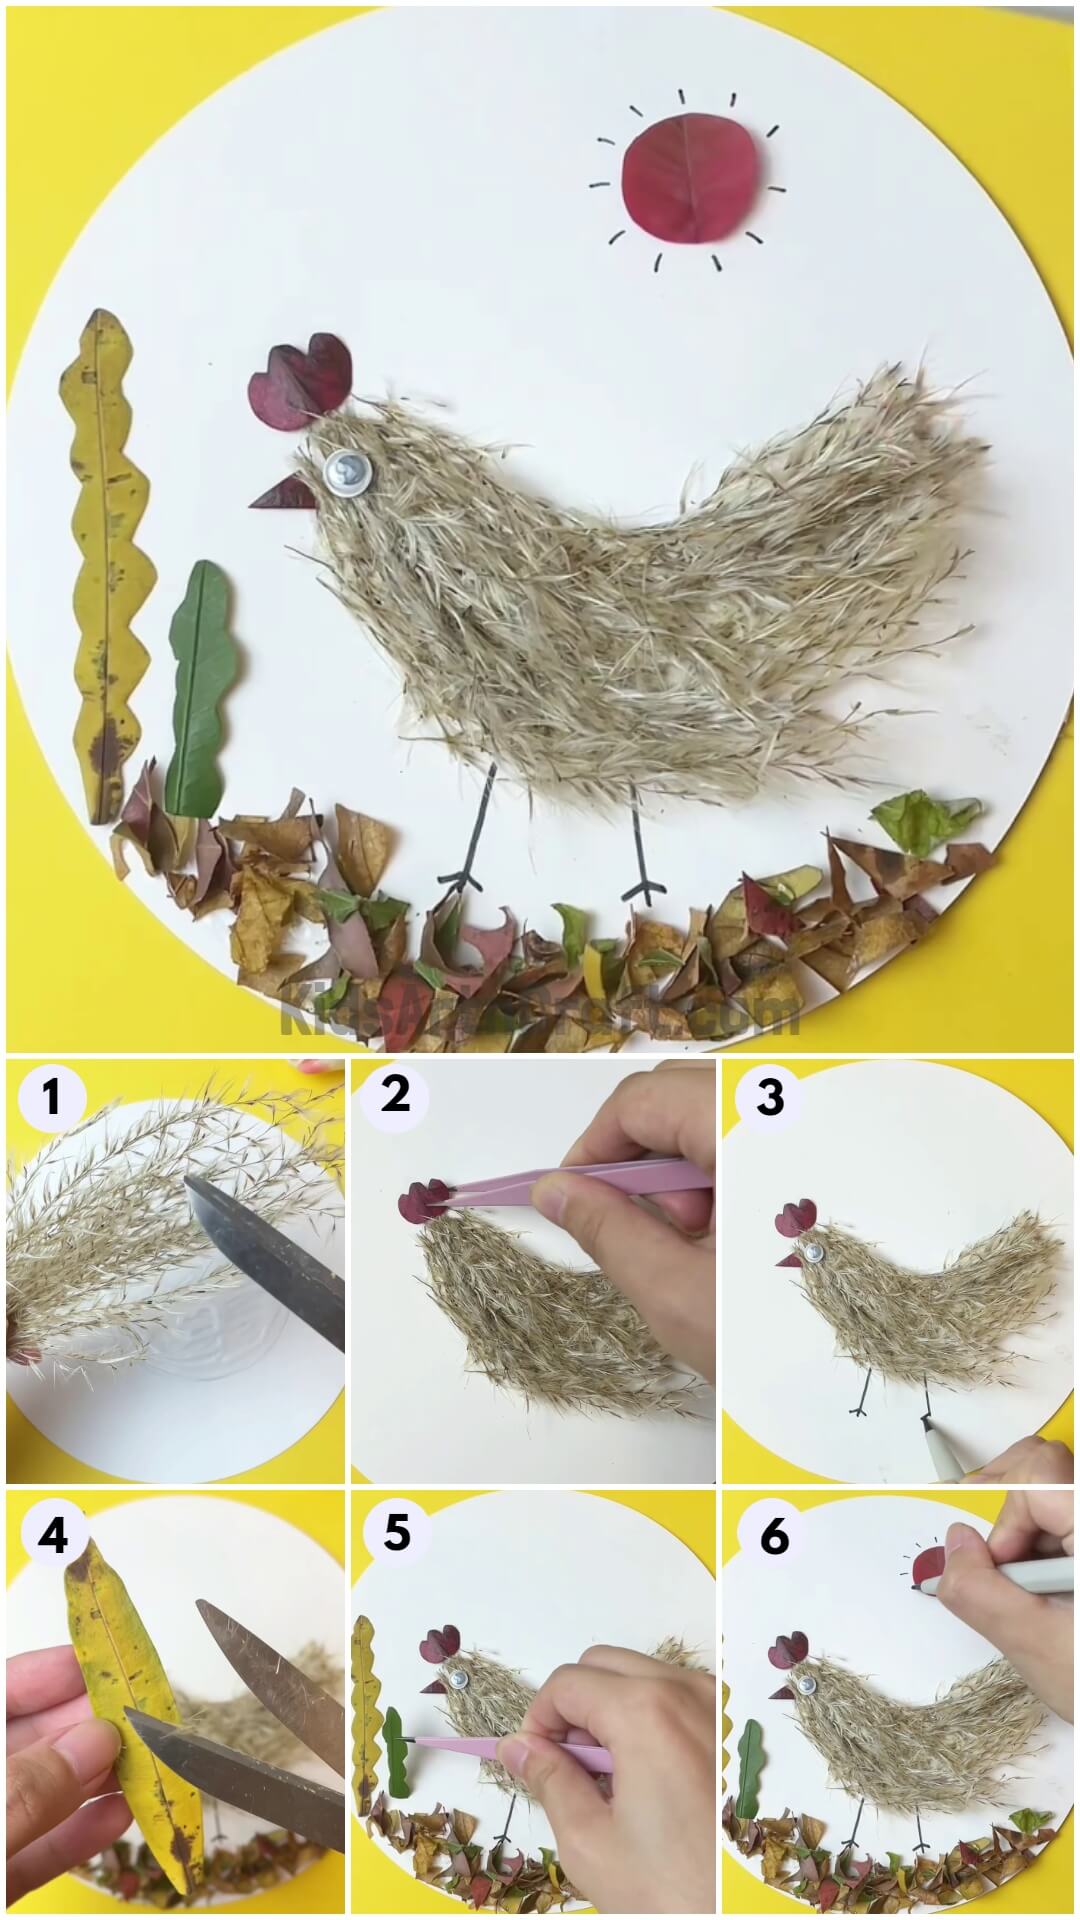
This Chicken craft is perfect for kids! There are step-by-step instructions that will help kids make a cool Chicken craft. It’s a great activity to do when it’s raining or when they want to practice their crafting skills.
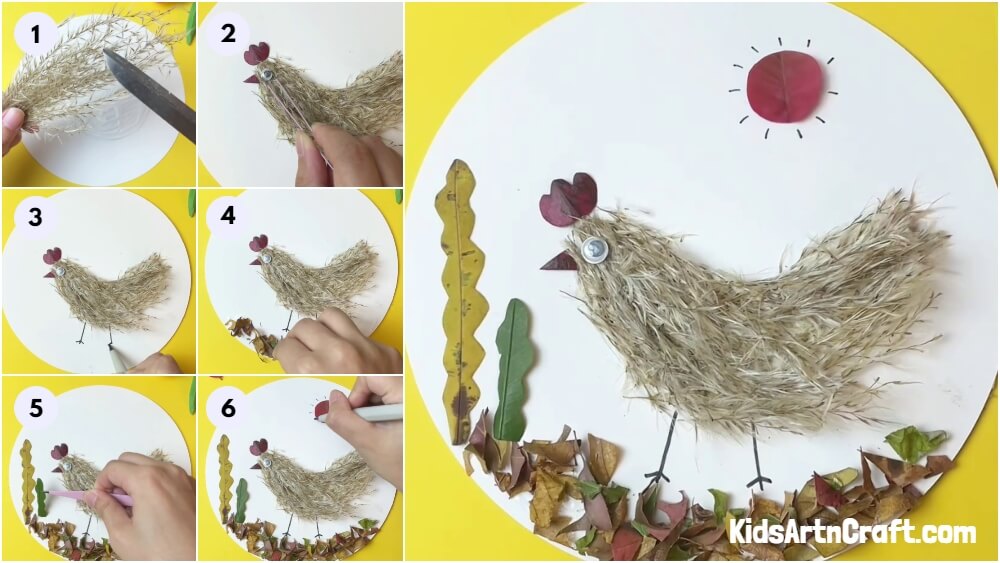
Welcome! Are you ready to make your own alarm? Relax! I’m just kidding. Here, we are not going to make any alarm, but which is used as alarm in the ancient times. Have you guessed? I think yes. In this tutorial we going to learn how to create easy chicken craft. Though not like peacock, but chickens also a beautiful bird with different colored feathers. We going to teach you how to create this chicken craft using tried leaves and tried grass.
Easy Chicken Step-By-Step Craft Tutorial For Kids
Read More: Plastic Bottle Bee Craft For Kids
Materials Required
- Tried grass and tried leaves
- Glue
- Scissors
- Pencil
- Black pen
- Doll eyes
- White sheet
Procedure
Step 1: Drawing Chicken Outline on the White Sheet

Start to draw a chicken outline in the middle of the white sheet using your pencil.
Step 2: Completing the Drawing
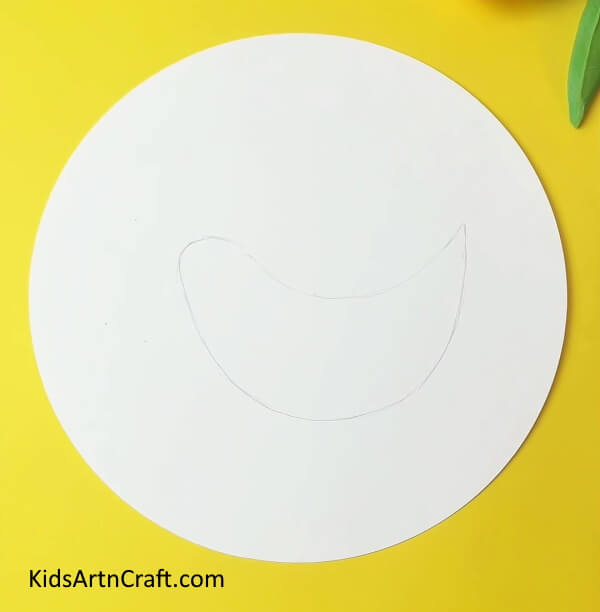 Draw the outline of the chicken as shown in the image, I give you some tips, just draw a half-moon and rub it at the left side, and joint it as shown in the image.
Step 3: Appling Glue to Stick Tried Grass
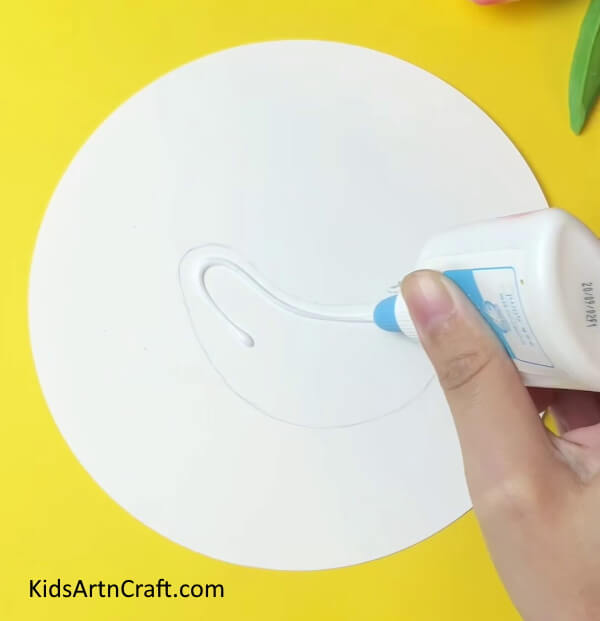
Step 4: Cutting Tried Grass
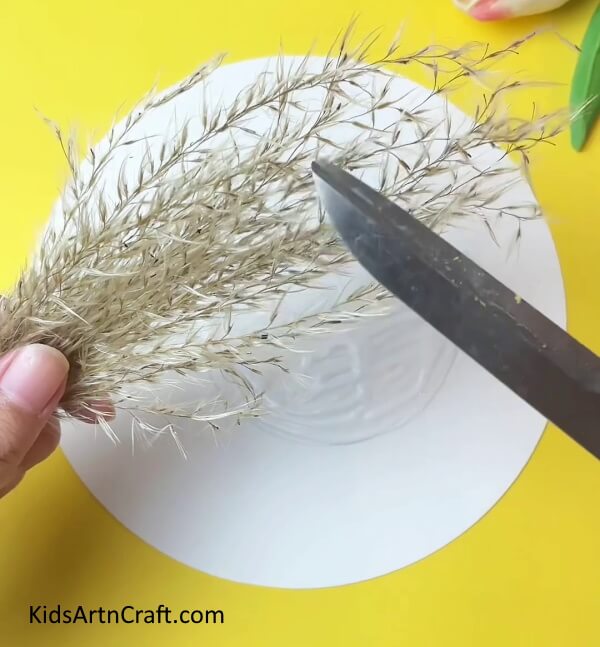 Take some amount of tried grass and cut it at the top using scissors.
Step 5: Pasting Tried Grass in the Drawing
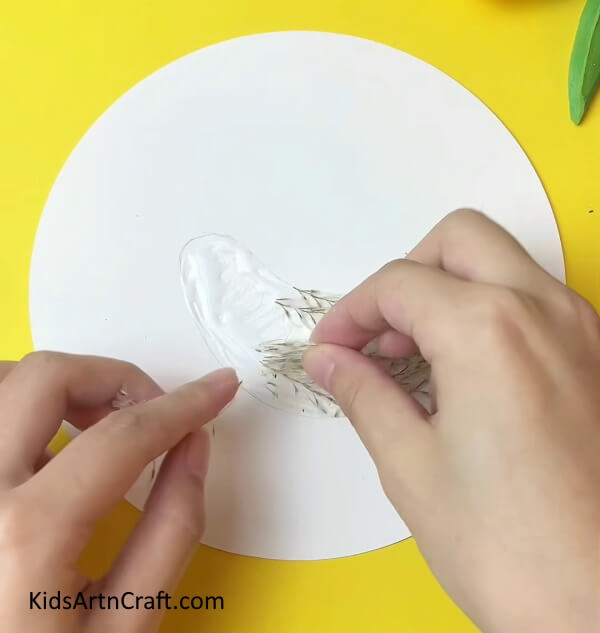 Paste some grass one by one in the drawing completely as chicken feathers, just like the person in the image pasting.
Step 6: Make a Comb of Chicken
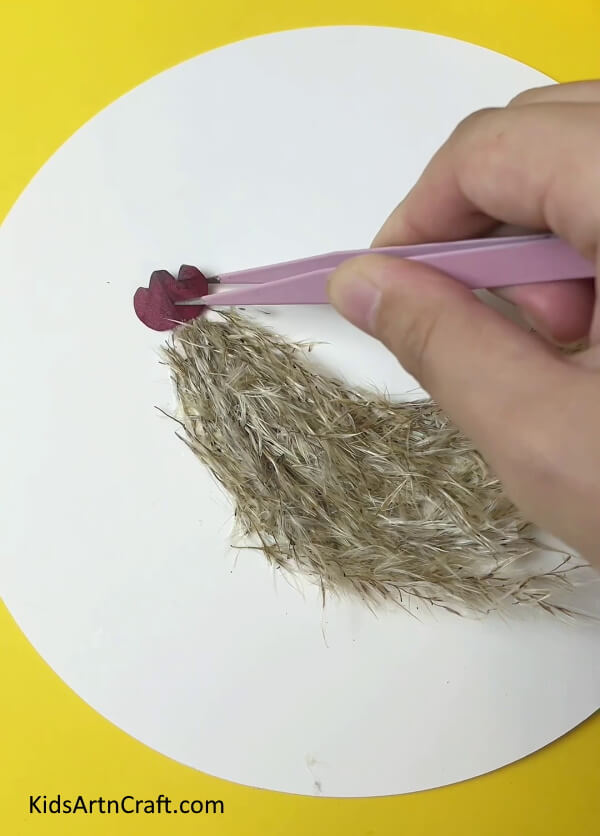 After completely pasting tried grass in the drawing, take a red leaf and cut it like a chicken comb, which is a crown-like part of a chicken’s head. Then paste at the top your drawing.
Step 7: Pasting Peak and Eyes of Chicken

Step 8: Drawing Chicken’s Legs
 Now we going to draw legs for your chicken, draw two straight lines under your chicken and also draw a foot using a black pen.
Step 9: Applying Glue under the Drawing
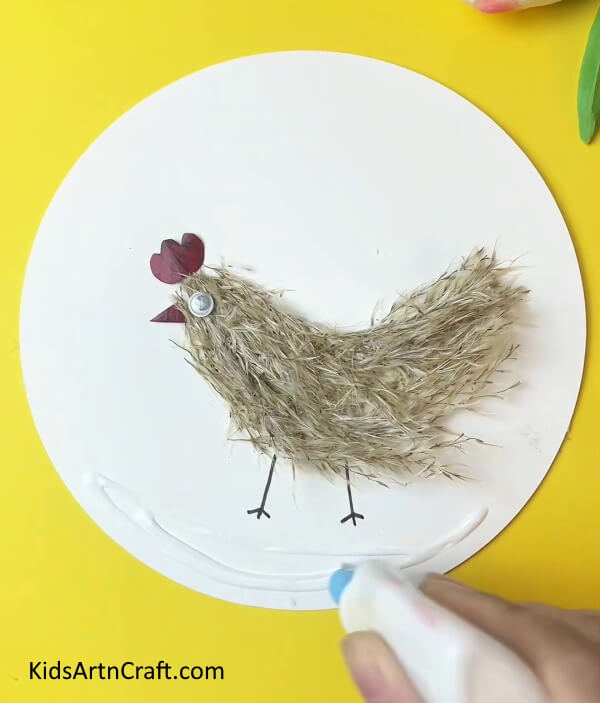 Then, apply some amount of glue under your chicken as shown.
Step 10: Pasting Tried Leaves under Chicken
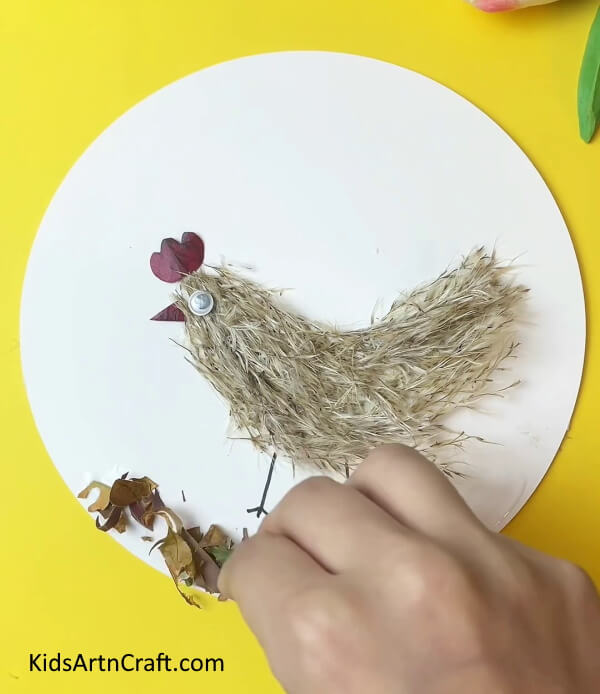 Take some dried leaves and pour it on the glue, that you applied under the chicken.
Step 11: Cutting and pasting trees near the chicken
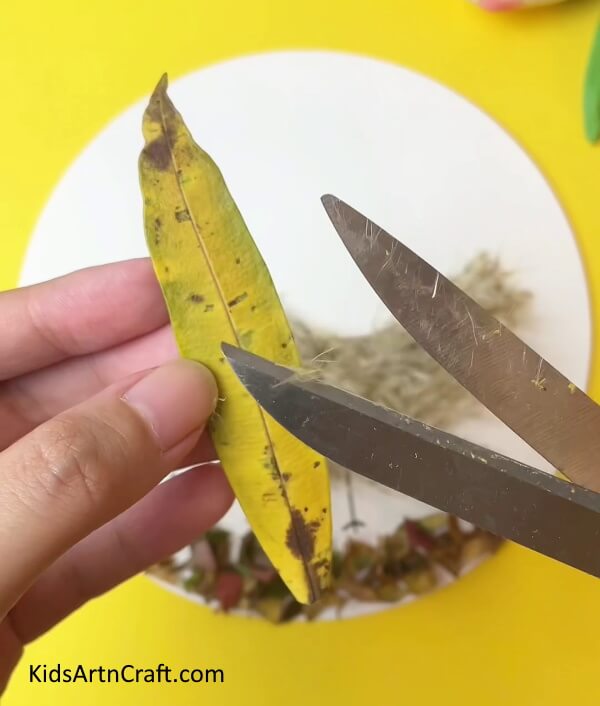 Take some long yellow leaves and cut them in a zigzag manner, then paste it the left side.
Step 12: Pasting Another Tree
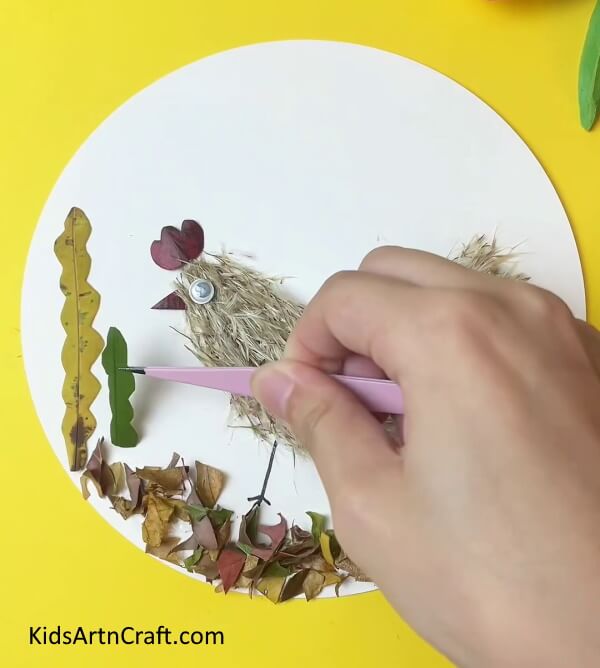 Take a medium-length green leaf and also cut it in a zigzag manner and paste it left side.
Step 13: Creating a Sun
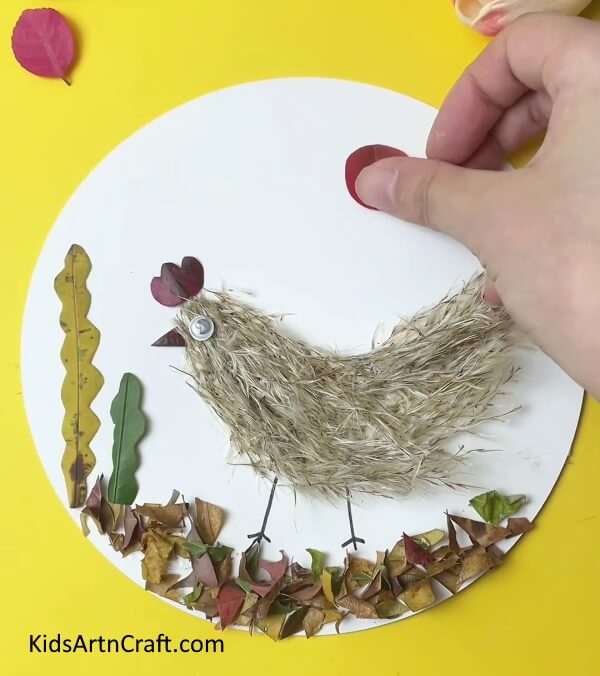 Take another red leaf, cut it into a round shape, and paste it on top of a white sheet.
Step 14: Drawing Sun Rays
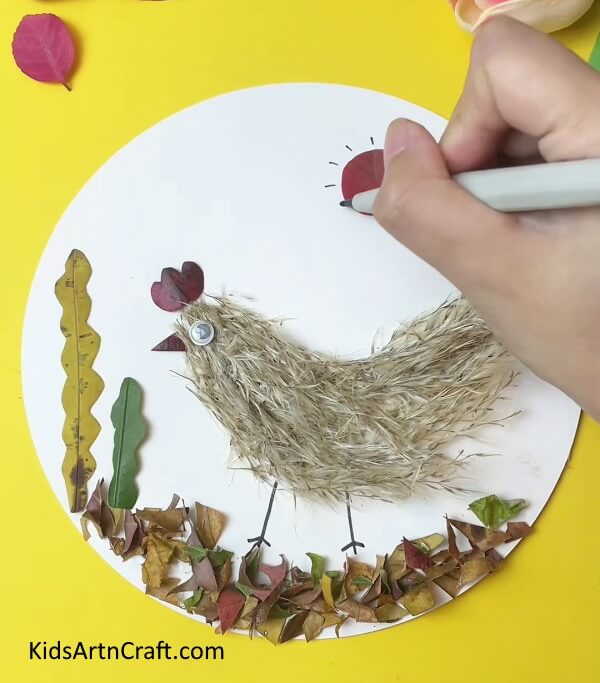 After pasting the red leaf, draw some small lines around that red leaf to create the sun rays.
We Completed our Cute Chicken Craft
 Yeah! We finished our easy chicken craft, it is a cute chicken craft and kids will love to create it. Let your kids try it, and why not? you can also try this simple cute craft at your home and hang it on your wall to decorate your home.
We hope you all like this tutorial it is a simple chicken craft anyone can make it with very few craft essentials and tried leaves. In this tutorial, we give you step-by-step instructions to create this easy craft. Please leave some comments in the comment box to encourage us.
Thank you for visiting us!
Follow us on Youtube for art and craft tutorials and much more.
More Articles from Kids Art & Craft
- Easy to Make Snowman by Bottle Craft Tutorial
- DIY Foam Net Home Craft For Kids
- Water Bottle Airplane Tutorial for Kids
- Easy Peanut Shells Giraffe Art and Craft For Kids
- Handprint Craft Paper Frog Easy Craft for Kids


