Clay Crafts
Clay Modelling Ideas for Kids

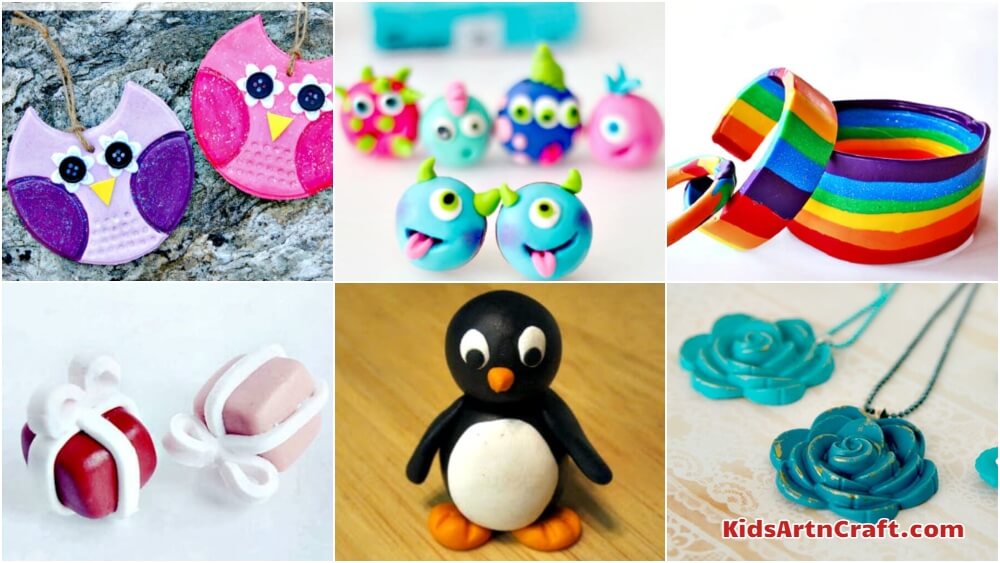
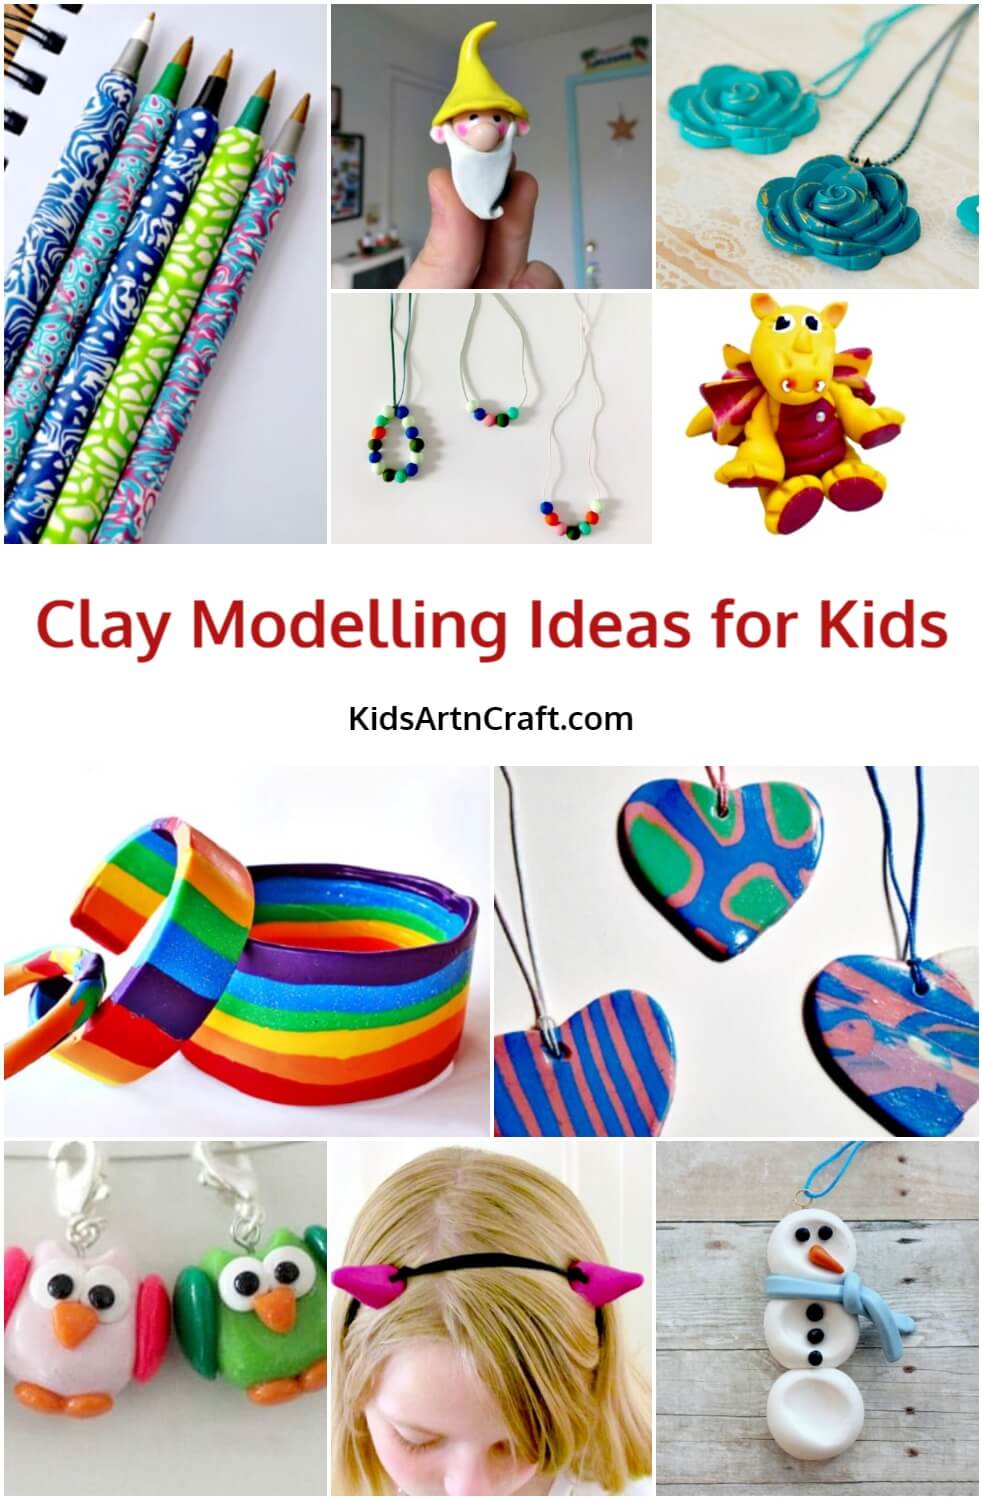
Clay modeling is always fun and also it enhances your creativity skills. Every kid loves playing with clays and making something from clay which is also useful is great contentment. So kids rather than wasting your time on video games, make something that is unique and attractive with clay. Just follow our adorable and creative Clay modeling ideas and create something new. Gather the colorful clays and start making necklaces, rings, different creatures, or anything of your choice, I will recommend you to create some of our ideas with your family and friends.
Clay Modelling Ideas for Kids
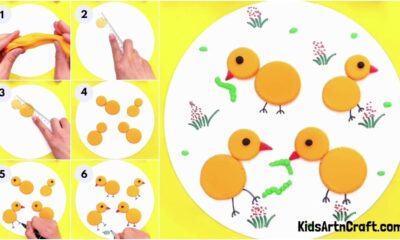
Basic Ant Clay Craft For Youngsters
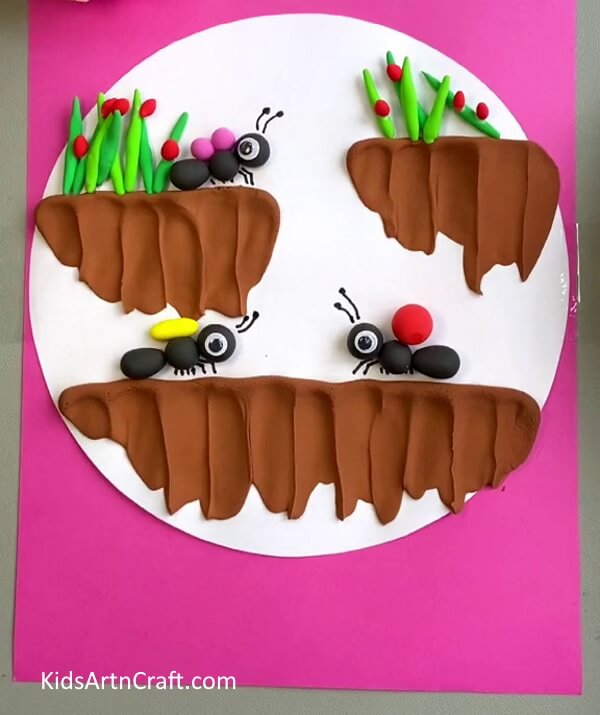
Image Source/Tutorial: Kids Art & Craft
This basic ants clay craft is perfect for young children! It’s a fun and easy activity that can be completed with just a few supplies. Kids can use their imagination to create and customize their own ants sculptures. This craft is sure to bring out the creativity in any youngster!
Simple Mini Cake with Clay For Toddlers
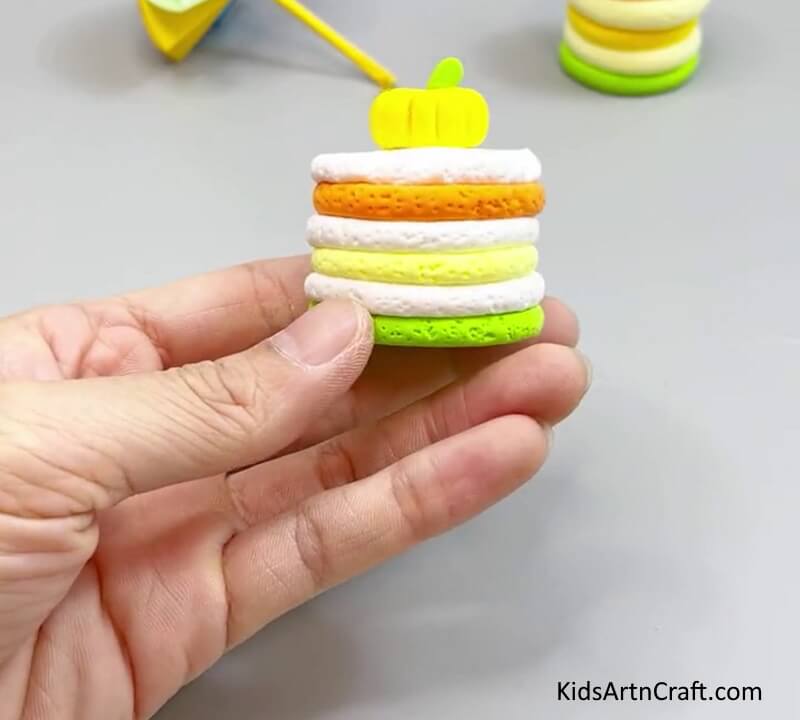
Image Source/Tutorial: Kids Art & Craft
This simple mini cake with clay is perfect for toddlers. It is easy to make and fun to decorate with clay. It is a great way for toddlers to be creative and have fun while learning how to bake.
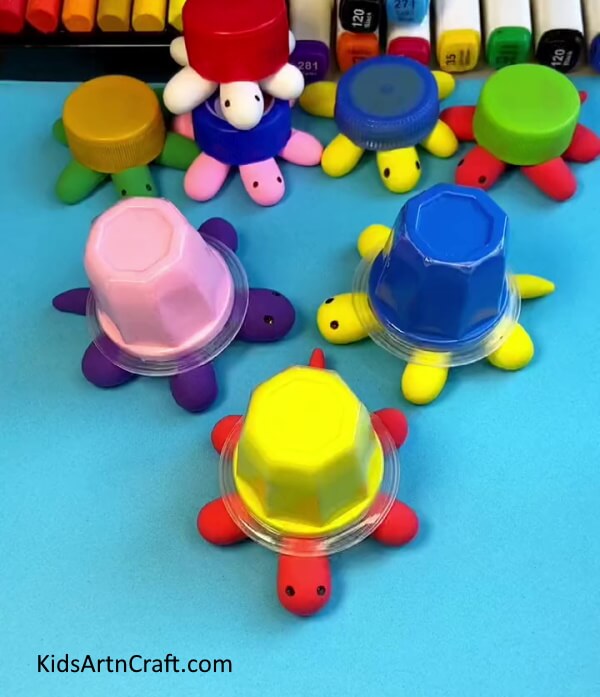
Easy To Make Clay Turtle Craft For Kids
This easy-to-make clay turtle craft is perfect for kids! It is simple, fun, and a great way to get creative. This craft is sure to bring a smile to your child’s face!
DIY Clay Caterpillar For Kids
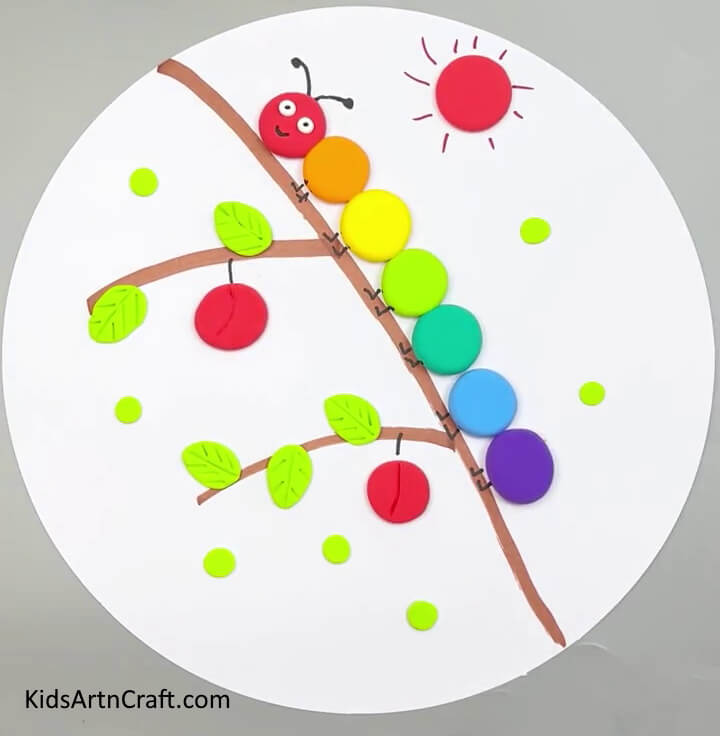
Image Source/Tutorial: Kids Art & Craft
This DIY Clay Caterpillar is a fun and easy activity for kids! Made with air-dry clay and paint, it’s a great way to get creative and make something unique. It’s the perfect summer craft project for kids of all ages.
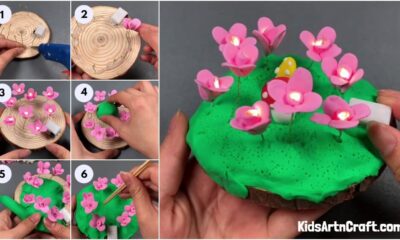
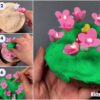
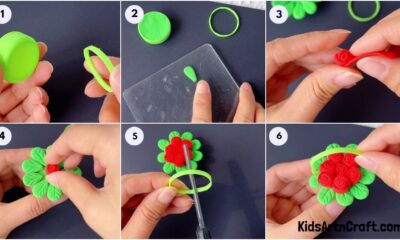
Crafting with Clay Flowers for Children
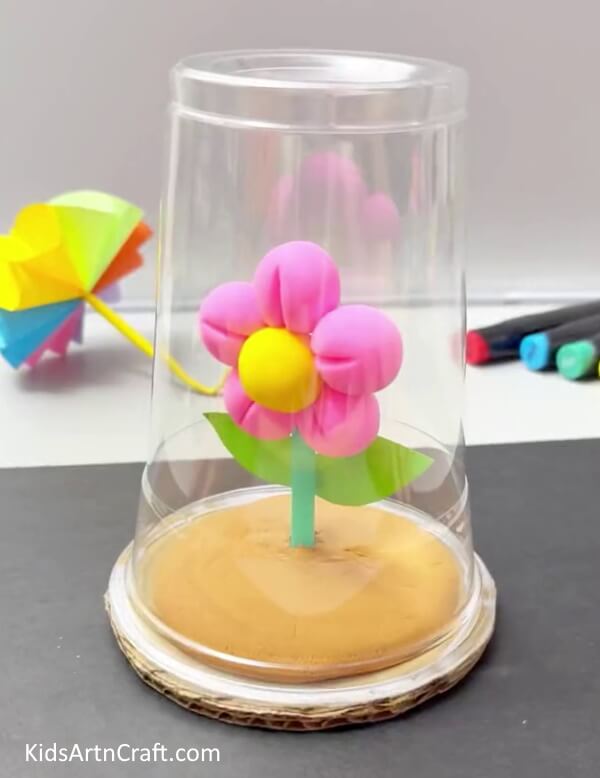
Image Source/Tutorial: Kids Art & Craft
Crafting with clay flowers for children is a great way to teach them about the beauty of nature and to help them develop their creativity. They can make different shapes and sizes of flowers and have fun painting and decorating them. It’s a great family activity for all ages.
Clay Jewelry
Easily make this clay jewelry and wear them at parties!
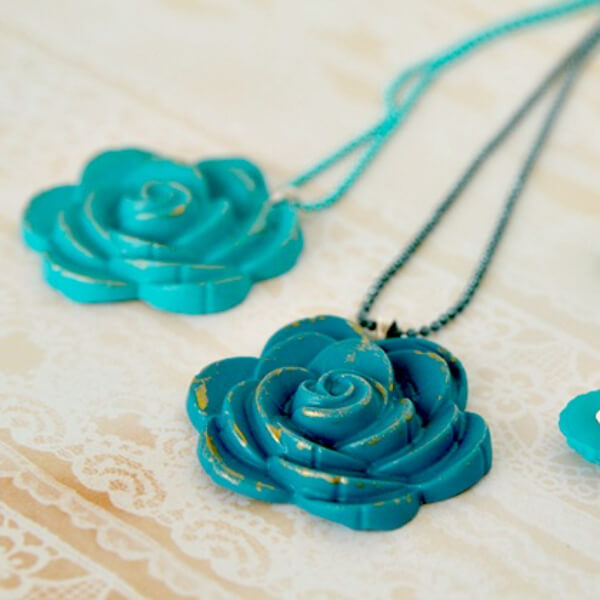
Image Source/Tutorial: they’re inspired
Making clay jewelry is a terrific indoor activity to do with your kids. Just built a vast assortment of jewelry together, and it was so easy and convenient to make. Although an adult will need to assist with the baking of the clay and, most likely, the connection of the jewelry parts, the kids will have a blast sculpting the clay and painting it after it has been baked! You can make pendants, rings, bracelets, or rings out of it.
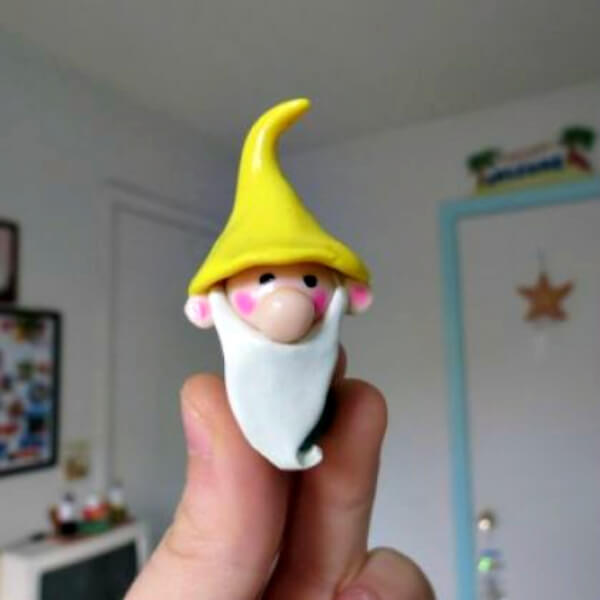
Clay Gnome And Mushrooms
A fun craft to create with your friends!
Because Kids adore little gnomes and mushrooms, we are here with an amazing idea to create the mushrooms out of polymer clay. Because kids are not adept at face carving or producing clay bodies, we looked for some easy gnome ideas. I discovered a few different types of polymer clay. The mushrooms are simple to prepare! You just have to follow a few steps to create a polymer clay gnome and the fungus that accompanied him.
Polymer Clay Necklaces
Make this attractive polymer clay necklace and enhance your skills.
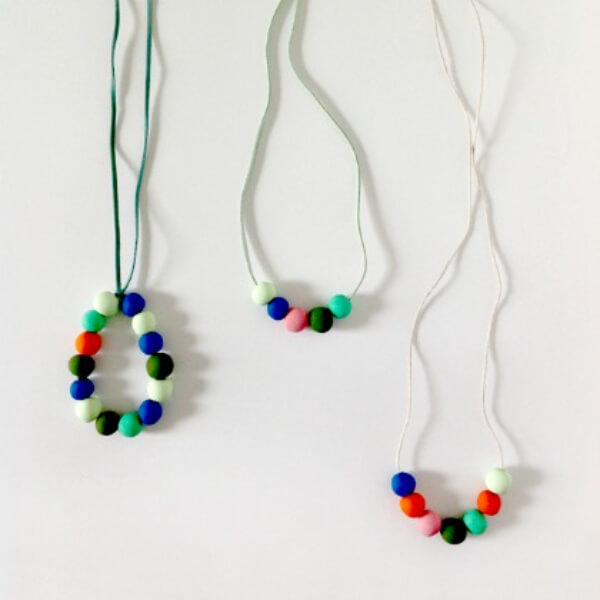
Image Source/Tutorial: Tutspluse
Polymer clay necklaces are fashionable right now, and you may design a Polymer clay necklace to wear on special occasions, also fantastic as a gift. For preparing this you need supplies like Polymer clay, Craft knife, Skewer, Baking paper, Oven tray, Oven, and Twine. Kids just now make your necklace match with your dress.
Simple Hen And Egg Using Clay For Kids
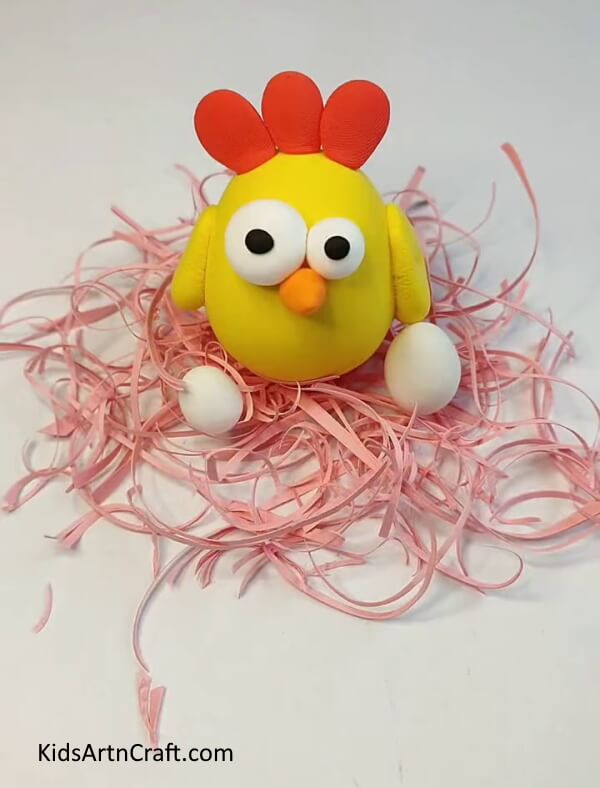
Image Source/Tutorial: Kids Art & Craft
This article provides instructions on how to make a simple hen and egg using clay for kids. It is a fun activity that can help children understand the process of hatching and caring for eggs. The article includes step-by-step instructions and pictures to guide children in the creation of their own clay hen and egg.
Polymer Clay Dragon
Begin your fun by playing with this so adorable yet little scarier Polymer clay dragon.
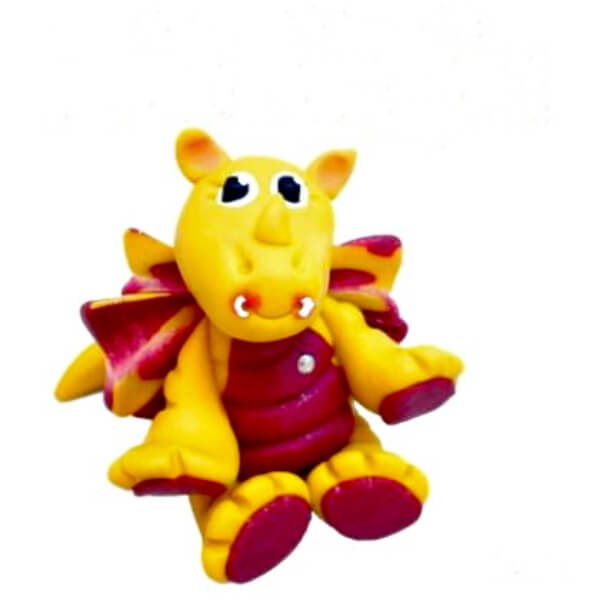
Image Source/Tutorial: Kater’s Acres
Collect some Yellow and red Polymer clay and start making this Joyful dragon. Kids used to love these types of creatures and making their Polymer clay dragon is more fascinating for them. So today, just make this craft with your family and friends.
DIY Miniature Gift Boxes
Make these cute DIY mini gift boxes and give them as a present to your family and friends.
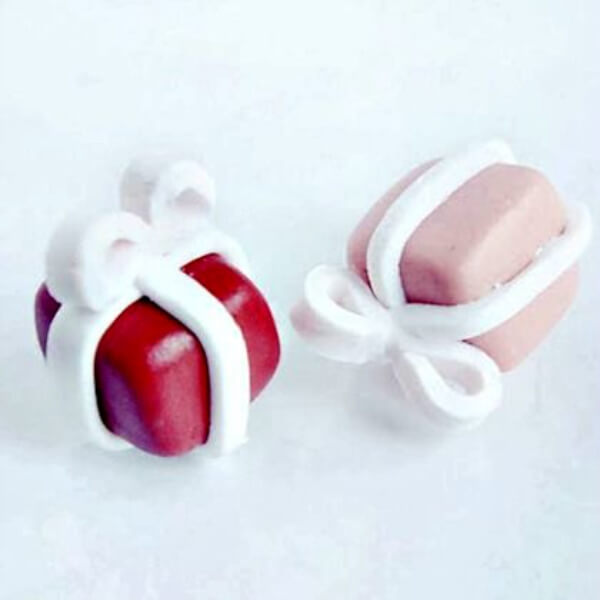
Image Source/Tutorial: Ice Pandora
Who can think that you can make these creative Crafts with clay, these mini gift boxes are unique to make and so adorable to look at. For making these mini gift boxes all you need is some colorful clay and a craft knife. This is so simple to make that even 5 years old kid can make it without facing any difficulty.
Monster Horns
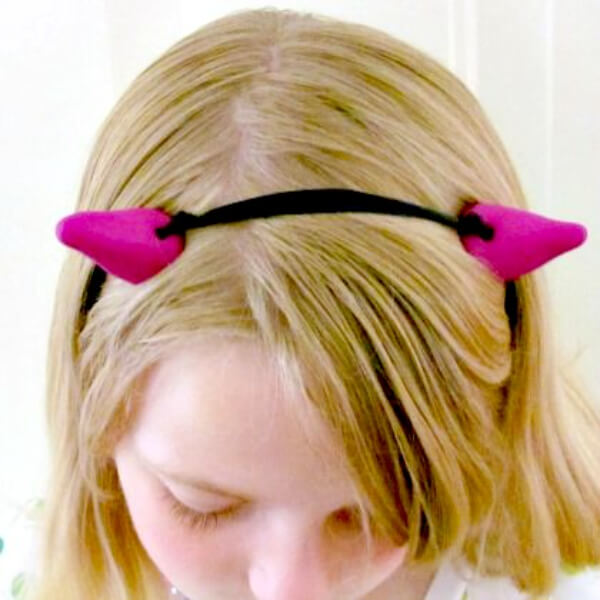
Image Source/Tutorial: The Roots Of Design
If you are going to a fair and wants to buy fancy horn, instead of purchasing pricey pairs of horns, why don’t you make your own? To make some, choose the color of polymer clay you want to utilize. At least half a package of polymer clay is required. If you want to make bigger horns, you’ll need more. Make these Monster horns for yourself and enjoy wearing them.
Owl Stitch Markers With Polyester Clay
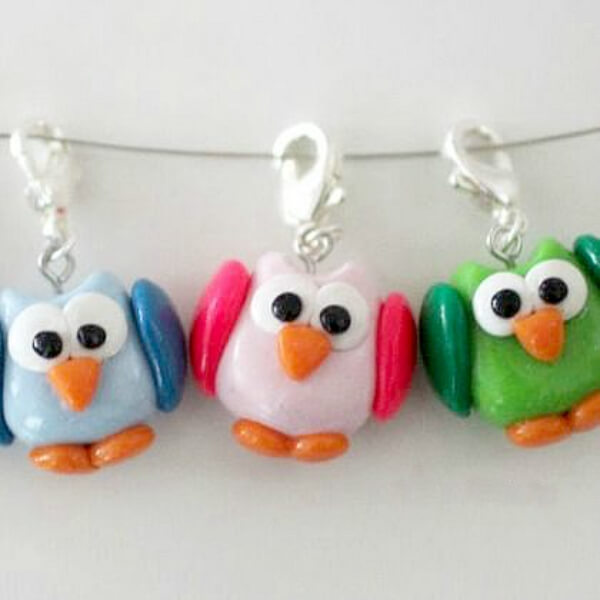
Image Source/Tutorial: Repeat Crafter Me
Working with polymer is always joyful. It’s the ideal material for making personalized creatures that you adore the most. This is something that every kid would like! Make them for yourself or as a gift for your friends and family. Build these cute little owls, but you may make any form, animal, food, object, or anything else you can think of!
Polymer Clay Double Bow Necklace
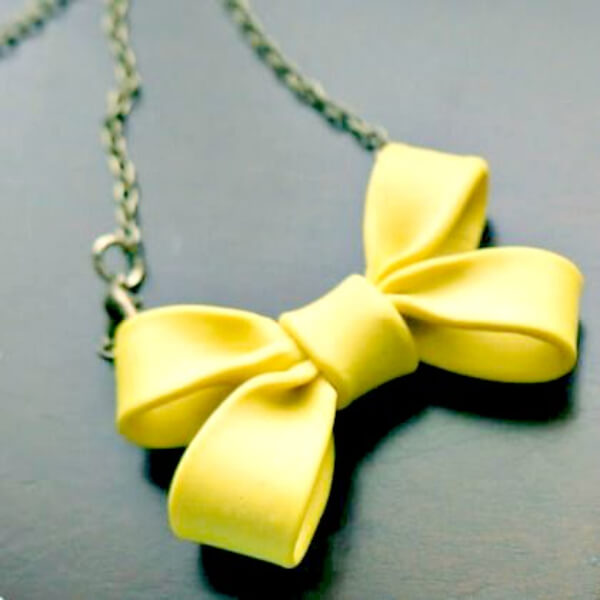
Image Source/Tutorial: Minted Strawberry
Girls used to be so crazy with decoden – it’s a Japanese craze that you can read about here. In similar girls also enamored with lolita fashion. But now most of the girls are only interested in the partially-embellished items, So keeping this craze on high, we are here with an amazing idea, to make some decoden-inspired gear. So built this polymer clay double bow necklace.
Clay Thumbprint Snowman Ornament
Create wintery vibes more joyfully by adding this Clay thumbprint snowman ornament to it.
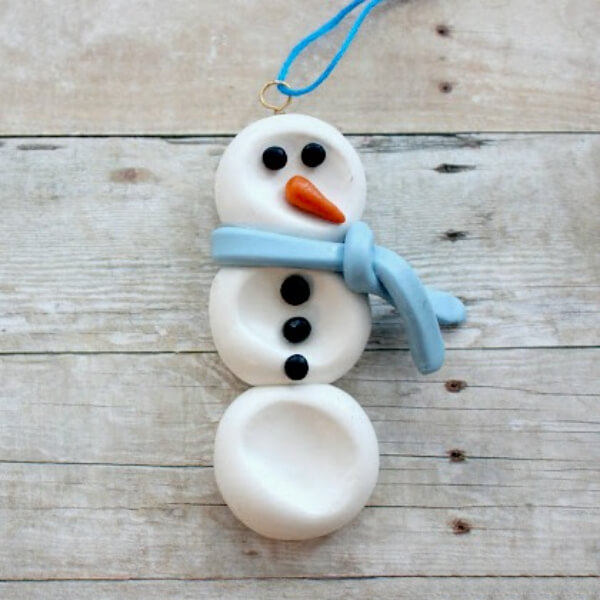
Image Source/Tutorial: Lines Across
Winters remind us about the snowman and snowfalls. If you are laying on the bed and just scrolling in your phone for some creative winter craft idea with clay, So this clay snowman ornament is best for you to make and decorate in your room.
Polymer Clay
Make the bracelet from clay!
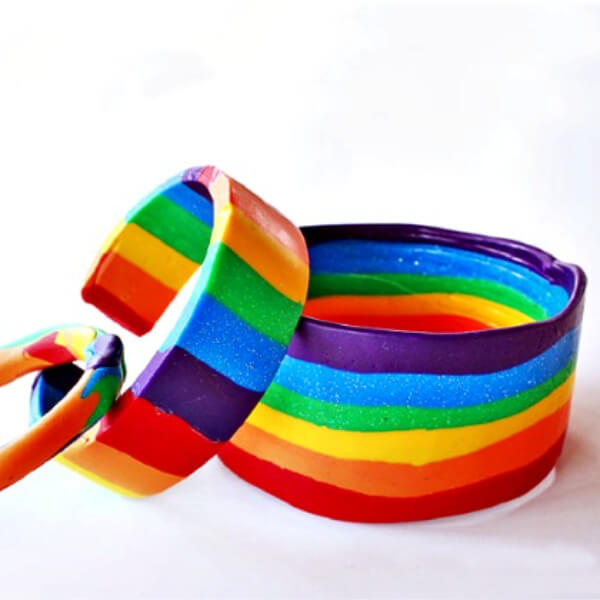
Image Source/Tutorial: Babble Dabble Do
Step 1: Decide on the color scheme you’ll use. We made RAINBOW bracelets using this Sculpey color combination!
Step 2: Begin kneading each color separately to soften it.
Step 3: Form stripes by rolling each color into a long strand and grouping them.
Step 4: Using a rolling pin, flatten the clay. Because it won’t flex, a continuous loop clay bracelet can be smaller than an open cuff type and is consequently less brittle. Ours were around 1/8″ thick.
Step 5: Wrap the striped clay around the can and trim it to make a straight seam. To fuse the clay, press the seam edges together.
Step 6: Follow the manufacturer’s instructions for baking the clay. At 275 degrees Fahrenheit, 15 minutes per 14″ of thickness is recommended. I put our bracelets in the oven for 20 minutes. At 275 degrees Fahrenheit, Sculpey advises 15 minutes per 14″ of thickness. I put our bracelets in the oven for 20 minutes.
Step 7: Allow cooling after removing from the oven. To separate the bracelet from the can, gently insert a butter knife between the inner surface of the clay and the can. It will take some effort, but it will be worth it!
Pendant Necklace
Who doesn’t like heart-shaped pendants? Try to make one for yourself.
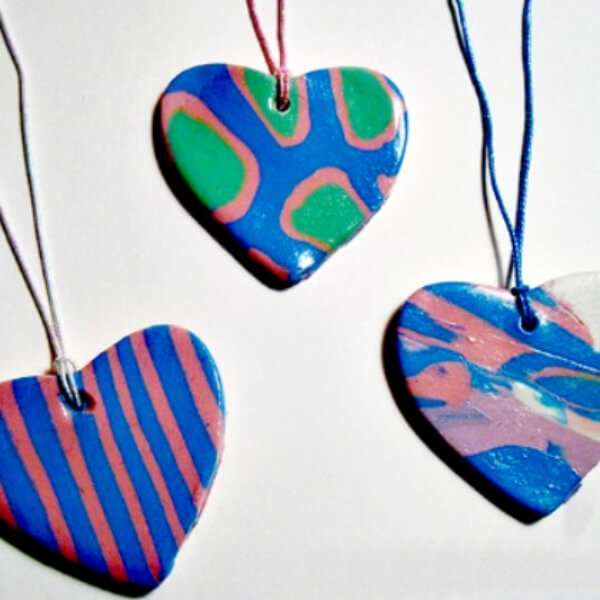
Image Source/Tutorial: Just For Tween And Teen Girls
To make the base for your pendants, grab a ball of white or colored clay. Warm up the clay with your hands or a clay conditioning machine until it is soft and warmed up.
You can condition a larger lump of clay, cover it in plastic wrap, and put it in your pocket if you’re planning to make a lot of pendants. It will stay warm, soft, and ready to roll out whenever you need it. With a plastic or acrylic roller, flatten the ball of clay to about a 1/2-inch thickness. On top of a clay mat or wax paper, roll out the clay.
Cut thin slices from the created polymer canes with a sharp blade, just enough to cover your base color. This step will require an adult or older children to assist the smaller ones.
Place the slices on top of the rolled clay and arrange them as desired.
Next, place a heart cookie cutter on the clay and press down to create as many heart shapes as possible.
Using a toothpick or skewer, poke a hole in the top of the hearts. To avoid breaking, make sure the hole is large enough to thread a piece of jewelry cord through and not too close to the edge.
A string or jewelry chain will be needed to thread through the final pendants so that they can be worn as a necklace.
Monster Earrings
The Monster can be your favorite jewelry.
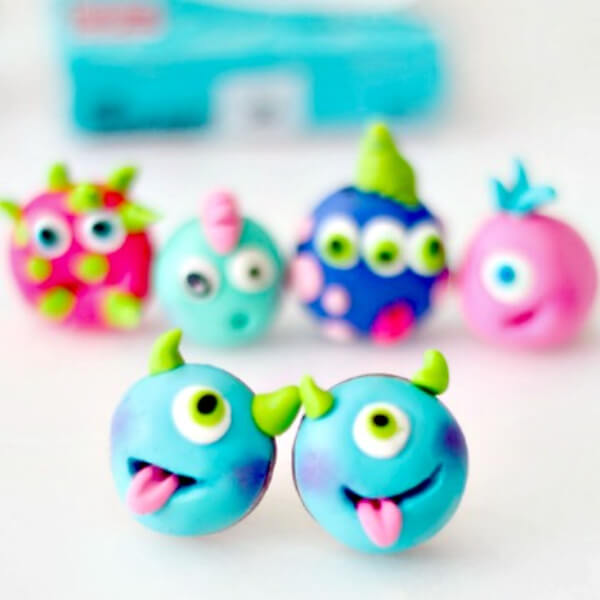
Image Source/Tutorial: Eighteen 25
1. Apply clay to the earring form as indicated.
2. Draw a little circle in the center of the monster’s forehead to represent the eye. On top of the green, place a smaller piece of green and then a smaller piece of black.
3. If desired, add horns.
4. Cut a slit for the mouth with a sharp blade.
5. Smooth out the mouth with a toothpick.
6. Make a little tongue out of a piece of pink clay.
7. Using the toothpick, make an indentation in the middle of the tongue.
8. Apply some chalk pastel on the monster’s cheeks using your brush (optional).
9. Cure according to package directions.
You’re finished!
Penguin Sculpture
You will love these cute little penguins!
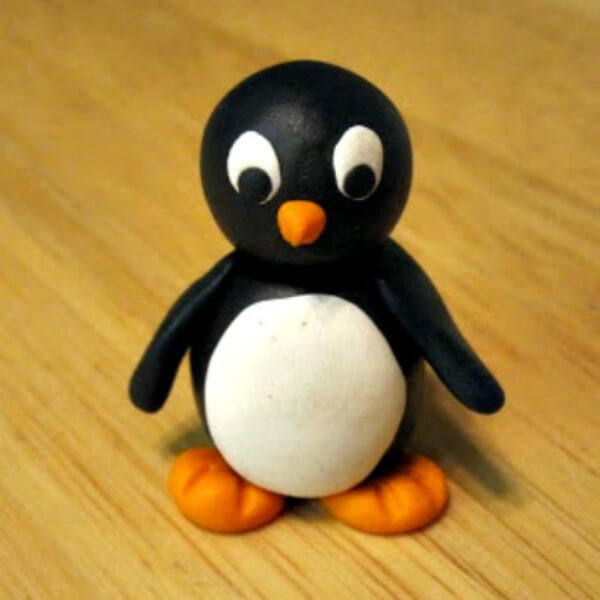
Image Source/Tutorial: Creator’s Joy
Make a cute little penguin sculpture using colored clay of your choice. You can gift these cute sculptures to someone or you can decorate your room with these cute penguin sculptures.
Clay Covered Polymer Pens
Make your pens beautiful!
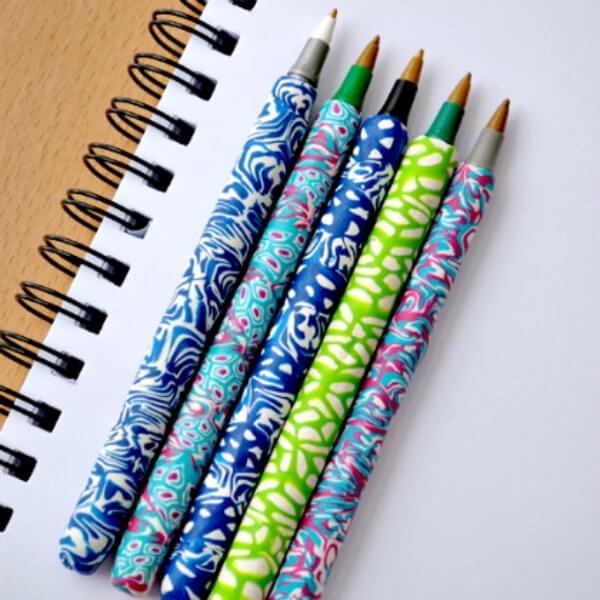
Image Source/Tutorial: Creative In Chicago
Take some clay and roll them to make a thin layer. Now roll that thin layer on pens. You are done with clay-covered polymer pens.
Owl Ornament
We are damn sure you will love these, owl-shaped ornaments.
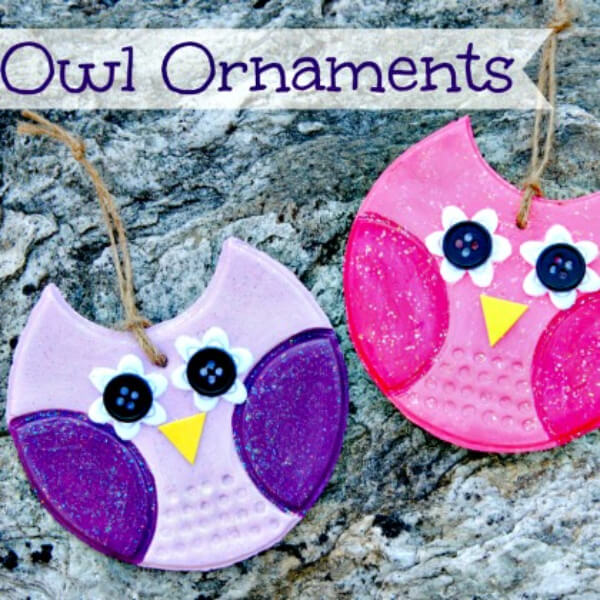
Image Source/Tutorial: Happy Go Lucky
Step 1: To make the owl’s body, roll out the clay and use the huge glass.
Step 2: Cut a small bit out of the top of the larger glass with the smaller glass. Then, on each side, carefully press in the little glass to make the wings.
Step 3: Make dots on the chest using the skewer. Then, at the top, force the skewer all the way through to hang the ornament on the tree.
Step 4: Complete the owl, painting it. For each owl, I used two distinct colors. After that, I applied a layer of glitter mod podge to the entire owl.
Step 5: Once that was dry, I glued the eyes and cut a small triangle for the nose out of the foam sheet.
Step 6: Thread the jute rope through the hole and hang your ornament on your Christmas tree.
I hope you like our Clay modeling ideas and will surely recreate them with your friends. If you want more craft ideas, then do read more posts on www.k4media.com and also let me know in the comment section which idea you like the most.
Thank you and have a nice day!
Read More:
- Christmas Crafts for Kids to Make at Home
- DIY Artsy-Craftsy Christmas Decor Ideas Treasury
- Easy Popsicle Stick Christmas Crafts for All Ages
- Spider Crafts for Kids
- Popsicle Stick Christmas Crafts for Kids


