Recycled Crafts
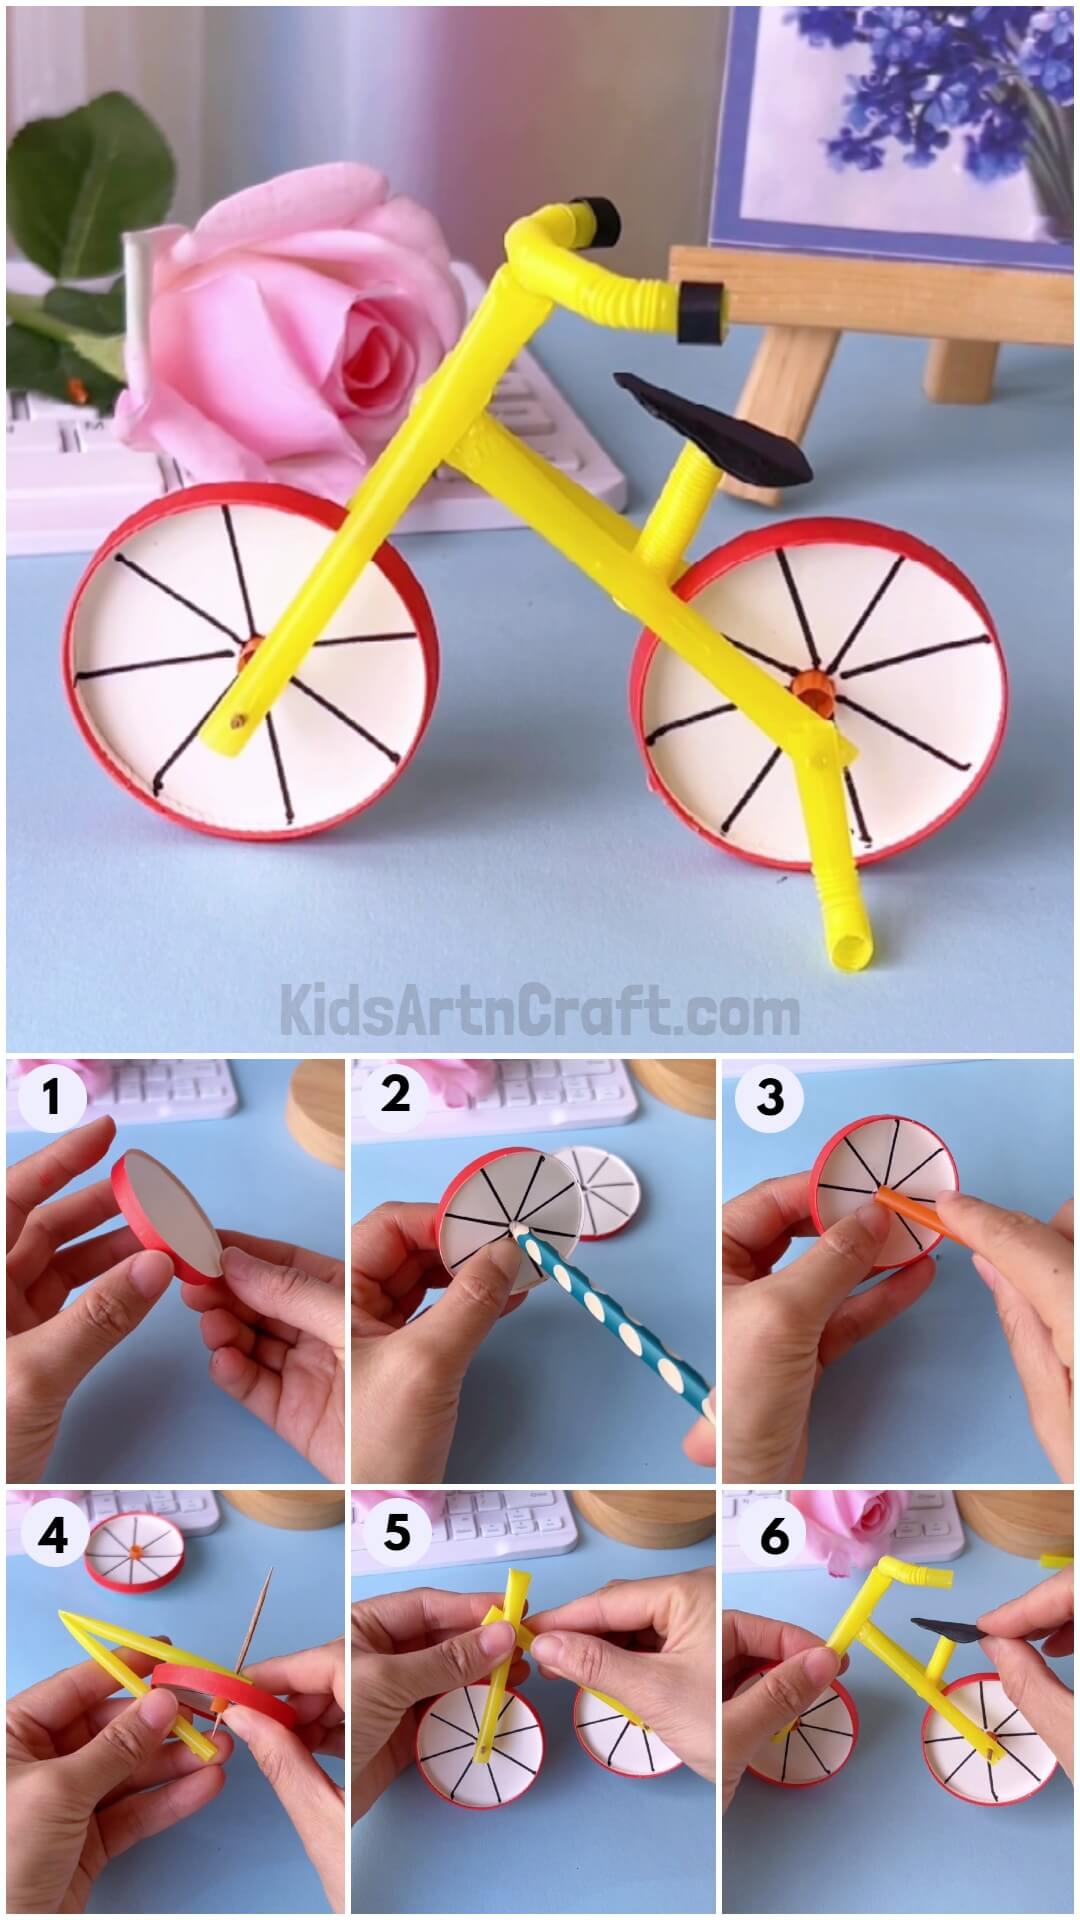
Cycle Making From Paper Cup And Plastic Straw

Discover how to craft a fun cycle from a paper cup and a plastic straw! By using only a few materials, this exciting project is great for all ages. Get creative and personalize your cycle with colors and decorations.
Welcome to this tutorial on how to make a cycle from paper cups and plastic straws. This exciting and unique craft is a must-try for everyone, especially kids! All you need is paper cups and plastic straws. Let’s get started!
DIY Cycle From Paper Cup And Plastic Straw

Read More: Pinwheel from Popsicle Sticks Easy Tutorial For Kids
Materials Required
- Paper cups
- Plastic straws
- Scissors
- Glue
- Ruler
- Black marker pen
- Pencil
- Toothpick
- Black paper
Procedure
Step 1: Cutting The Paper Cup
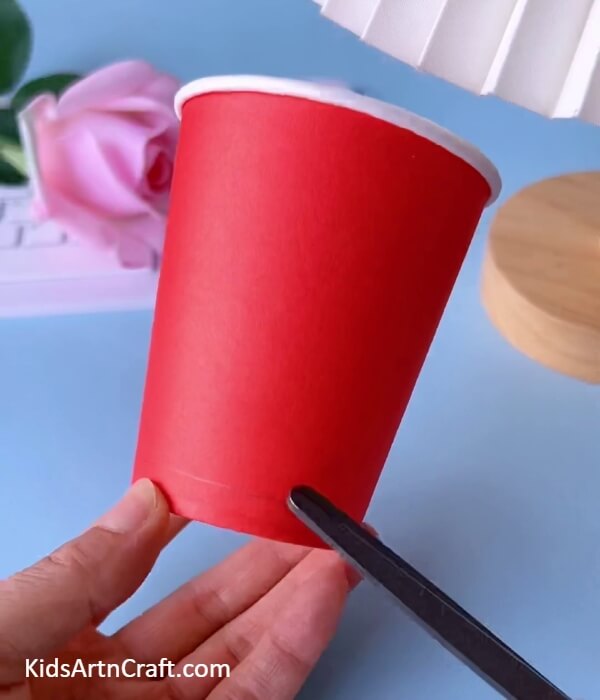

Use scissors to cut the bottom circular part of the paper cup.
Step 2: Bottom Of The Paper Cup
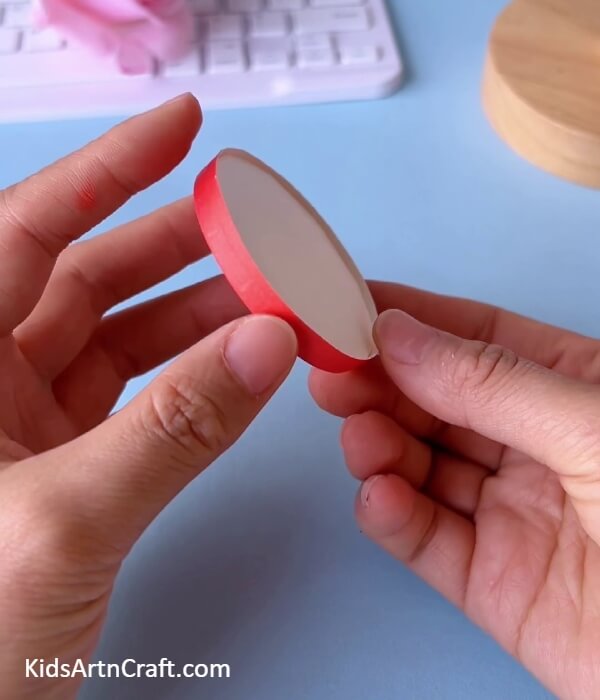
We have cut the paper cup and got the circular shape for making the wheels of our cycle.
Step 3: Strokes On The Wheels
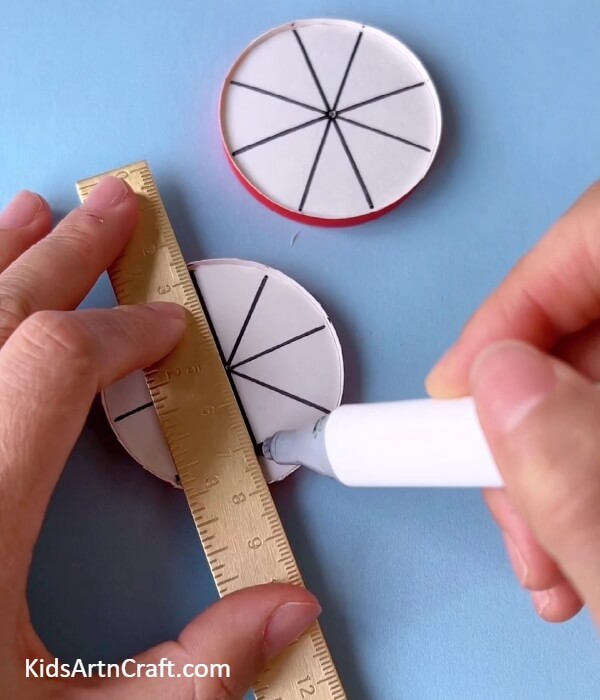
Using the ruler and the black marker pen, draw the strokes of the wheel on the paper cup, to complete the wheels of our cycle.
Step 4: Making Holes In The Wheels
Use the tip of a pencil to make holes on each wheel in the middle.
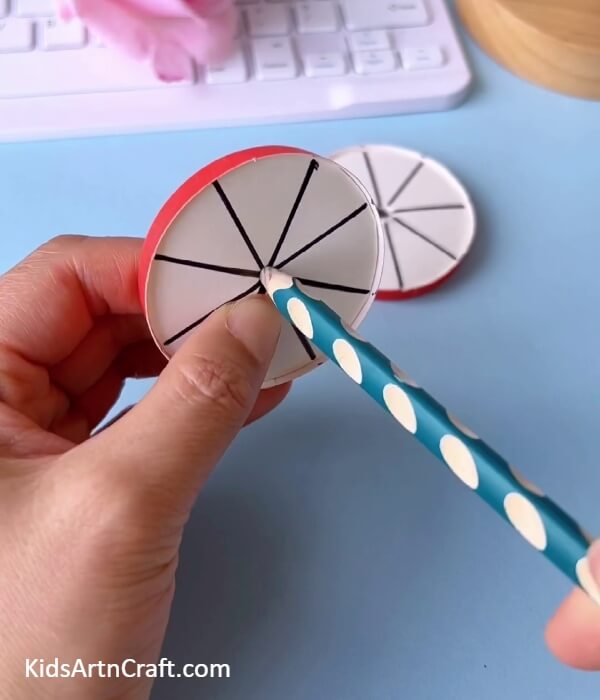
Step 5: Inserting Straw Through The Hole
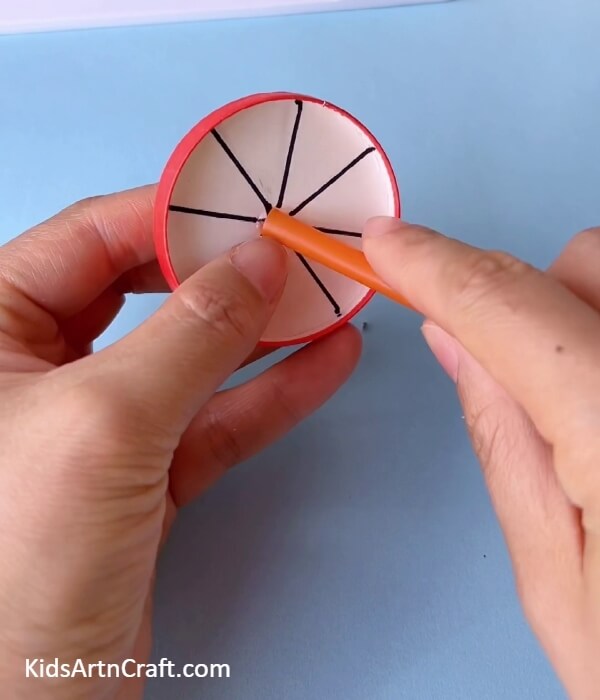
Cut up two small pieces of the plastic straw and insert them through the holes on each wheel.
Step 6: Making The Stand
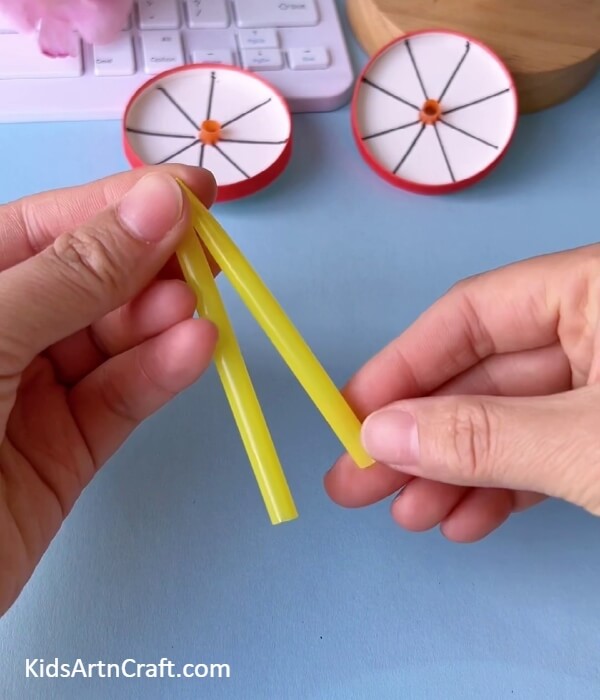
Bend another plastic straw from the middle just like in the picture above.
Step 7: Two Holes On The Bottom Of The Stand
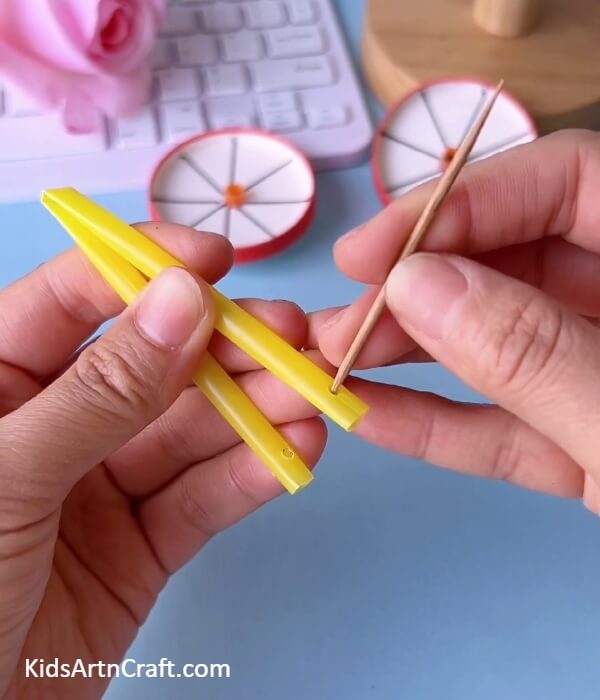
Pierce and make two holes on the bottom of the stand using a toothpick.
Step 8: Inserting The Wheel To The Stand
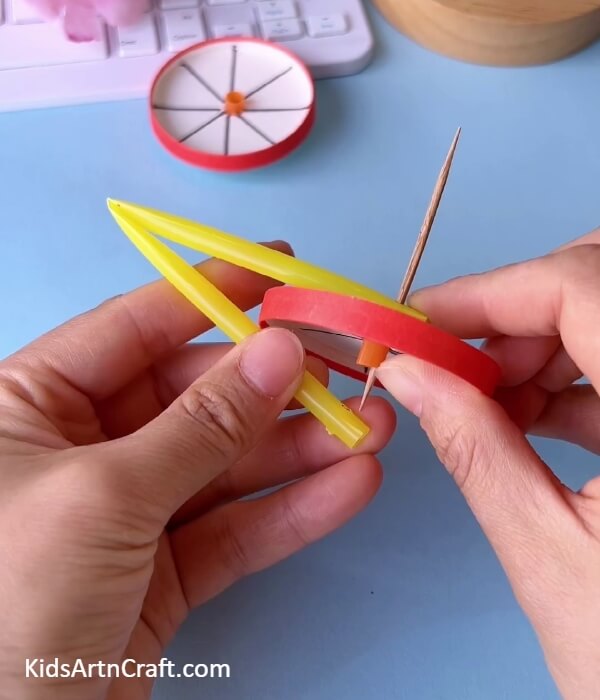
Insert the wheel through the toothpick and place it in between the stand for support.
Step 9: Cutting Off The Extra Toothpick
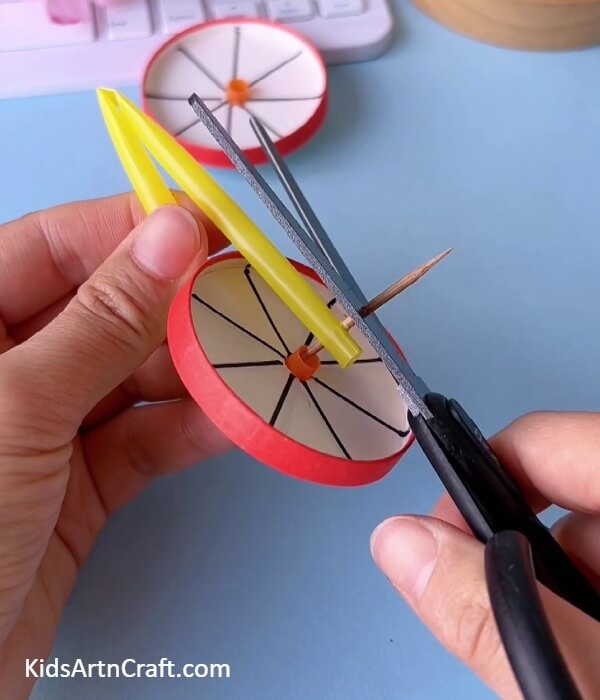
Cut off the extra part of the toothpick protruding out of the wheel.
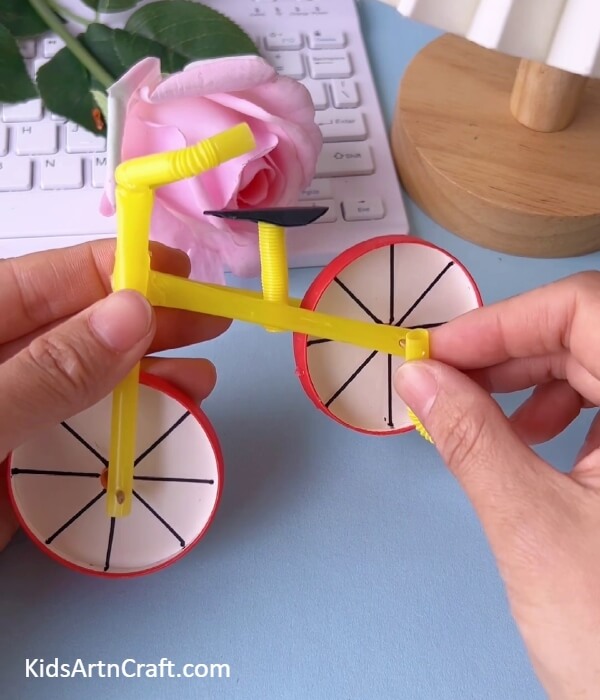
Step 10: Connecting The Two Wheels
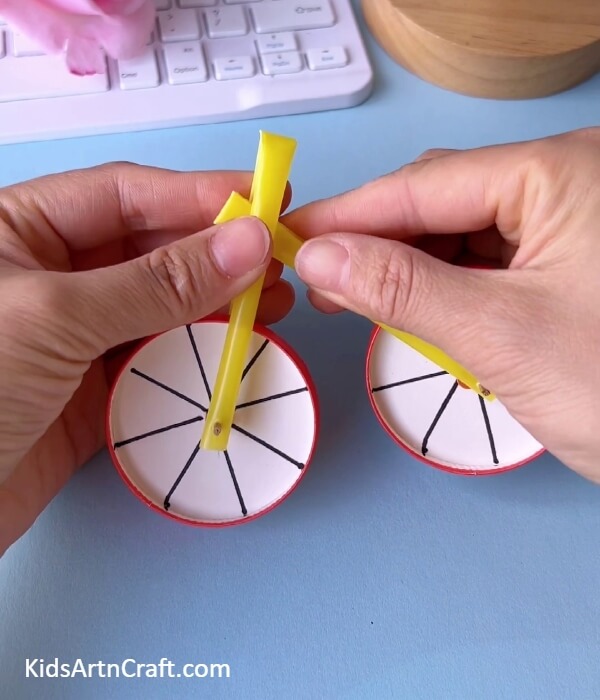
Using the same procedure mentioned above, create another stand for the other wheel, now connect the two wheels. Tilt the stand of the back wheel and connect it’s tip to the middle of the front wheel stand.
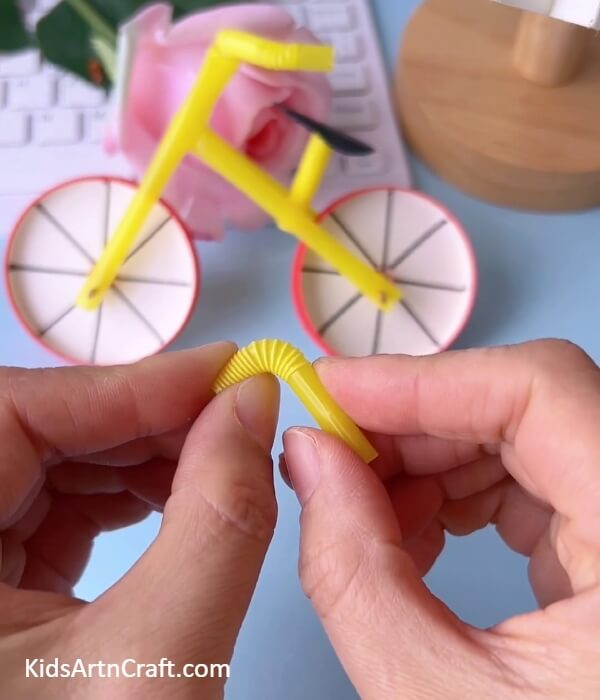
Step 11: Making The Handles
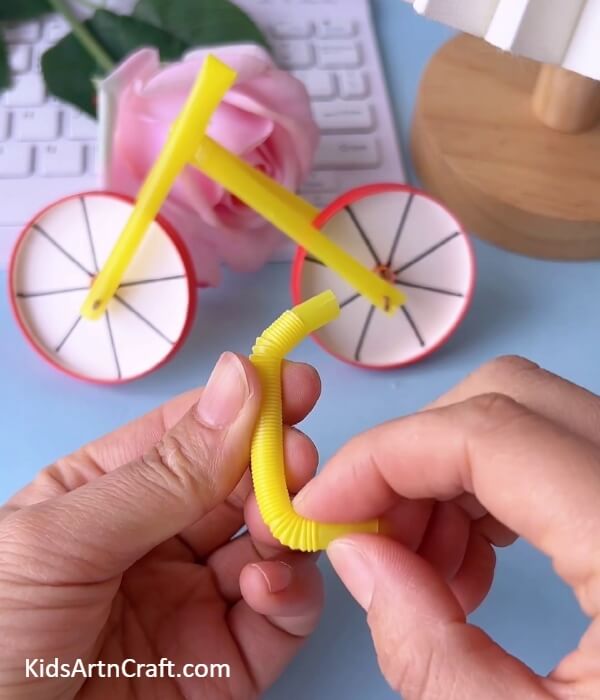
Cut out the wavy part of the straw. Bend the edges to form the handles of the cycle.
Step 12: Sticking The Handles
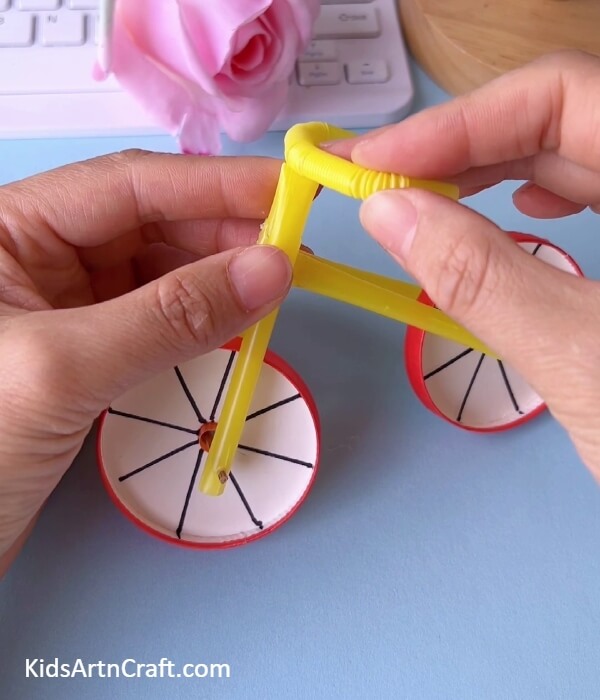
Using glue, stick the handle to the tip of the stand just like in the picture above.
Step 13: Making The Stand For Seat
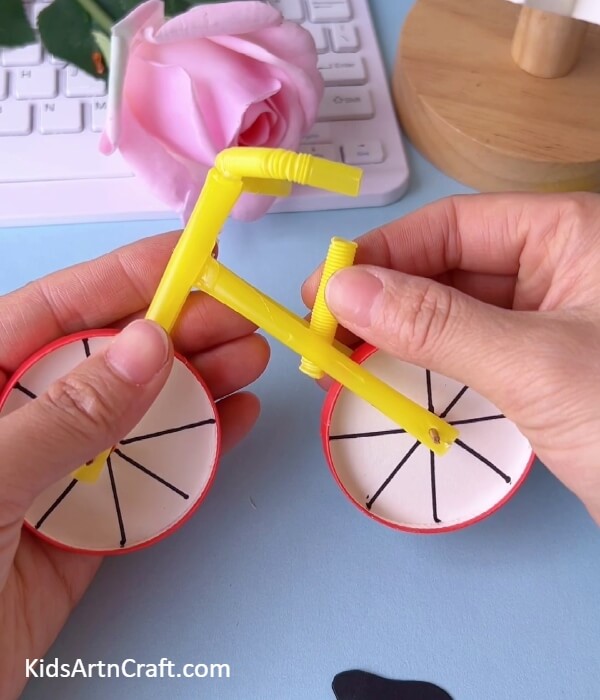
Cut up another wavy part of the straw and stick it on the stand of the back wheel just like in the picture above.
Step 14: Making The Seat
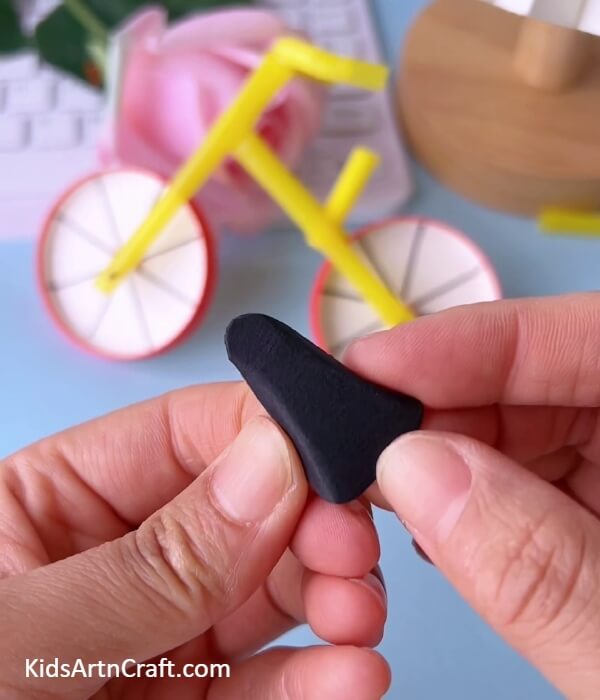
Using black paper, cut out the shape of a cycle’s seat.
Step 15: Sticking The Seat
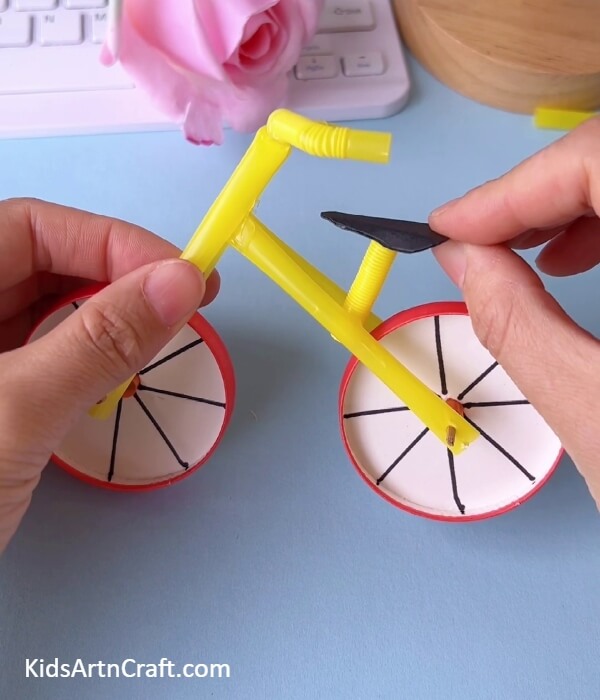
Stick the seat to the seat and stand stuck there.
Step 16: Making The Parking Stand Of The Cycle
Bend the wavy portion of another straw to form the parking stand.
Step 17: Completing The Cycle
Stick the parking stand to the back wheel using the toothpick sticking out from there.
Cycle From Paper Cup And Plastic Straw Is Ready
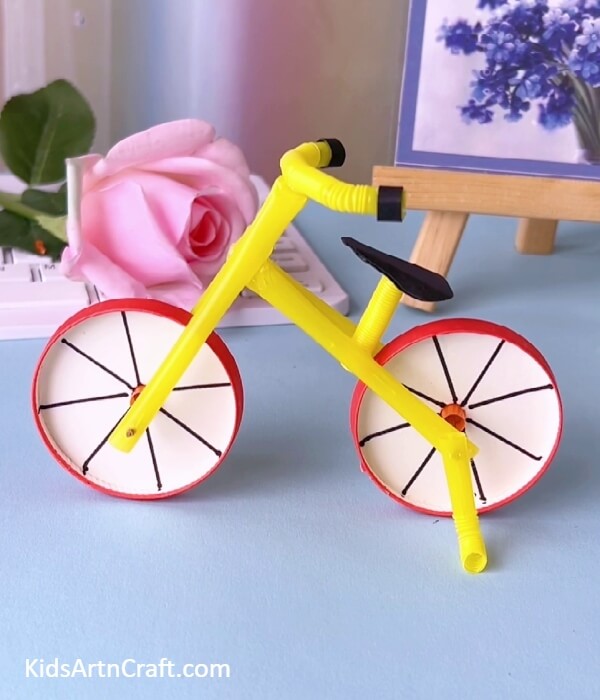
Great job! Our cycle is ready to be ridden. This step-by-step tutorial helps the children to learn crafts through the easiest methods. This unique cycle-making uses the simplest things. What are you waiting for? Make your cycle now.
Hope that you found this article helpful and educational. We would love to hear your thoughts on this article in our comments section below. Please do visit our website for other such exciting articles.
Some More Toy Craft Tutorial
Fun To Make Paper and Straw Bicycle Craft For Children

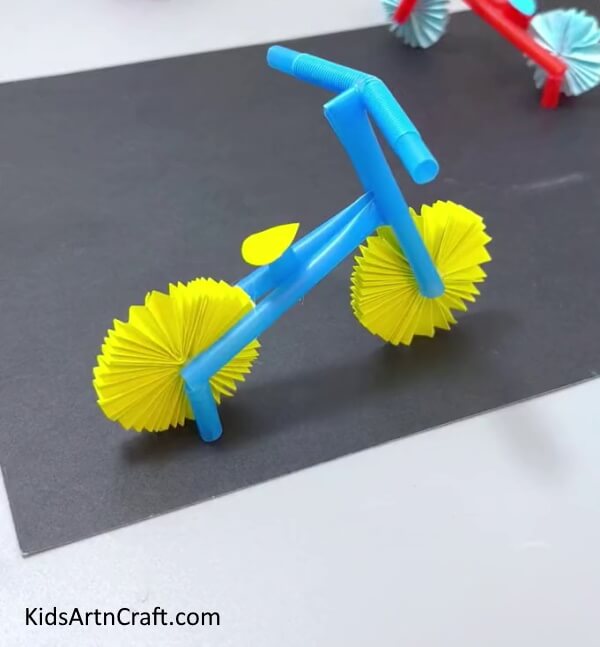
Image Source/Tutorial: Kids Art & Craft
This craft is perfect for children to make and enjoy. It involves using colorful paper and straws to make a simple bicycle. It is a fun and creative activity that sparks the imagination and boosts creativity in children.
Thank you for visiting our website.
Follow us on Youtube for art and craft tutorials and much more.
More Articles from Kids Art & Craft
- Easy to Make Doll with Yarn and Tissue Paper
- Egg Carton Crab Step-by-Step Tutorial For Kids
- DIY Foam Net Home Craft For Kids
- Learn To Make Recycled Bottle Butterfly Tutorial
- Easy Leaf Art and Craft Step by Step Tutorial For Kids