Paper Crafts
DIY Movable Egg Craft With Little Chick Tutorial for Kids

This fun and easy DIY craft is perfect for kids! In this tutorial, we will be showing you how to make a movable egg craft featuring an adorable little chick that will bring life to your home. Get ready for some fun crafting!
Cute little chicks hatching out of giant ripe eggs with their little feet and beaks. This tutorial brings to you one such hatching chick made through art and craft with a movable egg and a small, happy chick hatching out of it. It’s innovative yet easy to make and requires a few material stuff. So, get ready with all your colored sheets, and let’s make these eggs with their chicks.
Easy To Make Movable Little Chick Egg Craft For Kids
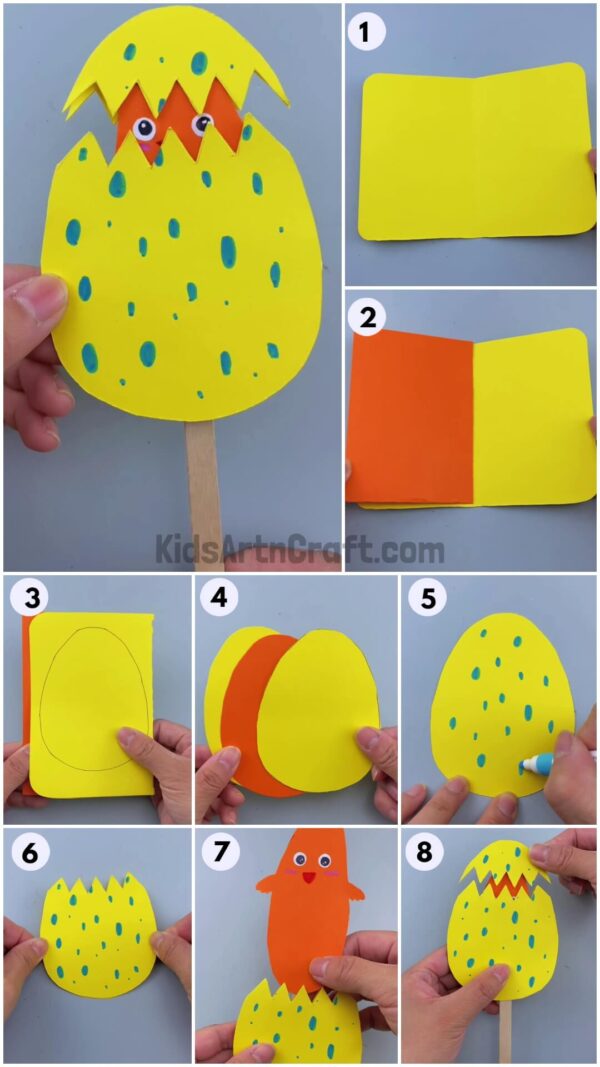
Read More: DIY Paper Butterfly Easy Craft For Kids
Materials Required
- Yellow & Orange Colored Paper Sheet
- A Pair Of Scissors
- Glue Stick & Ice Cream Stick
- Pencil & Crayons
- Blue Sketch Pen
- Googly Eyes
Procedure
Step 1: Starting With a Basic Sheet Of Paper
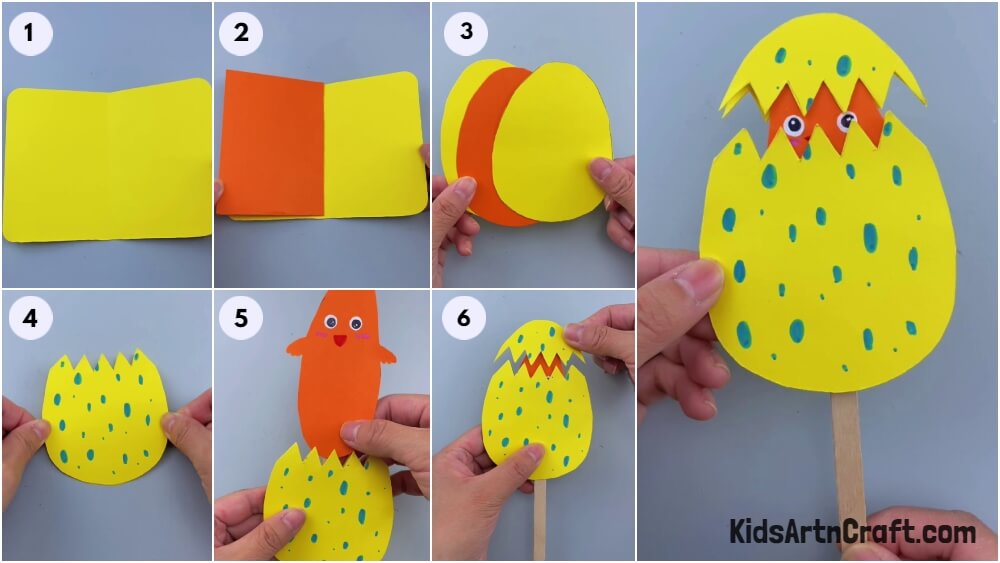
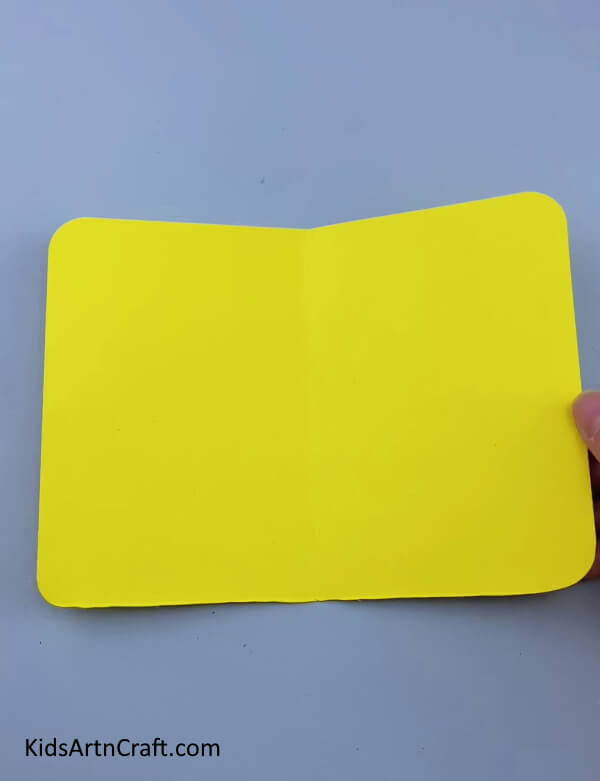
Take a yellow sheet of paper and fold it in half. Now start cutting on the mark of the fold creating two sheets of paper.
Step 2: Taking a Piece Of Orange Sheet
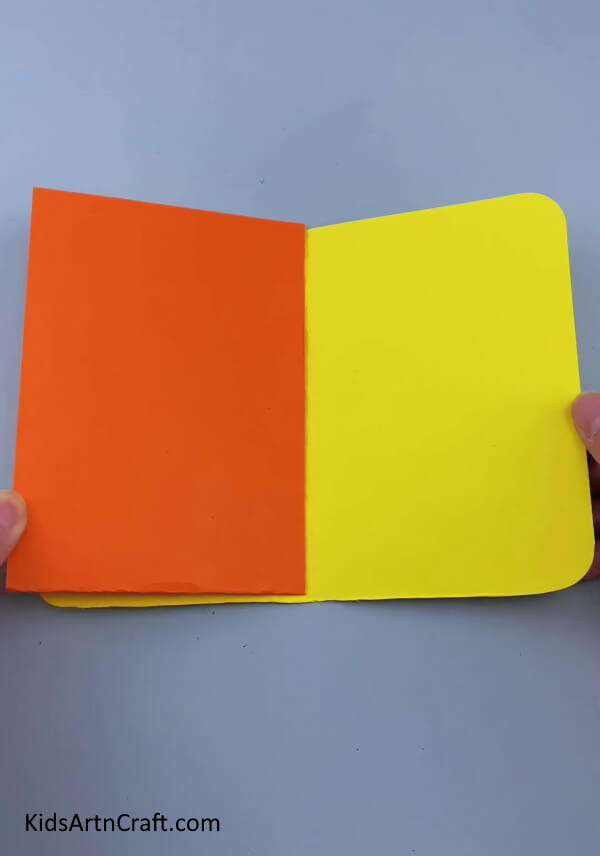
Take a piece of Orange Sheet the same as the size half of the yellow sheet.
Step 3: Drawing On The Sheets
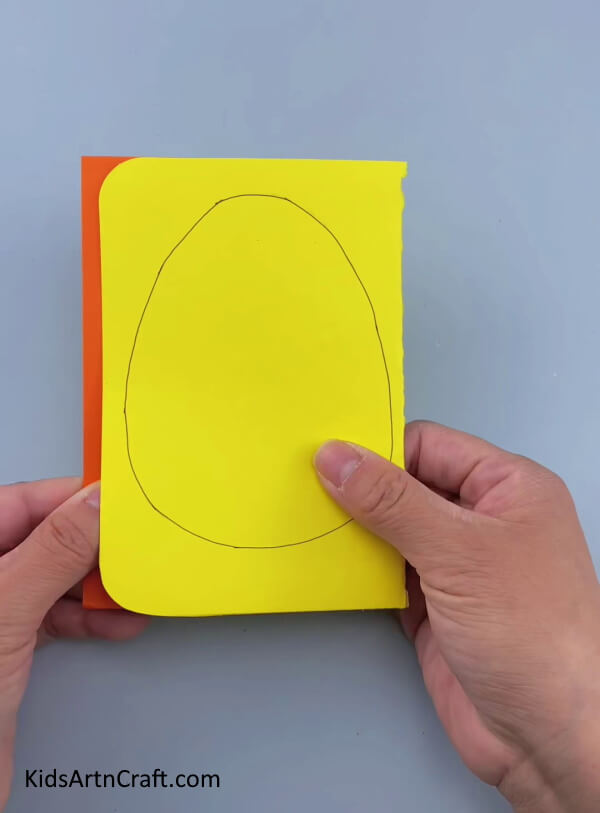
Cut the orange sheet in order to equalize all the sides with the yellow sheet. Place it in the middle of the two yellow sheets and draw a big egg shape on the top sheet as shown in the picture below.
Step 4: Cutting The Egg Shape
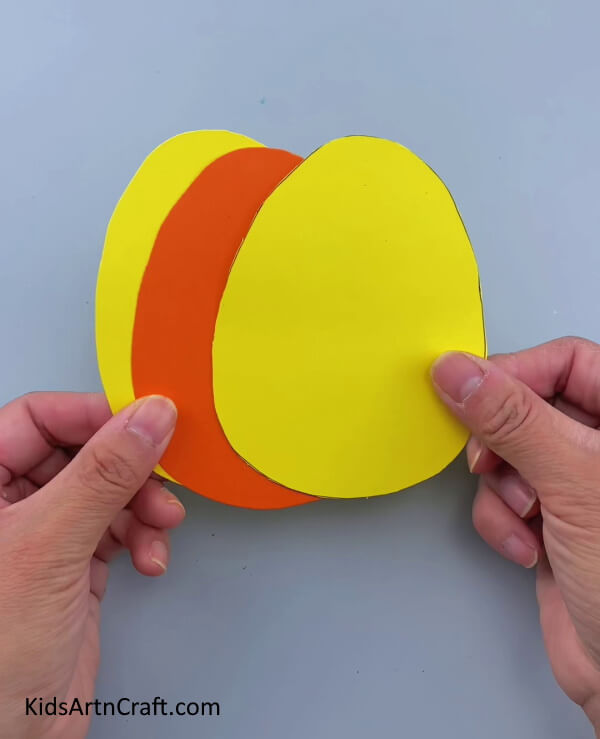
With a pair of scissors, cut the egg shape you just made. Remember to cut all three sheets together at the same time. This leaves us with three eggs, two in yellow color and one in orange.
Step 5: Drawing Marks On The Egg
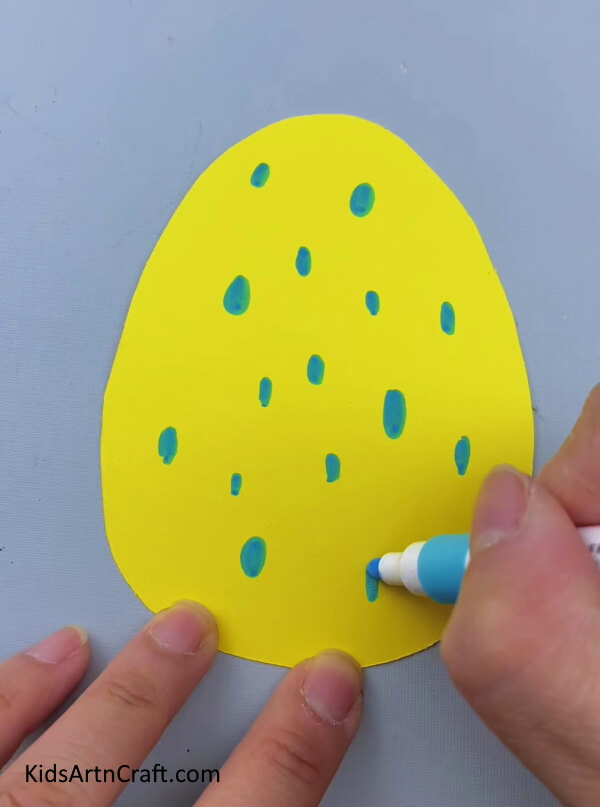
Take the yellow sheet and draw big dots on one of its sides with a blue sketch pen. See the picture below for reference.
Step 6: Making The Egg Hatch
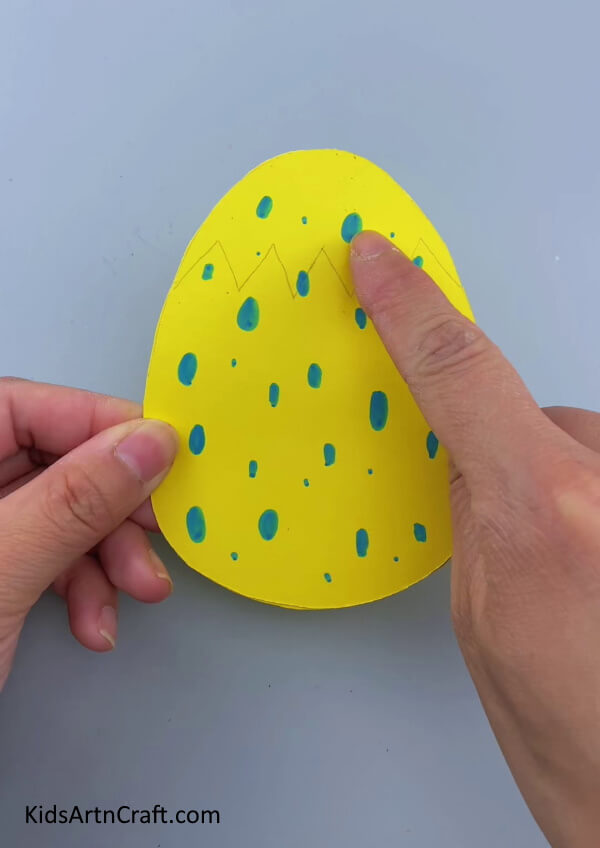
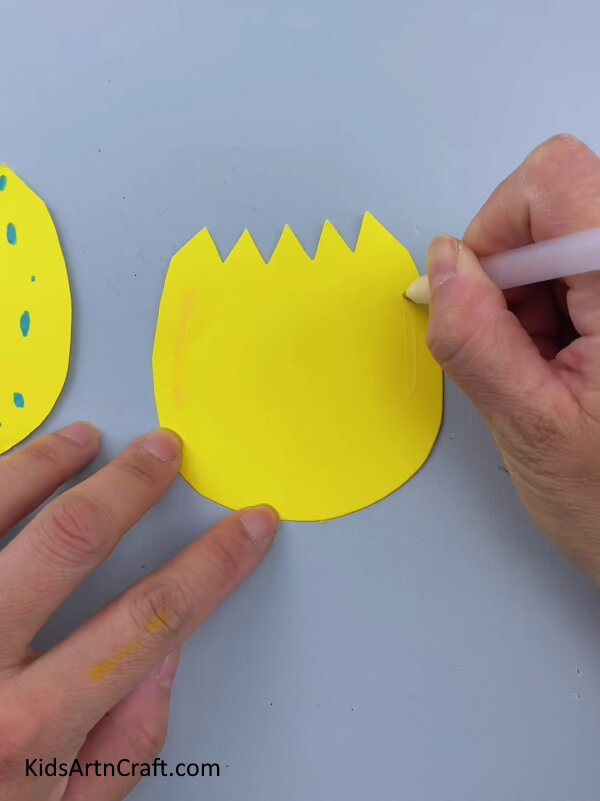
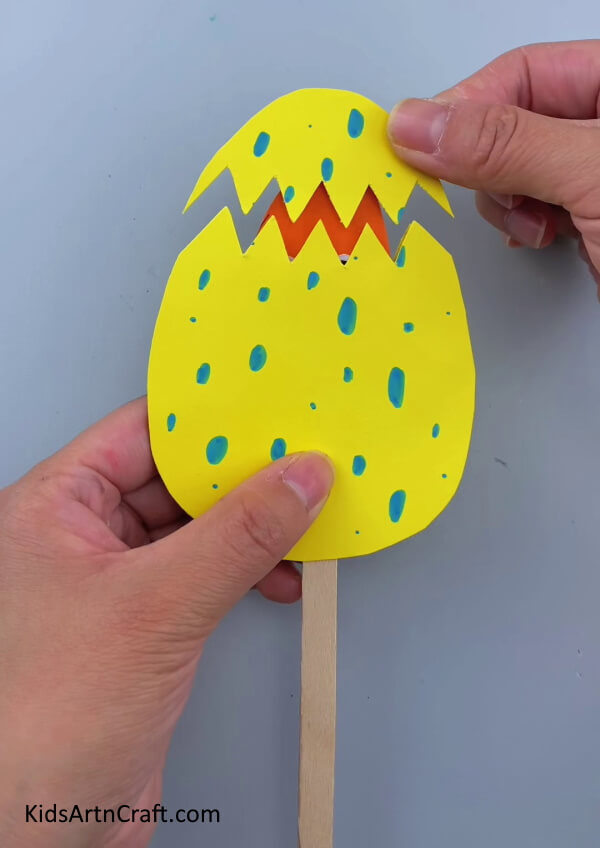
Place both the yellow sheets together completely aligned with each other. Take a pencil and make a zig-zag line on the top of the dotted sheet as shown in the picture below. Now, cut the zig-zag line with scissors. You need to cut both the sheets together, at the same time.
Step 7: Applying Some Glue
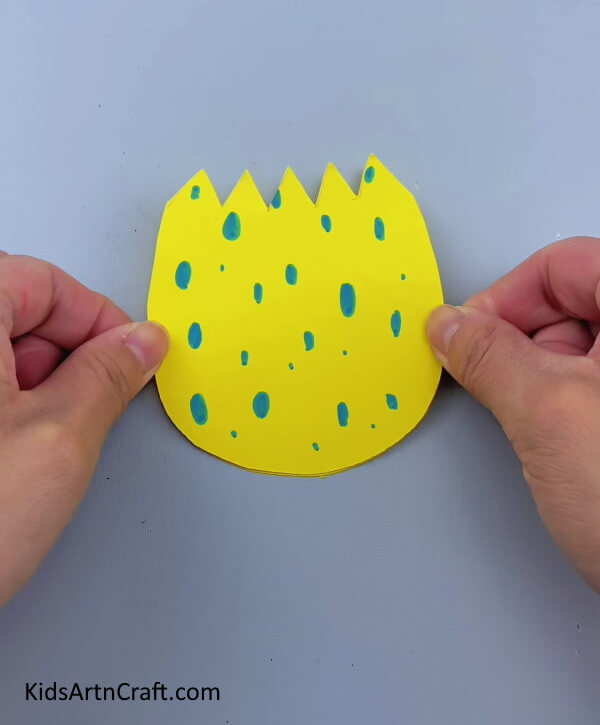
Take the plane yellow sheet and apply some glue to the two parallel sides. Do not apply glue on the bottom and the top sides.
Step 8: Pasting Both Eggs Together
Align both sheets together and press down on the sides to seal the two eggs together.
Step 9: Working On The Orange Sheet
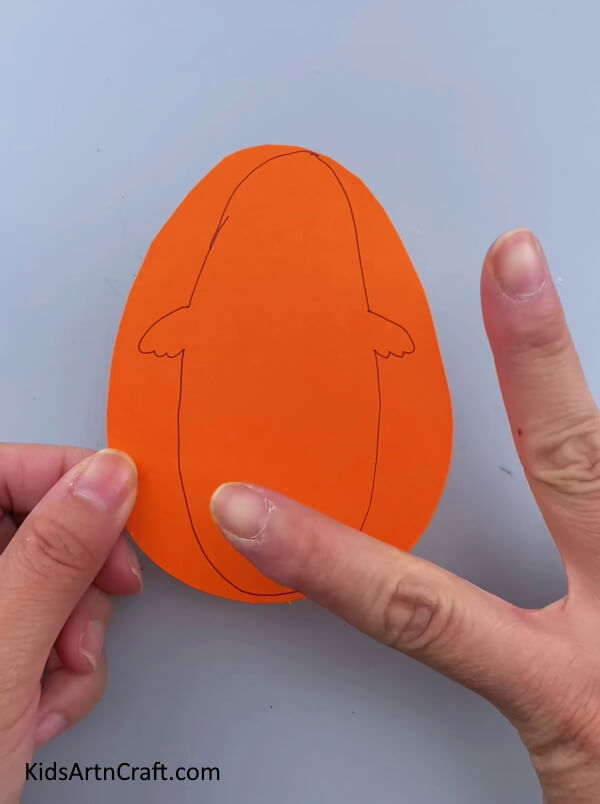
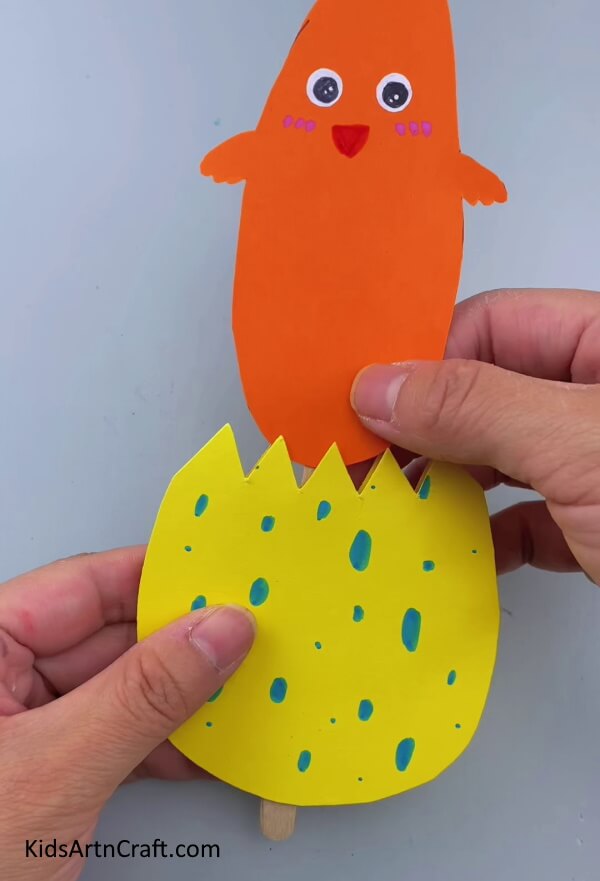
Take the orange sheet and make an oval figure on it with a pencil. This figure should have two small featured wings on the sides as shown in the picture below. Cut the figure you just made with the help of scissors. This will serve as a chick in the hatching egg.
Step 10: Pasting a Pair Of Eyes
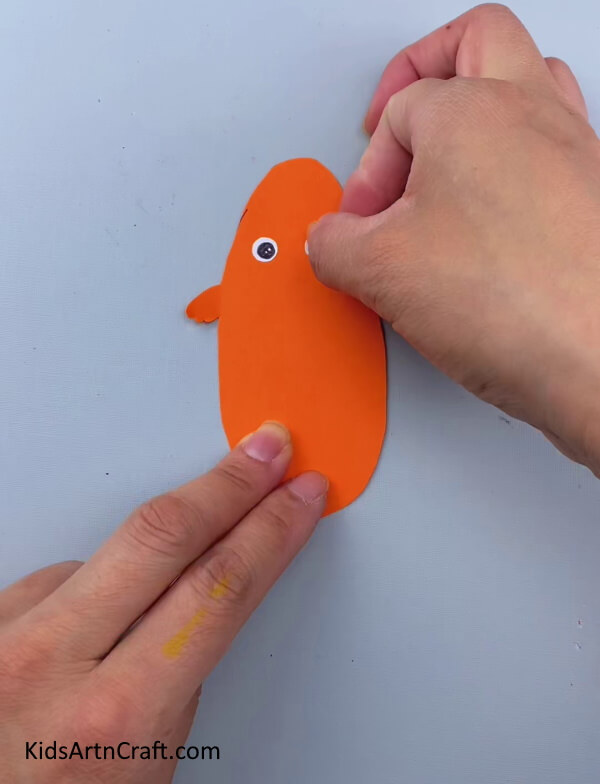
Take a pair of googly eyes and paste them on the top of the figure, next to each other.
Step 11: Adding Some Color
Take a red crayon and draw a mouth shape below the eyes as shown in the picture below. Add some dots on the sides of the mouth with a purple crayon. Take an ice cream stick and paste it on the back of the orange sheet. You just need to paste the top part of the stick on the sheet, with a major portion sticking out of the sheet at the bottom. Finally, put the bar between the two pasted sheets.
Step 12: Pasting The Smaller Cracked Piece
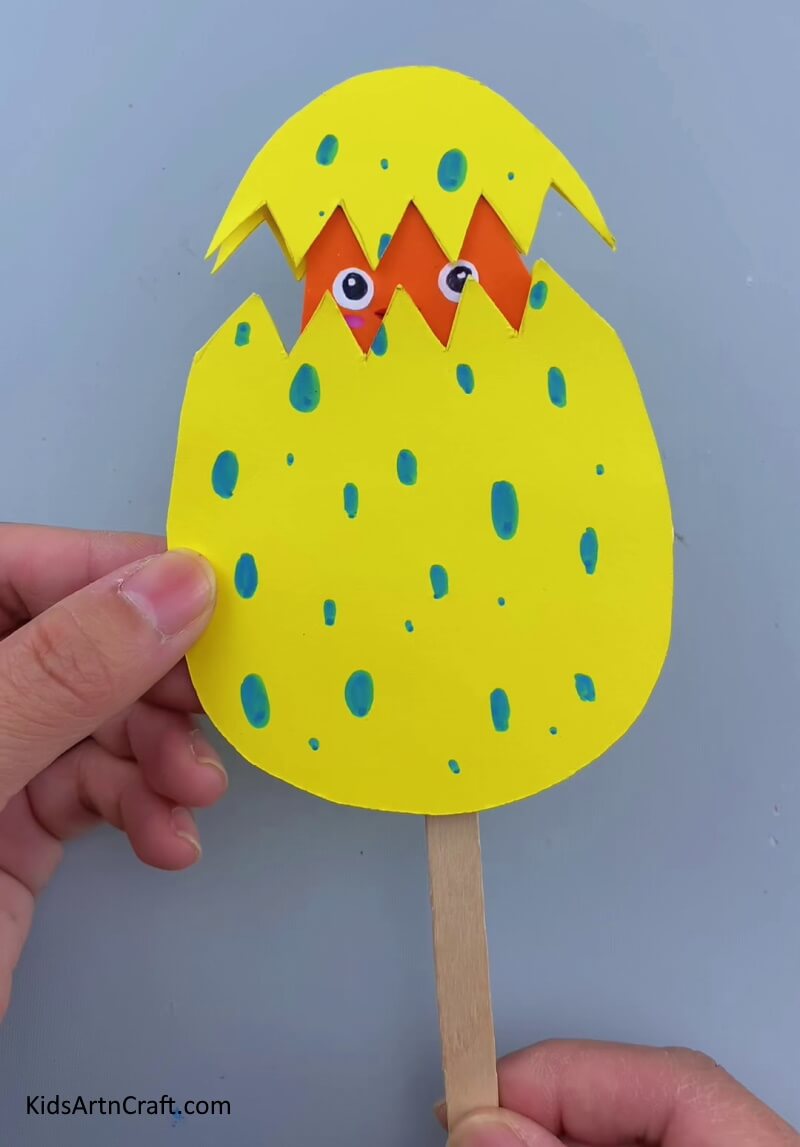
Take the smaller cracked pieces of the yellow dotted sheet you chopped earlier and apply a little glue on the center of its back. Paste this center on the top end of the orange chick as shown in the picture below.
Finally, Cute Movable Little Chick Egg Craft is Ready!!
Take another cracked piece and apply glue on one of the sides of its circumference and paste the two cracked pieces together. Congratulations, the cute movable little chick craft is ready!!
Some More Chick Craft Tutorial
Making Balloon Chick Craft For Kids
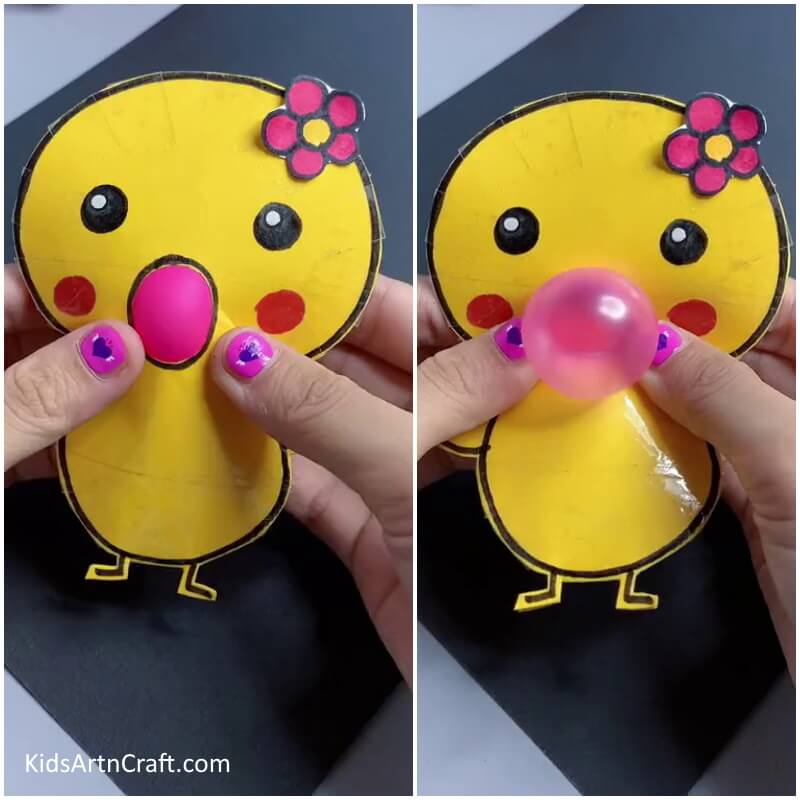
Image Source/Tutorial: Kids Art & Craft
Making Balloon Chick Craft For Kids is a great way to keep kids amused and entertained. It is also a fun and creative activity that helps to promote imaginative play. It is also a great way to teach kids about shapes and colors.
This completes our today’s tutorial and we are left with an adorable little chick hatching out of its egg. You can write a message on the chick and gift it to someone. You can simply play with it or make it act out. Today, you learned to make a movable craft with some sheets of paper and an ice cream stick. Think of more ideas you can implement these techniques on and grow your art further. See you in more tutorials to come, till then, good luck and goodbye.
Follow us on Youtube for art and craft tutorials and much more.
More Articles from Kids Art & Craft
- DIY Bird Nest Paper Craft For Kids
- Easy Paper Robot Craft Step-By-Step Tutorial
- DIY Easy Paper Strawberry Tutorial For Kids
- Easy Paper Bird Step-by-Step Tutorial For Kids
- Paper Butterfly Craft Easy Tutorial for Kids


