Kids Activities
DIY Easy Paper Airplane Easy Tutorial For Kids

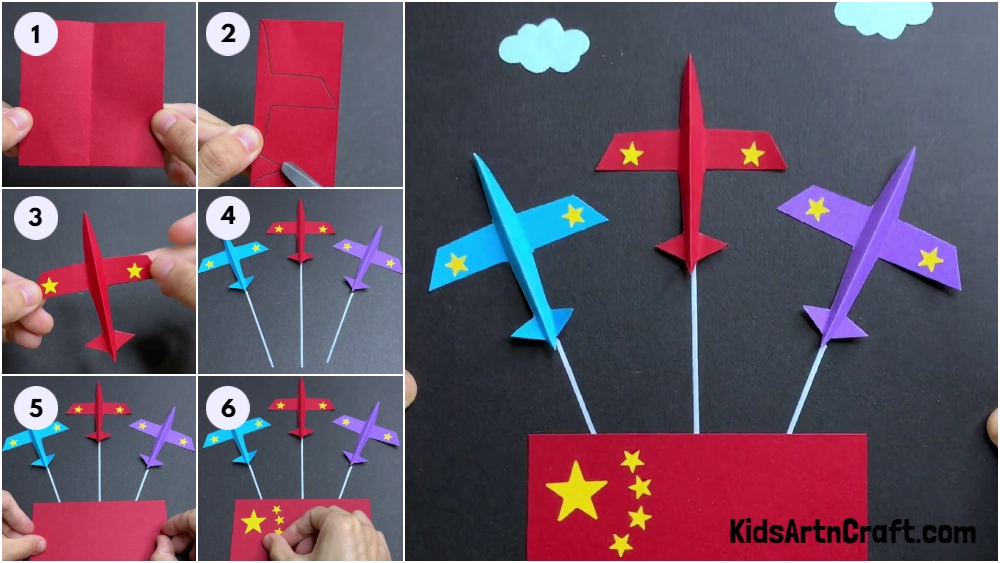
This easy tutorial will show you how to make a simple paper airplane with your kids. We’ll provide step-by-step instructions to help you create a fun and safe craft that can be enjoyed by all ages. Get ready to have some fun!
Welcome to our DIY Easy Paper Airplane Easy Tutorial for Kids! If you’re looking for a fun and creative activity to do with your kids, then paper airplanes are a great option. Making paper airplanes is a fun and engaging activity for kids. It’s a great way to spend time together and use your creativity. In this tutorial, we’ll show you how to make a simple paper airplane that is easy for kids to make. With just a few simple steps, your kids can have a great time creating their own paper airplanes. So grab some paper and get ready to have some fun!
Make Your Own Easy Paper Airplane Craft Tutorial For Kids
Read More: Creative Art & Craft Activities Video Tutorial for All
Materials Required
- Colored Sheets
- White Marker
- Pencil
- Glue
- Scissors
Procedure
Step 1: Folding The Paper In Half
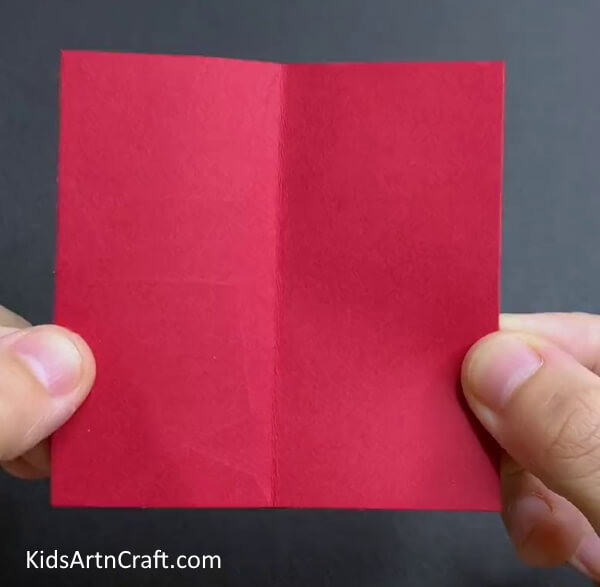
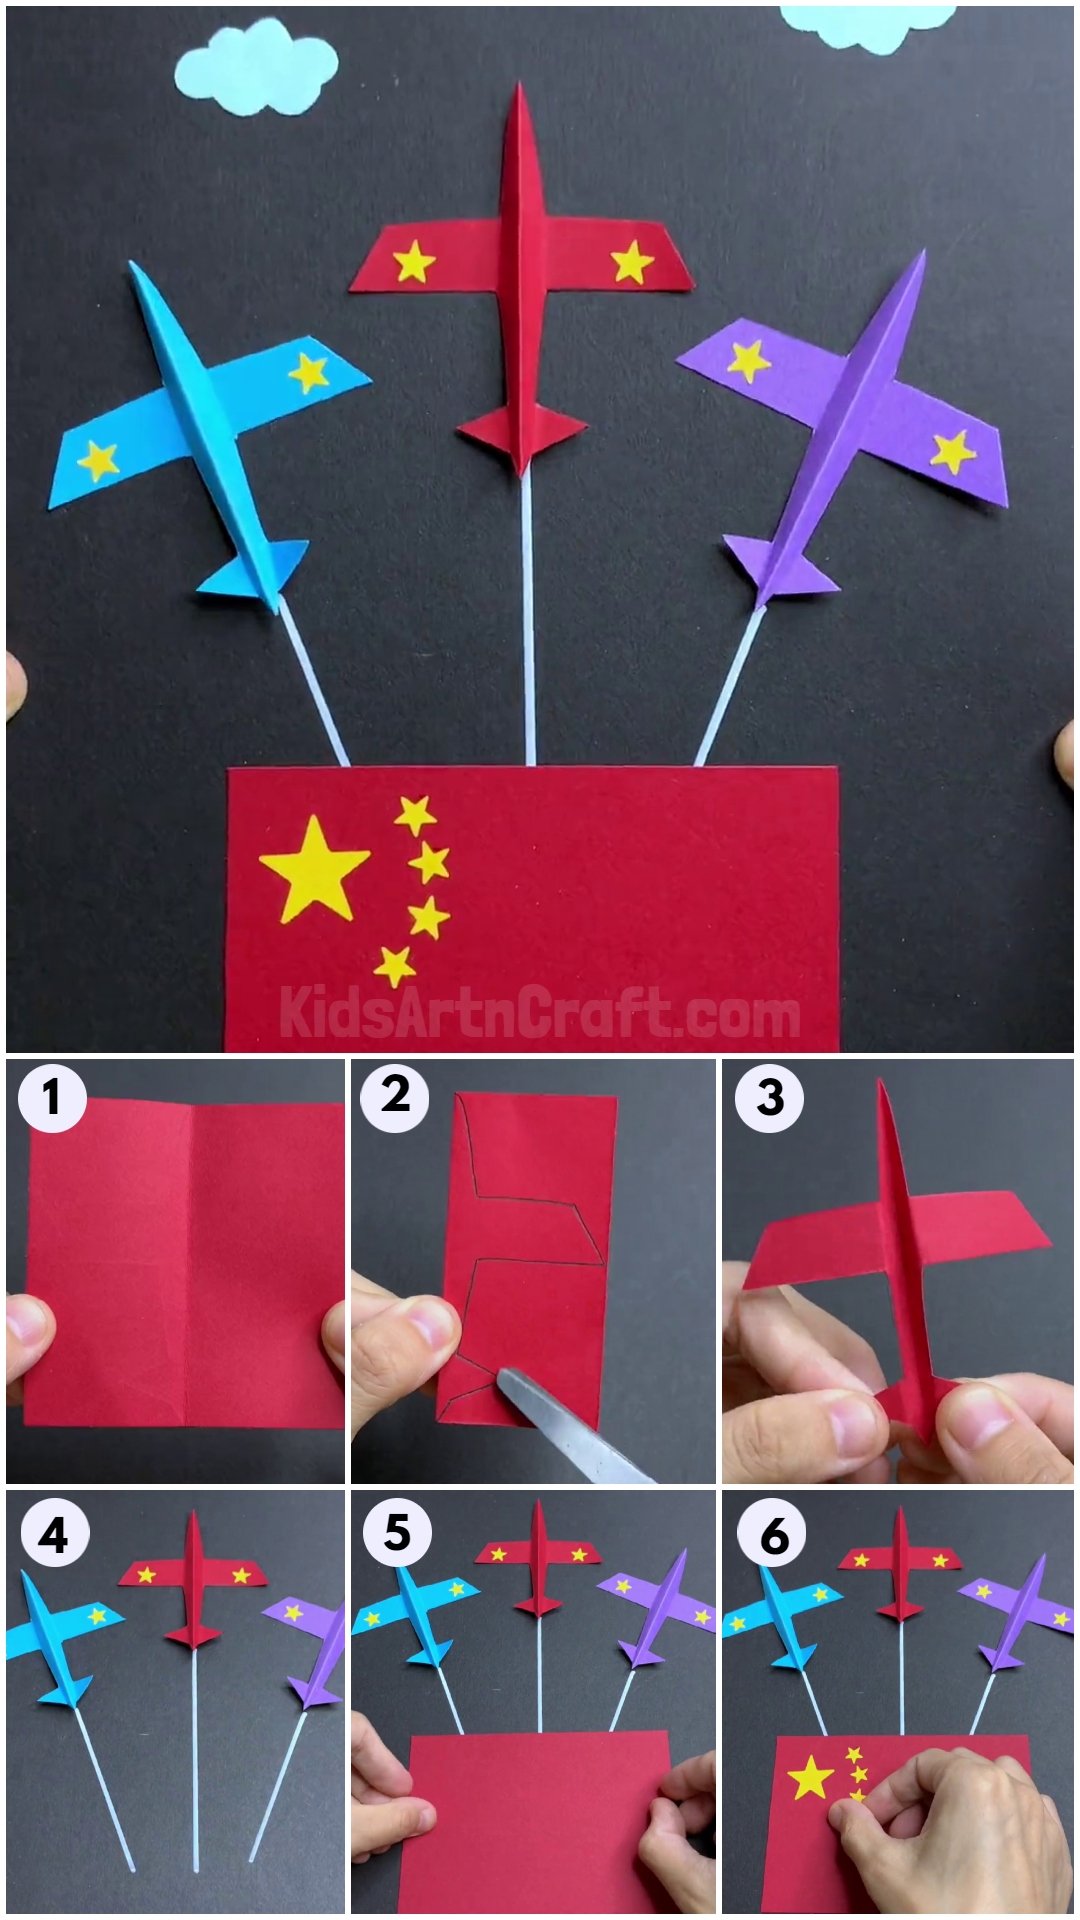
Let’s begin crafting by folding a red square of paper in half.
Step 2: Cutting Out The Paper Airplane
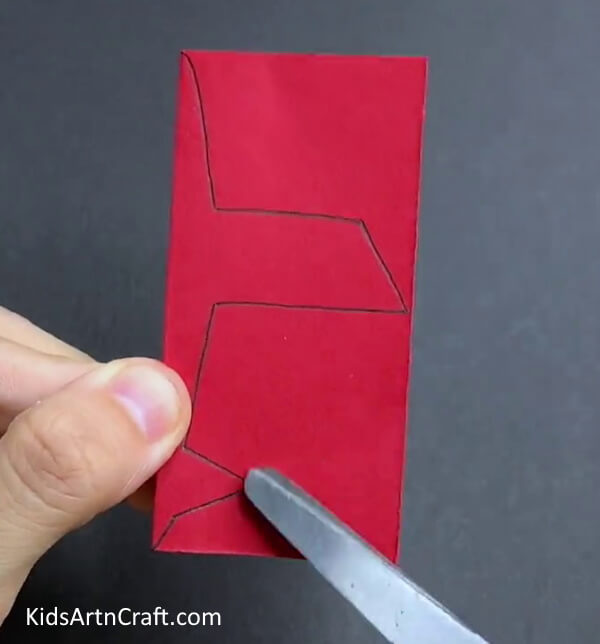
Draw a neat airplane shape along the closed edge as shown in the image. Now, cut along the outline to get a paper airplane.
Step 3: Paper Airplane Is Ready
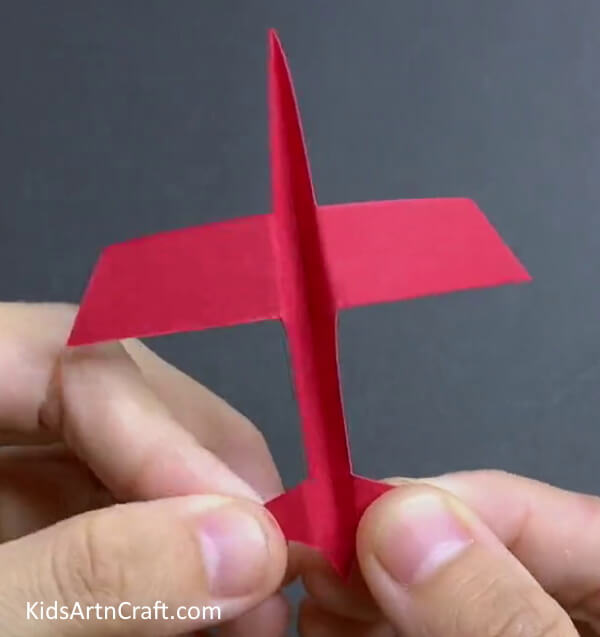
Now, unfold the paper to get the paper airplane.
Step 4: Adding Stars To The Airplane
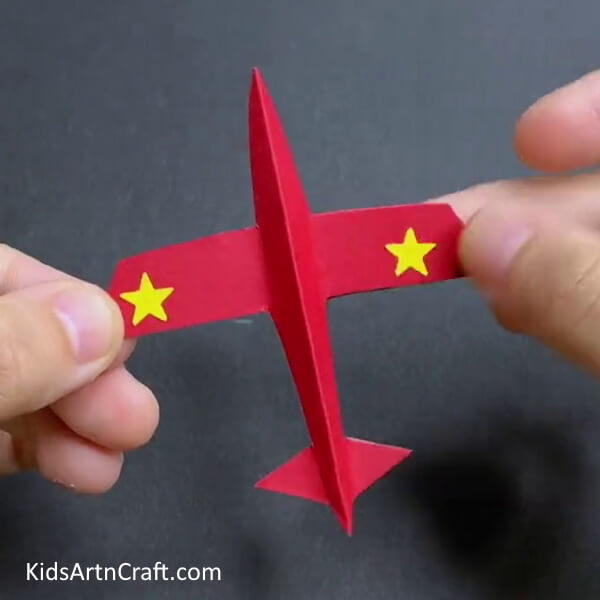
Cut two similar yellow stars. On the upper portion, paste the stars on the wings of the airplane.
Step 5: Making More Airplanes
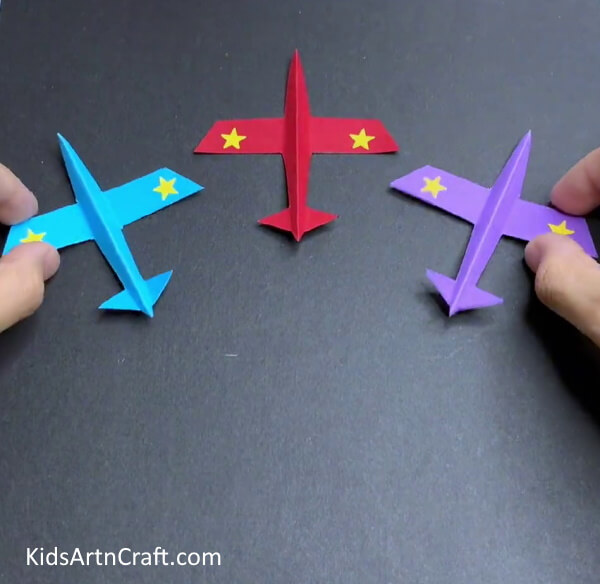
Repeat the above steps to create one blue and one purple paper airplane. Paste the three airplanes on a black sheet with the red airplane placed slightly higher as shown in the image.
Step 6: Drawing White Line For The Blue Airplane
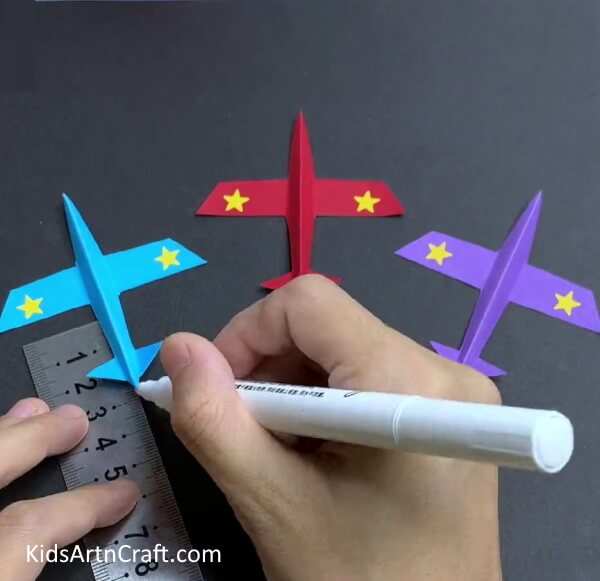
With the help of a ruler and a white marker, draw a white line originating from the blue airplane.
Step 7: Drawing All The White Lines
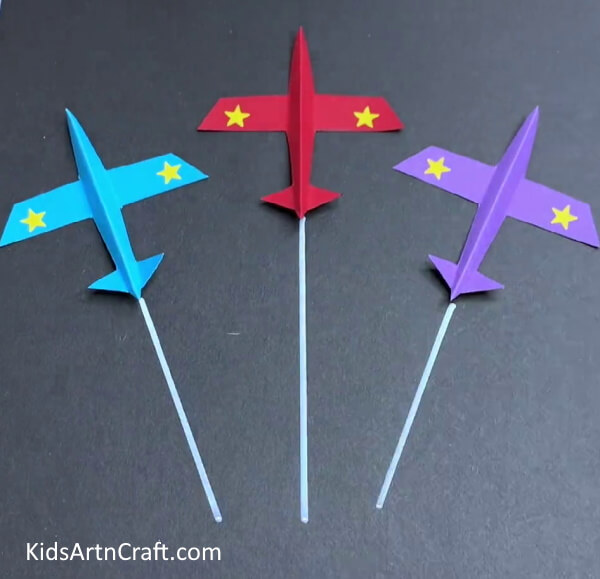
Similarly, draw two more white lines for the remaining two airplanes as shown in the image.
Step 8: Adding A Red Flag To The Airplanes
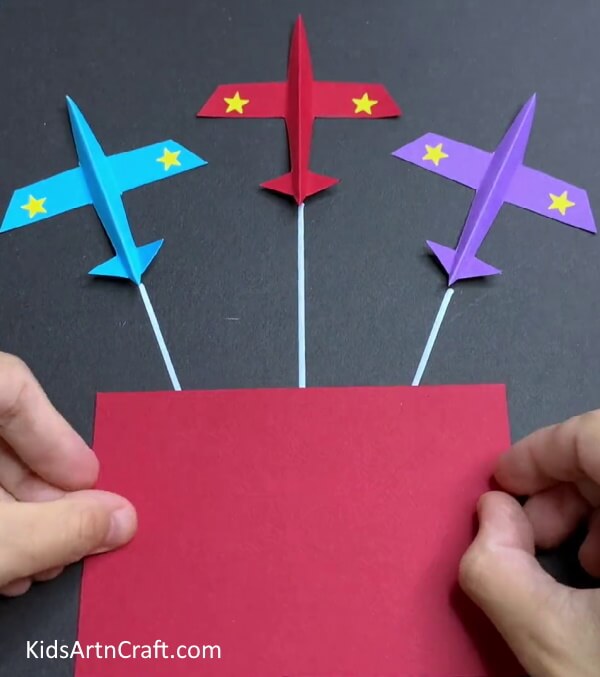
Take a red piece of sheet and paste it near the bottom of the lines to create a flag.
Step 9: Adding Stars To The Flag

Cut a bigger yellow star and four smaller stars as shown. Paste the bigger star near the leftmost corner of the red flag and the smaller stars in a semi-circular pattern along the right side of the bigger star.
Yay! Paper Airplanes Are Ready To Fly!
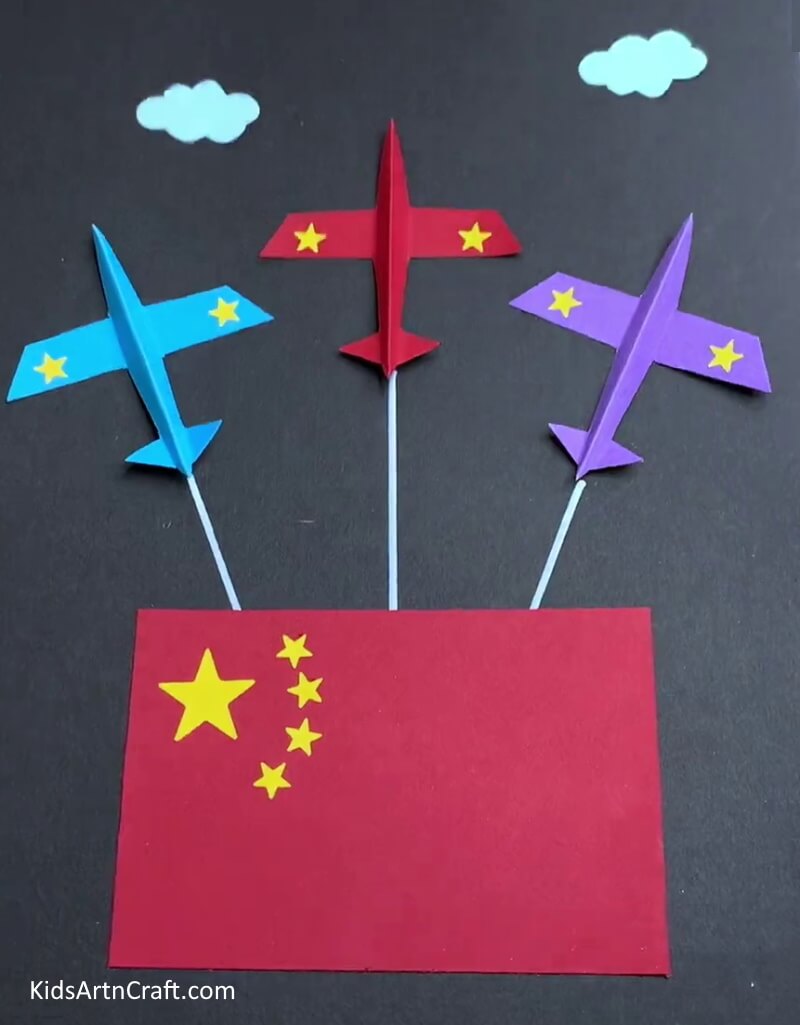
Cut and paste two little blue clouds above the airplanes as shown. And that’s it! Our colorful airplanes are ready to touch the sky. This paper airplane craft can make any space vibrant. Let your kids get engaged in this splendid DIY craft and let their creative wings fly high. So why not give it a try and see who can make the best one?
Some More Paper Airplane craft Tutorial
Paper Origami Airplane For Kids
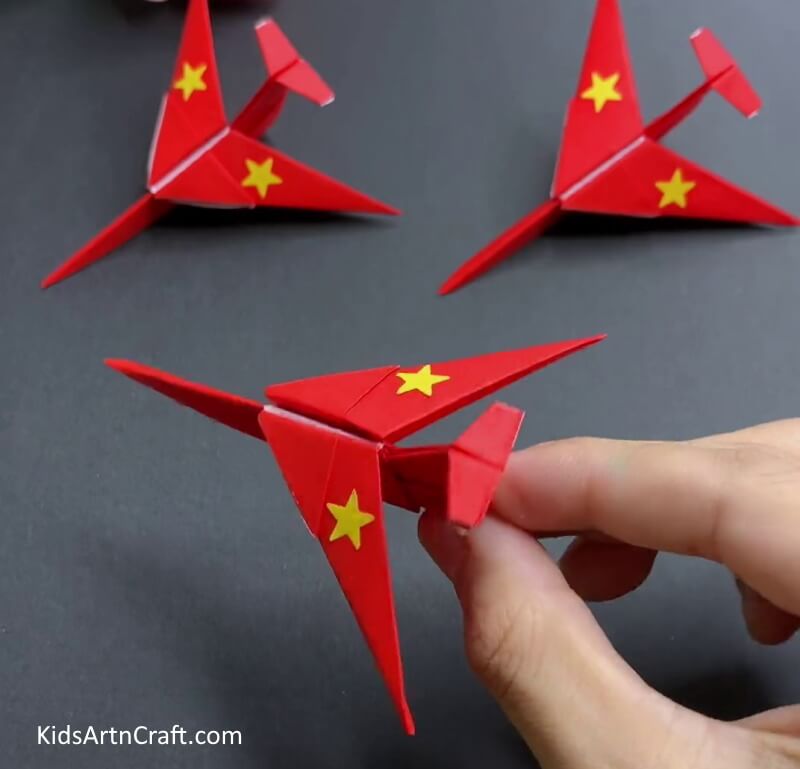
Image Source/Tutorial: Kids Art & Craft
This paper origami airplane for kids is a fun and easy way to keep kids entertained. It also helps to develop their creative skills and encourages them to think outside the box. It’s ideal for kids of all ages.
Some More Airplane Craft Tutorial
Easy Make Airplane Craft Using Water Bottle
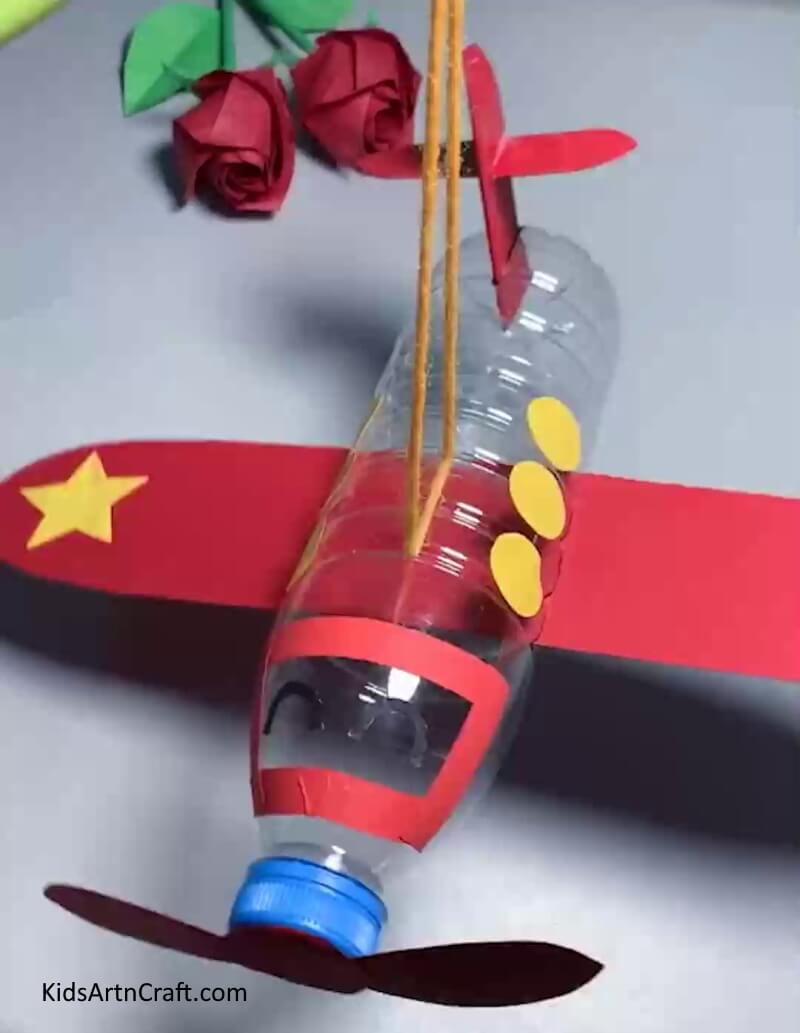
Image Source/Tutorial: Kids Art & Craft
This craft is perfect for kids, as it is easy to make and requires minimal materials. All that is needed is an empty water bottle, some paper, scissors, and glue. With these items, children can create their own custom airplanes that they can proudly show off!
FAQs Related To DIY Easy Paper Airplane Easy Tutorial For Kids
1. What is a paper airplane?
A paper airplane is a type of toy aircraft, usually made from one sheet of paper or other lightweight material.
2. How do you make a paper airplane fly?
To make a paper airplane fly, you need to give it thrust. This can be done by throwing the paper airplane or using a fan to blow air onto it. Additionally, you can shape the wings to make the airplane fly better.
3. What type of paper works best for making paper airplanes?
A lightweight paper works best for making paper airplanes. Regular copy paper is usually too heavy and can make the airplane difficult to fly.
4. What is the best paper airplane design?
The best paper airplane design is the one that best meets your needs. Different designs will fly differently, so it is important to experiment and find the one that works best for you.
5. What is the best way to store paper airplanes?
The best way to store paper airplanes is to fold them up and place them in a box or other container. This will help keep them from getting damaged or losing their shape.
6. How do you make a paper airplane that is easy to throw?
To make a paper airplane that is easy to throw, you should make sure the wings are symmetrical and the nose is light. Additionally, you can make the wings slightly curved up at the tips to help with stability.
Making paper airplanes is a fun and creative activity for children of all ages! With this easy tutorial, kids can make their own paper airplane in just a few simple steps.
Follow us on Youtube for art and craft tutorials and much more.
More Articles from Kids Art & Craft
- Easy Paper Robot Craft Step-By-Step Tutorial
- DIY Fun Craft Activities At Home Video Tutorial
- Paper Origami Frog Craft Tutorial for Kids
- DIY Easy Paper Strawberry Tutorial For Kids
- DIY Party Popper Step-by-Step Tutorial For Kids


