DIY and Crafts
Charming Doll Face Craft Step-by-step Tutorial For Kids

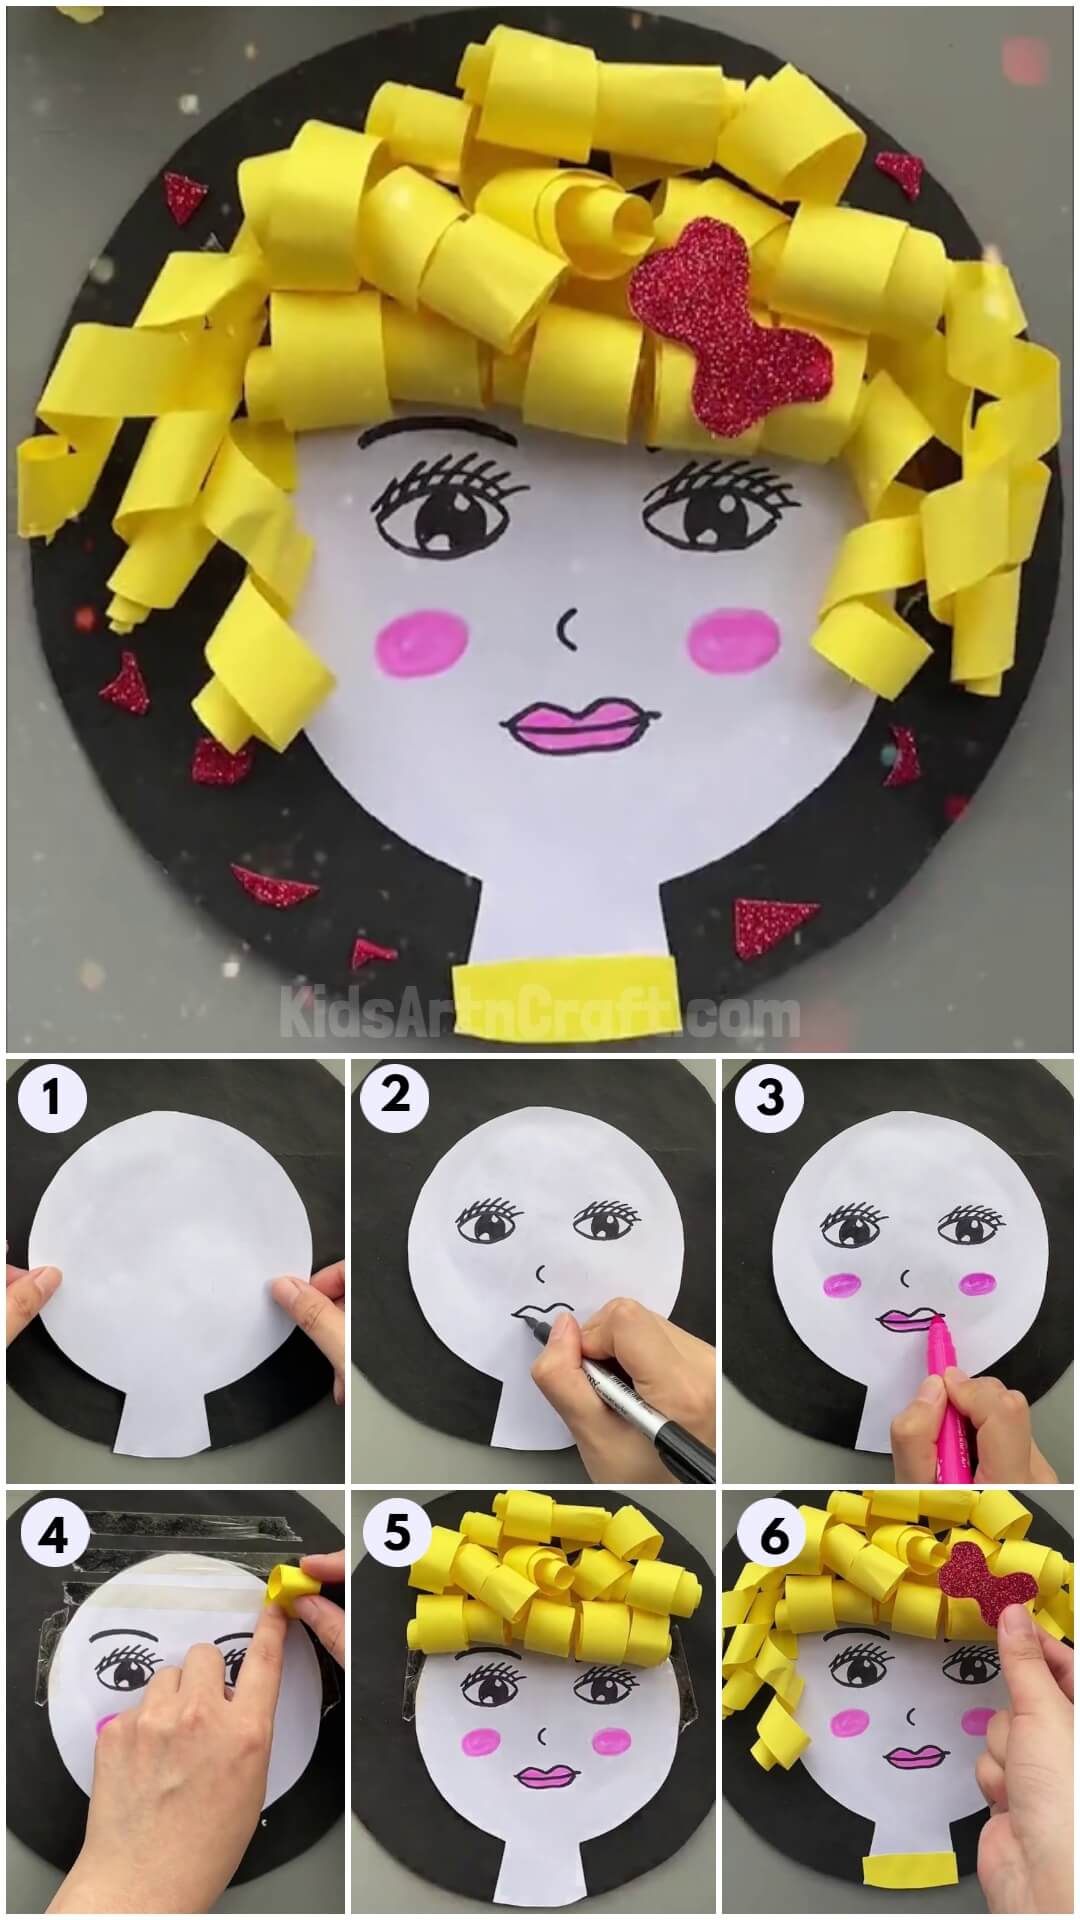
This fun craft tutorial is great for people of all ages. Make a special and unique doll face from things like cardboard, paint, and more. Just follow the steps and you’ll have a great and unique craft that you can enjoy for hours.
Looking for an art and craft idea for your little fashion enthusiast ? Look no more , we are here with an idea that is both fun and easy to make! This one can be useful for all the times you feel like boding with your little one and can be great art and craft activity to prepare during events , picnics , parties and other social gatherings ! So, get your fashionistas the materials they need and get started with amazing doll face craft idea while we give our steps below !
DIY Charming Doll Face Craft For Kids
Read More: Easy Paper Robot Craft Step By Step Tutorial
Materials Required
- A black coloured sheet of paper
- A white coloured sheet of paper
- A yellow coloured sheet of paper
- A black coloured marker
- A pink coloured marker
- A pencil
- A pair of scissors
- Any adhesive or glue
- A red coloured glitter sheet
Procedure
Step 1: Paste Face Outline Cutout
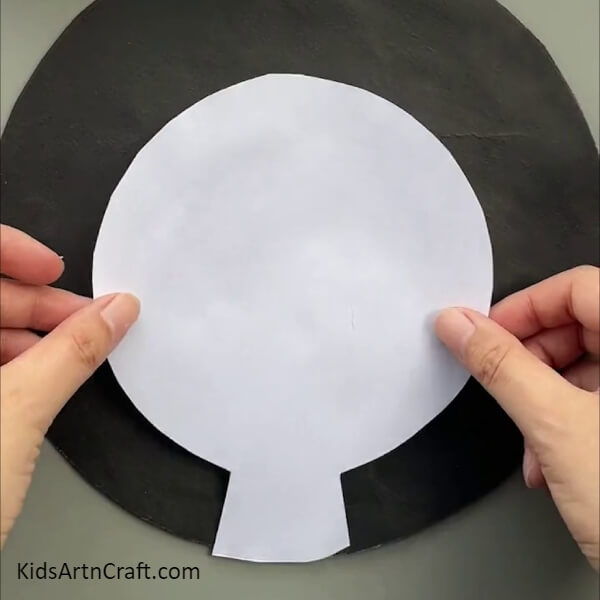
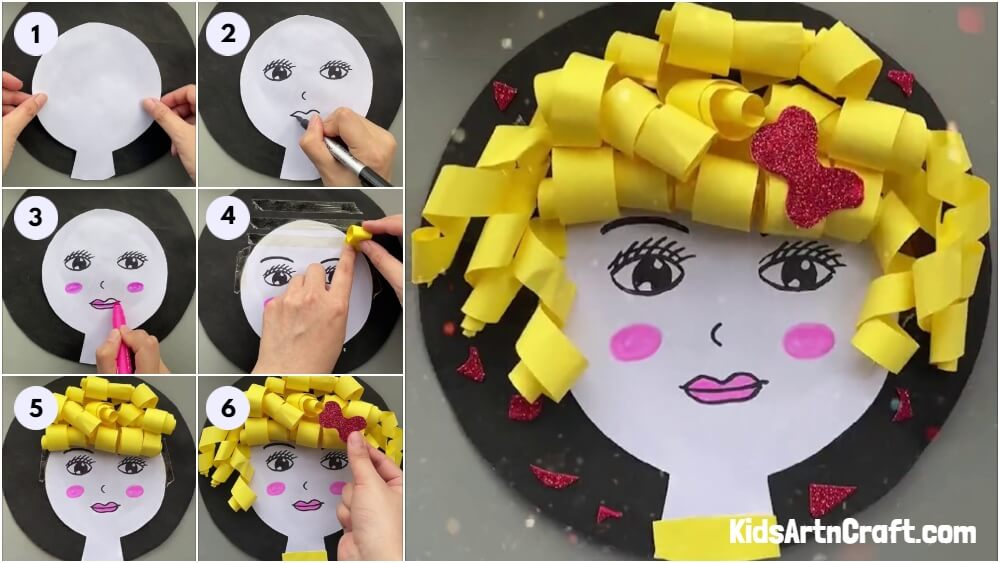
Firstly, take a black coloured sheet of paper and cut it into the shape of a circle of large size. Then take the white coloured sheet of paper and cut it into the shape of a face and neck cutout using the scissors. Next, paste the white cutout on the black one using the adhesive.
Step 2: Draw the Eyes, Nose and Lips
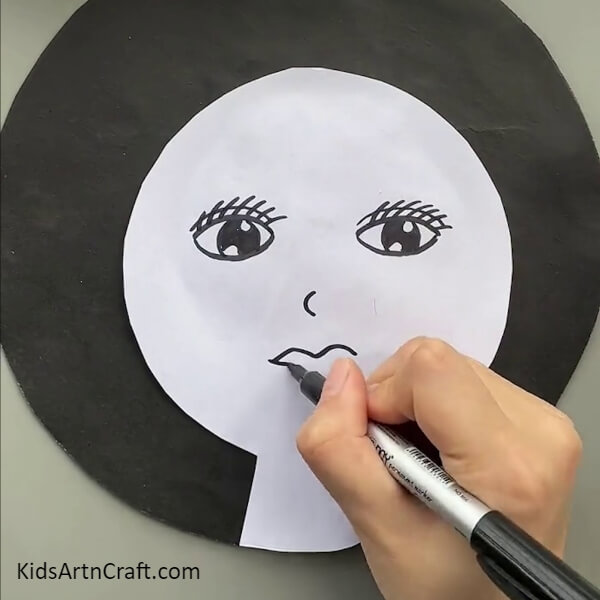
Next, you are supposed to add facial features to your doll, for this you may add eyes, nose and lips using the black coloured marker.
Step 3: Add Blush and Lipstick
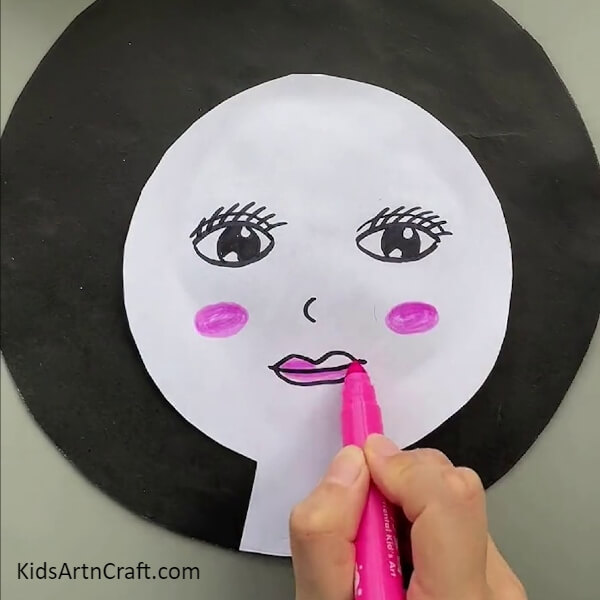
Now, take the pink coloured marker and paint the lips and add some blush, because what is a doll without some glam ?
Step 4: Put Double Sided Tape
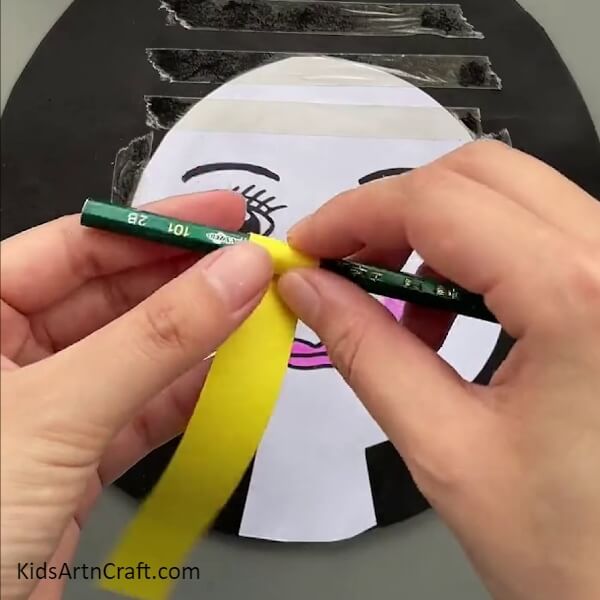
Next, you are supposed to paste double sided tape cutouts right on the forehead and the head. Then, cut out some stripes using the scissors out of the yellow coloured sheet of paper. Now, take the pencil and roll the yellow stripes using it.
Step 5: Paste One of the Curls
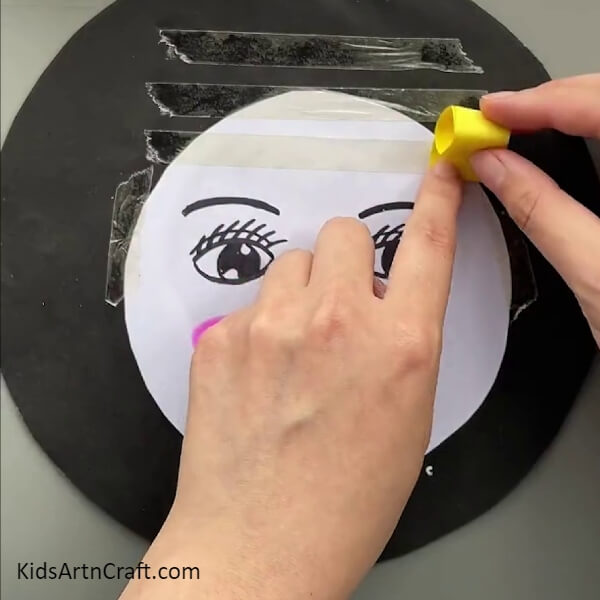
Step 6: Paste All the Other Curls as Well
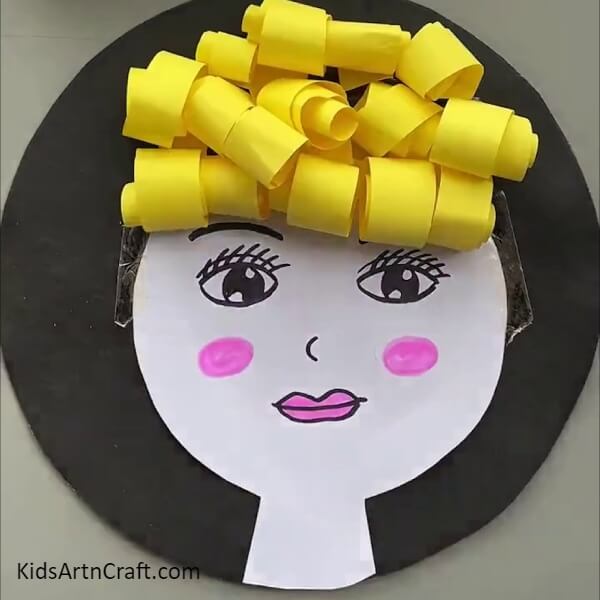
Now, paste all the other curls as well by placing them on the double sided tape.
Step 7: Paste Final Side Curls
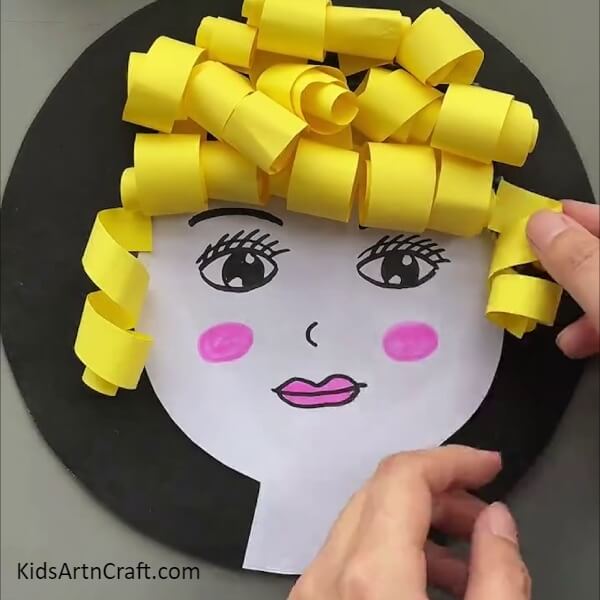
Now, paste the final side curls or face framing curls by placing them on the double sided tape.
Step 8: Paste a Bow
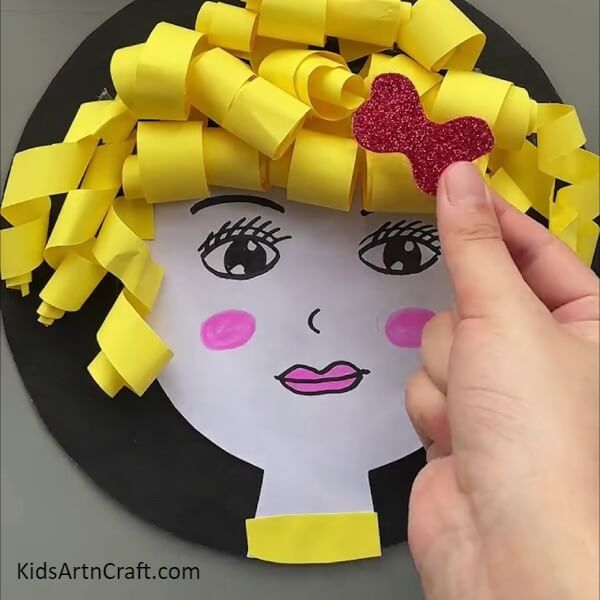
Now, take a red glitter sheet and cut it into the shape of a bow using the scissors. Now, paste it right on the top of the curls using the adhesive.
Finally!! Add Glittery Pieces to the Hairstyle
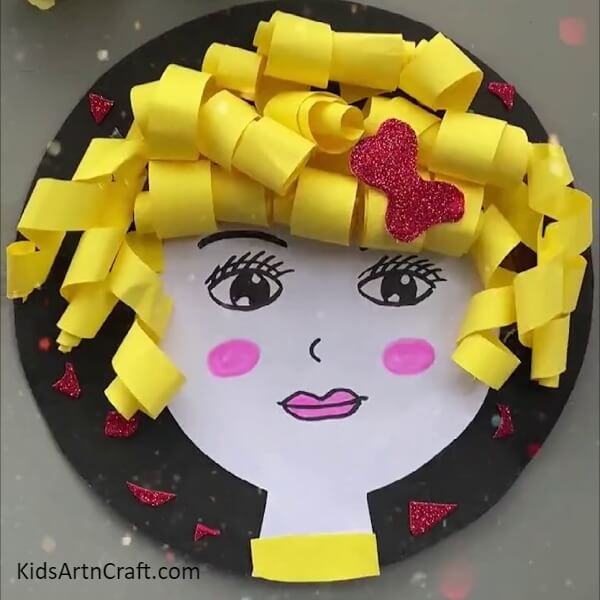
your pretty doll is ready !! This charming face doll can be made in just eight simple steps and by using the easily available materials! Make sure to help, assist and encourage your kids while creating this one. Let us know your thoughts in the comment section below and check out our other posts for more such fun, easy and amazing art and craft ideas for children ! Until then, happy crafting !
Some More Doll Craft Tutorial
Make a Paper Cup Doll Craft For Kids
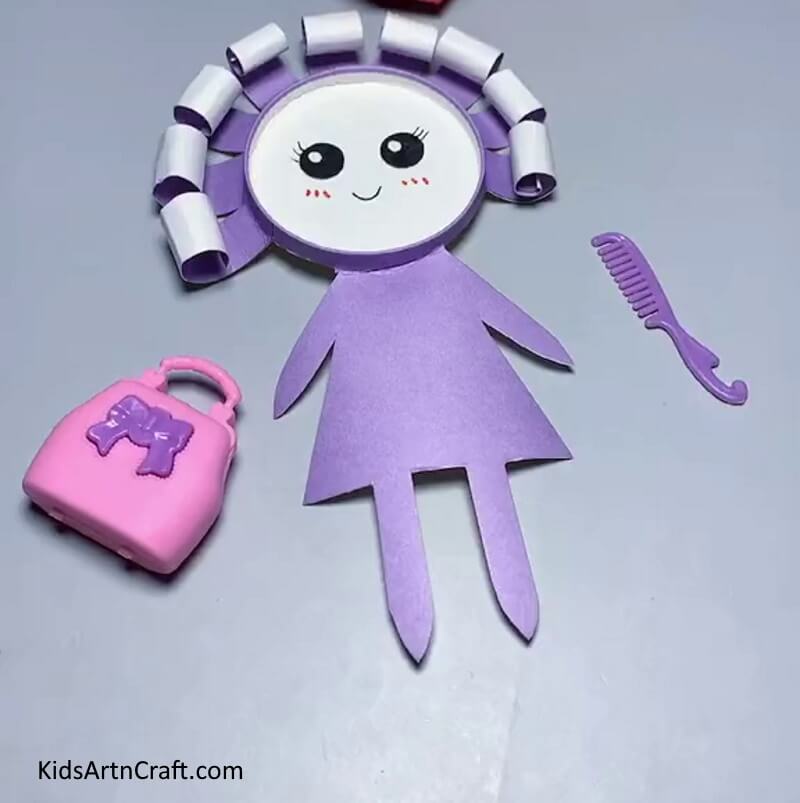
Image Source/Tutorial: Kids Art & Craft
This art project is perfect for kids to make! It’s easy and fun – simply collect some paper cups and other materials, then let your little ones create a unique paper cup doll. They’ll love being creative and they’ll be so proud of their finished masterpiece.
Follow us on Youtube for art and craft tutorials and much more.
More Articles from Kids Art & Craft
- Paper Strip Rainbows Cloud Craft Easy Tutorial
- Barbie Paper Craft & Activities for Kids
- Learn To Make Paper Duck Craft Tutorial
- How to Make Easy Paper Snowflakes Tutorial
- DIY Leaf Art Fish Making Easy Tutorial for kids


