Drawing
Easy Dusk Scenery Painting Step-by-step Tutorial For Kids

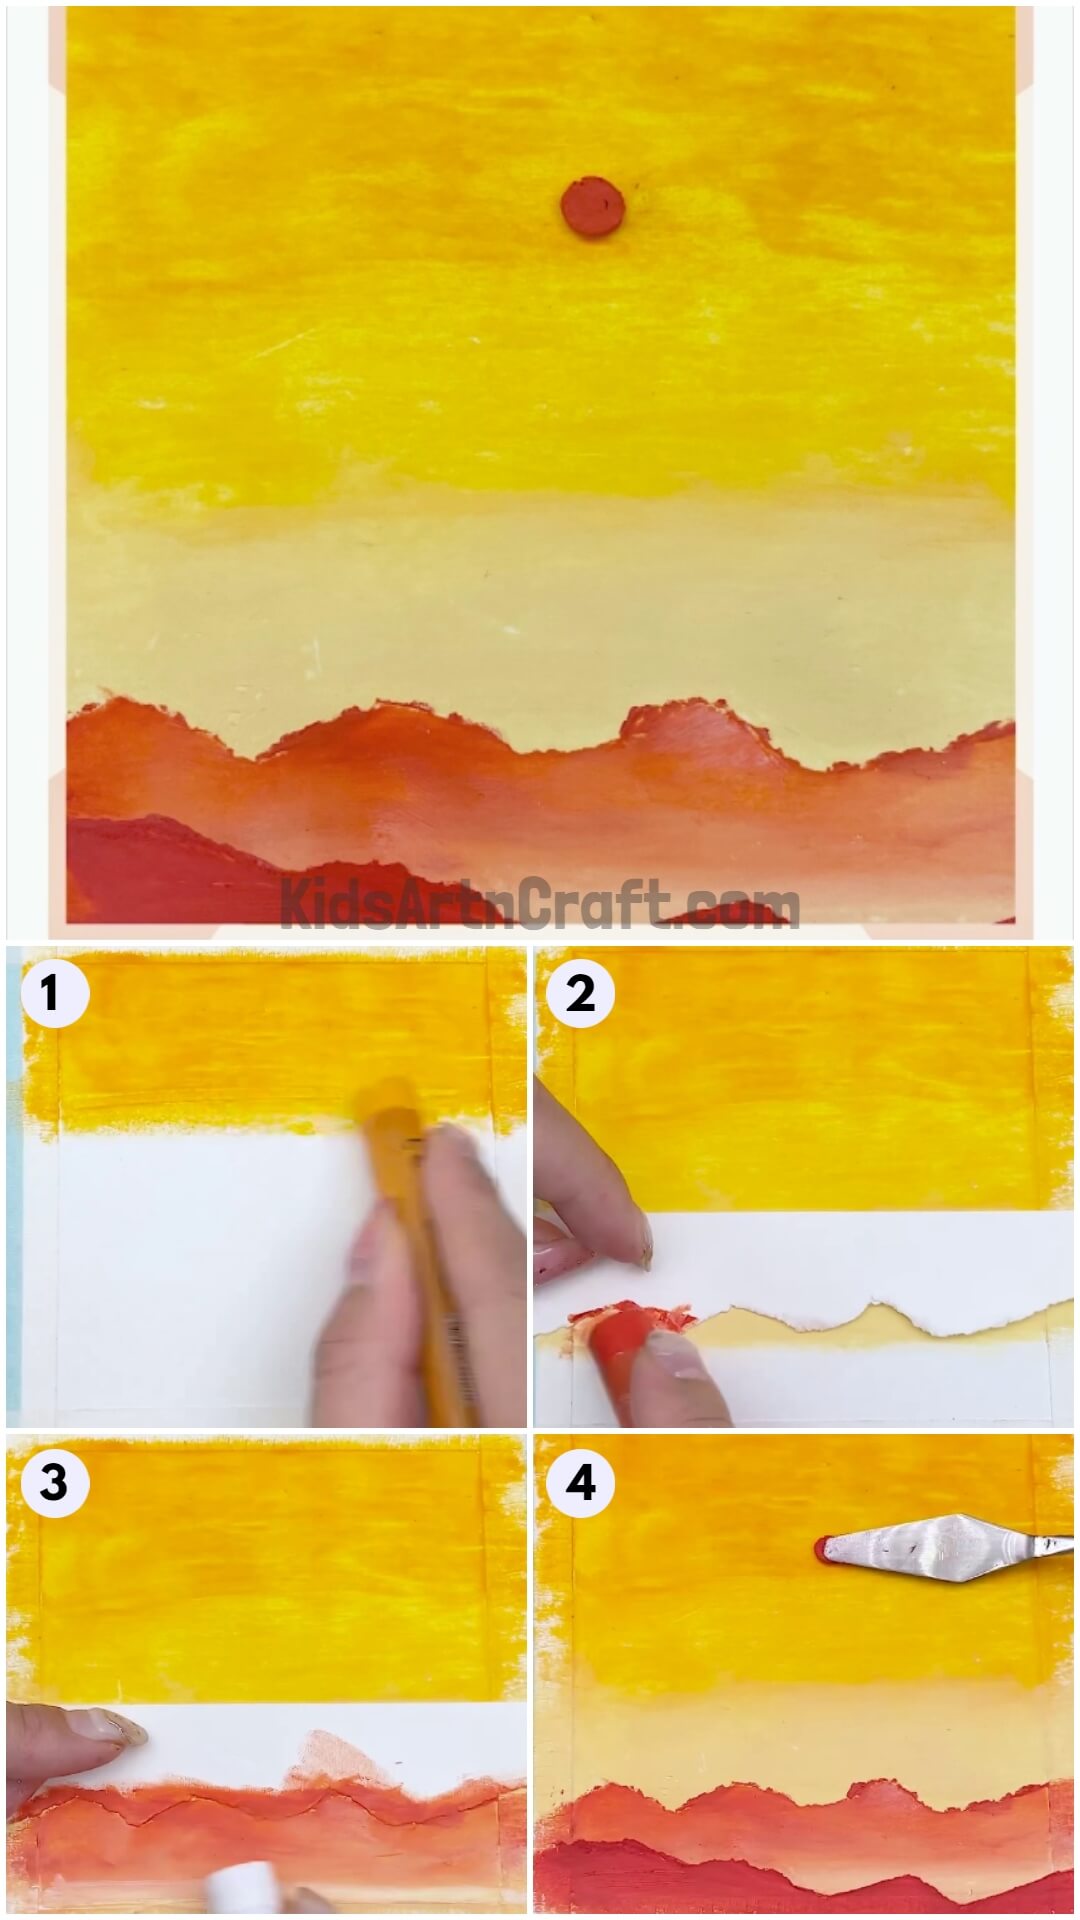
This guide will show you and your children how to make a beautiful sunset painting. With easy supplies and directions, your kids will be able to make a gorgeous work of art quickly.
Welcome to the easy dusk Scenery Painting step-by-step tutorial! In this tutorial, we are going to learn a Easy Dusk Scenery Painting in just few steps. This Painting can be done by Schoolers and adults alike. All you need is a Craft Paper and some crayons to get this Dusk Scenery painting. With few craft skills you can get this done in no time, so let’s get creative!
Easy Dusk Scenery Painting Tutorial For Kids
Read More: Pretty Tree Landscape Sketch pen Painting Art Idea For Kids
Materials Required
- Canvas or a Drawing Sheet
- Adhesive Tape
- Crayons
Procedure
Step 1: Start With A Drawing Sheet
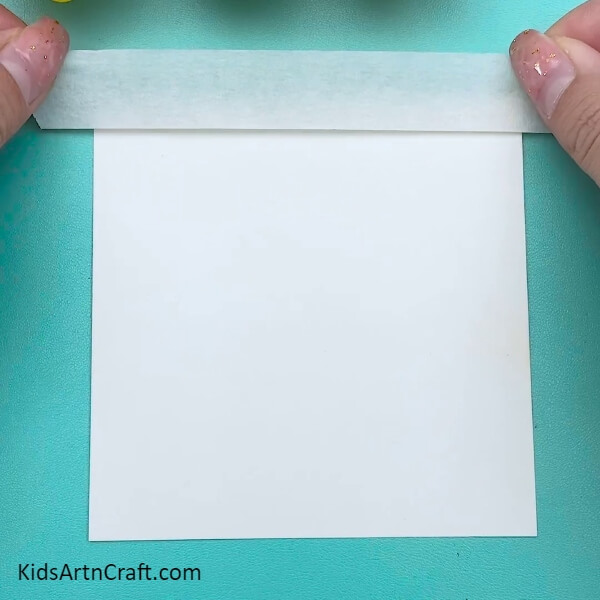
Let’s begin drawing this dusk scenario painting! Start by sticking the white drawing sheet on your table with Adhesive tape on the corners to protect the edges.
Step 2: Paint The Sky Yellow For The Dusky Effect

Start Coloring the top to Middle in yellow Crayon For dusky effect. Make sure the top part is darker.
Step 3: Is Tear Another Paper Using Your Hand
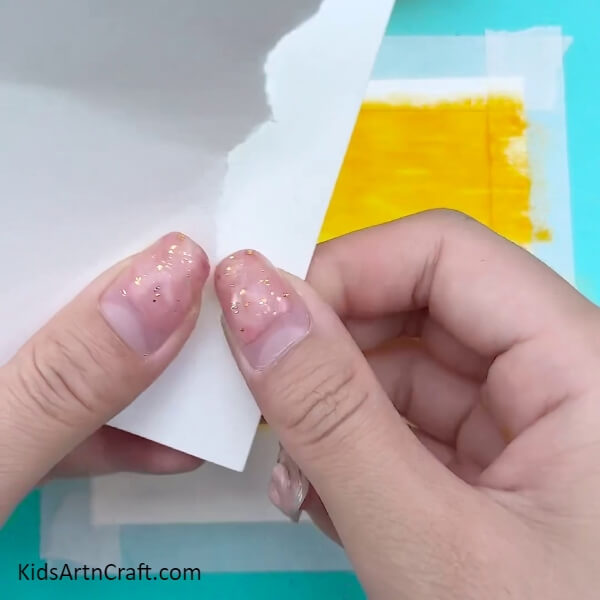
After drawing the 90% of the drawing sheet in yellow. Grab another Paper and tear it up using your hand as shown in the picture, to create mountains.
Step 4: Color The Mountains Orange
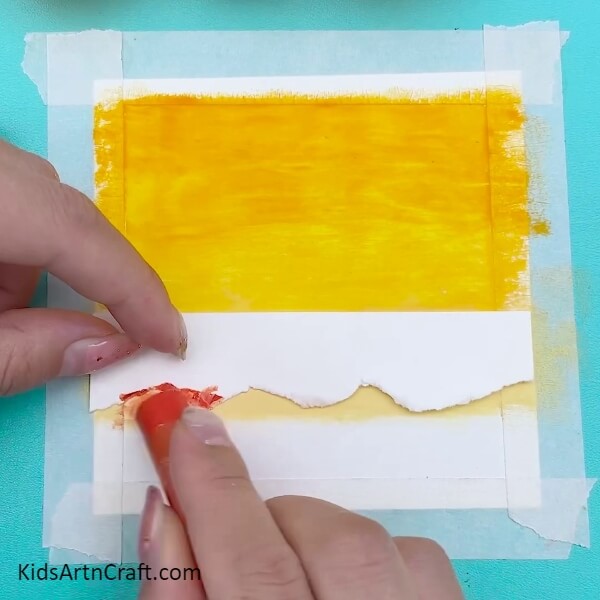
After tearing up the paper you’ll get something like this has shown in the picture. Place it on top of the edge of Yellow and colour it in orange.
Step 5: Colour the Valleys White
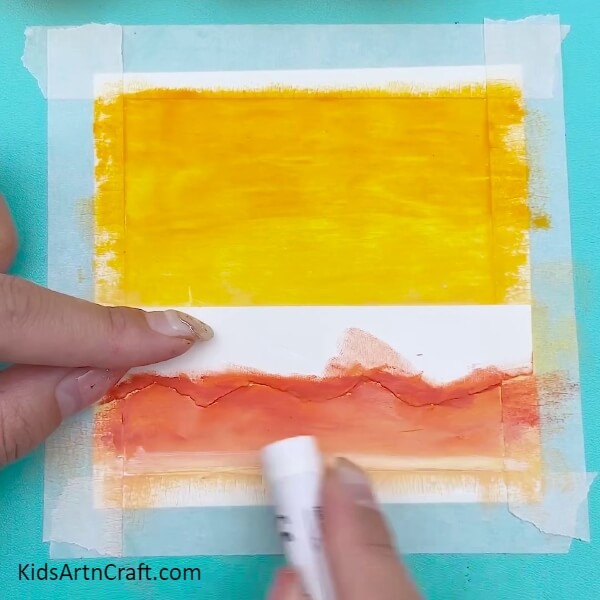
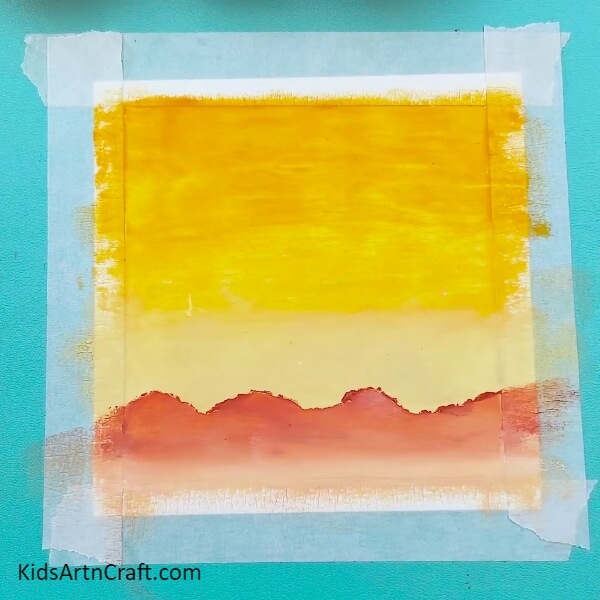
After colouring Orange almost near the Is bottom of your drawing Sheet. Go through the bottom with white crayon and blend it in with Orange.
Step 6: Blend The Valle Is Using Your Finger
After colouring the Valleys white, Use your ring finger to blend it in with the Orange mountains. As a result you will get something ashamed in your picture.
Step 7: Tear The Already Torn Paper
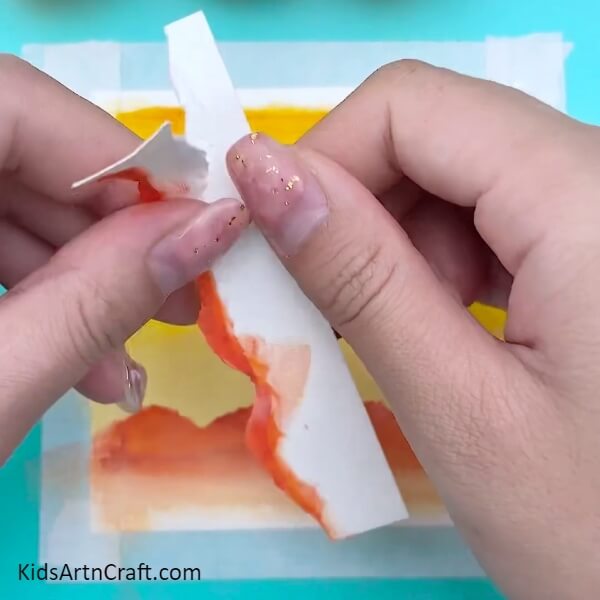
Now that the first range of mountains are done let’s begin with the second range of mountains. For that you will need to start to tear the already torn Paper as shown in the picture.
Step 8: Color The Second Range In Red
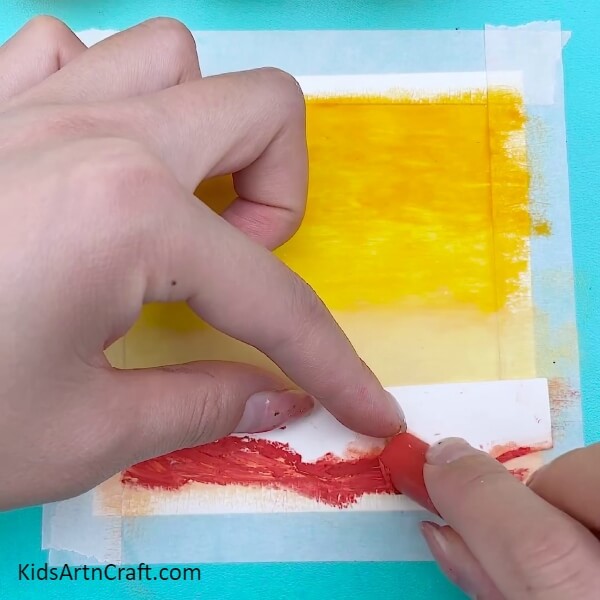
Now place the paper a little below the first range of mountains and start colouring the below with red.
Step 9: Blend the Edges With White
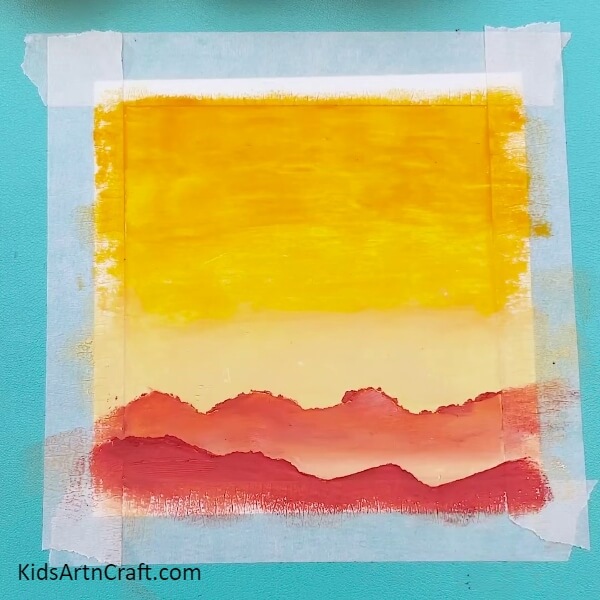
Blend the bottom of the second mountain range shown in the picture, until you get something like this.
Step 10: Finish It Up With Sun
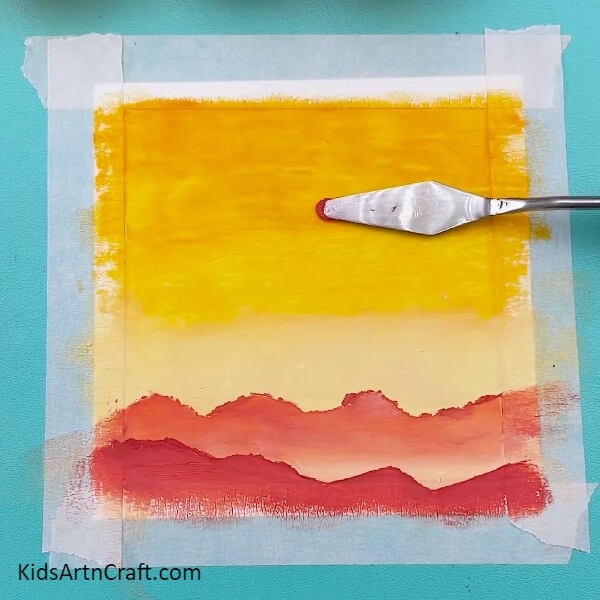
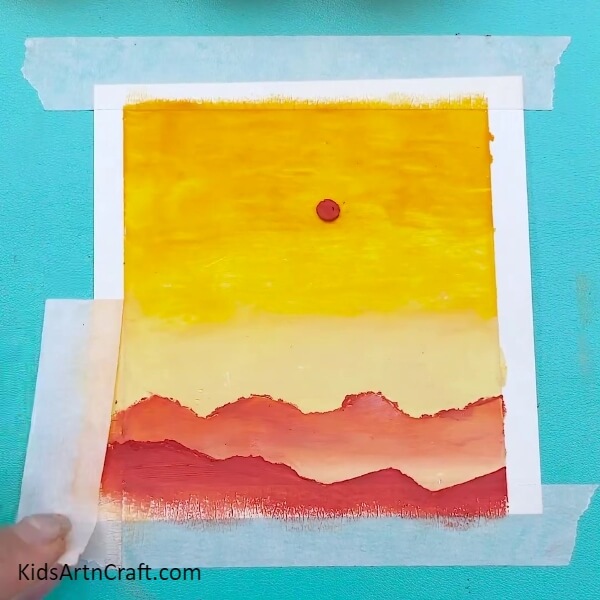
Finish up your painting with a dusky sun. For that, You will need a spatula and red Crayon. Scrape some red Crayon using your spatula and place it in the sky of your painting in a circle as shown above.
Step 11: Untape The Edges
Now that the painting is ready, untape the edges carefully.
Ta-da Your painting is ready
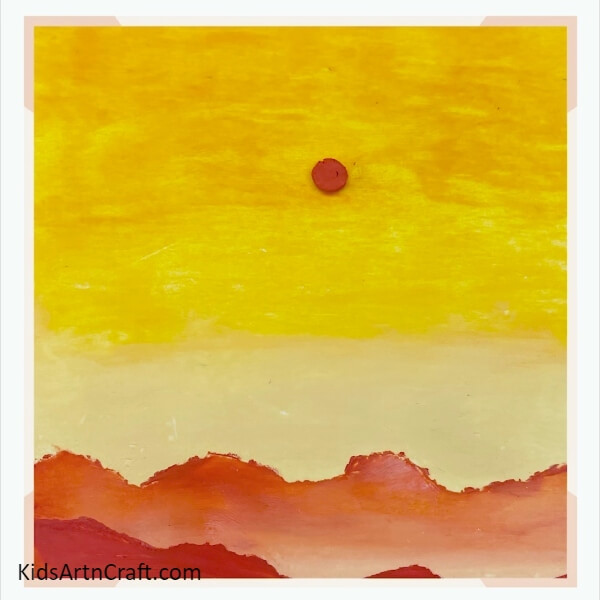
And your painting is ready!! This was such an easy tutorial that any kid can find it useful to make such a beautiful painting. You can add more detailing and get more creative. This craft would be liked by all, so why not give it a try and engage your kids in a fun painting-learning activity?
Hope you like this paper turtle craft step-by-step tutorial. We would love to hear your thoughts in the comment section below. And be sure to visit other articles for more ideas!
Thanks for visiting our website.
Follow us on Youtube for art and craft tutorials and much more.
More Articles From Kids Art & Craft
- Easy Art And Crafts Activities Video Tutorial for All
- Painting Tips and Craft Video Tutorial for Beginners
- Easy to Learn Drawing Tricks Video Tutorial for Beginners
- Step-by-Step Drawing Tricks Video Tutorial for Beginners
- Easy Hand Drawing And Painting Video Tutorial for Kids


