


Recycled Crafts
Cotton Earbud Windmill Craft Tutorial For Beginners

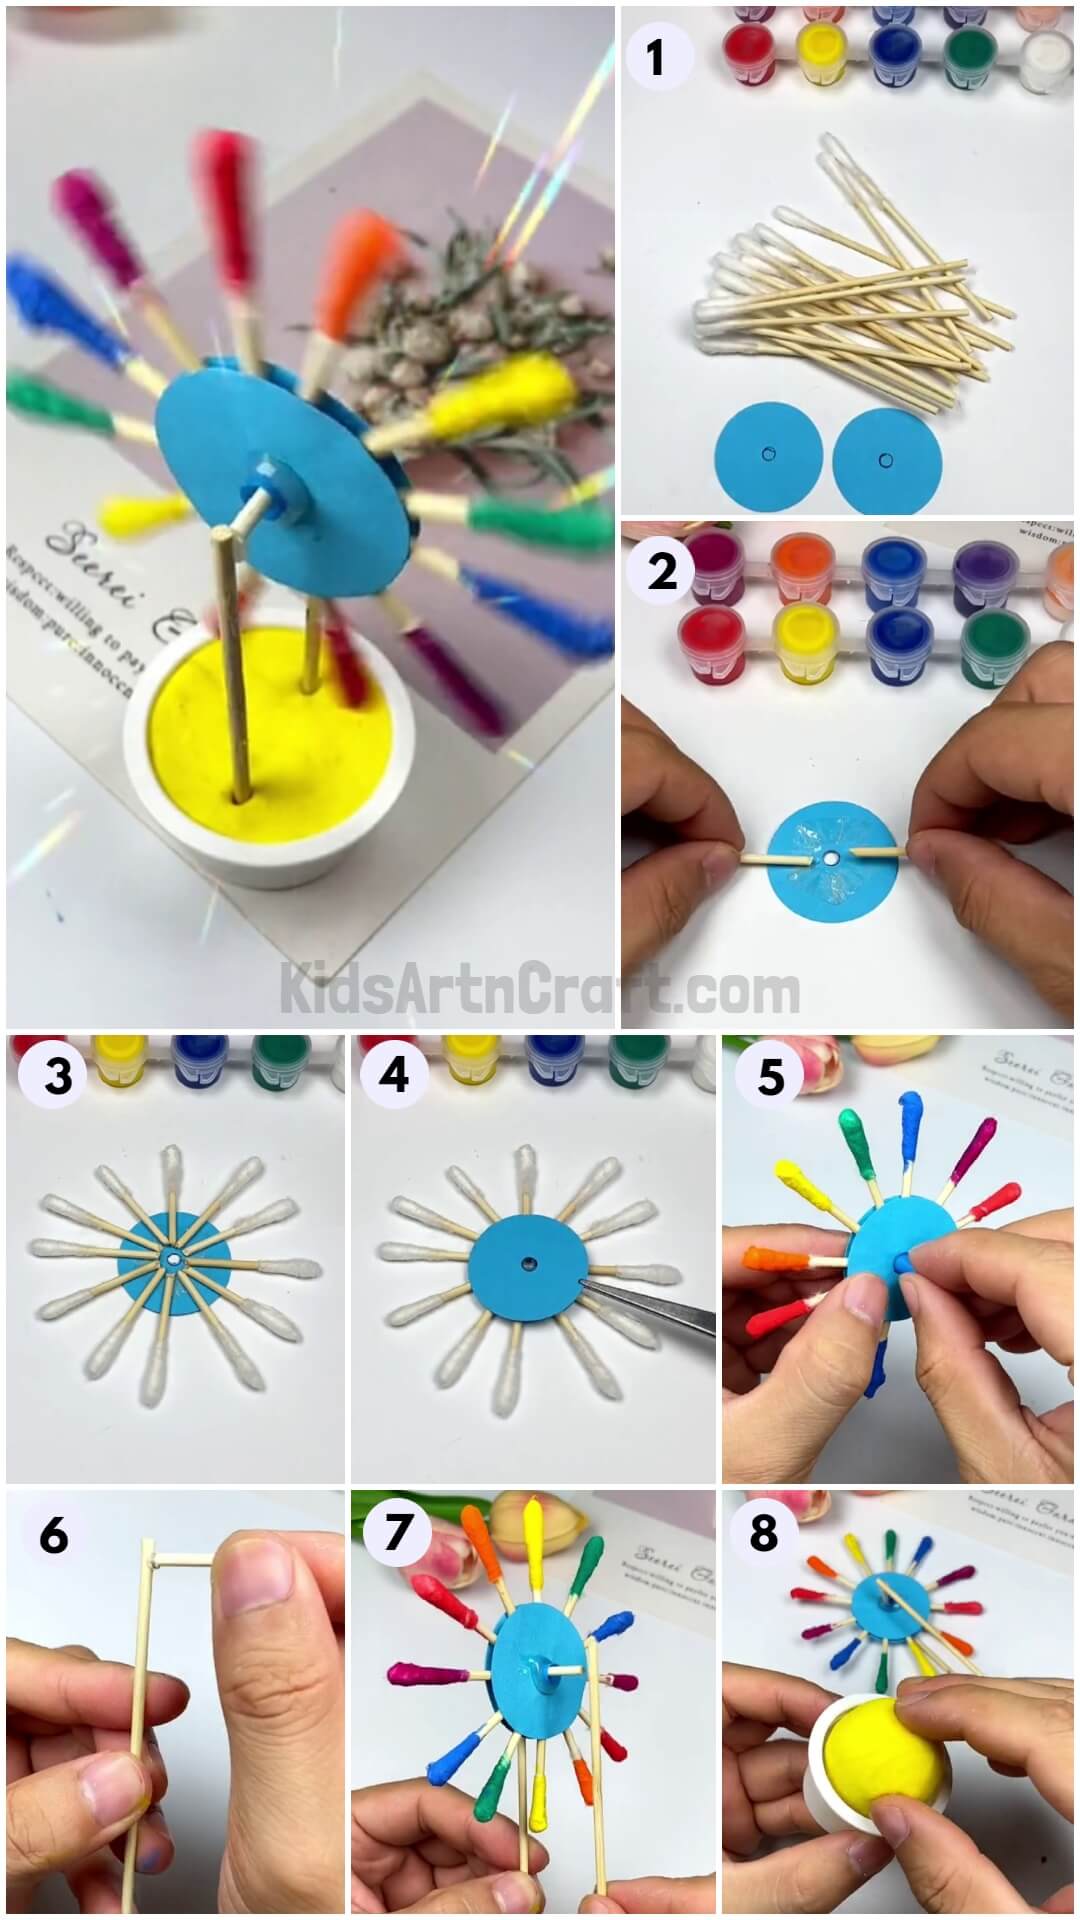
Learn how to make a unique and colorful cotton earbud windmill craft with this step-by-step tutorial. You’ll be able to create this fun and festive craft in no time!
Are you looking for a fun and creative craft project to do with your kids? We have the perfect project for you – the Colorful Cotton Earbud Windmill Craft Tutorial. This tutorial is perfect for beginners and will teach you how to make a colorful windmill using cotton earbuds & will take about an hour or less to get done. Follow the steps and achieve this colorful artwork. Let’s get creative.
Colorful Cotton Earbud Windmill Craft For Beginners
Read More: How to Make Ladybug Crafts Tutorial for Kids
Materials Required
- Cotton Earbuds
- Craft Sheets
- Water Paints
- Hot Glue Gun
- Toothpick
- Some Clay
- A Small Cup
Procedure
Step 1: Taking Two Blue Circles And Cotton Earbuds
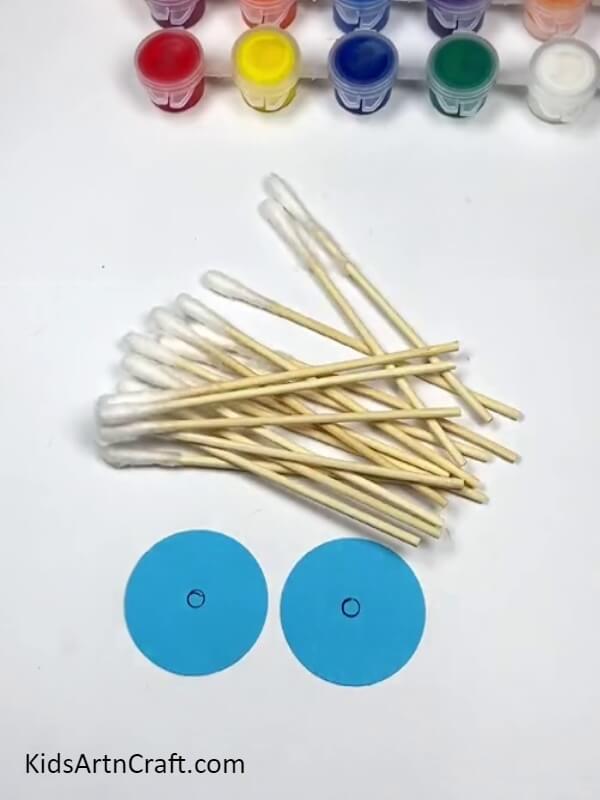
Let’s get started by getting your hands on the things you need, such as earbuds. And take two round craft sheet or any two thin pieces of cardboard and draw tiny circles in the middle and cut it carefully.
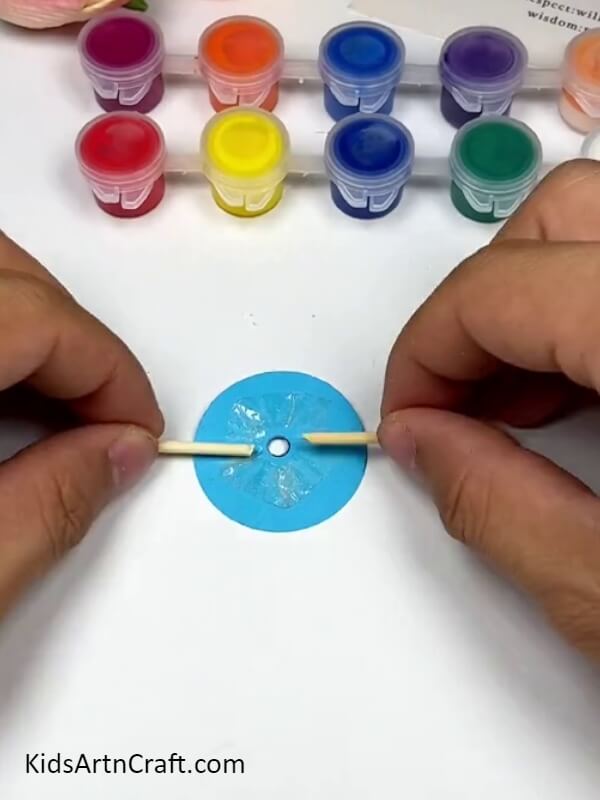
Step 2: Applying Double Sided Tape On Circle
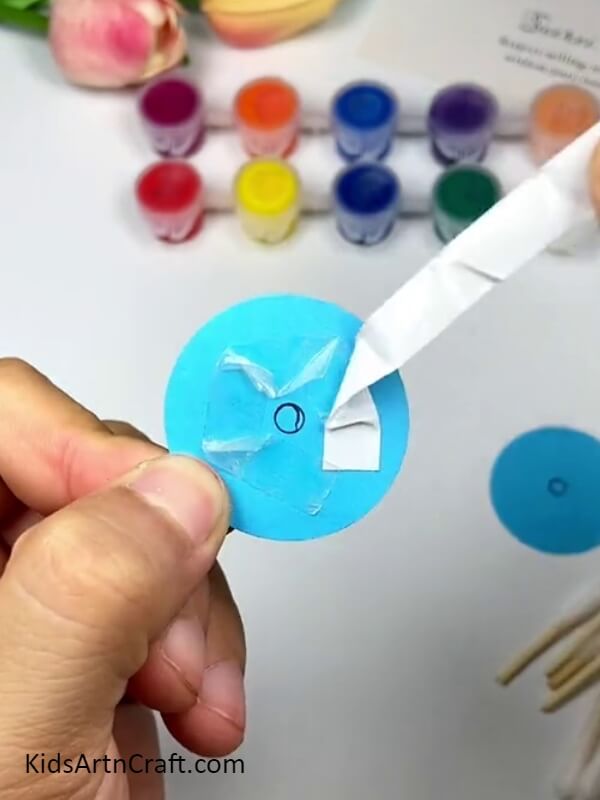
Stick a double-sided tap on one of the round pieces of paper and peel off the secured strip of paper to get started with the windmill
Step 3: Pasting The Earbuds Around The Circle
After peeling off the secured strip of paper, start sticking the earbuds around the round craft paper on the tape and make sure it is firm.
Step 4: Completing Pasting The Earbuds
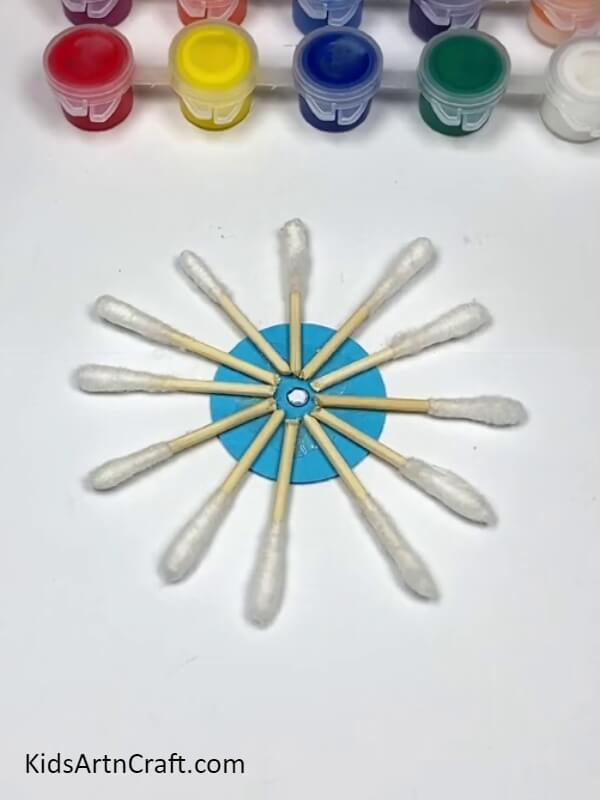
Post that, you will get something like this, as in the picture. And let it dry until the next step.
Step 5: Sticking Another Circle
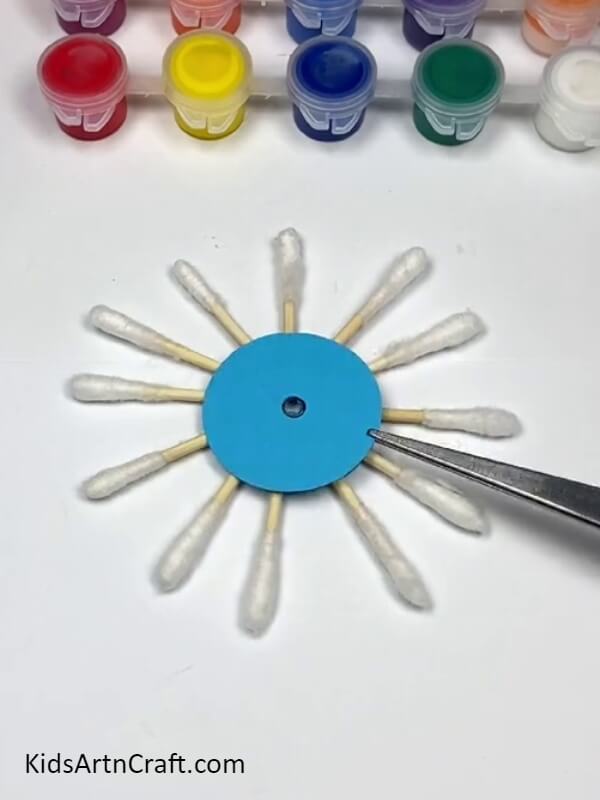
Likewise, double-tape the other craft paper and stick that on the other side of the prepared wheel.
Step 6: Painting The Cotton Over Earbuds
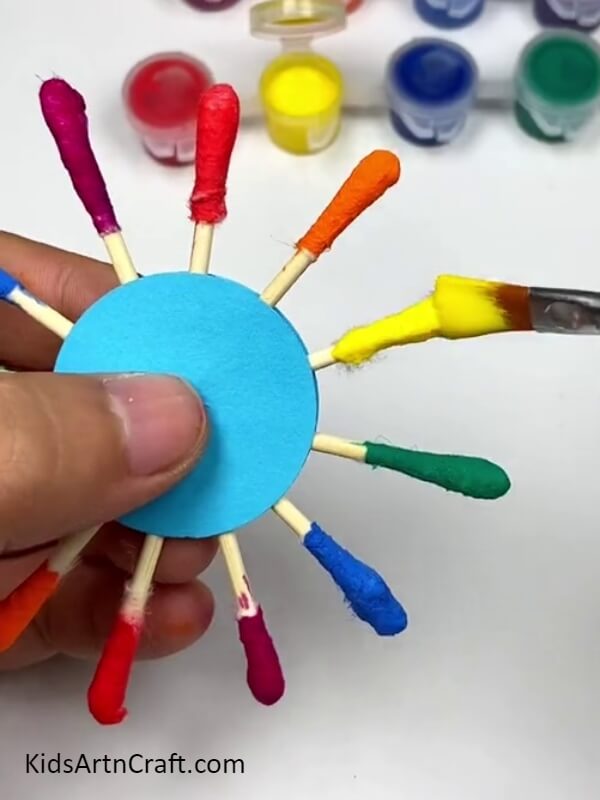
Go ahead and start mixing different paint and paints on the Cotton area of the buds. Make sure to make it colorful.
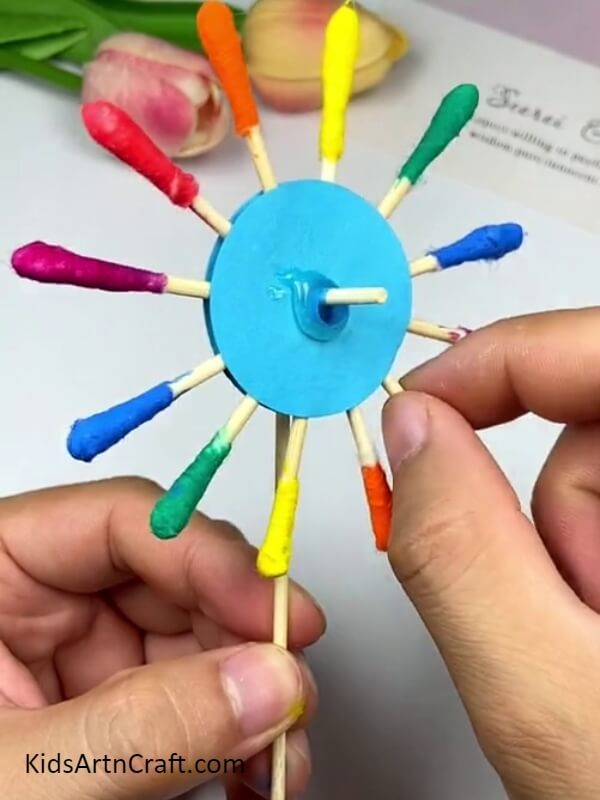
Step 7: Making a Hole in Between The Wheel
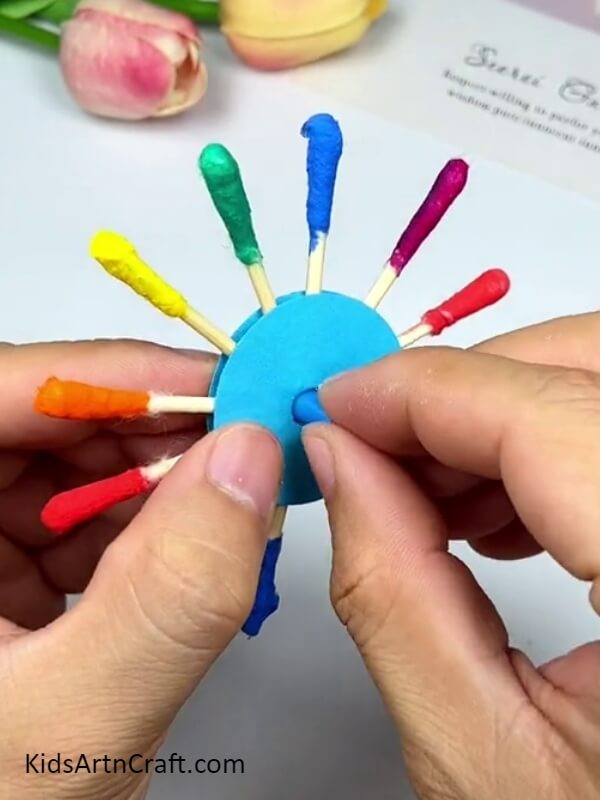
Cut a small straw to place and glue it in the middle of the wheel to make a pathway to place Toothpick.
Step 8: Applying Hot Glue Gun
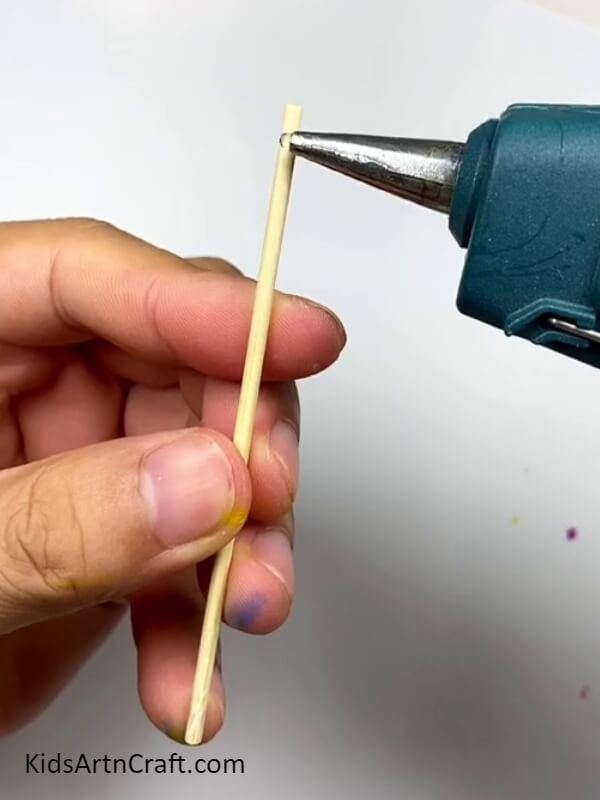
Now that the wheel is ready, let’s get started with the toothpick stand that holds the windmill together. Get started by carefully applying glue from a hot glue gun on the edge of the Toothpick as shown in the picture
Step 9: Pasting Another Stick
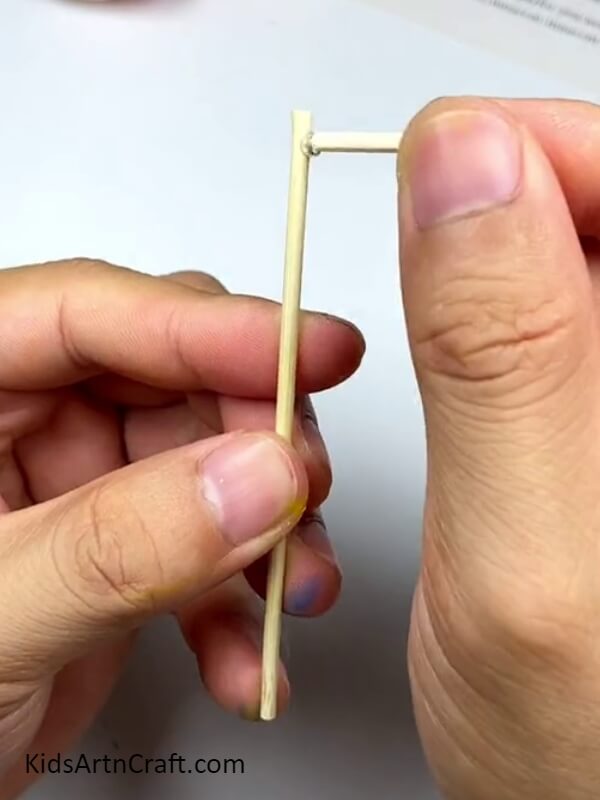
After applying glue, let it dry for a second or two and place another toothpick on it. And let it dry.
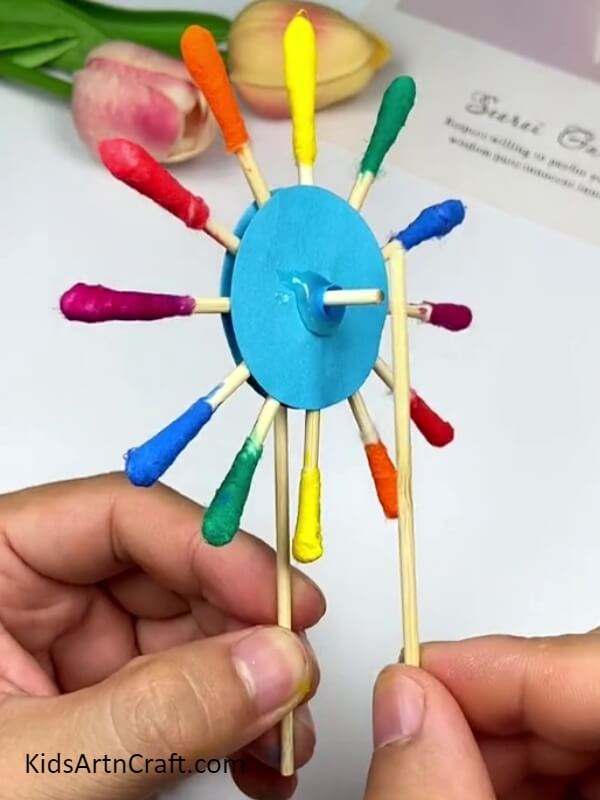
Step 10: Pasting the Toothpick in the Hole
Make sure that the glue is dry, later place the wheel you made earlier through the Toothpick as shown in the picture above.
Step 11: Pasting Another Toothpick
After placing the wheel, lock it up with another toothpick with hot glue. And let it dry for a while.
Step 12: Putting a Clay Ball Into a Cup
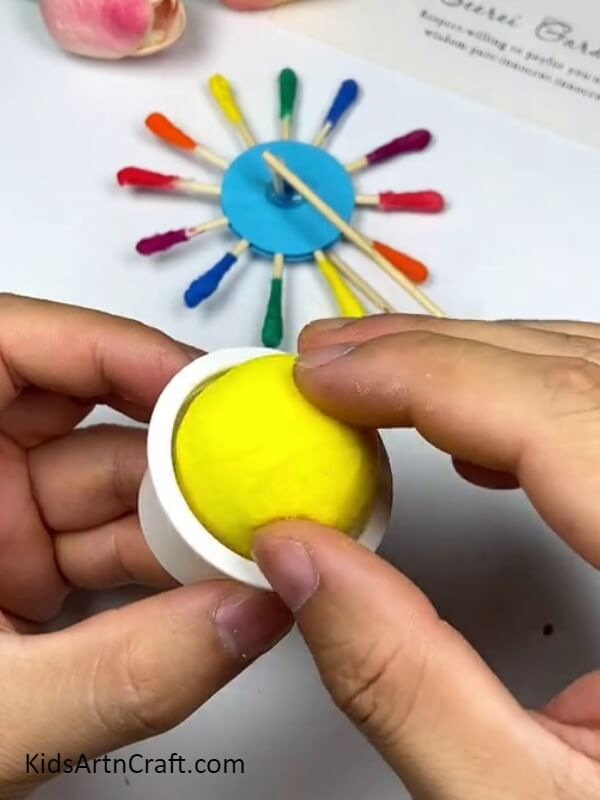
Take a small size cup, and fill it up tight with any colored clay of your choice.
Finally, Colorful Cotton Earbud Windmill Craft is Ready!
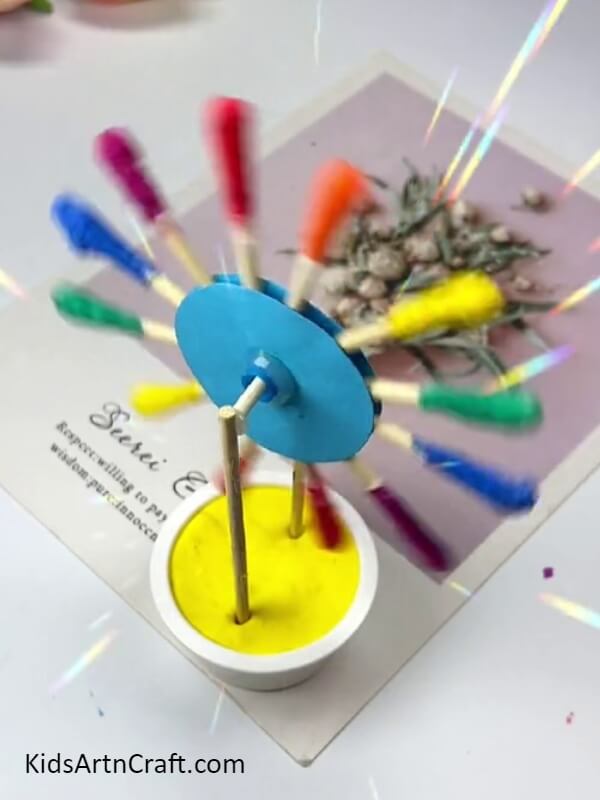
For last, place the windmill into the cup of clay. That’ll be it, your colorful windmill will be ready.
Hope you liked this step-by-step tutorial. Do comment with us your thoughts below. And check out our website for more such crafts.
Thank you for visiting our website
Follow us on Youtube for art and craft tutorials and much more.
More Articles from Kids Art & Craft
- Easy Lion Craft From orange peel for kids
- Easy Frog Puppet Toy Craft Using Paper Cup For Kids
- Recycled Egg Cartoon Bee Craft Tutorial For Kids
- Tissue Paper Flower Artwork For Kids
- Plastic Bottle Bee Craft For Kids


