


Kids Activities
How To Make Easy Frog Using Paper Crafts

Easy Frog Paper Crafts For Kids
 Read More: Paper Craft Idea to Make Video Tutorial for All
Materials Required
- Construction Paper (Green, Black, White, and Red)
- Pencil
- Double Side Tape
- Black Marker
- Scissors
- Glue
Procedure
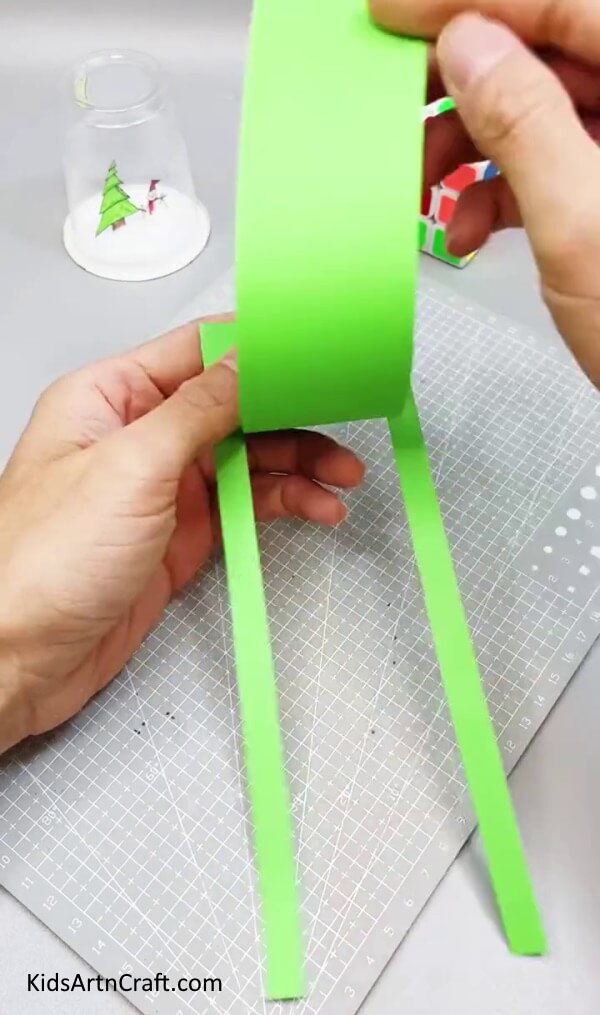
Step 1: Cutting Side Strips From Green Rectangle Paper
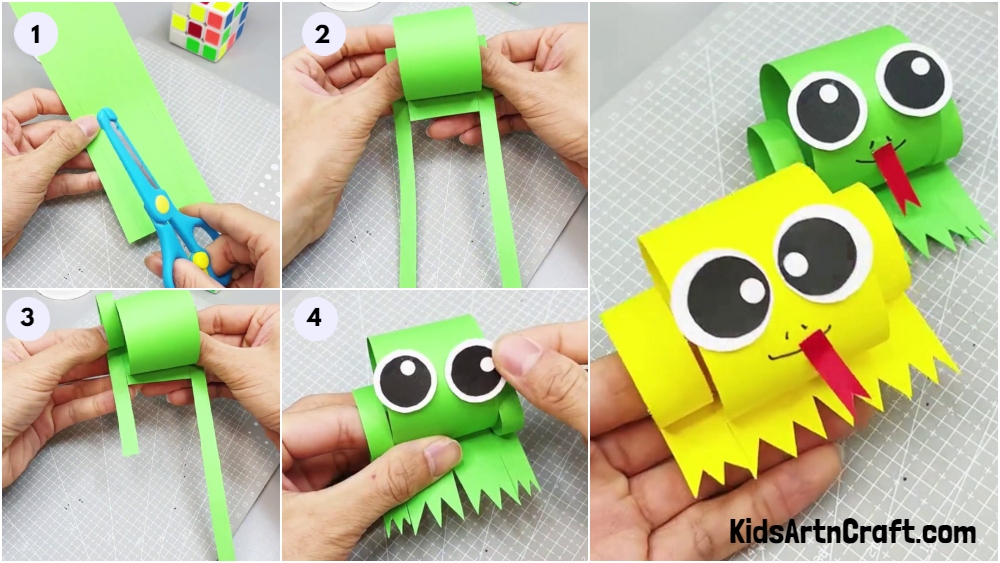
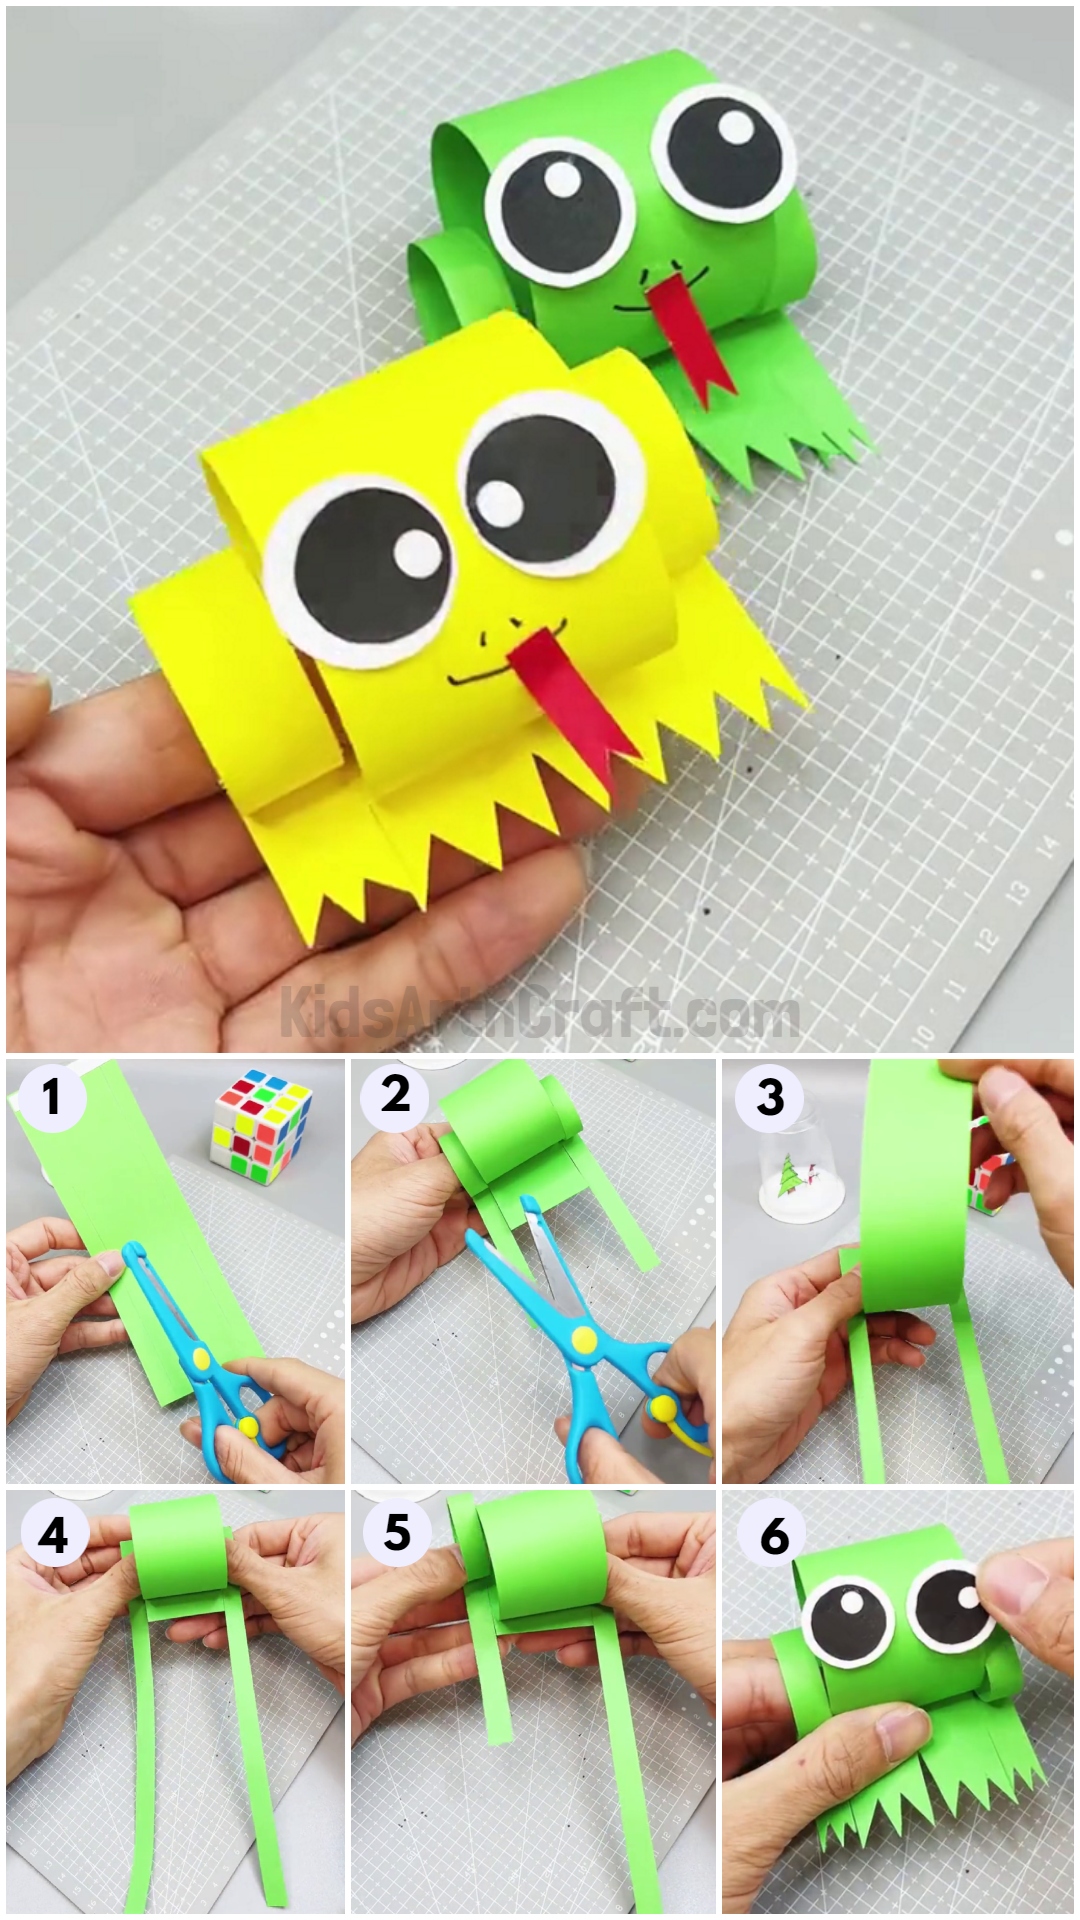
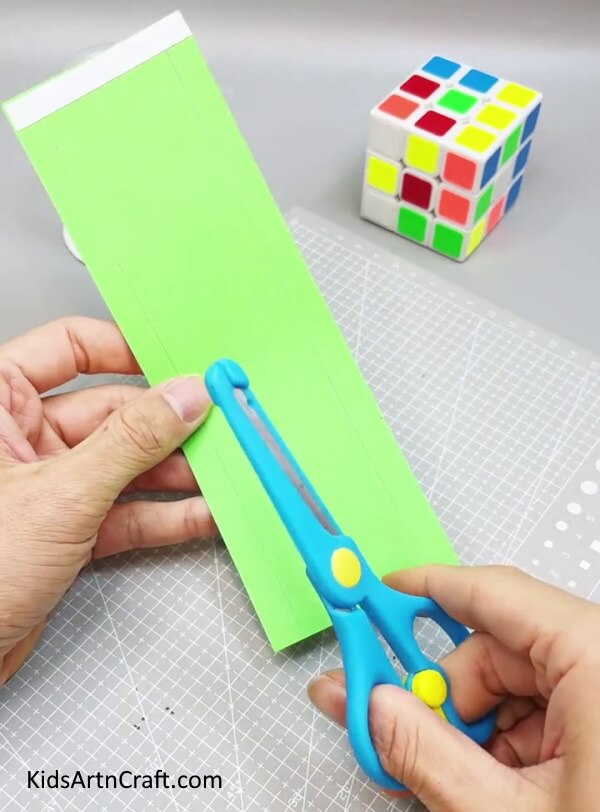 Begin the craft by getting a green long rectangle of paper. Draw lines on each length by leaving a margin of about 2 cm. Apply double side tape on the top breadth of the paper. Cut the sidelines of the paper using scissors. Don’t cut them till the end, leave some space on the top.
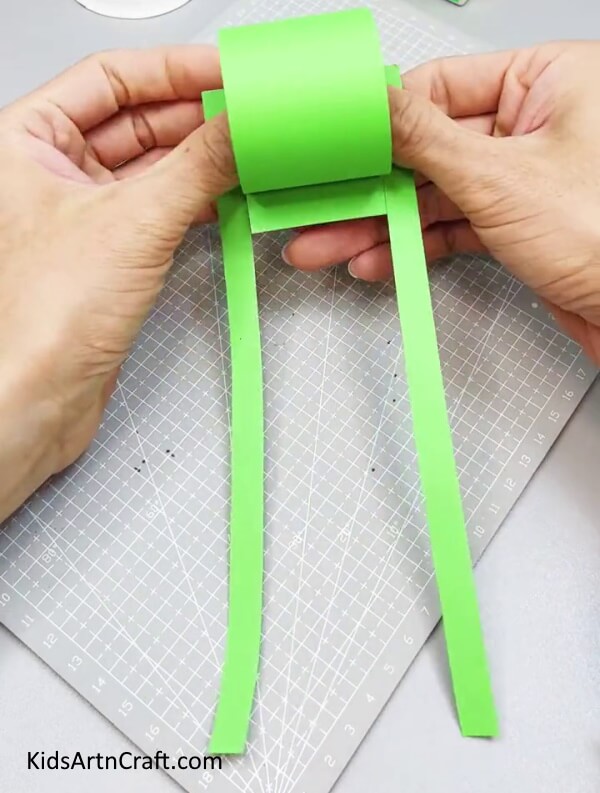
Step 2: Rolling Paper
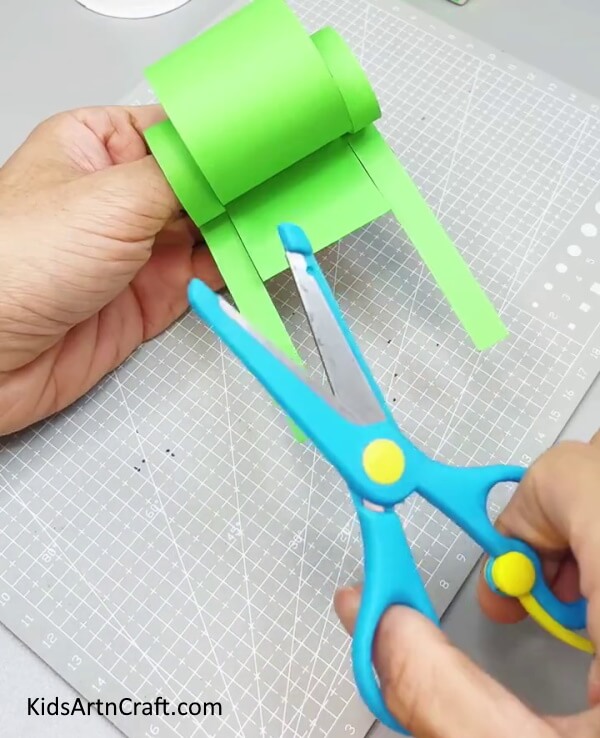 Next, roll the side and middle strips of the paper. Cut the excess side strips to make them equal.
Step 3: Unfolding Rolls
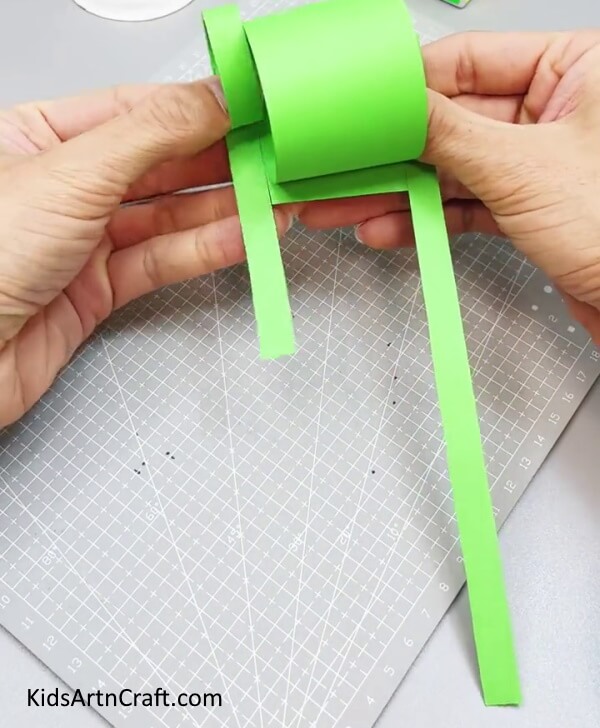
Step 4: Rolling Middle Strip
 Now, roll the middle strip of the paper.
Step 5: Rolling Side Strips
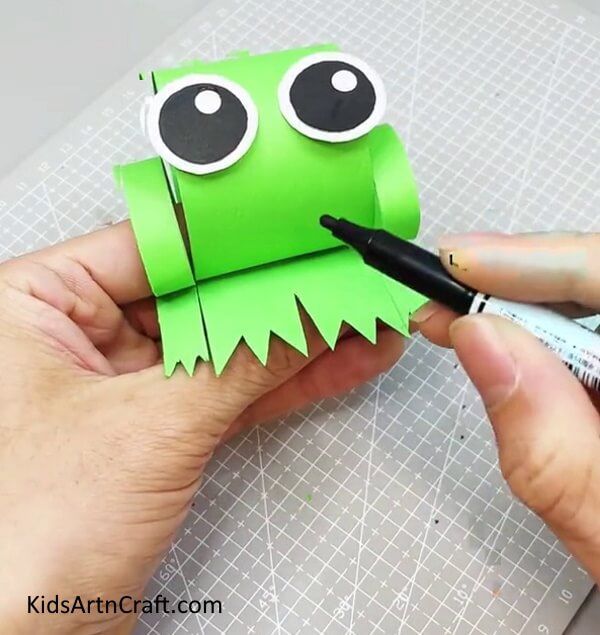
Step 6: Pasting Eyes and Cutting Legs
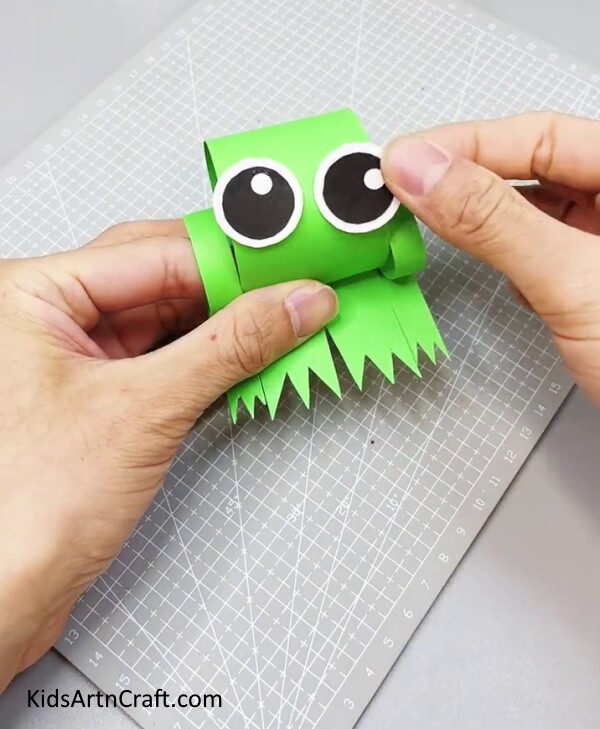 Make big eyes of the frog using black and white paper. Paste them on the middle strip roll using glue. Cut the triangles out of the bottom of the paper to make the frog’s legs.
Step 7: Bringing Smile To Frog’s Face
3D Paper Frog Craft Is Ready!
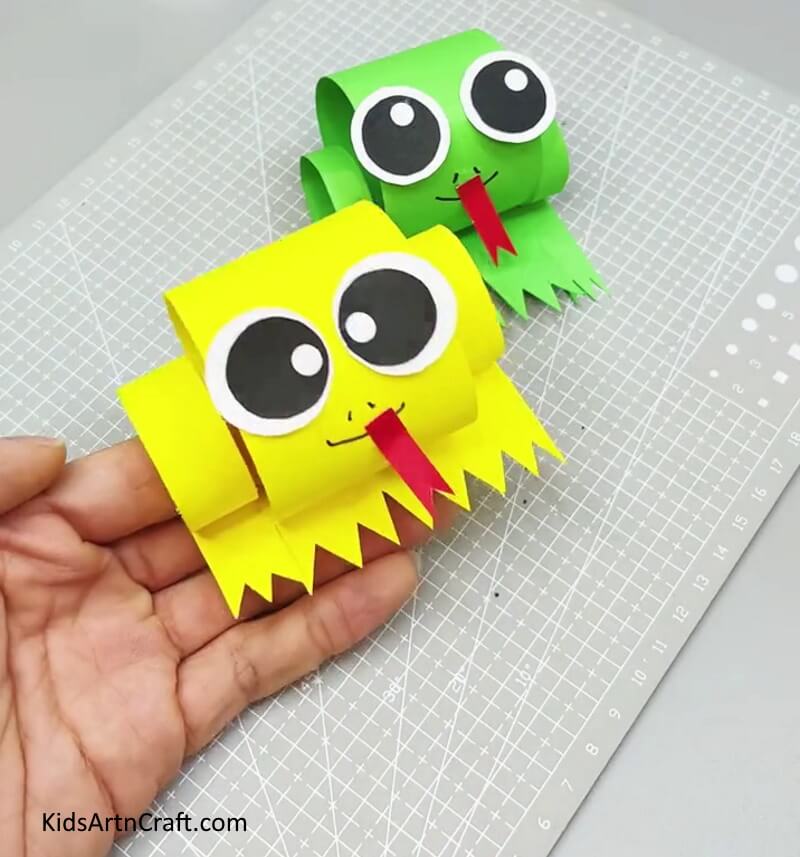 That’s it! You’re done with your paper frog craft! This 3D craft is sure to be a hit among preschoolers. This craft can be used to decorate the home or to play. It is a great way to open the doors of a child’s imagination and creativity. Make your own paper frog today!
Some More Frog Craft Tutorial
Kids Could Create Frog Handicrafts
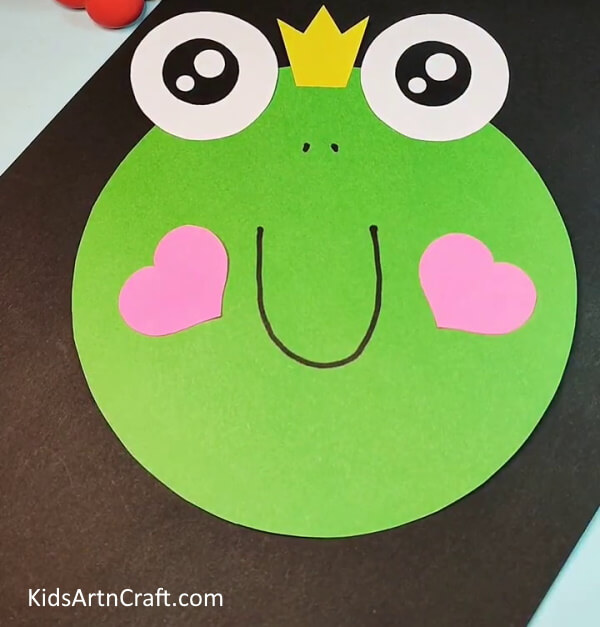
Image Source/Tutorial: Kids Art & Craft
FAQs Related To How To Make Easy Frog Using Paper Crafts
1. What supplies do I need to make a paper craft frog?
You will need some paper (cardstock or construction paper), scissors, glue, and markers or crayons for decoration.2. What is the best way to trace the frog pattern?
You can trace the frog pattern from a template or draw it freehand. If you are using a template, you can print it out and use it as a guide.3. How do I cut out the pieces of the frog?
Using scissors, carefully cut out the pieces of the frog. Make sure to leave a bit of white space around each piece, as this will make it easier to glue them together.4. How do I assemble the pieces of the frog?
Start with the body. Glue the two body pieces together, making sure to line them up properly. Next, glue the legs to the body, then the arms and head.5. How do I make the eyes?
Cut out two circles from white paper. Glue them onto the head and draw a small black dot in the center of each circle. Making a frog out of paper is an easy and fun craft project for kids of all ages. With a few simple materials, you can make a cute frog in no time. This concludes our tutorial on how to make an easy paper craft frog. We hope you have enjoyed the process and are feeling inspired to make your own. Have fun! Follow us on Youtube for art and craft tutorials and much more.More Articles from Kids Art & Craft
- Easy Frog Paper Craft For Kids Easy Tutorial
- How To Make Cardboard Tube Swan Craft Tutorial For Kids
- Easy Paper Folding Crafts Video Tutorial for Kids
- Recycled Plastic Bottle Dragon Craft Tutorial for Kids
- Easy to Make Paper Chicken Craft Tutorial


