Kids Activities
Ice Experiments For Summer Days

Do you like science experiments? Willing to do them? Then you are in the best place. Science experiments are logical ones, and by doing them, you will learn many things. You will learn about the procedures and logic before many of the experiments that you never thought of.
So, be ready for these experiments! If needed, take the help of your parents. These are some experiments by which you can play different games.
Be aware of precautions. For this, take the help of your parents. Let’s have some fun by doing these. These are for preschoolers and toddlers. Here are some ideas, follow the procedures and enjoy!
Ice Experiments For Summer Days

Read More: Activities for your kids to practice colors
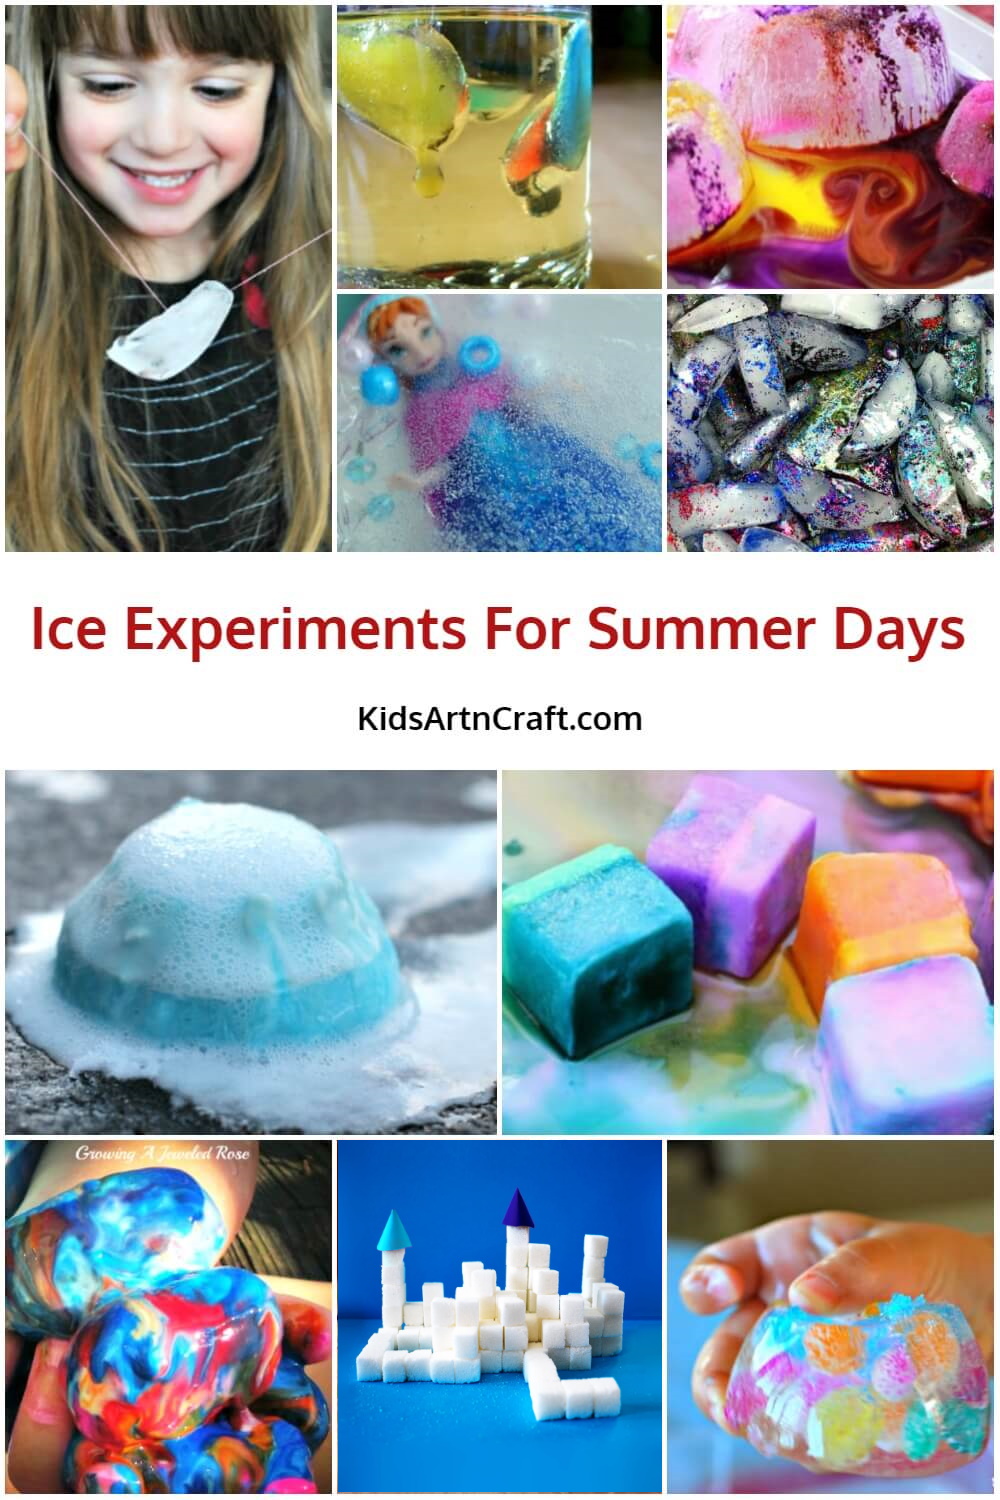
Glittery Ice Craft

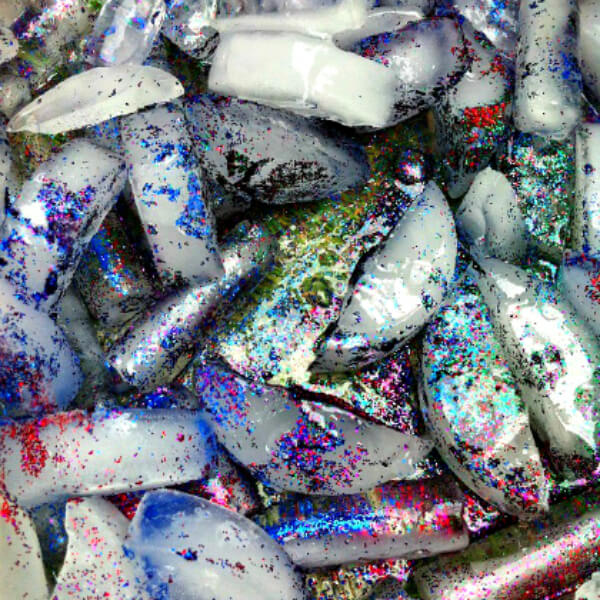
Image Source/Tutorial: Play Create Explore
It is an ice experiment with glitter. As we know, children like glittery materials, so here we are going to apply this to ice. Have a look at the procedure.
Materials Required:
- Semicircle-shaped tray
- Glitters
Procedure:
- Take the trays in a semi-circle shape and fill the water.
- Mix some glitter in water.
- Then place the trays in the freezer overnight.
- The next day, take them out, and you will get the shiny ice.
- Play with them.
Cloud Jar Idea
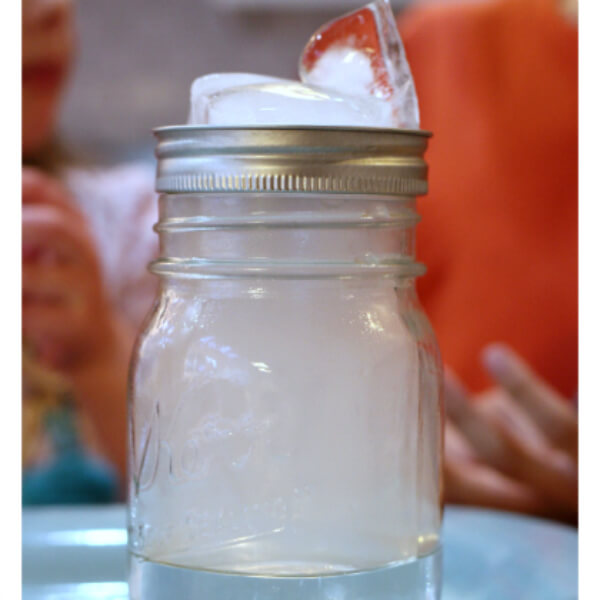
Image Source/Tutorial: No Time For Flash Cards
Are you ready to let your child play with a cloud jar? Believe me, they will enjoy this experiment! Ask them the reason behind this experiment and get their ideas.
Materials Required:
- Glass jar with a lid
- Hot Water
- Aerosol spray
- Ice cubes
Procedure:
- Boil the water and then pour it into the jar.
- Spray the hairspray into the jar.
- Tiny droplets will appear.
- Pop the lid on with the ice and watch the cloud form.
- When you are ready to lift the lid, let the vapor out!
Ice Chalk Craft
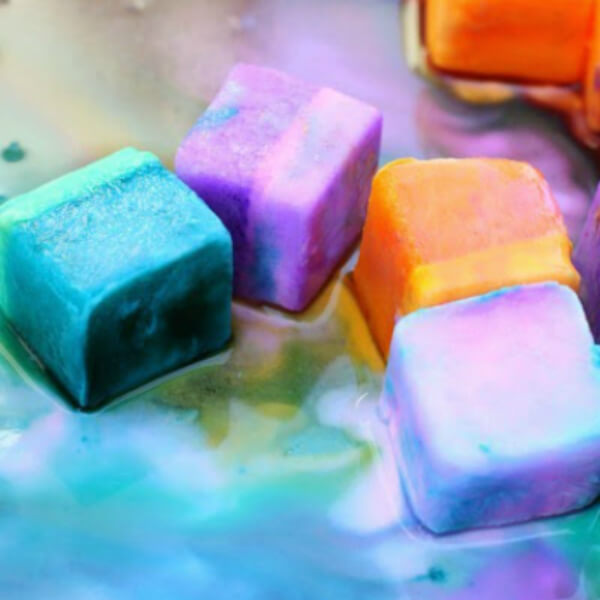
Image Source/Tutorial: Learn Play Imagine
You have used white chalk in your school. Now let’s try for the colored ice chalk. For this, you should follow the given procedure with all essential supplies. So have a look and start.
Materials Required:
- Water
- Baking soda
- Corn starch
- Food coloring
- Ice cube trays
- Vinegar
- Bottles(squeezy)
Procedure:
- Make a mixture of baking soda and corn starch in water.
- Now, add food coloring to it. You can add vinegar too.
- Then mix them well and fill in the trays.
- Freeze them overnight.
- Take the trays out the next day and remove the ice cubes.
- You will see the color melt when you put the ice cubes on the floor.
It will give your floor a beautiful look.
Freeze And Free Experiment
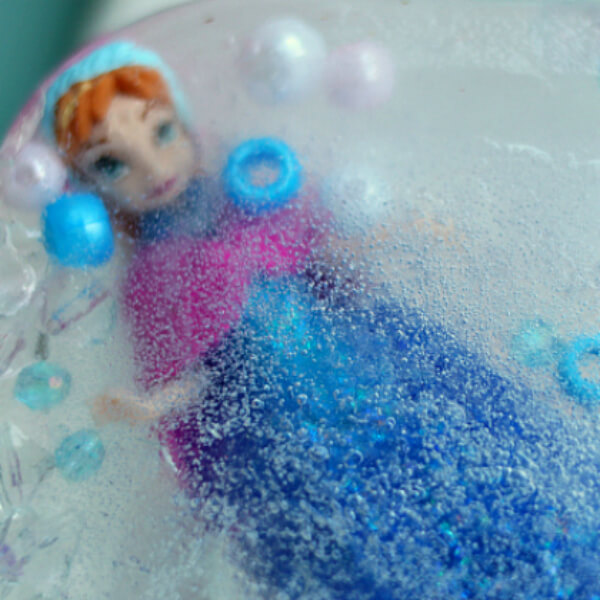
Image Source/Tutorial: No Time for Flash Cards
Doing science experiments is logical. This is one of the science experiments. Involve yourself completely in this craft and start by following the given ways. But for this first, you have to gather your supplies and then have fun.
Materials Required:
- Plastic container
- Beads
- Puppets
- Water
- A tray
- A container
- Paper towel
- Dropper
Procedure:
- Firstly, pour the water into a container and add your beads.
- Freeze it.
- Place your doll upside down in that container and add some more beads along with water.
- Let’s freeze it again
- Get some warm water, puppets, and a paper towel.
- Put your ice on the paper towel so that it does not slide.
- Then take warm water and free your doll. Use a dropper for this.
It will turn out to be an amazing activity for you!
Making ice grow
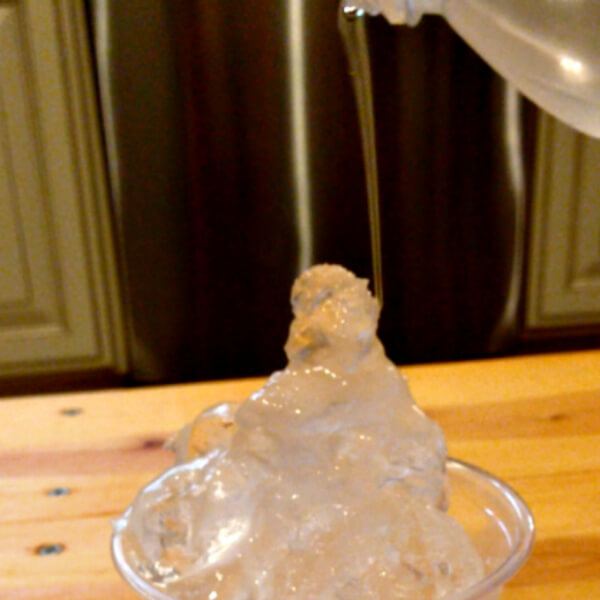
Image Source/Tutorial: Teach Preschool
It is an amazing experiment with ice. You will enjoy and have fun too. Previously, we have given some ideas, but it is the only one. So let’s try by following the given ways.
Materials Required:
- Water bottles
- Bowl
Procedure:
- Take the water bottles and fill them with water. Then place them in your freezer for about 2 hours and 45 minutes.
- Take some water in a bowl and freeze it, or use a bunch of ice cubes.
- Then take them out of your freezer. You will see that your water does not freeze completely.
- Now, take the bunch of ice cubes, put them in a bowl, and start pouring your water from the bottles on the bunch of ice cubes.
- You will find that the ice grows. Grow more by doing the same procedure until you are not satisfied.
Hope you enjoyed it!
Read More: 20+ Creative Ways to Decorate Old Tin Cans for Your Home
Glowing Ice Paints
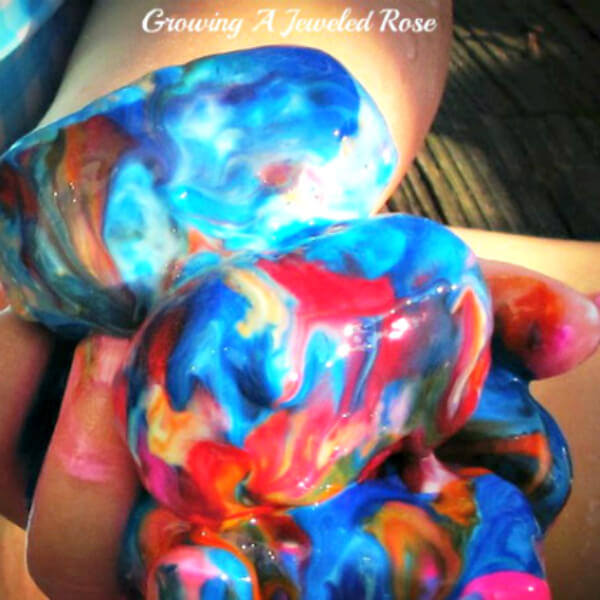
Image Source/Tutorial: Growing a Jeweled Rose
Everyone likes glowing paints. Let’s try them on ice. Yes, it is an experiment with glowing ice paint. Let’s have a look at procedures and start by gathering all the supplies that are needed.
Materials Required:
- Ice trays
- Paint
- Water
- A paper
- Flashlight
Procedure:
- Start by half-filling the ice cube trays with glowing paint.
- Then fill them with warm water.
- Mix the ice slots well.
- Place your ice tray in the freezer for about 4-6 hours.
- Then take it out. You will see the ice cubes removed from the trays easily.
- Use them to play.
- You can draw different designs on paper by using them. For an additional glowing look, place a flashlight behind the paper.
Enjoy!
Ice Castle Play
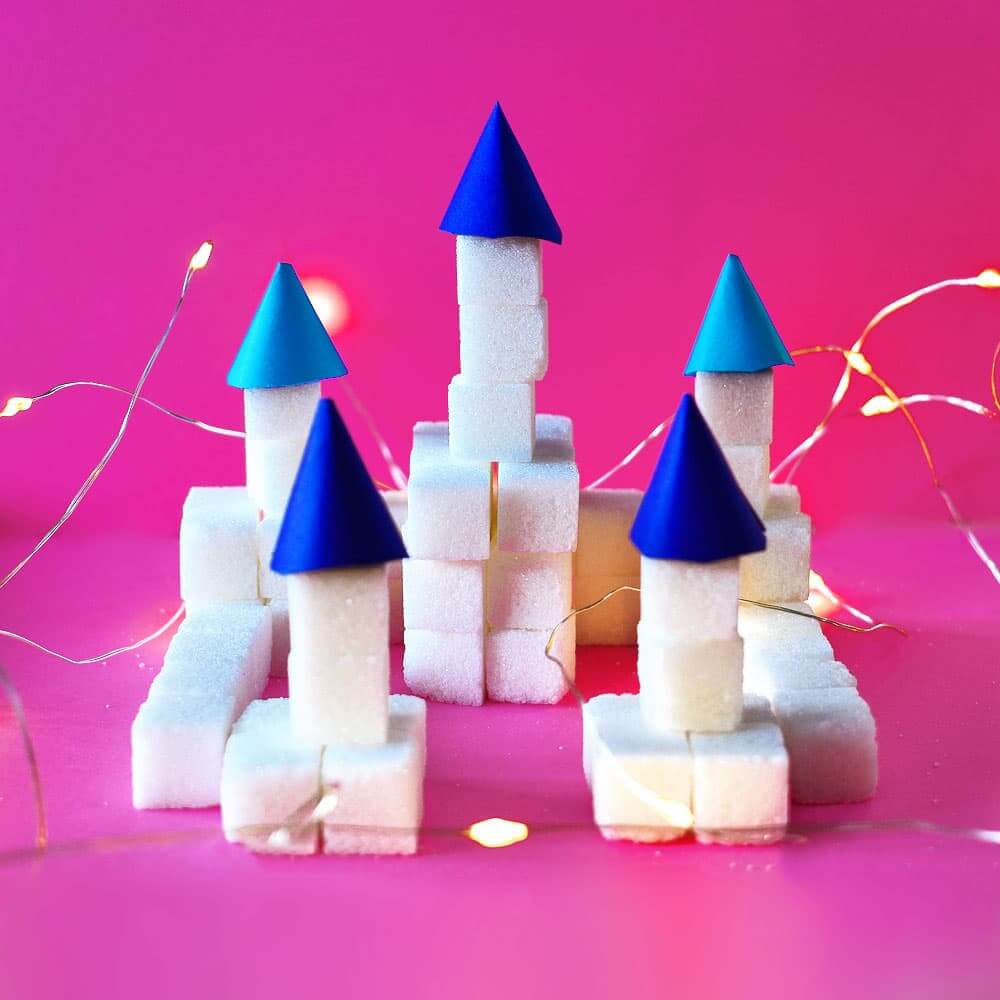
Let’s do an ice experiment related to fairy tales. In this experiment, we are going to make ice castles. Don’t worry about the procedures. All are given below. Just gather your supplies and start!
Materials Required:
- Water
- Ice cube tray
- Eyedropper
- Glass gems
- Purple glitter
- Plastic container
- Fairy dust
Procedure:
- Start by filling your plastic container and ice cube trays with water. Add purple glitter to them.
- Also, add some fairy dust to them.
- Freeze all the things overnight.
- The next day, take out all the materials from the freezer and place them in the table bin.
- Add a touch of water at the bottom of each Ice cube to stick the ice together.
- Ice castles are ready!
- Play your games.
Water Beads Activity
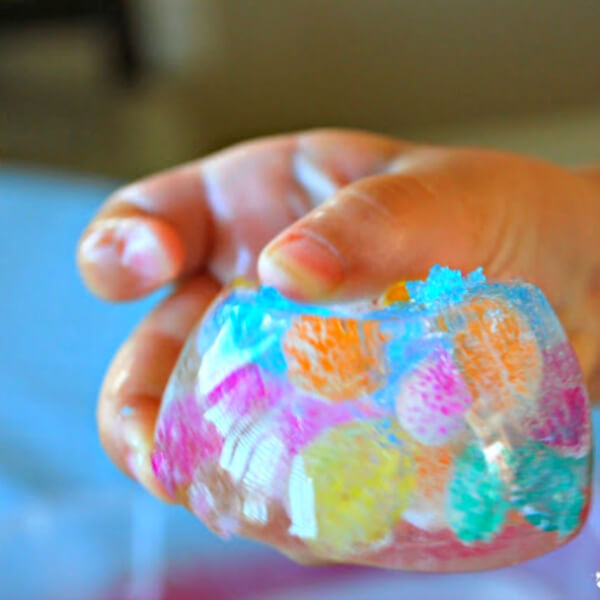
Image Source/Tutorial: Mess for Less
It is a beautiful experiment with beads and ice. Let’s do it by following the given ways. Gather your supplies and let’s start.
Materials Required:
- Plastic cups
- Beads
- Water
Procedure:
- Take the plastic cups and fill them with water.
- Add colorful beads to it, too.
- Freeze them in the freezer overnight.
- Nerd day, take the cups out and remove the ice from them.
- Give the ice to your kiddos and let them use their own way of removing the beads from the ice.
- Give them a fork for help.
Simple Ice Experiment
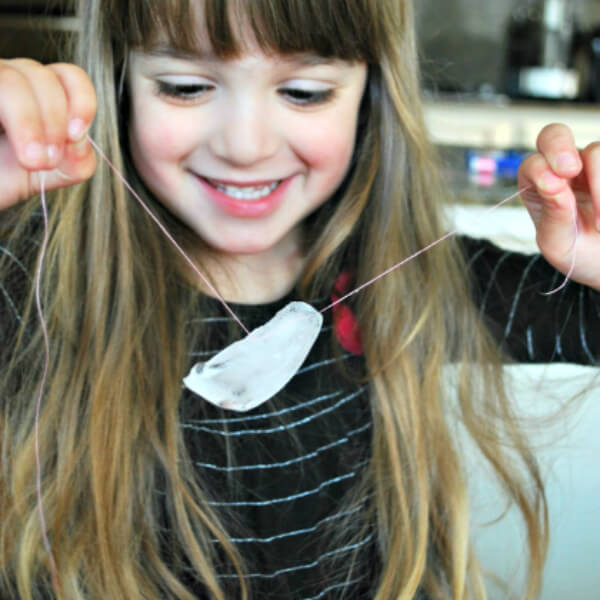
Image Source/Tutorial: Mess for Less
It is a simple experiment, but you will learn many things from it. As science provides us with knowledge, logic, and creativity. This experiment is also going to push you in these fields. So let’s start doing our experiment by following the given procedure.
Materials Required:
- Water
- Glass
- Thread
- Salt
- Ice cube
Procedure:
- Take a glass and fill it with cold water.
- Put the ice cube in it and use a thread to pick up the ice cube. Did it work? Of course not.
- That’s why we are going to experiment. Place your thread on an ice cube and sprinkle salt on it. You will find that ice melts at the place of salt, making the thread set in it and then relocking it.
- So that you will be able to take out the ice cube using the thread.
That’s all! Hope you liked the experiment.
Ice Volcanoes Craft
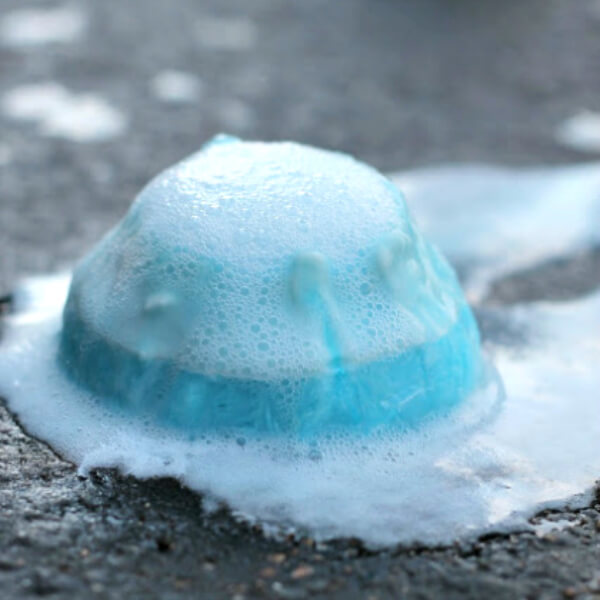
Image Source/Tutorial: Reading Confetti
Let’s try a craft of ice volcanoes. For this, you need some essential materials. Gather all of them and have a look at the given ways to make this craft.
Materials Required:
- Golf ball
- Bowl
- Baking soda
- Water
- Plastic wrap
- Food coloring
Procedure:
- Take the golf ball and place it in the bowl.
- Cover the bowl with plastic wrap.
- Fill the bowl with water and baking soda.
- Add food coloring to it.
- Make their mixture and freeze them all.
- Then pried out your ball.
- Squirt the vinegar, and your volcanoes are ready to play.
Read More: DIY Coaster Ideas – Make Your Own Coaster Kits
Frozen Toy Craft
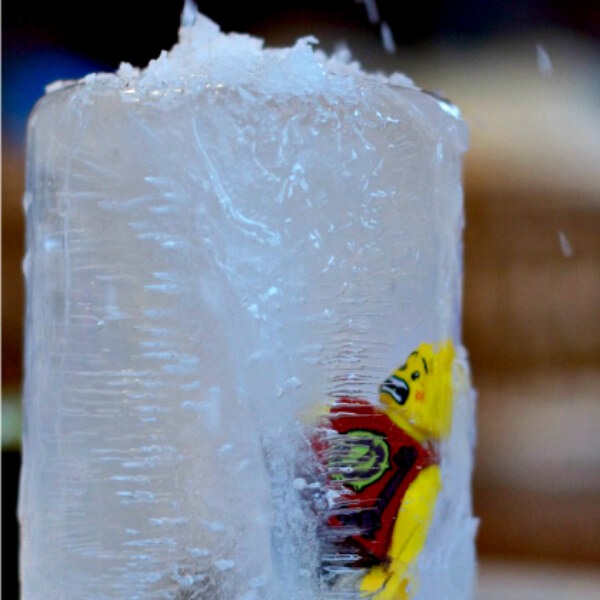
Image Source/Tutorial: Lemon Lime Adventures
During your summer holidays, try this experiment with your parents. It is an amazing experiment that you can make simply and easily.
Materials Required:
- Water
- Jug-type container
- Toy
Procedure:
- Take the container filled with water.
- Place the toy in the water in a standing position.
- Freeze it in the freezer overnight.
- Then take the container out of the freezer and remove the ice from it.
- You will find the frozen toy.
Play and enjoy!
Aquarium Experiment With Ice
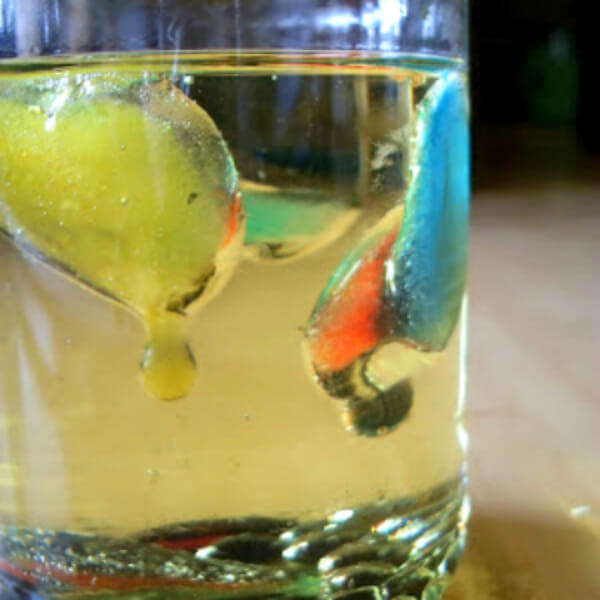
Image Source/Tutorial: 5 Orange Potatoes
Let’s try to make an aquarium by using ice. For this, you have to follow the given procedure by having all the supplies needed.
Materials Required:
- Fish-shaped trays
- Food coloring
- Glass jar
- Water
Procedure:
- Take the water into a fish-shaped tray and add food coloring to it.
- Then freeze it for about a night.
- The next day takes out the tray and picks all the ice from it.
- Take a glass jar, fill it with water, and put the ice fish in it.
- For a real look, place some moss in the bottom.
You are all done!
Ice Chalk Projects
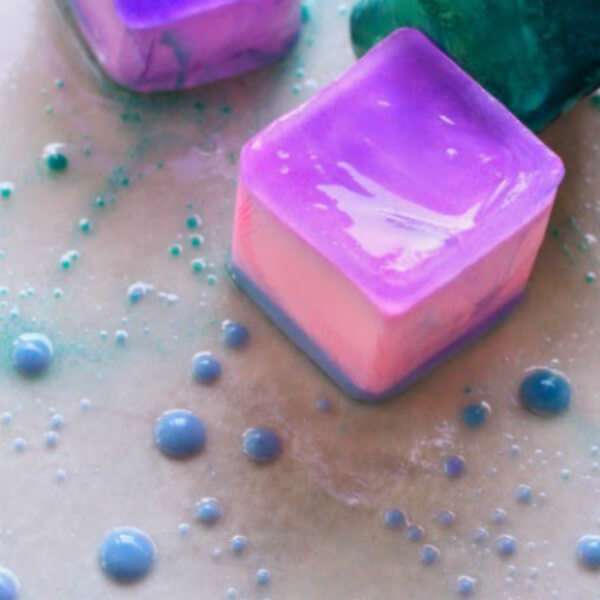
Image Source/Tutorial: Learn Play Imagine
Are you ready for ice chalk projects? Let’s have a look at the procedures. Play games with them. You can play games of writing and teaching by using them. You can also draw different designs on floors by using them.
Materials Required:
- Food coloring
- Water
- Ice cubes tray
Procedure:
- Take the ice cube tray and fill it with water. Add food coloring to it.
- You can also use different colors in a single cube.
- Then freeze the tray for about a night.
- Take it off and use these ice cube chalks to play the games.
Melted Ice Experiment
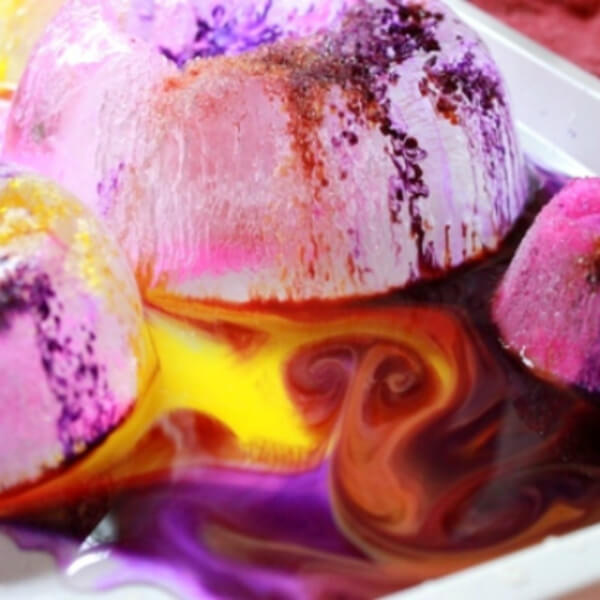
Image Source/Tutorial: Artful Parent
Melting ice experiments can be a good one for play. Let’s do it by following the given procedures along with gathering or collecting all the supplies.
Materials Required:
- Bowls
- Tray
- Salt
- Food coloring
- Dropper or spoons
Procedure:
- Fill the bowls with water and freeze them in the freezer overnight.
- Use a different-sized bowl for freezing.
- Now, take them out and remove the ice from the bowls.
- Then, place your ice on a paper towel and sprinkle some salt on the ice.
- Your child will be amazed to see the melting process of ice.
- Give them the droppers filled with liquid food coloring and let them spray on the ice domes.
- Fill the tunnels made by melting ice.
Easy Sensory Play With Ice
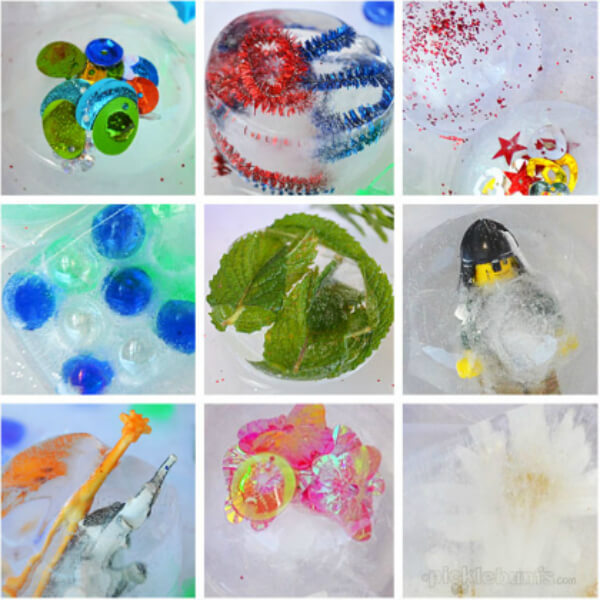
Image Source/Tutorial: Pickle Bums
There are so many ideas for doing experiments with ice. You can make lots of games to play with ice. This is one of them. Let’s have a look at the procedure.
Materials Required:
- Glitters
- Flowers
- Leaves
- Glass
- Mini plastic animals
- Gum nuts
- Pipe cleaners
- Beads
- Strings
- Bottle caps
- Googly eyes
- Stones
Procedure:
- Take all the containers you have and fill them with water. Add all the materials that are given above as treasures in a different container, like flowers, leaves, beads, etc.
- Freeze them overnight.
- Then take them out and pat them dry with paper towels.
- Pour a little water into them for the melting process.
- Use any material to remove your treasures from the ice.
Enjoy!
Read More: Easy Wall Decoration Ideas
Painted Ice Cubes With Popsicle Sticks
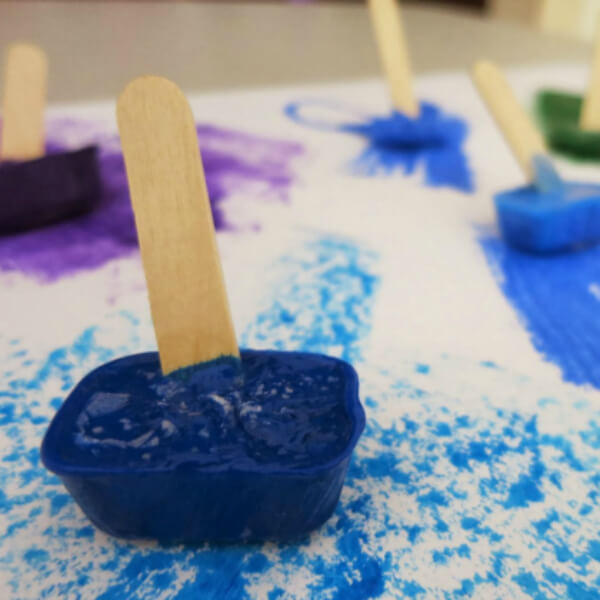
Image Source/Tutorial: Learn with Play at Home
You have eaten ice creams having popsicles sticks many times! But have you tried to make a fun project like this ever? Of course not! So, let’s try for this now. See the given procedures and let’s start!
Materials Required:
- Paint
- Ice cube tray
- Popsicle sticks
Procedure:
- Take the ice cube tray and fill it with paint. You can use multiple colors in a single ice cube hole.
- Take an adequate amount of paint in the tray.
- Place popsicle sticks in the middle of the paint. As the paint layer is thick, it will be easy to make the stick stand in it.
- Freeze the paint.
- Then take the tray out and remove your ice cubes from it.
- Play with your craft.
Ice Play
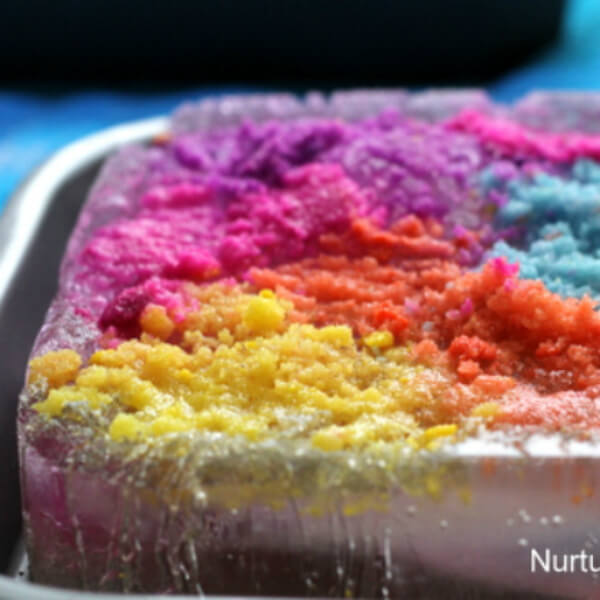
Image Source/Tutorial: Nurture Store
Do your kiddos want to play with ice? This can be the best idea for them. This experiment provides scientific knowledge to your kid. Simply see the procedure of the experiment and let them play with it.
Materials Required:
- Rectangular plastic container
- Water
- Food coloring
Procedure:
- Take the plastic containers and fill them with water.
- Freeze them in the freezer overnight.
- The next day takes out the ice and places it on the paper towel.
- Use colored salt to paint the ice.
- It will start melting and give you a wonderful experience.
Enjoy!
Frozen Ocean Animal Rescue Game
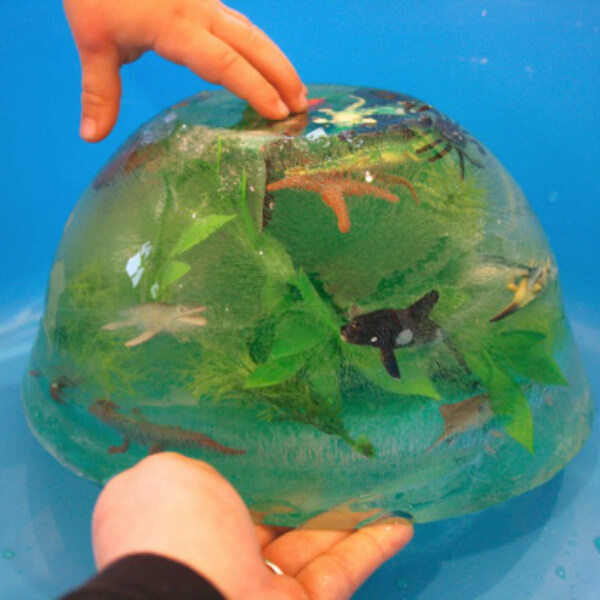
Image Source/Tutorial: Mama Papa Bubba
lets your child play a game of Frozen Ocean Animal Rescue. For this, you have done a lot of work first. You have to experiment with your child with ice. Here are the procedures.
Materials Required:
- Mini Ocean creatures toys
- Artificial aquarium plants
- A plastic bowl
- Food coloring
- Table salt
- Old glue bottles
Procedure:
- Take the salt and add two to three drops of different food coloring to make it salt-colored.
- Take the plastic container and fill it with water. Add some food coloring( use ocean color). Place the artificial plants and ocean creatures in it.
- Then freeze it for about 5-6 hours.
- Then take the ice out and start your experiment.
- For this, take the old glue bottles filled with water and pour the water on the ice.
- Use colored salt to rescue the animals.
- You will see that animals begin to arrive in the ocean.
Enjoy!
Ice Craft
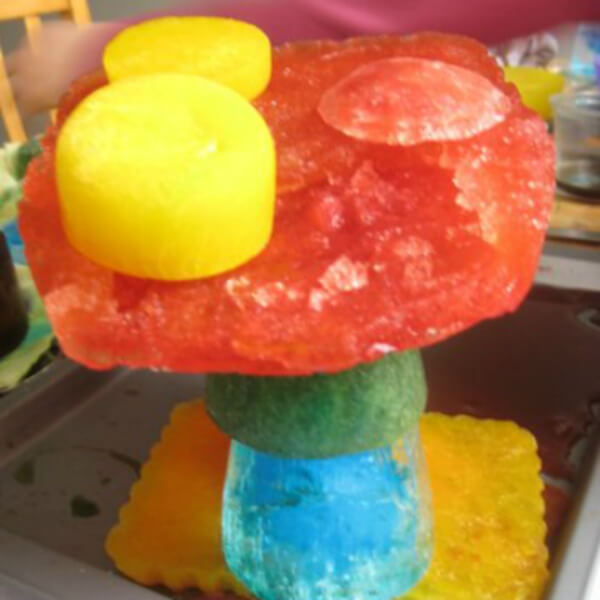
Image Source/Tutorial: Nurture Store
Have you ever tried ice art? If not, try this out! You can use the given procedure for help. Gather your supplies and start!
Materials Required:
- Tin cans
- Pots
- Scoops
- Trays
- Cups
- Food coloring
- Water
Procedure:
- Take the containers and fill them. Then, in the water, add food coloring.
- You can mix different colors in one container to make other colors. Like you can add red and yellow to make orange.
- Then freeze all the containers.
- Place your ice on a paper towel.
- Then use these different shapes to make the building blocks.
- You can play games with them.
Fun Summer Science Activity Step-by-Step Tutorial

Learn fun ice experiments for kids in this easy step-by-step tutorial perfect for summer days. This simple science activity helps children explore melting, colors, and sensory play using ice. A creative STEM learning idea for preschool and elementary kids to enjoy cool experiments at home or in class.
Benefits of Ice Experiments for Kids
Simple ice activities provide both educational and developmental benefits for children of all ages.
Key Benefits Include:
- Helps children understand melting and freezing concepts
- Encourages sensory exploration and scientific thinking
- Improves fine motor skills and hand-eye coordination
- Builds observation and problem-solving abilities
- Supports creativity and imaginative play
- Makes summer learning fun and interactive
- Encourages curiosity through hands-on STEM activities
Ice sensory play can also help children explore textures, temperatures, colors, and cause-and-effect relationships engagingly.
Easy Materials Needed for Ice Experiments
Parents and teachers can organize exciting ice science activities using simple household supplies.
Common Ice Experiment Materials
- Ice cubes
- Food coloring
- Salt
- Water
- Plastic containers
- Droppers or pipettes
- Small toys
- Paint brushes
- Bowls and trays
- Spoons and tongs
Using everyday materials makes these summer science activities affordable and easy to set up at home or in classrooms.
Fun Ice Experiment Ideas for Summer
Kids enjoy ice experiments because they combine science, sensory play, and creative exploration.
Popular Ice Activities for Kids
- Melting ice with salt experiment
- Colored ice painting
- Frozen toy rescue activity
- Ice cube melting race
- Rainbow ice experiment
- Floating ice science activity
- Ice excavation challenge
- Frozen flower sensory play
- Ice and water transfer activity
- DIY frozen sensory bins
These simple activities are excellent for summer camps, preschool learning, homeschool projects, and classroom STEM lessons.
Safety Tips for Ice Experiments
Ice activities are generally safe, but adult supervision is important for younger children.
Helpful Safety Guidelines
- Supervise children during experiments
- Avoid using very small objects with toddlers
- Use child-safe materials only
- Keep towels nearby for water spills
- Encourage hand washing after activities
- Avoid prolonged contact with very cold ice
Safe and organized activities help children enjoy science learning comfortably and confidently.
How Ice Play Supports Early Learning
Ice experiments encourage children to ask questions, make predictions, and observe scientific changes in real time. These activities also support language development, sensory learning, and critical thinking by allowing children to describe textures, temperatures, and reactions during play.
Why Ice Experiments Are Perfect for Summer Learning
Ice experiments are fun, refreshing, and educational activities that help children explore science concepts during hot summer days. These hands-on STEM activities encourage kids to observe melting, freezing, temperature changes, and sensory reactions while staying cool and entertained. Ice play also supports creativity, problem-solving, and scientific curiosity through interactive learning experiences.
FAQs
Q1. What materials do I need to make an ice experiment?
Answer: To make an ice experiment, you will need a few materials. These include ice cubes, a container or tray to freeze them in, a timer, a thermometer, and a source of heat. You may also need additional materials such as food coloring, salt, sugar, or other substances to observe the effects of each. Other items that may be necessary include gloves, goggles, and a lab coat to protect yourself from the cold temperatures. Finally, you will need a notebook to record your observations and results.
Q2. What can I do with an ice experiment?
Answer: With an ice experiment, you can explore a variety of scientific concepts and properties. For example, you can observe how different substances, like salt or sugar, affect the melting rate of ice, or investigate how temperature impacts the melting rate. You can also investigate the way that heat is transferred from one material to another, or how heat is released when water turns to ice. Additionally, you can conduct experiments to explore the way that light and other forms of energy interact with ice, or study the shapes and textures of ice crystals.
Q3. What types of ice experiments can I do?
Answer: There are a variety of different ice experiments that you can do to explore the properties of ice and the effects of temperature on its structure. Some of these experiments include measuring the melting rate of ice cubes, creating homemade ice cream, observing the effects of salt on ice, making ice sculptures, and creating an ice volcano. Each experiment will help you learn more about the fascinating properties of ice and the way it responds to different temperatures and environments.
Q4. How can I make an ice experiment more interesting?
Answer: One way to make an ice experiment more interesting is to add different objects to the ice and observe how they interact with the ice. For example, you could add food coloring to the ice and observe how it changes color, or add small objects like marbles and watch how they move around in the ice. You could also try adding different liquids like vinegar or baking soda to see how they react with the ice, or even try adding salt to the ice and observe how it melts it faster. Experimenting with different objects and liquids can make an ice experiment more interactive and exciting.
Q5. Do I need to use special ice for ice experiments?
Answer: It depends on the experiment you are conducting. For most experiments, regular ice cubes from the freezer are sufficient and will provide consistent results. However, for some experiments, it may be necessary to use special ice made from distilled water or purified water to reduce the chance of contamination. Additionally, if you need to freeze something quickly, dry ice may be necessary.
Q6. What other materials can I use for ice experiments?
Answer: Aside from ice, many other materials can be used for ice experiments. These materials include water, salt, food coloring, rubbing alcohol, vegetable oil, corn syrup, and vinegar. Each material can be combined with ice to create interesting and educational experiments. For example, adding food coloring to the ice can create a colorful, frozen sculpture. Adding salt to the ice can make it melt faster, while adding rubbing alcohol can make it freeze faster. Combining vegetable oil with ice can create an interesting texture, and combining corn syrup with ice can create an interesting, sticky texture. Lastly, combining vinegar with ice can cause a bubbly reaction. These are just a few of the many different materials that can be used for ice experiments!
Q7. How can I use ice experiments to learn about science?
Answer: Ice experiments can be a great way to learn about science, especially for children. By using simple materials such as ice, salt, and water, students can explore a variety of properties and reactions. For example, students can observe how salt lowers the freezing point of water, or how ice floats in water due to its lower density. They can also observe the effects of temperature on different materials, such as how ice melts faster in warmer water. By performing these experiments, students can gain a better understanding of the physical and chemical properties that make up our universe.
Ice experiments for summer days are a fun and exciting way to combine cooling activities with hands-on science learning. These creative STEM activities help children explore melting, freezing, and sensory play while improving observation, problem-solving, and motor skills. Whether at home or in the classroom, ice experiments make summer learning interactive, educational, and enjoyable for kids.
For more playing ideas with ice, follow us on Telegram, YouTube & Facebook! You will get the best ones!
Reviewed By Rachit Gupta
Read More:
- 10 Simple Science Experiments for 3-5 Year Olds
- 15 Fun Balloon Science Experiments for Kids
- 21 Easy Art Activities For Toddlers
- 23 Kids Loving Airplane Crafts
- 24 Amazing DIY Pom Pom Crafts for Kids to Make and Play