


Fall & Autumn
Easy Leaf Insect Craft Tutorial For Kids

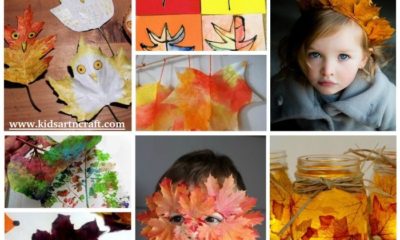
This craft tutorial for making insects out of leaves is suitable for everyone! Follow the step-by-step instructions with photos to make different types of insects.
This tutorial will teach you to make a craft using leaves and sketch pens. The craft features insects made out of leaves. You might not like insects in real life but, trust me, these insects are going be pleasant and adorable and you will enjoy making them as well. Gather some leaves from the garden or any park and do remember to pick the fallen ones instead of plucking from the trees. Collect all the other material required to make this craft and let’s get started.
DIY Easy Leaf Insect Craft
Read More: Easy Snail Craft using Egg Carton and Leaf – Step-by-Step Tutorial
Materials Required
- A white sheet of paper
- A pair of scissors
- Leaves in different colors and shapes
- Black sketch pen
- Orange and green pencil colors
- Liquid glue
Procedure
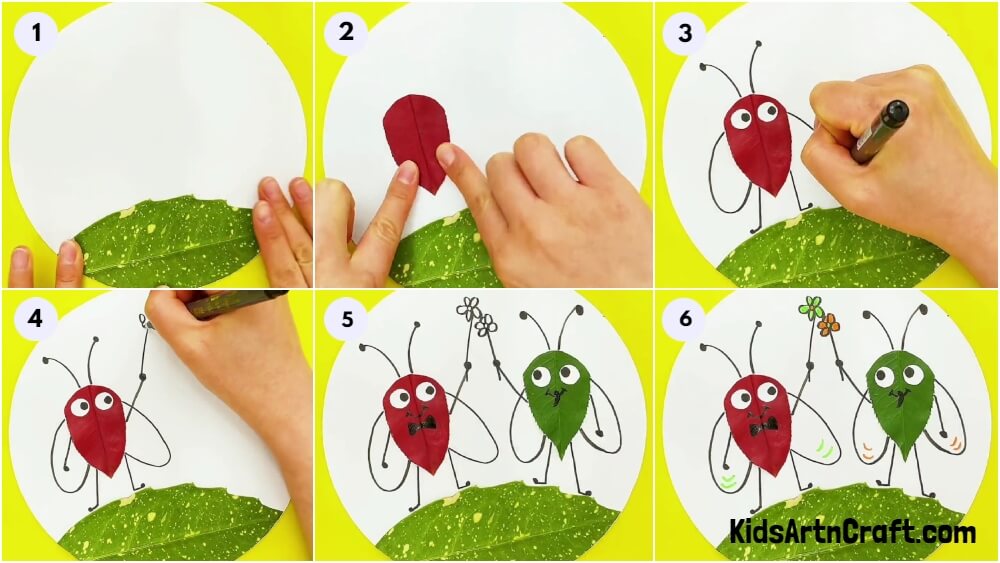
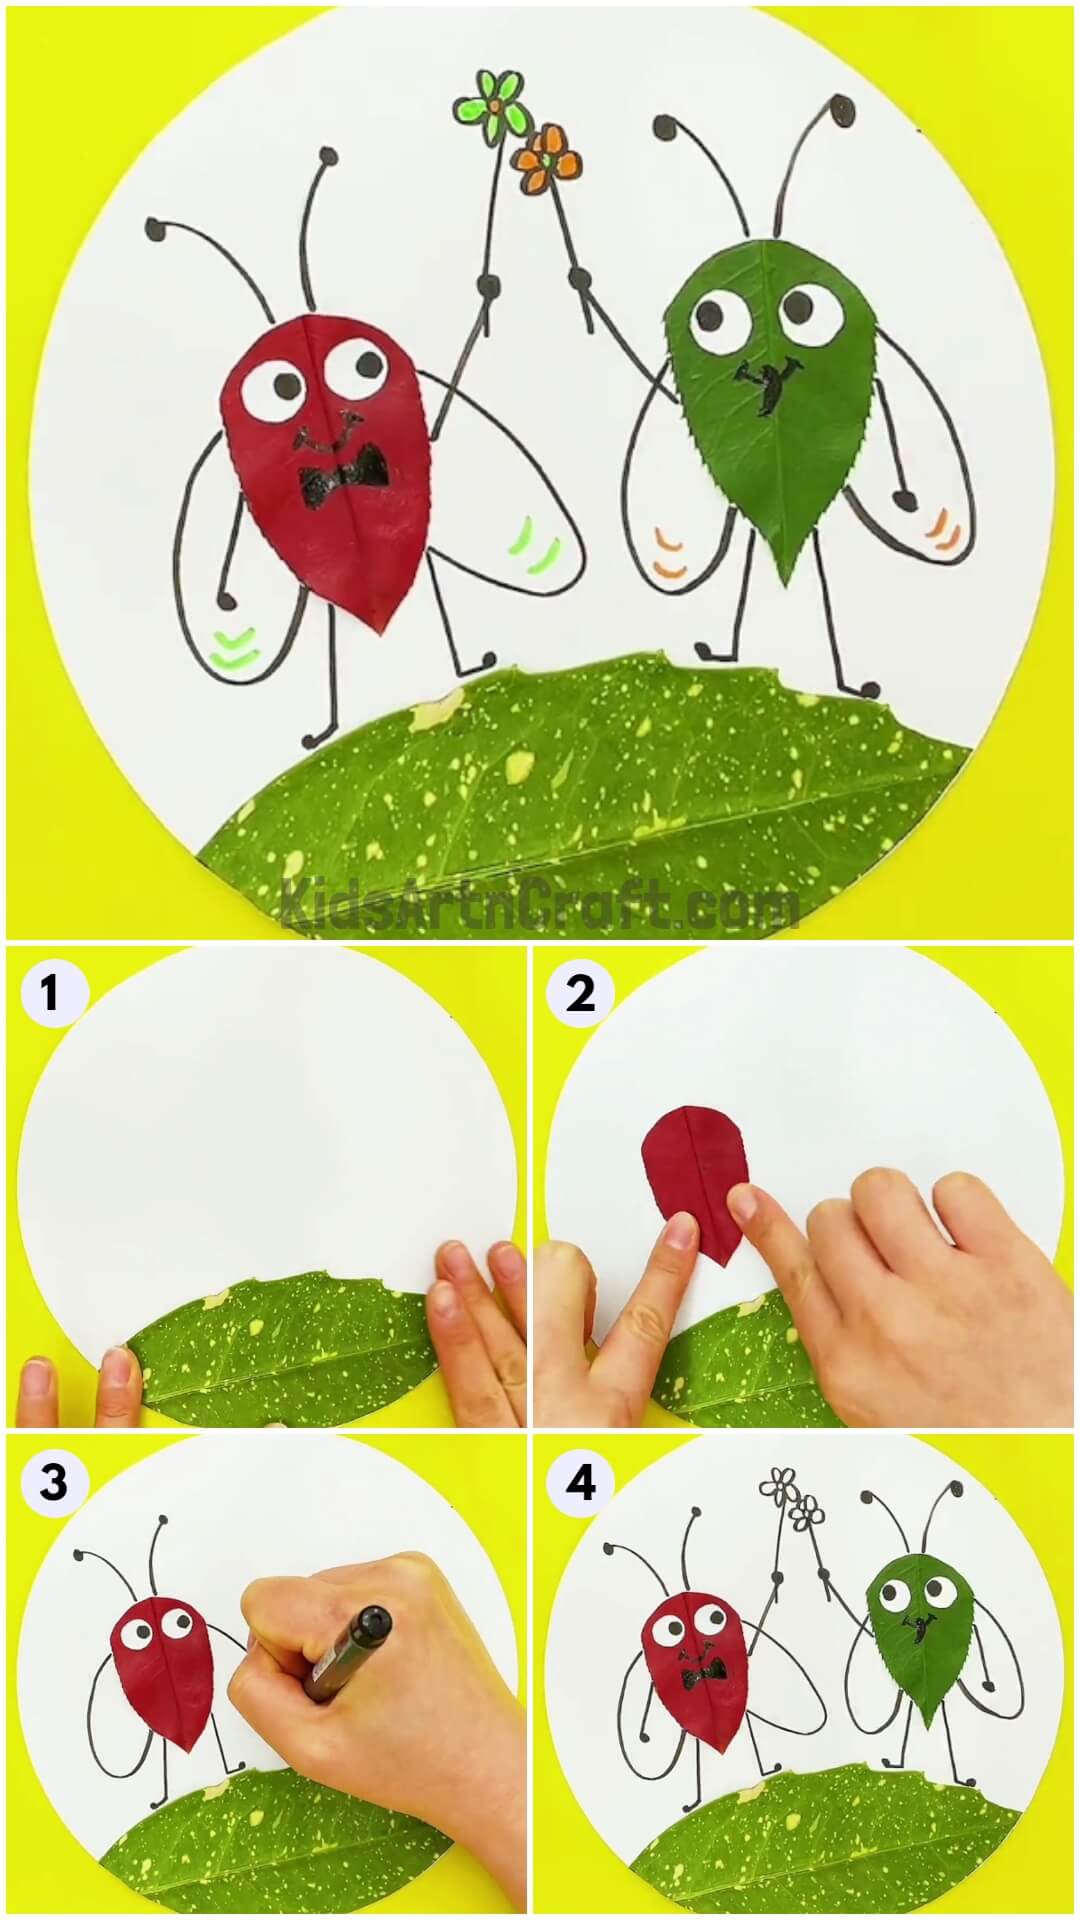
Step 1: Starting With The Sheet Of Paper
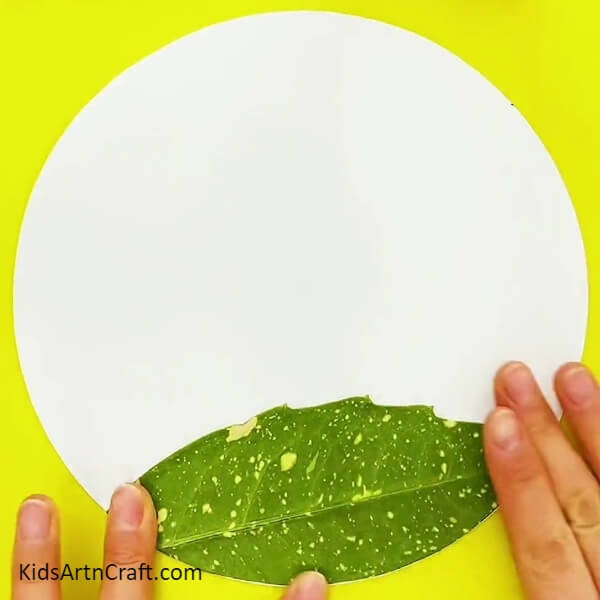
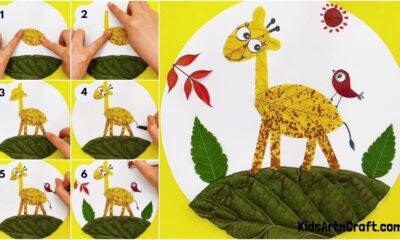
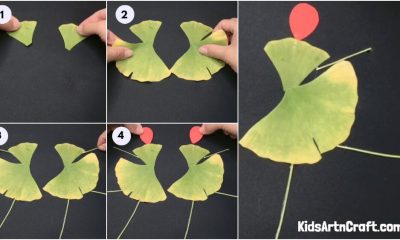
Take a white sheet of paper and cut a big circle out of it and place it on the table. Now, take a big green leaf and cut off its petiole. Apply some liquid glue to one of its sides. Finally, paste the leaf at the bottom of the circular sheet as shown in the picture above.
Step 2: Working On A Red Leaf
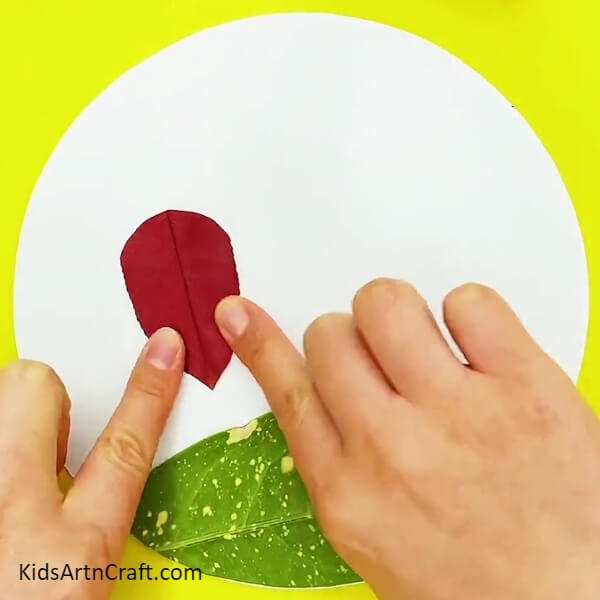
Take a small red diamond-shaped leaf and cut off its petiole. Now, paste this leaf above the green leaf on the left section of the sheet.
Step 3: Making Eyes For The Insect
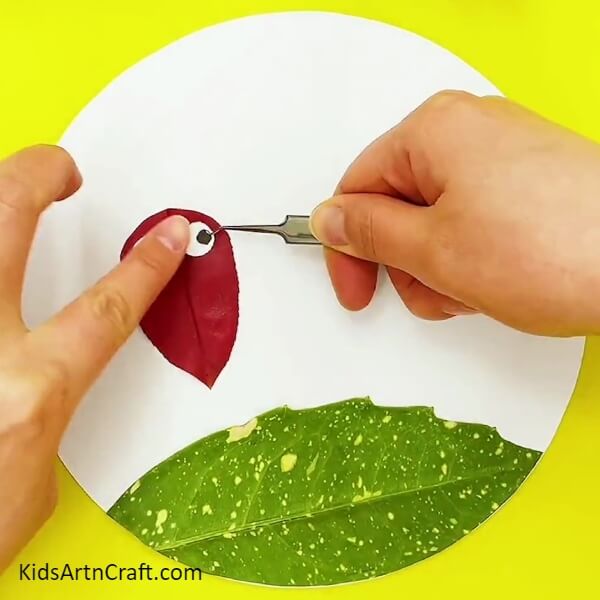
Take a white sheet of paper and cut two small circles out of it. Now, with a black sketch pen, make a dot on the right side of each circle. Finally, paste the circle next to each other on the top section of the red leaf you pasted in the previous step.
Step 4: Adding Arms And Legs To The Leaf
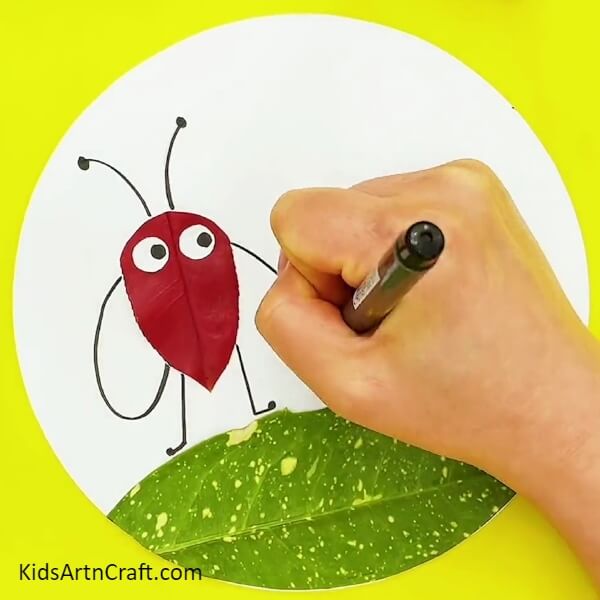
Using the same sketch pen, make two wings on the vertical sides of the leaf. These wings should resemble the handle of a mug. Now, dar two legs on the bottom side of the leaf. Finally, draw two antennas on the top side of the leaf. This completes the process of making the first insect. Isn’t it cute?
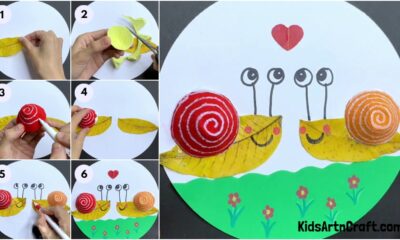
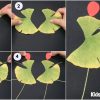
Step 5: Adding Arms To The Insect
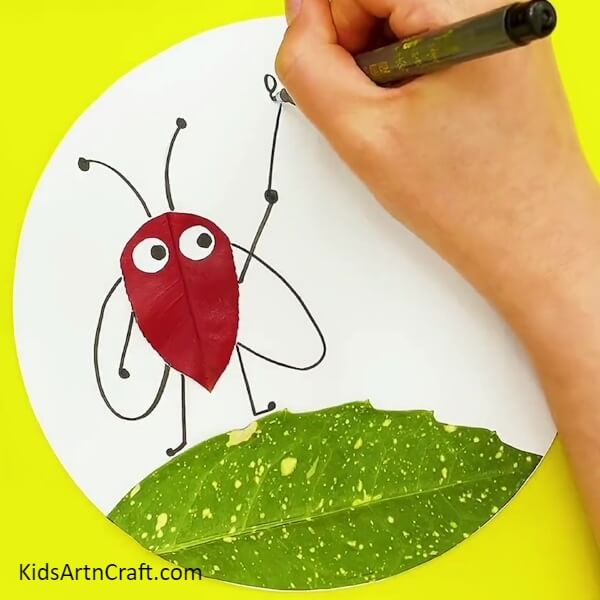
Draw two arms on the vertical sides of the leaf and at the end of the arms, draw prominent dots. Now, connect a vertical line to this dot, and on the top of this vertical line draw a small floral shape. The insect now is holding a flower in its hands.
Step 6: Make A Similar Green Insect
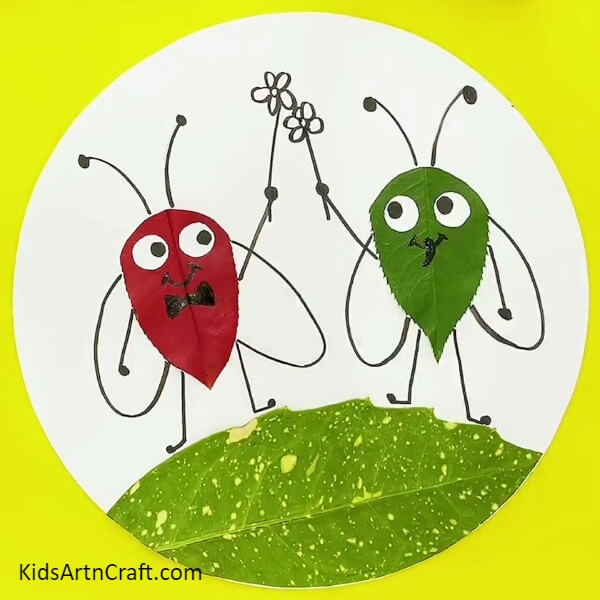
Repeat the steps of making the insect, starting right from cutting the petiole up to making the flower, but this time with a green diamond-shaped leaf and on the right section of the sheet. Now, using a black sketch pen, draw a smiley on the red insect and a bow below the smiley. Finally, make a smile on the green insect with a tongue sticking out.
Step 7: Coloring The Flowers
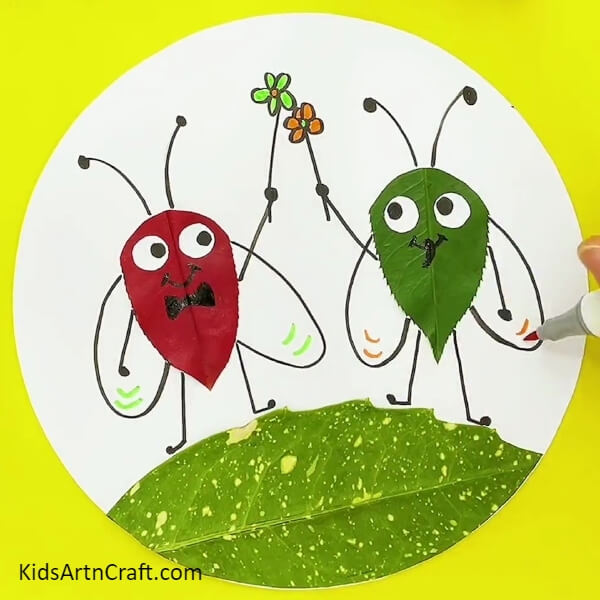
Take an orange pencil color and color the flower on the right side and draw two curved lines at the bottom of each wing of the green insect. Now, color the flower on the left side with green pencil color and draw two curved lines at the bottom of each wing of the red insect.
Finally, The Happy Little Insects
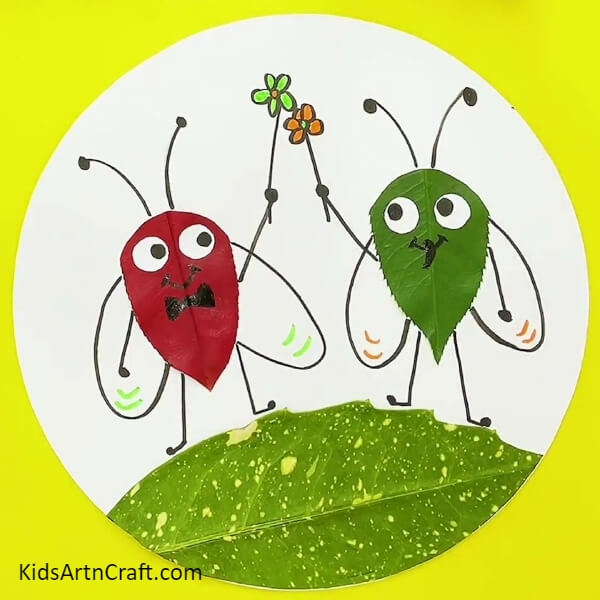
This completes the process of making the insects with all their wings, antennas, flowers, and of course the little bow.
This tutorial taught you great pasting and sketching skills. You also learned yet another way of converting leaves into craft. You can hang it on the walls of your room or paste it into your art book. Keep practising the techniques you learn in these tutorials and keep experimenting with your ideas. See you again in many more tutorials to come. Till then, good luck and goodbye.
Follow us on Youtube for art and craft tutorials and much more.
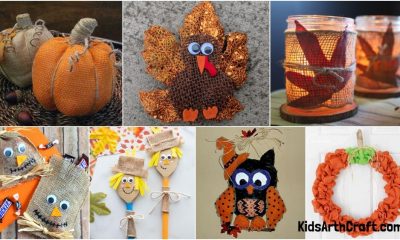
More Articles from Kids Art & Craft
- Easy Fall Leaf Artwork Tutorial For Kids
- Easy Leaf Fall Artwork And Craft for Kids
- Simple Fall Leaf Boy Craft Tutorial For Kids
- How To Make Easy Fall Tree Craft From Leaves
- How to Make a Paper Fall Leaf for Kids