


Kids Activities
Handmade Metal Bike Toy Craft Step by Step Instructions

Create a cool bike craft using metal craft wires! This tutorial will guide you in each and every step of making this astonishing showpiece!
Welcome to the amazing world of crafting! Today, we brought you this astonishing metal cycle craft that will stun everyone! This craft is purely made from the metal craft wires that you can find in any craft store very cheaply! This article will be a step-by-step guide to twisting, turning, cutting, and assembling wire to form a 3D bicycle!
This craft is a little different from the classic paper crafts! This craft is full of motor skills and will help you drive yours with a hint of creativity to it! This craft will definitely be a piece to showcase in your home and I’m sure everybody will admire your craft skills by looking at it!
DIY Metal Bike Toy Craft
Read More: Fun To Make Arrow-Bow Craft Step-by-step Tutorial For Kids
Materials Required
- Silver Metal Craft Wire
- Pink Metal Craft Wire
- Cutting Pliers
- Pliers
Procedure
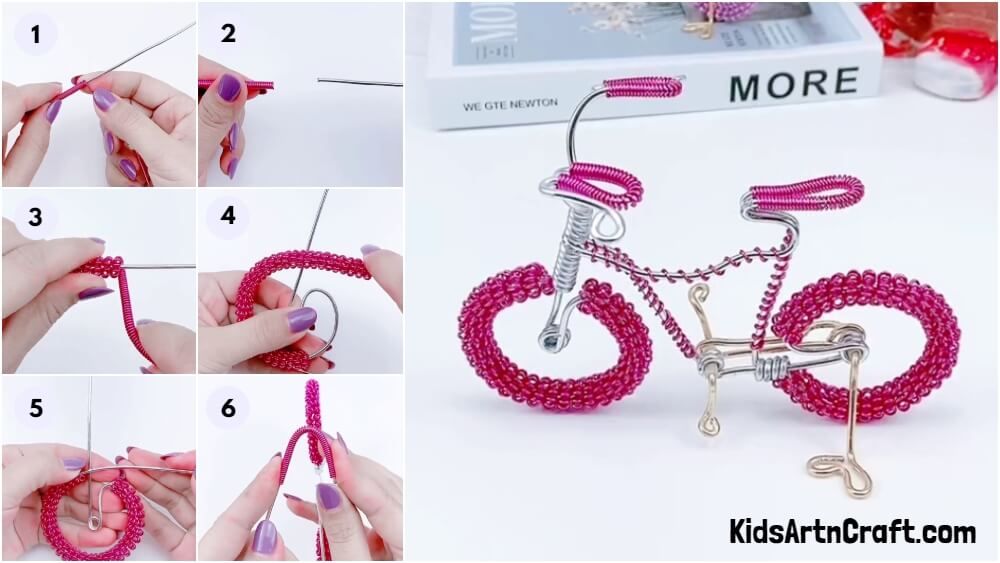
Step 1: Circling A Pink Wire Over Silver
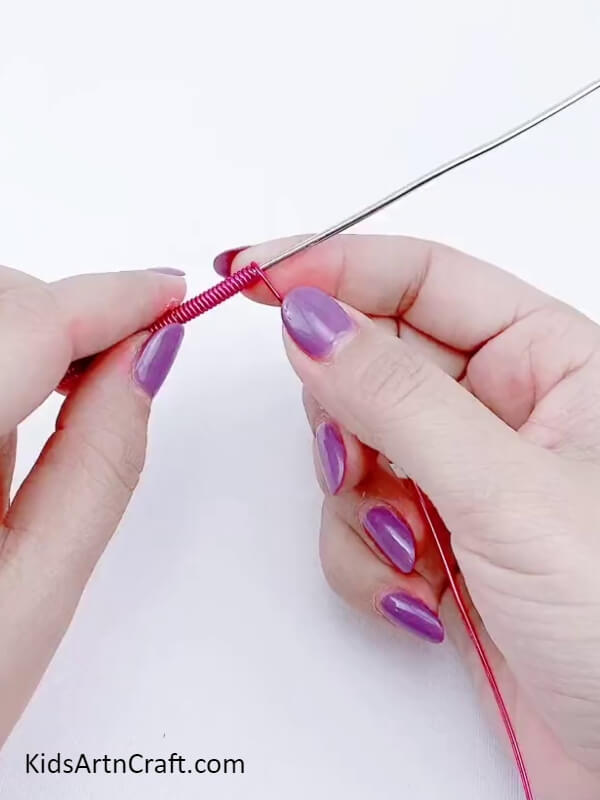
Let us begin this craft by taking a silver craft metal wire and a pink craft metal wire. Start wrapping/circling the pink wire over the silver, closely with no gaps to the end to make it look like a spring.
Step 2: Sliding Out The Silver Wire
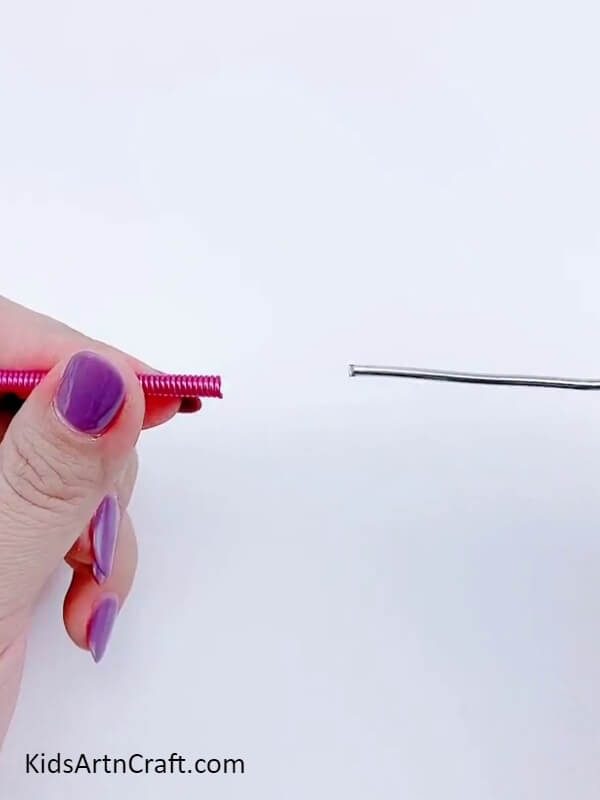
Slide out the silver wire from the pink spring-like wire.
Step 3: Bending The Pink Spring
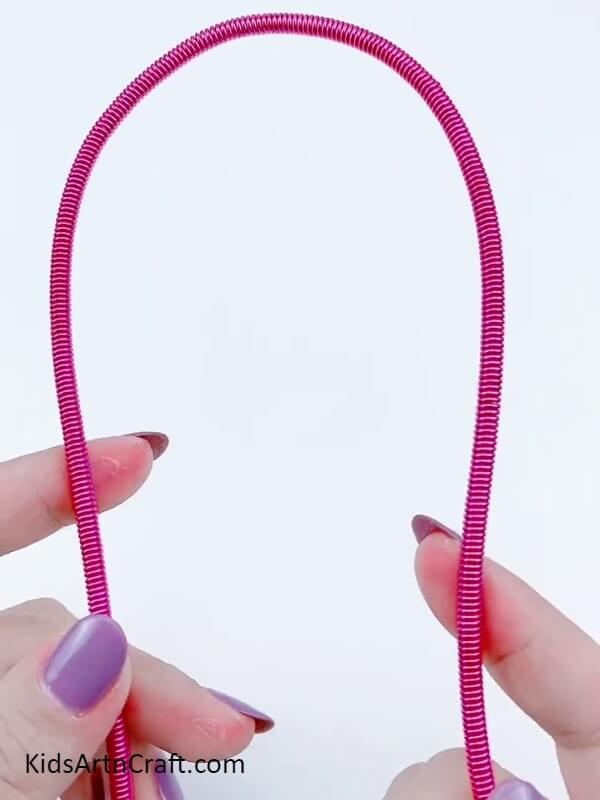
Once you have taken out your spring bend it to make it flexible.
Step 4: Rolling The Spring Over Silver Wire
This time, roll your pink spring over the silver wire one by one closely, with no gaps.
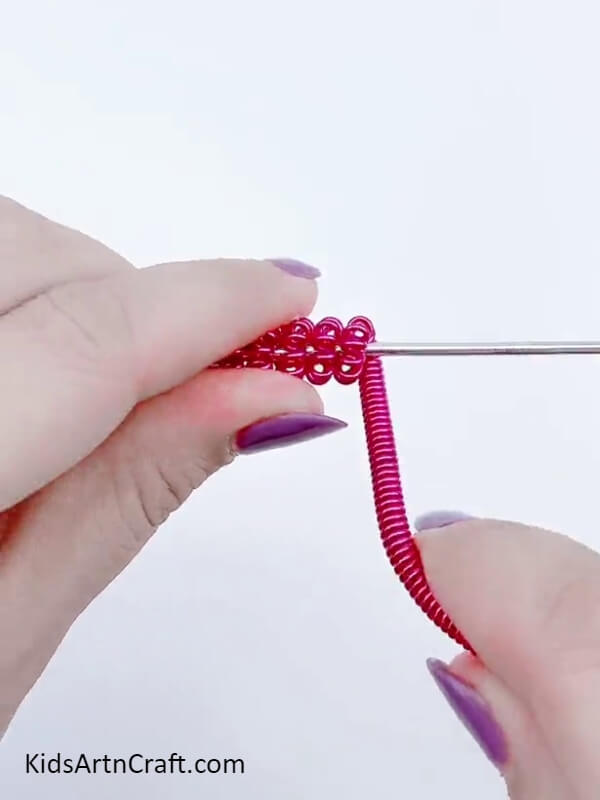
Step 5: Cutting The Pink Spring Into Pieces
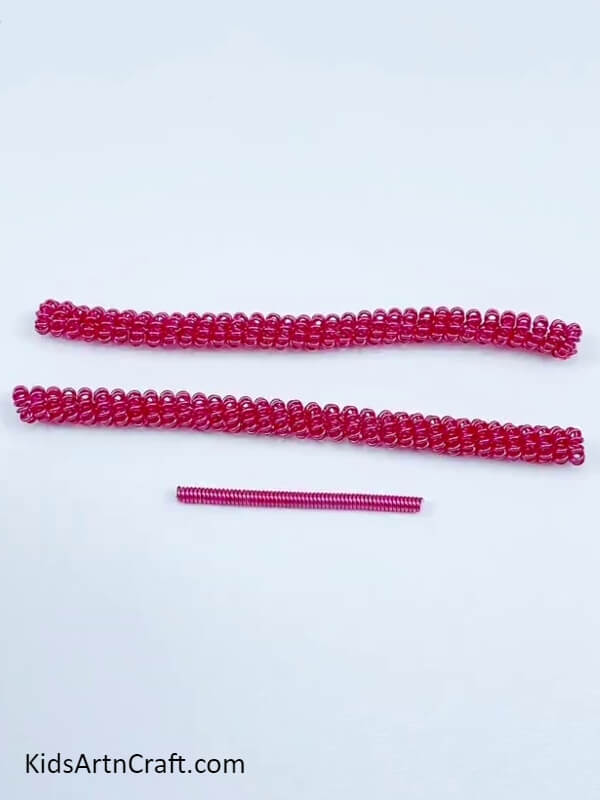
Slide out the silver wire from the rolled-over spring to leave with a large spring and also keep a small piece of the usual spring. Cut out the large spring into 2 equal pieces using cutting pliers.
Step 6: Bending The Silver Wire To Form The Frontal Part Of The Cycle
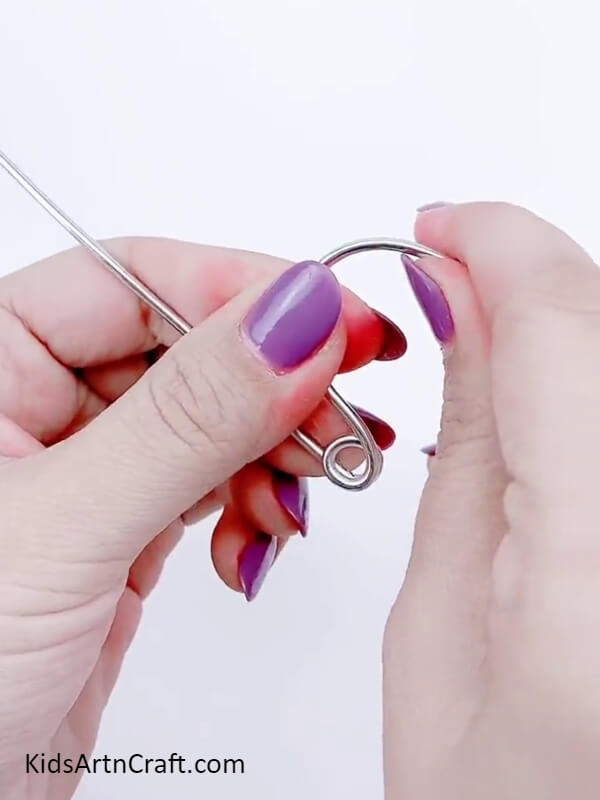
Now, in between the silver wire, bend it to make a small round like one of the safety pins. Then, hold the wire after you made the round and bend it again to make a curve.
Step 7: Making The Front Tire Of The Bike
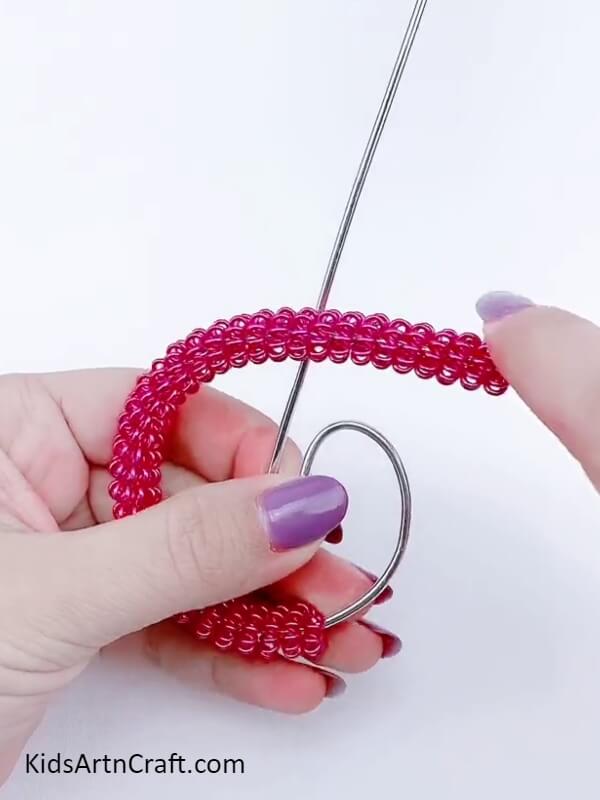
From the curve, bend the wire to make a big circle, from the end of the wire, insert one large spring in it to form the tire of the bike.
Step 8: Making A Spring Over The Tire
Push in the large spring completely to make the tire, then bend the left wire from the end to roll over the wire on the wire itself above the tire and from a spring around it.
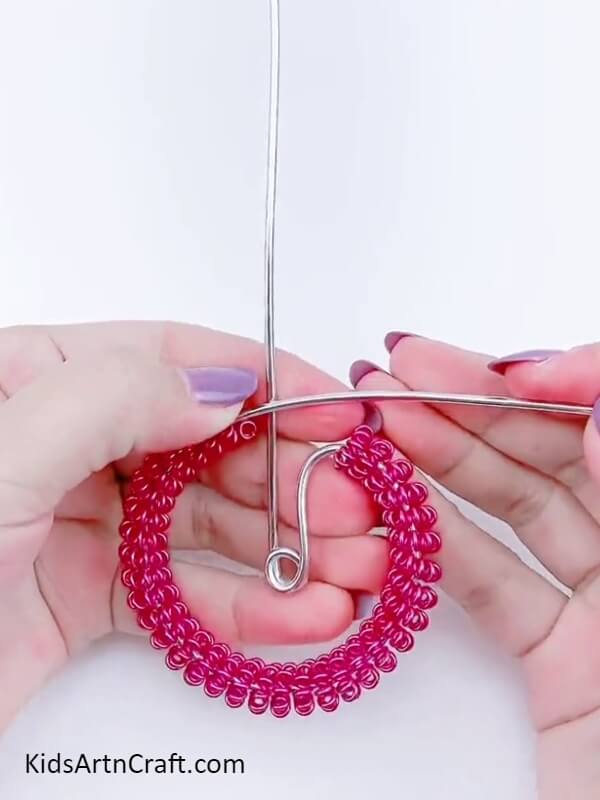
Step 9: Making The Other Tire
Now, stretch and bend the wire coming out to the spring in a slating way coming lower, when it reaches just a little above the first tire, bend it to make a small circle, then stretch it straight to make space for the other tire, make a hook-like structure above it, then bend it to the other side forming a large circle of the tire.
Insert the large pink spring in the circle to form the tire.
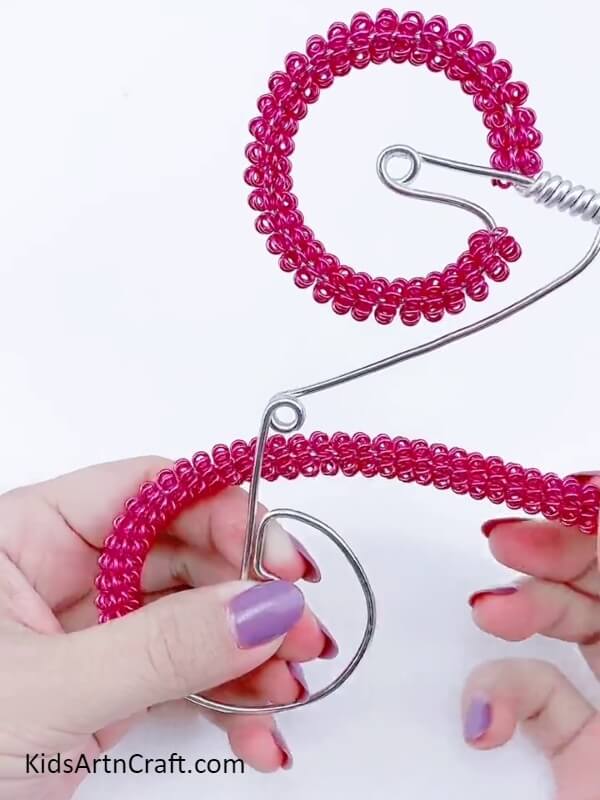
Step 10: Making Seat And Handle
Now, bend the silver wire up straight and insert the pink small spring in it then bend it horizontally backward to form a loop and again bend it forward to make the seat of the cycle. Stretch the pink spring in the straight silver wire and cut it out then shift it to the seat.
Make a curve below the seat and stretch the wire to the front to the front tire silver spring, further, form a spring above it. Then, bend both the front wires upwards in a curve in the opposite direction to make the handle and then form a loop then and insert the pink spring it in by cutting it in half in both handles.
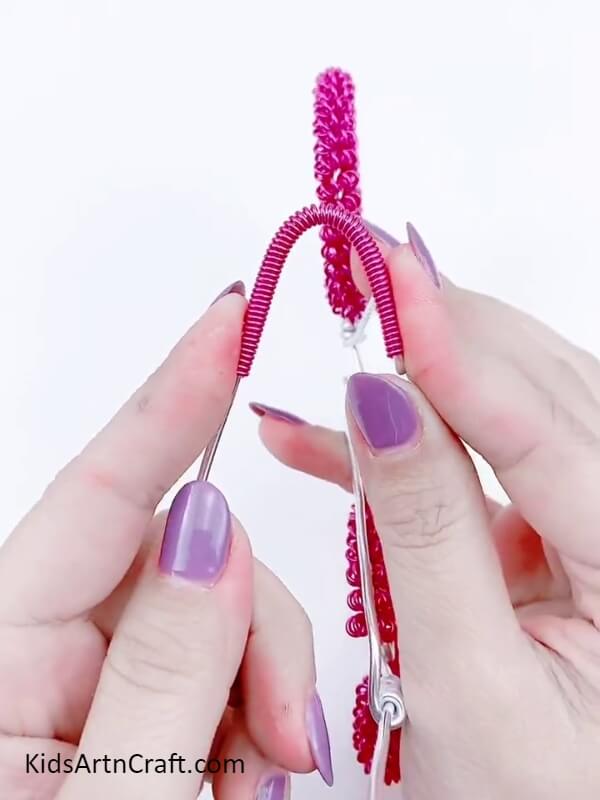
Step 11: Completing Making The Handle
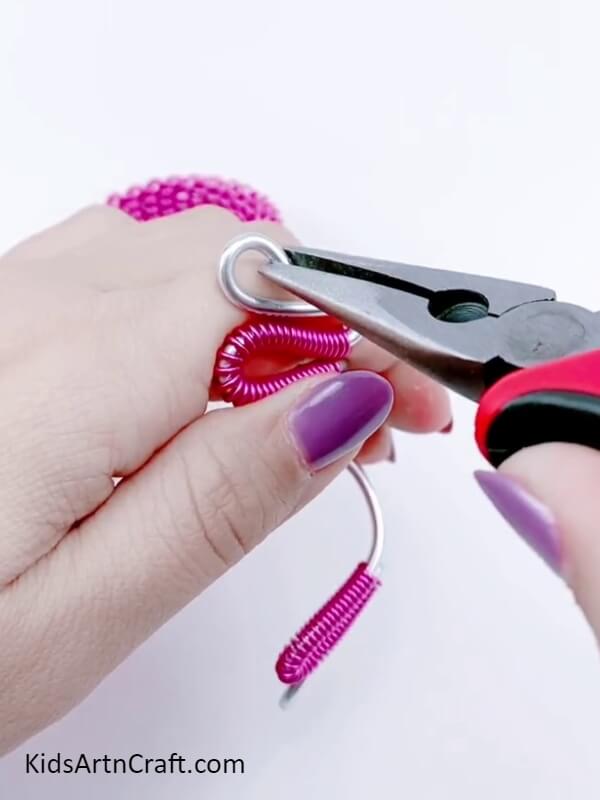
Using pliers again bend away the wires of the handles backward and then form a small circular loop in the ends and bend the end of the wires inwards. This completes the handle of the cycle.
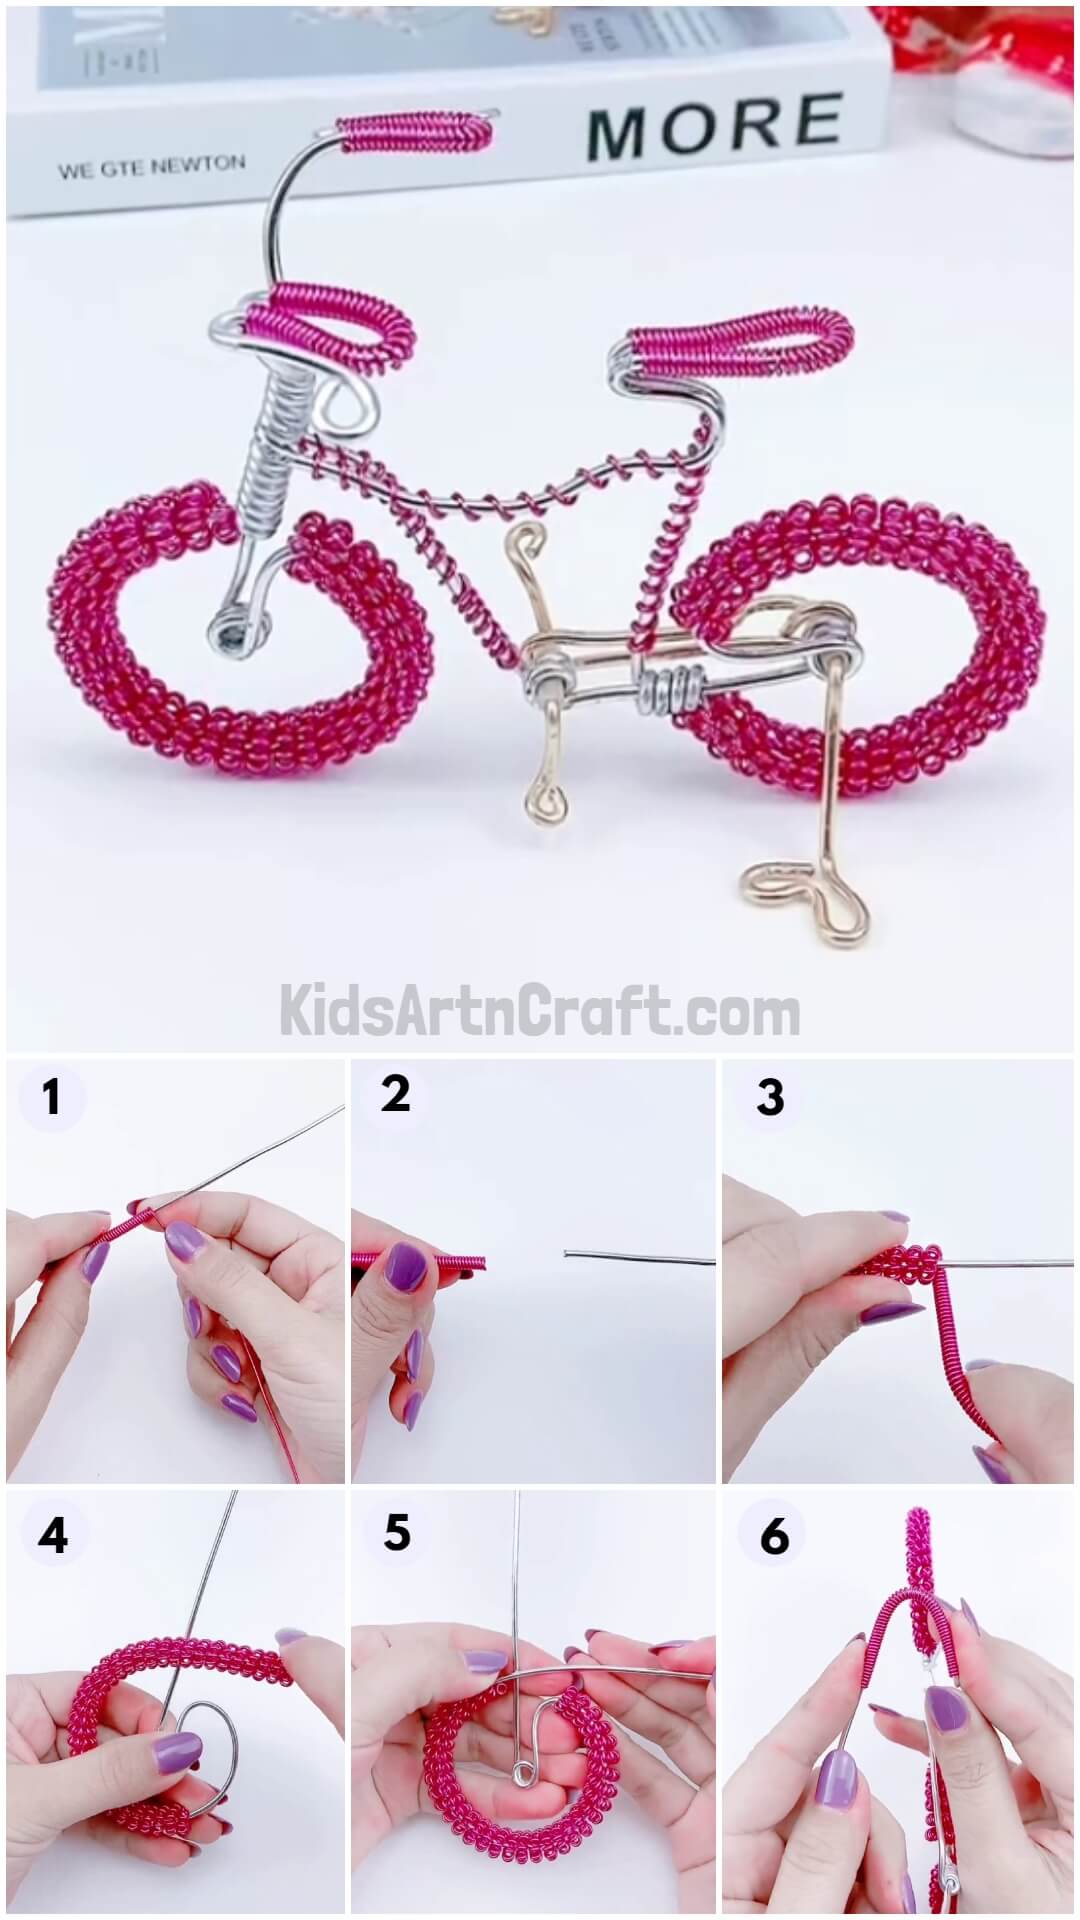
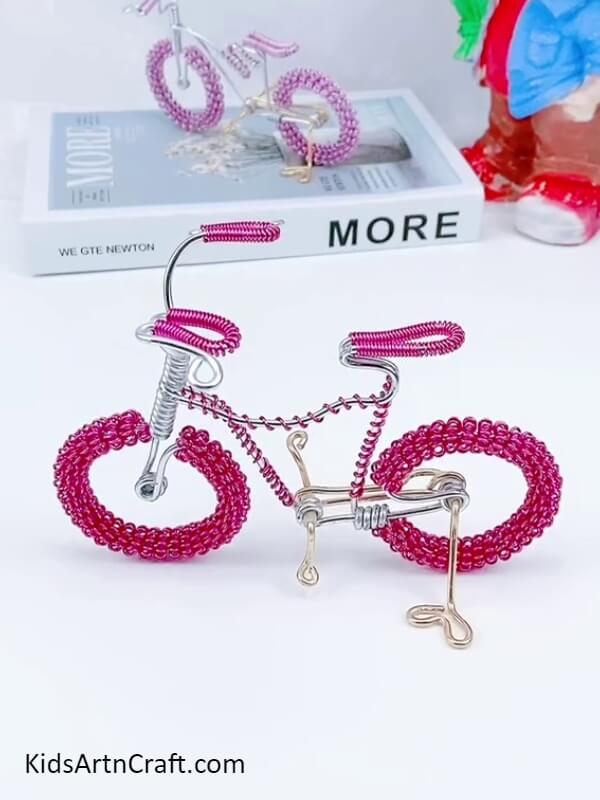
The Final Look Of Your Amazing Bike!
For the last step and detail to your bike, add a stand and pedals. Put a small piece of silver wire in the loop ahead of the back tire, bend the wire up and down from the sides, and then bend the ends inside to form a loop, this makes the pedals of the cycle.
Now for the stand, insert a silver wire between the loop of the back tire and twist the wire to make a spring-like structure on the other side to secure it in the loop. Stretch the wire from the other side straight to the bottom and then bend the end horizontally in a curvy shape to make a stand of the cycle, so that it can stand without falling.
Yay! Your amazing metal bike craft is ready to thrive in your room or house!
I’m sure his craft was something unique to your usual craft collection! Show it off to everyone and they will definitely admire this amazing creation! You now have learned new crafting skills, develop and flaunt them more by making more and more such crafts! You can make such crafts to gift someone, it will look like an expensive piece bought from the market! As you know, room decor can be expensive, and receiving such crafts will surely bring a smile to their faces!
Some More Toy Craft Tutorial
Create Toy Car Craft Using Straw & Bottle Cap For Kids
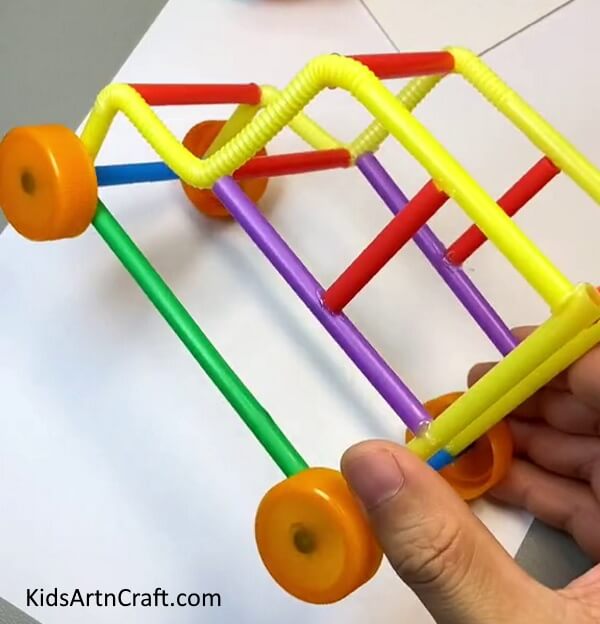
Image Source/Tutorial: Kids Art & Craft
This is a fun and easy activity for kids to make their own toy car using only a few simple materials such as straws, tape, and markers. It’s a great way to get creative and encourage imaginative play. Kids will love creating their own car and playing with it!
Make Your Own Toy Car Craft Using Straw And Bottle Caps
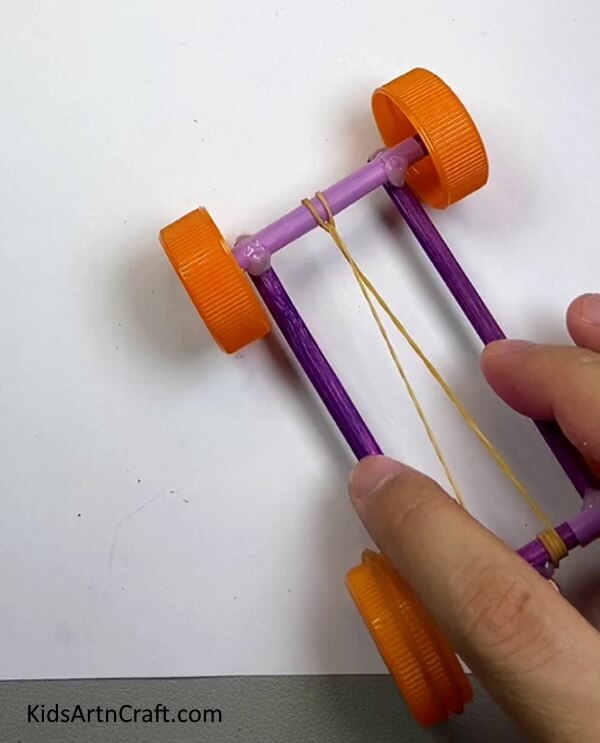
Image Source/Tutorial: Kids Art & Craft
This craft is perfect for kids of all ages! Create a fun toy car using chopsticks and bottle caps. It’s easy, inexpensive, and great for imaginative play. Have fun painting, decorating, and playing with your very own toy car!
Easy Paper & Straw Bicycle Craft For Kids
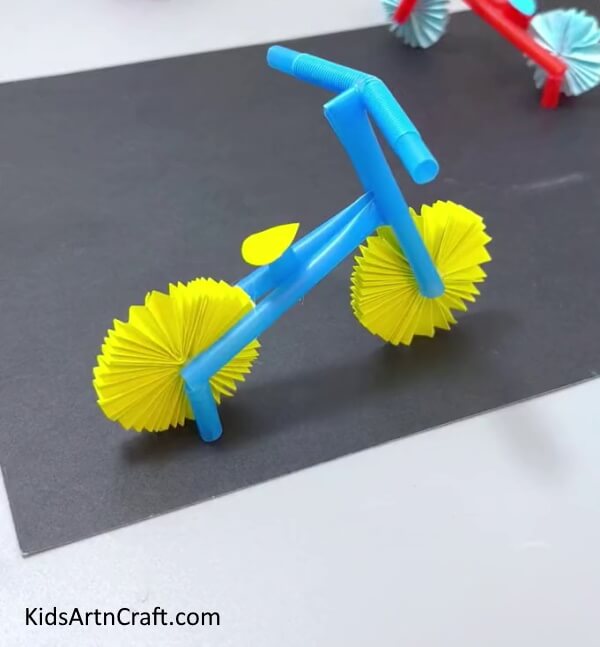
Image Source/Tutorial: Kids Art & Craft
This craft is perfect for kids! It’s easy to make, requires few materials, and can be customized however you want! All you need is paper, straws, and a little creativity to make a unique bicycle craft!
Follow us on Youtube for art and craft tutorials and much more.
More Articles from Kids Art & Craft
- Easy Ladybugs Craft from Recycled Egg Carton
- DIY Bird Nest Paper Craft For Kids
- Easy Paper Craft Toy Tutorial For Kids
- Easy Paper Snail Craft tutorial For Kids
- How to Make Clay Flower Easy Tutorial for Kids


