Paper Crafts
Easy Paper Mouse Craft Step by Step Tutorial for kids

Follow this guide to make a simple and enjoyable paper mouse craft! It is suitable for all ages, and it will keep kids entertained for hours!
This easy paper mouse craft tutorial is perfect for kids who love to craft and be creative. It’s a fun and easy way to make a cute mouse out of paper and a few other materials. With step-by-step instructions and pictures, kids will be able to make a paper mouse that’s sure to be a delight!
DIY Paper Mouse Craft Tutorial For Kids

Read More: DIY Bird Craft Using Paper And Earbud
Materials Required
- Black, White, And Red Craft Paper
- Eye Stickers
- Scissors
- Double-Sided Tape
Procedure
Step 1: Gathering Materials
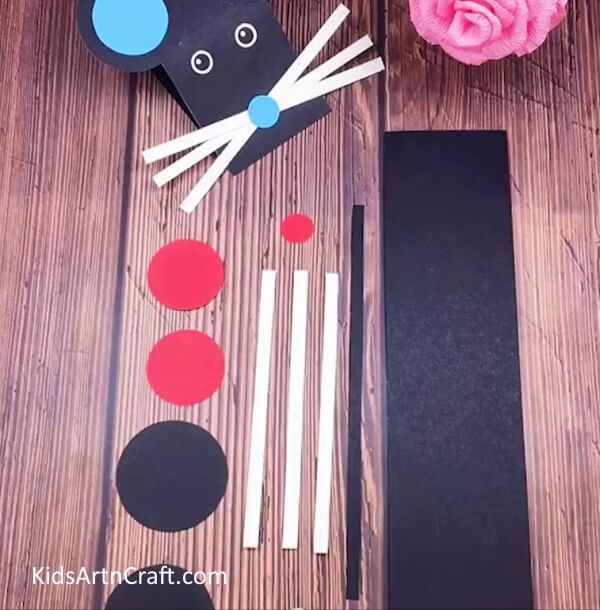

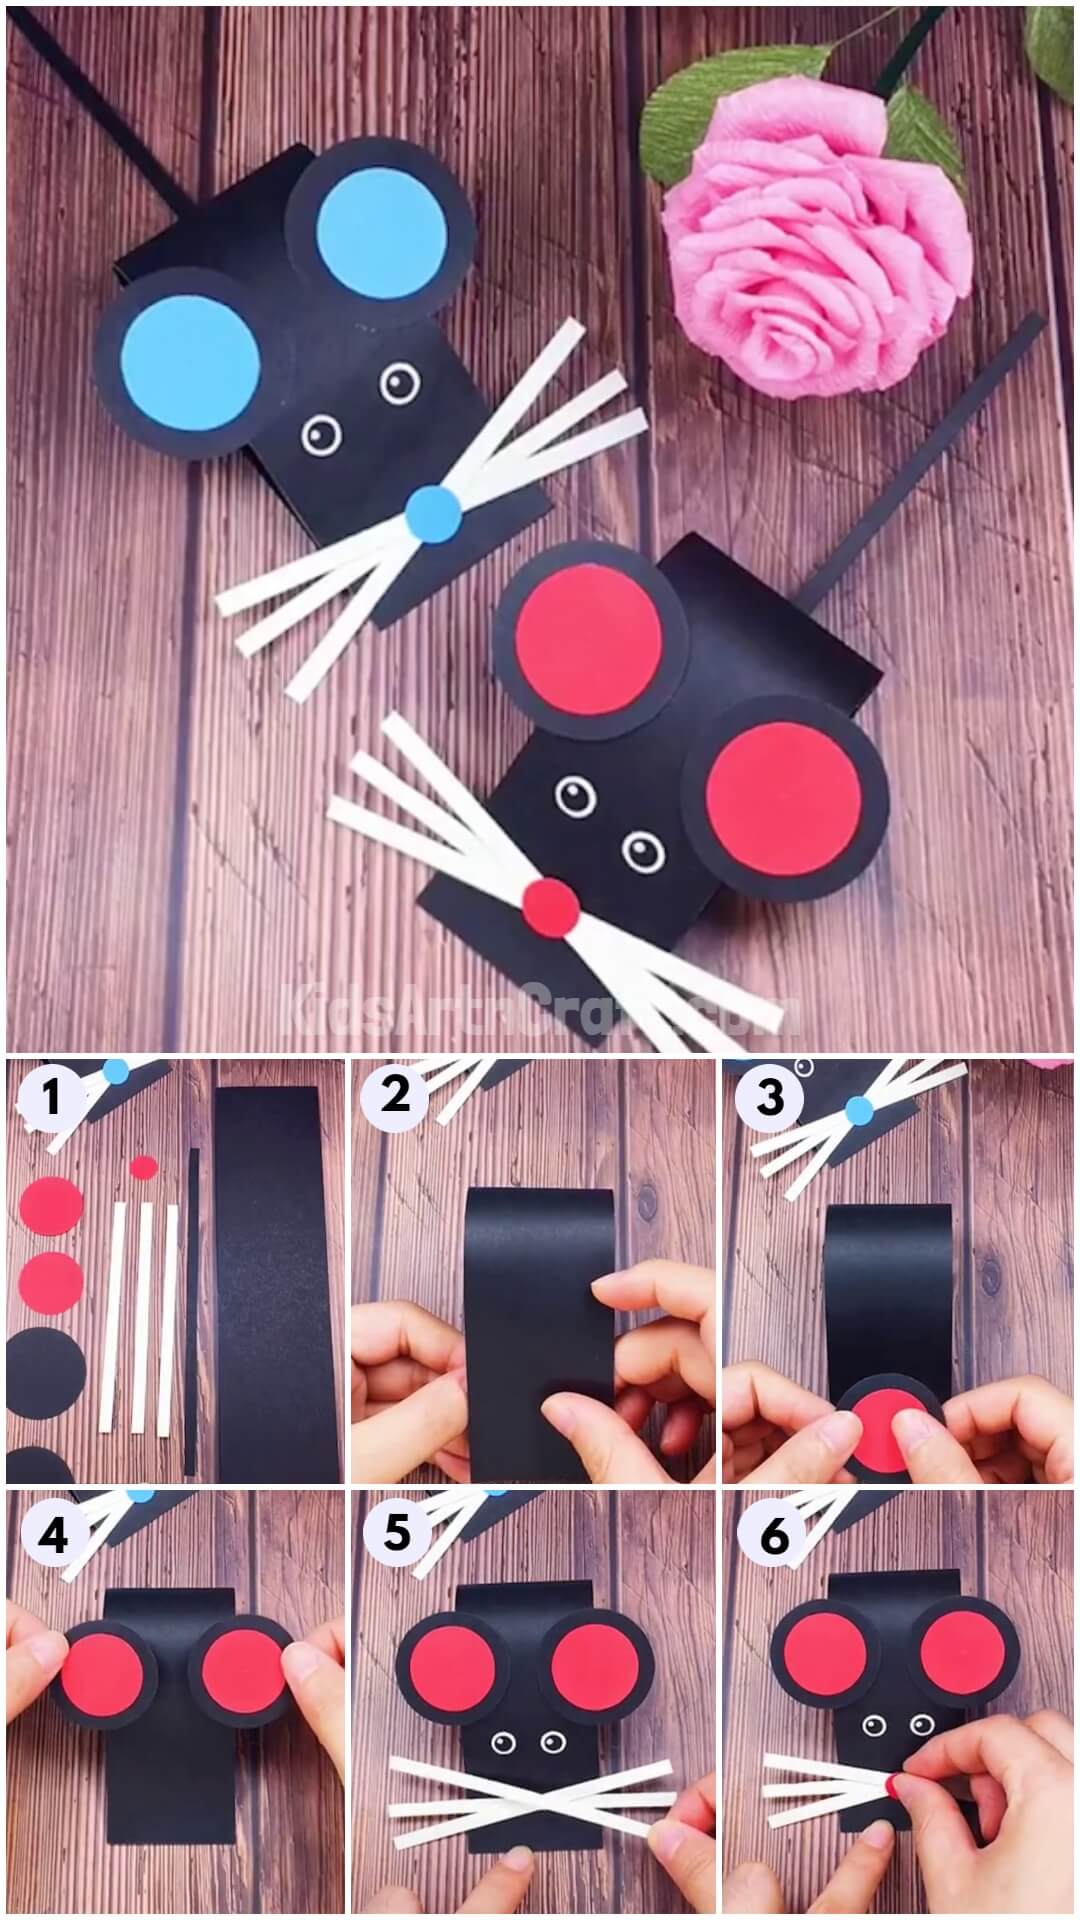
It’s always best to keep your materials ready before starting a craft. From your black craft paper, cut out a thick, long rectangle, a thin strip, and two circles using scissors. From red craft paper cut out three circles, two big and one small. From white craft paper cut out three strips using scissors.
Step 2: Applying Double-Sided Tape
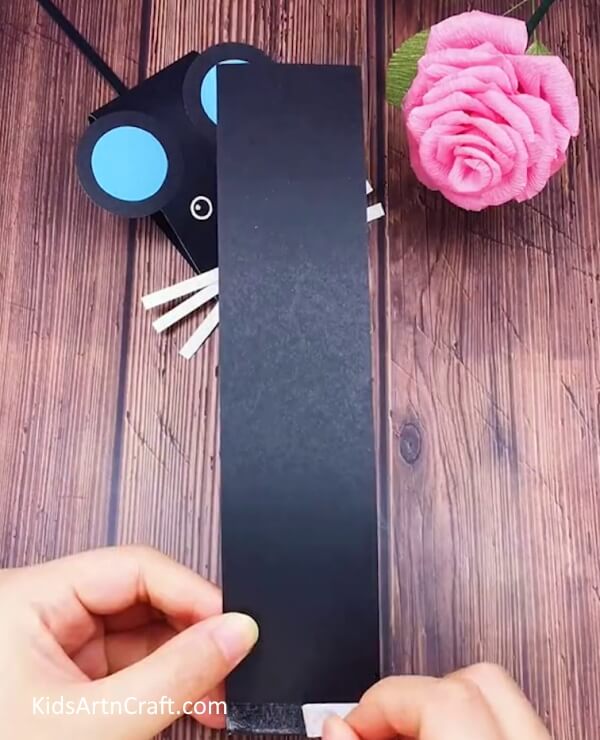

Pick up the long black rectangle and on the bottom small side stick double-sided tape.
Step 3: Making The Body Of The Mouse
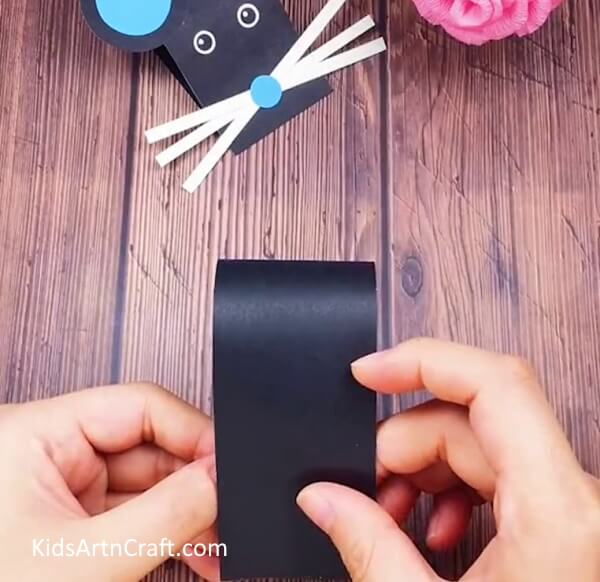

Next, fold the rectangle’s other side to the tape. Make sure you don’t crease the fold. This will be the body of your mouse.
Step 4: Starting With The Ears Of The Mouse
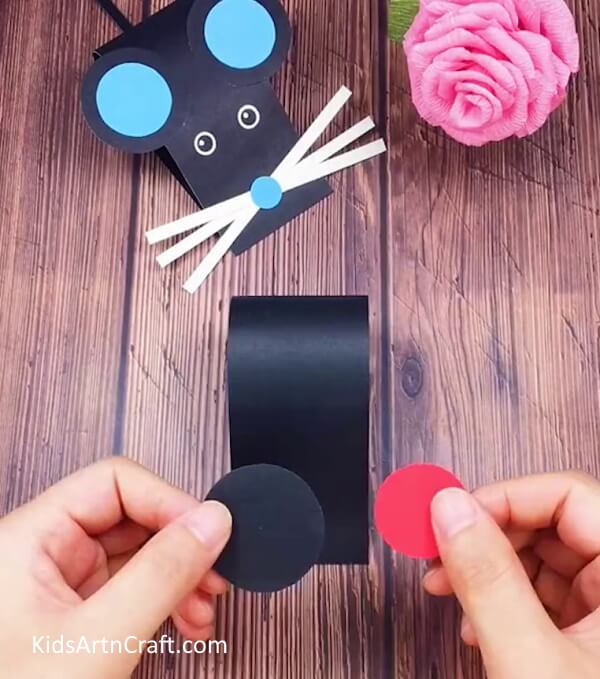

Pick up a black craft paper circle and a red craft paper circle. The red circle should be smaller than the black circle.
Step 5: Making Ears Of The Mouse
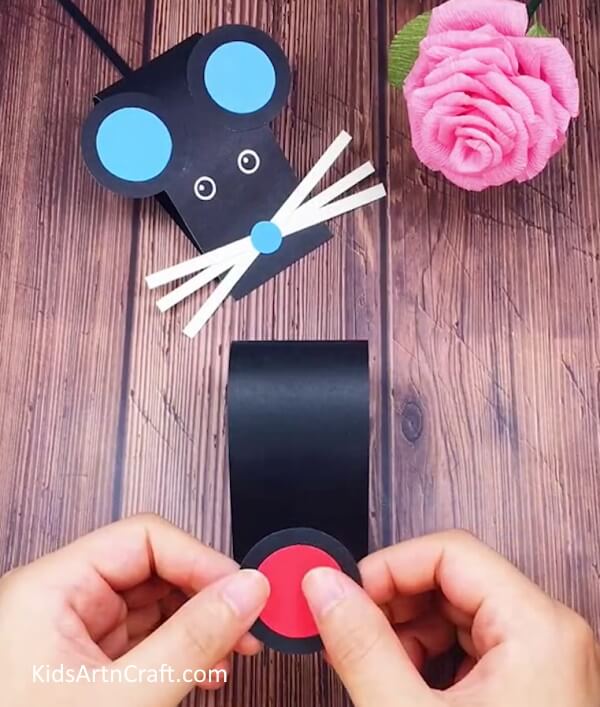

Using glue, stick the red circle on the black circle. Stick the red circle in the middle. This will be the ear of your mouse.
Step 6: Pasting The Ears To The Body
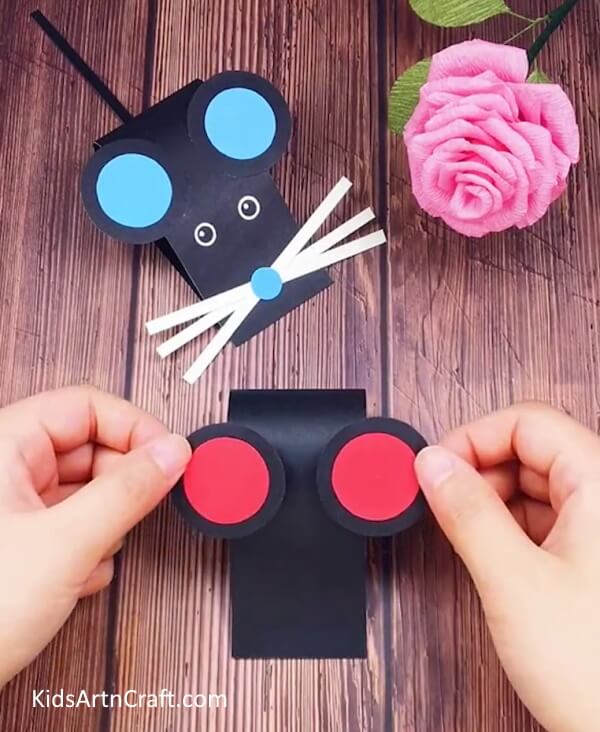

Repeat the same steps for the other ear. Stick the ears on the bouncy fold of the body using glue. Stick the ears such that half of it is stuck and the other half is hanging out.
Step 7: Making The Eyes And Whiskers
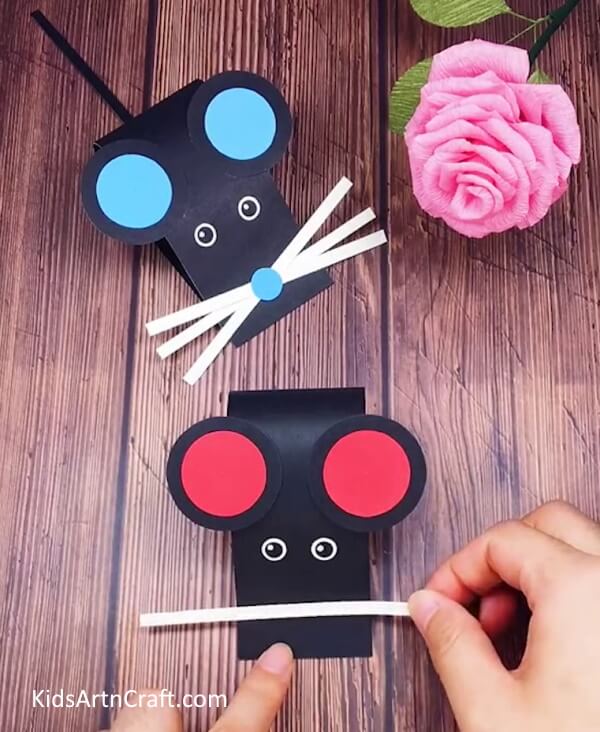
Now, grab your eye stickers and stick them on the mouse’s body below the ears. Pick up a white strip and place it on the snout of the mouse at a horizontal angle. Once the placement is clear, stick it with glue.
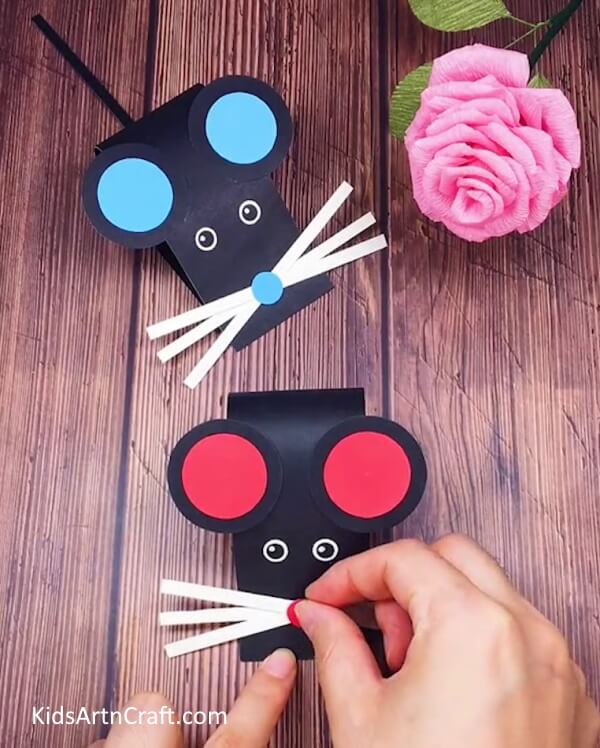
Step 8: Completing Making The Whiskers
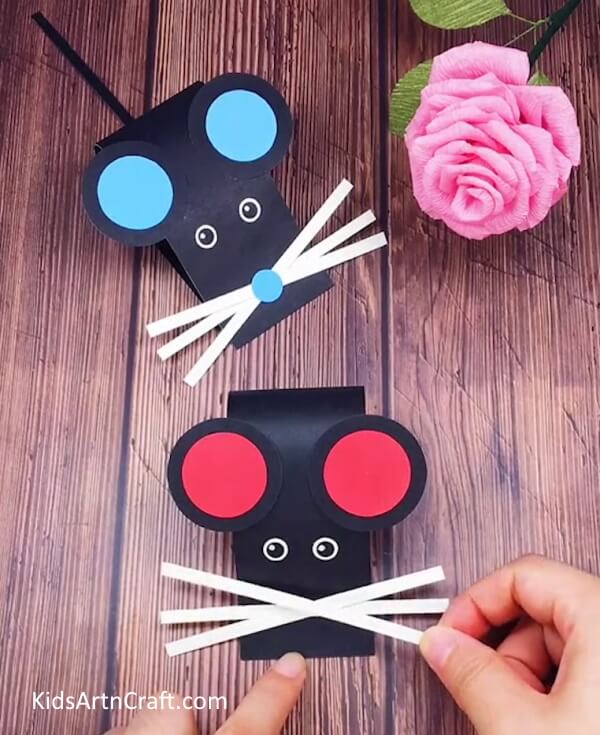

Next, grab the other two strips and stick them over the first whisker in an “X” position to complete the whiskers of your mouse.
Step 9: Making The Nose Of The Mouse

Pick up the small red circle and stick it in the middle of the intersection of the whiskers using glue.
Your Paper Mouse Is Ready!
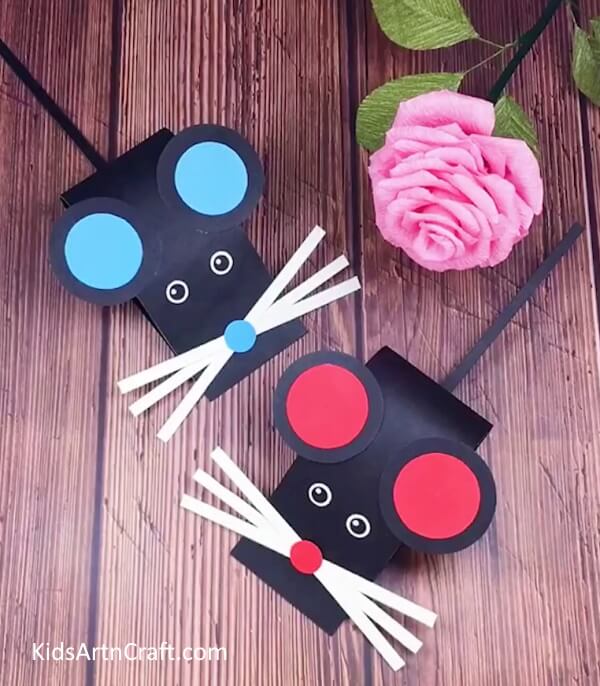

For the last step, stick the black strip at the back of the bouncy fold from below using glue to make the tail of your mouse.
Ta-da! Your Easy Paper Mouse Craft is finally ready!!
Some More Mouse Craft Tutorial
Cool Mouse Animal Drawing Ideas For Kids


Image Source/Tutorial: Kids Art & Craft
This article provides a variety of fun, creative mouse-drawing ideas for kids. There are step-by-step instructions to help them create their own unique mouse drawing. With these ideas, kids can get creative and have fun drawing their own mouse characters.
Following this step-by-step tutorial, kids can easily make this fun craft. Using some basic craft materials that can be found easily, this craft can be made in minutes. It is perfect for craft projects and decorations. It is super easy and quick to make and kids can easily catch on to the steps and spark their creative streak. So give it a try and engage your kids and yourself in a fun craft-learning activity!
Hope you like this creative and fun Easy Paper Mouse Craft step-by-step tutorial for kids. We would love to hear your thoughts in the comment section below.
Be sure to visit our other articles for more craft and DIY ideas!
Thank You for visiting our website!
Follow us on Youtube for art and craft tutorials and much more.
More Articles from Kids Art & Craft
- Learn To Make Easy Heart Shaped Paper Mouse Craft
- DIY Bird Nest Paper Craft For Kids
- Paper Snowflake Pattern Step-by-Step Tutorial
- How to Make Easy Paper Snowflakes Tutorial
- Paper Mug With Straw Craft Easy Tutorial