


Paper Crafts
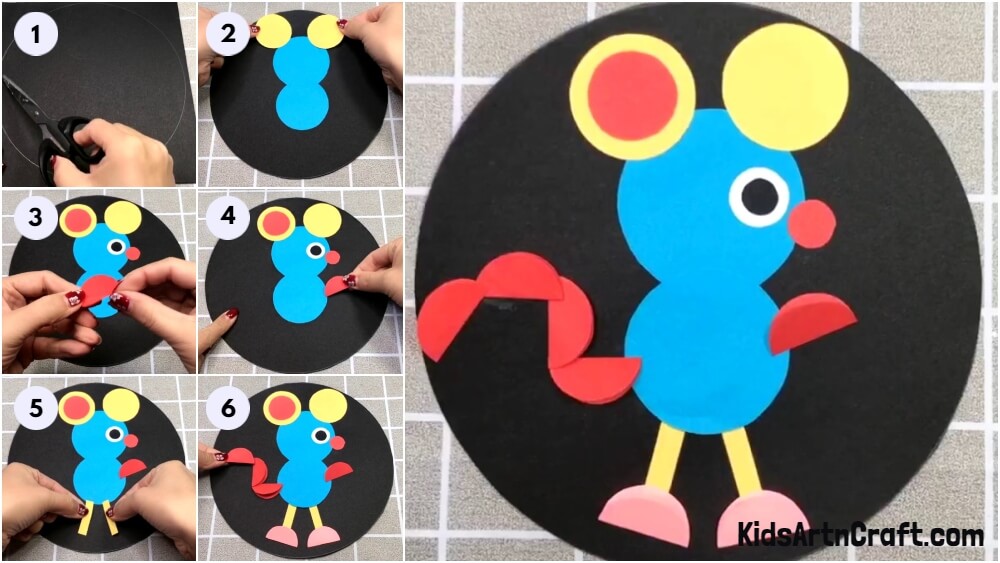
Mouse Craft For Kindergarteners with Paper Circles – Step by Step Instructions

This step-by-step guide will show you how to make an adorable mouse craft with paper circles for your kindergarten students! With a few simple supplies and easy instructions, you’ll be able to make a fun and educational craft for your classroom.
Welcome to this step-by-step guide to creating a fun and easy mouse craft for kindergarteners with paper circles! This craft is sure to be fun for your little ones and is a great way to introduce them to the world of arts and crafts. With just a few simple supplies and easy instructions, your kindergarteners will be able to make a cute mouse craft that they can be proud of. So, let’s get started!
How To Make Mouse Craft For Kindergarteners with Paper Circles For Kids
Read More: Paper Cutting Shapes Crafts
Material Used:
- Black chart paper
- Crafting Papers
- Scissors
- Glue
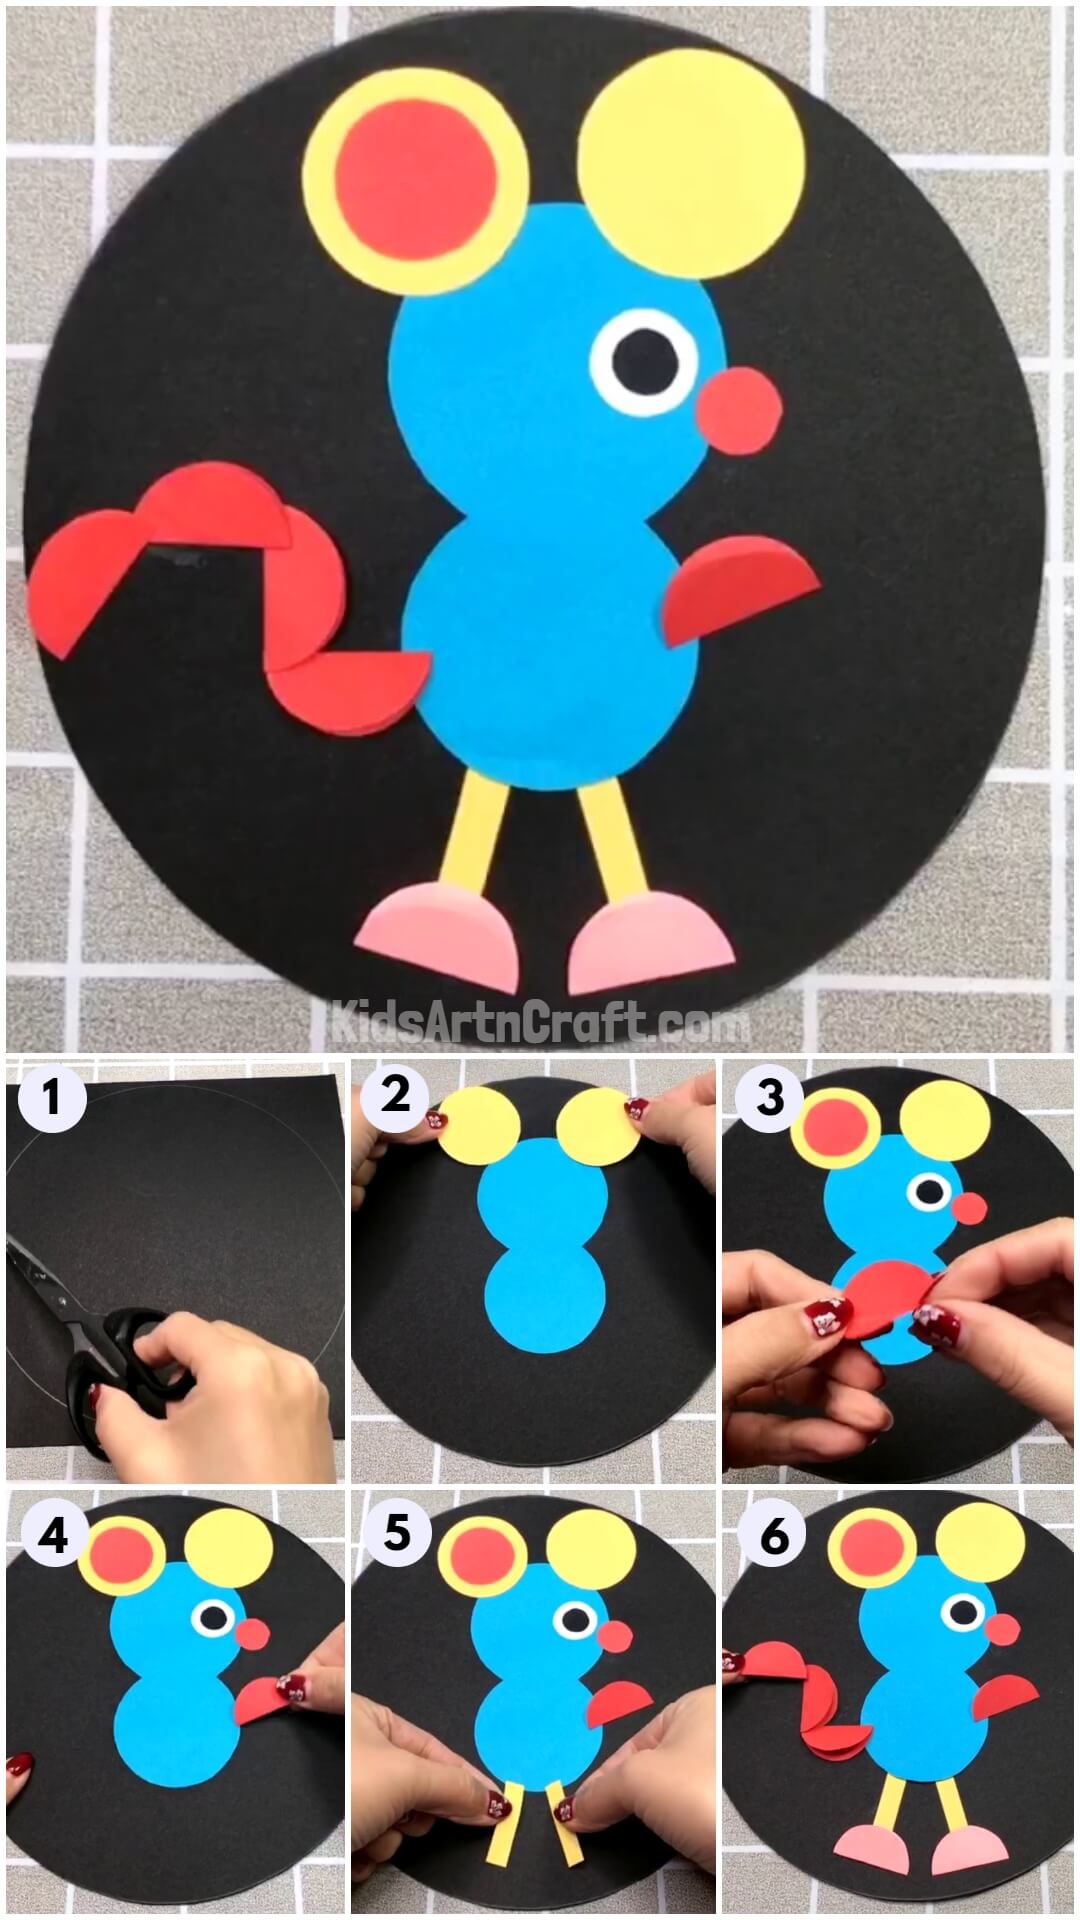
Instructions:-
Step 1: Starting By Cutting Out A Circle Out Of Black Chart Paper
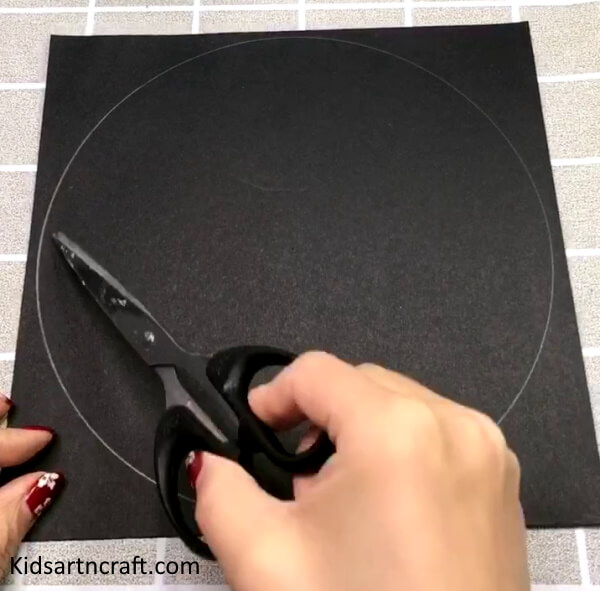
Let’s start by making the outline of a circle on the black chart paper and then with the help of the scissors cut out the circle.
Step 2: Pasting The Mouse Body Made Out Of Blue And Yellow Craft Paper
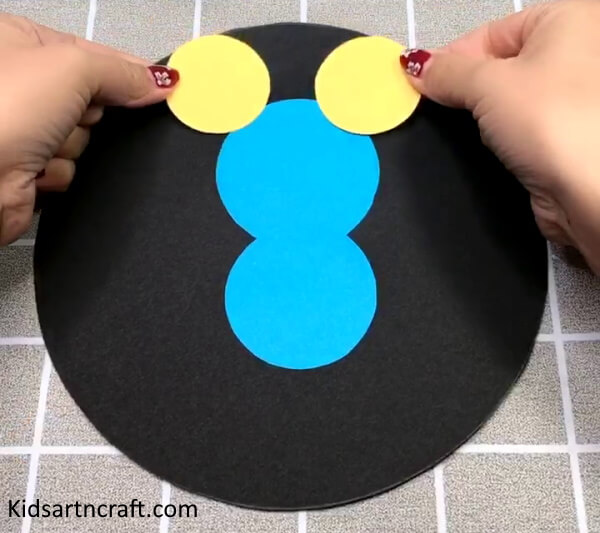
Now for the mouse, take a light blue craft paper and cut off a shape resembling the symbol “8”.Now cut two medium-sized circles out of yellow craft paper and paste them on the edge of the blue mouse body we made.
Now paste the body of the mouse on the black circle by keeping the yellow circle on top as they are the ears of the mouse.
Step 3: Pasting The Red Circle In The Yellow Left Circle For Depth
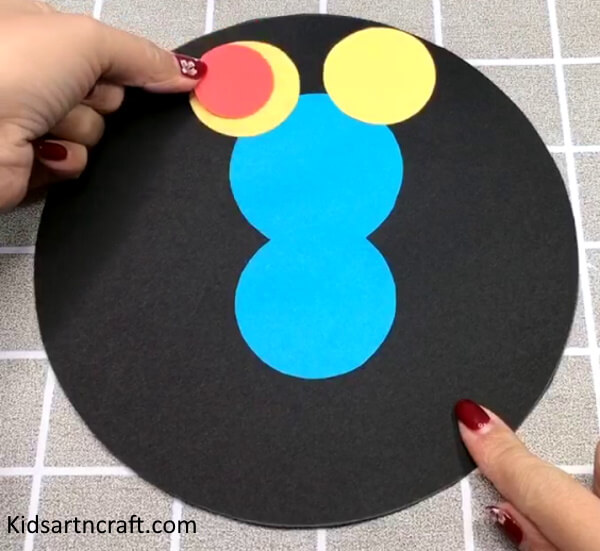
Now take a piece of red craft paper and cut out a circle smaller than the yellow circle. Now with the help of glue paste in the center of the yellow circle on the left side only.
Step 4: Making The Eyes Of The Mouse
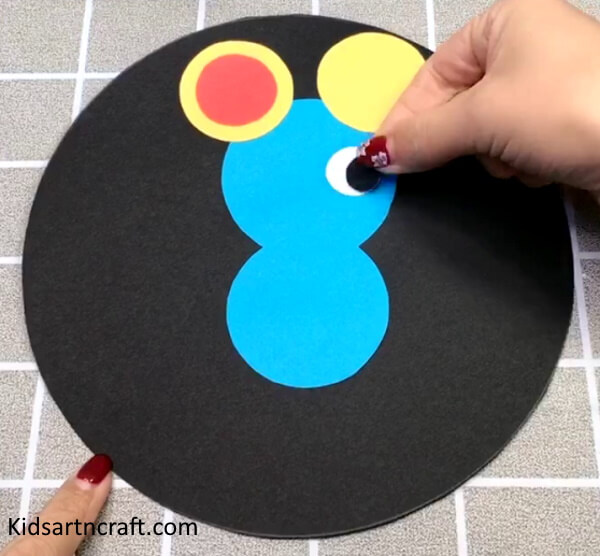
Now take a white craft paper and cut out a small circle from it. Take a piece of black craft paper and cut out a circle smaller than the white circle. Pate the white circle on the edge of the upper blue circle. At the center of the white circle paste the black circle.
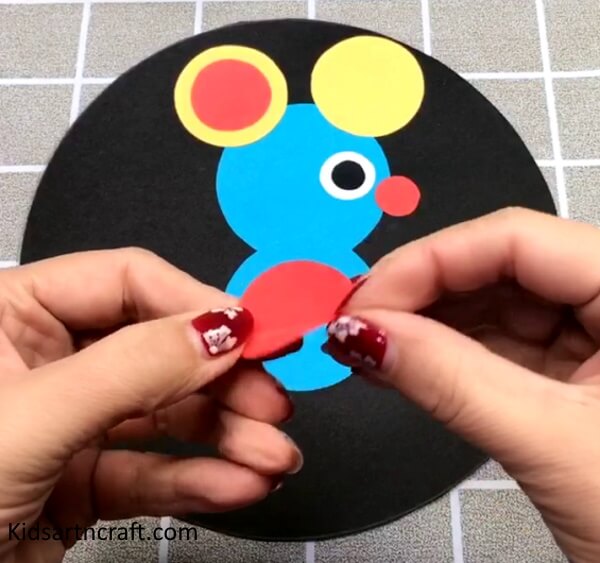
Step 5: Making The Nose And Hands Of The Mouse From Red Craft Paper

Take the red craft paper and cut out a small red circle and paste it below the eyes as the nose.
Now cut a medium-sized circle out of the red craft paper and fold it into half and crease it.
Step 6: Making The Hands Of The Mouse Out Of Red Craft Paper
Now fold the circle again in half along the crease and apply glue at the backside.
Step 7: Pasting The Hand On The Mouse Made From Red Craft Paper
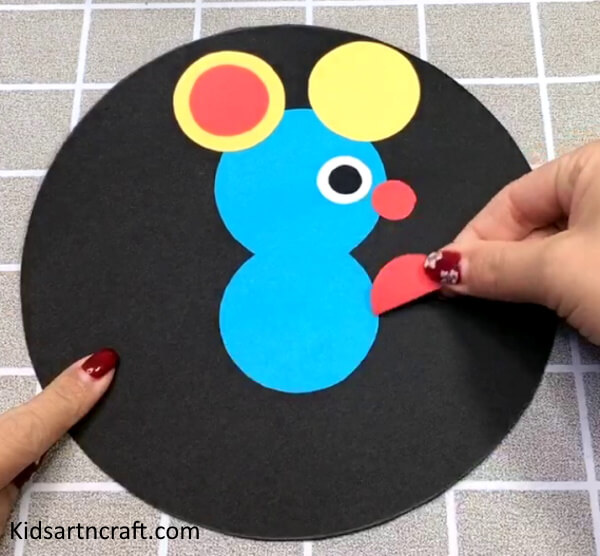
Now paste the half circle we made for the hand on the edge of the blue circle below the nose as shown.
Step 8: Adding The Legs Made From The Yellow Craft Paper
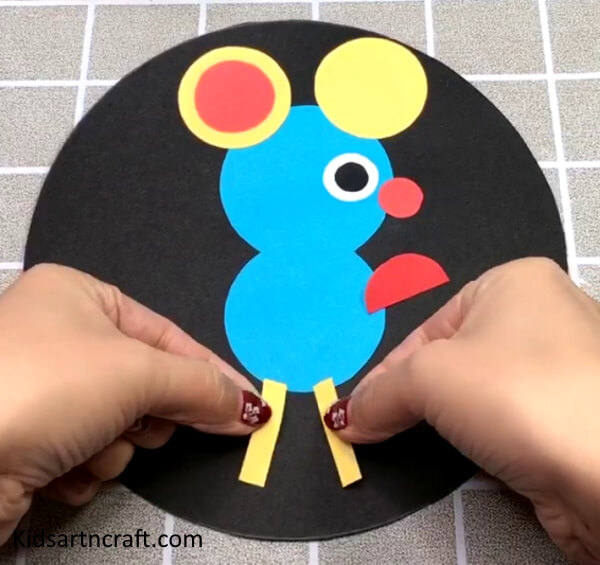
Take the yellow craft paper and cut two small thick strips out of it. Now paste them at the bottom of the blue circle in an inverted V shape.
Step 9: Adding The Feet To The Legs Made From Pink Craft Paper
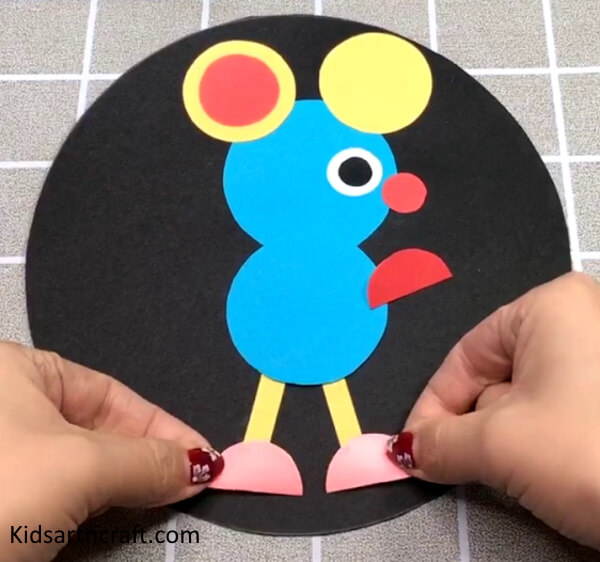
Now take the pink craft paper and cut two medium-sized semicircles out of it. Pate the semicircles over the ends of the legs we pasted.
Step 10: Adding The Tail To The Mouse Made From Red Craft Paper
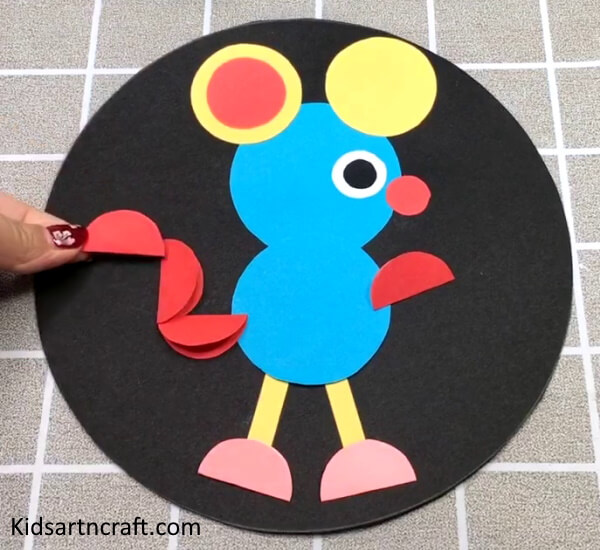
Now as we did for the hands in steps 5 and 6, take the red craft paper and cut three medium-sized circles out of it. Now fold them in half and crease them.
With the help of glue paste them at the back over the blue circle joining the ends of each circle as the tail.
“DIY Mouse From Colorful Paper Circle- A Step-by-step tutorial For Kindergarten Kids”
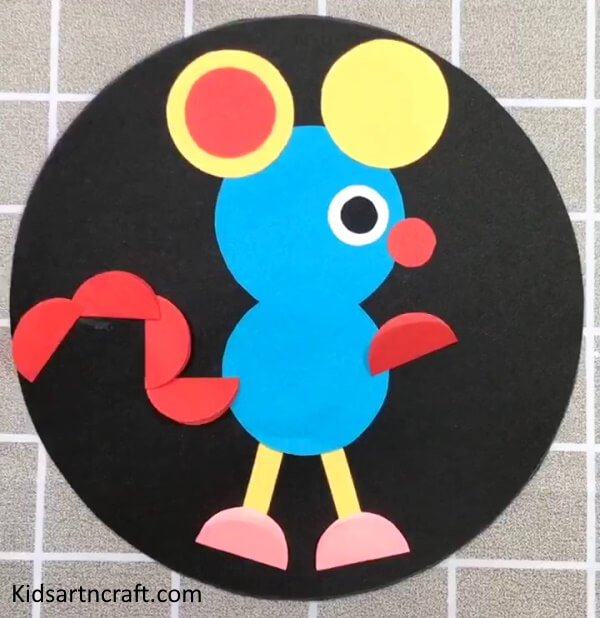
Yay! Your cute little Mouse from paper circles is ready! Making your own mouse from colorful paper circles is a fun and engaging activity that can help kindergarten kids for developing their creativity, fine motor skills, and problem-solving abilities. By following the step-by-step tutorial provided here, they can learn to transform simple materials into cute and whimsical creatures that they can play with or show off to their friends and family.
Whether you are a parent, teacher, or caregiver, encouraging children to engage in DIY projects like this one can have a lasting positive impact on their confidence, self-expression, and lifelong love of learning. So, grab some paper, scissors, and glue, and let your imagination run wild as you embark on this exciting crafting adventure with your little ones!
Some More Mouse Craft Tutorial
Heart Shaped Paper Mouse Craft
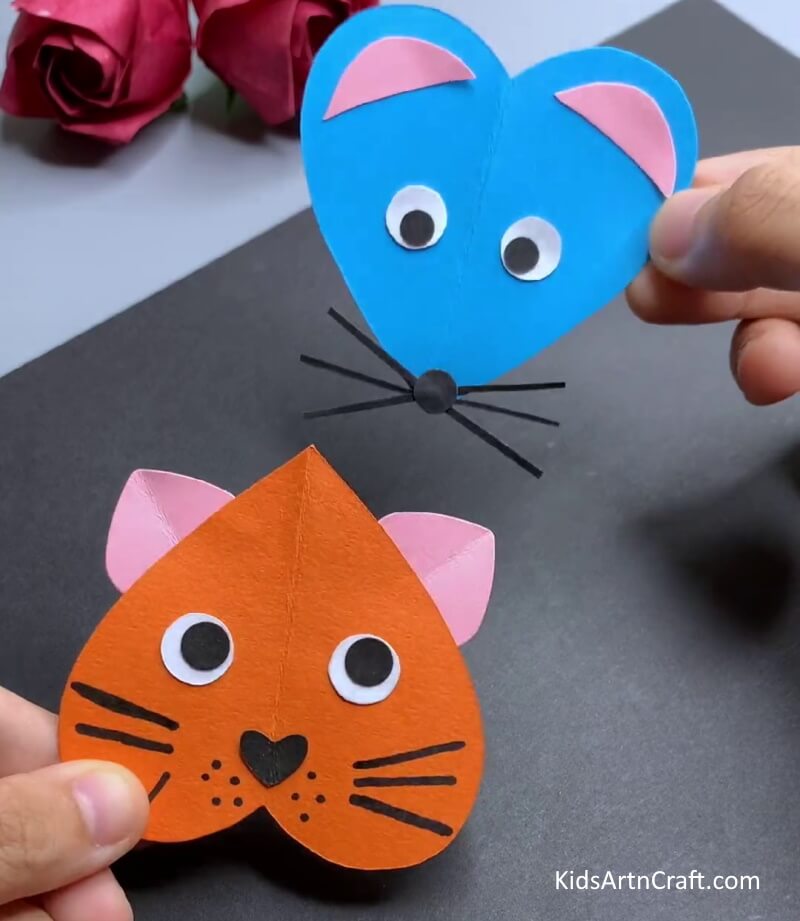
Image Source/Tutorial: Kids Art & Craft
This fun and easy craft is great for kids of all ages! With just a few supplies, you can create a heart-shaped paper mouse that will make a unique and special decoration for any occasion. Get creative and have fun!
Project To Make Mouse Animal Drawing For Kindergarten

Image Source/Tutorial: Kids Art & Craft
kids learn how to draw different animals using a mouse. It will teach them to draw using shapes and lines and will help them understand how different animals are made up of these features. It’s a fun and interactive way for kids to learn and improve their drawing skills.
Designing a Mouse Out of Pine Cones
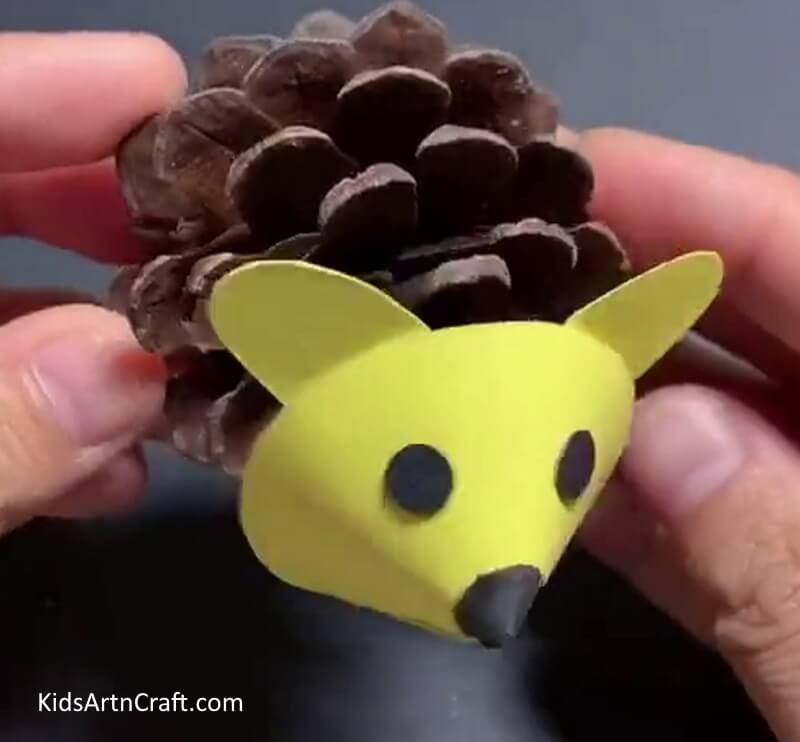
Image Source/Tutorial: Kids Art & Craft
Designing a mouse out of pine cones is a great craft project for children. It is simple and uses materials found in nature, making it a perfect outdoor activity. Kids will have fun creating their own unique mouse from the materials found in the forest around them.
Design A Mouse Into A Heart Form Using Paper
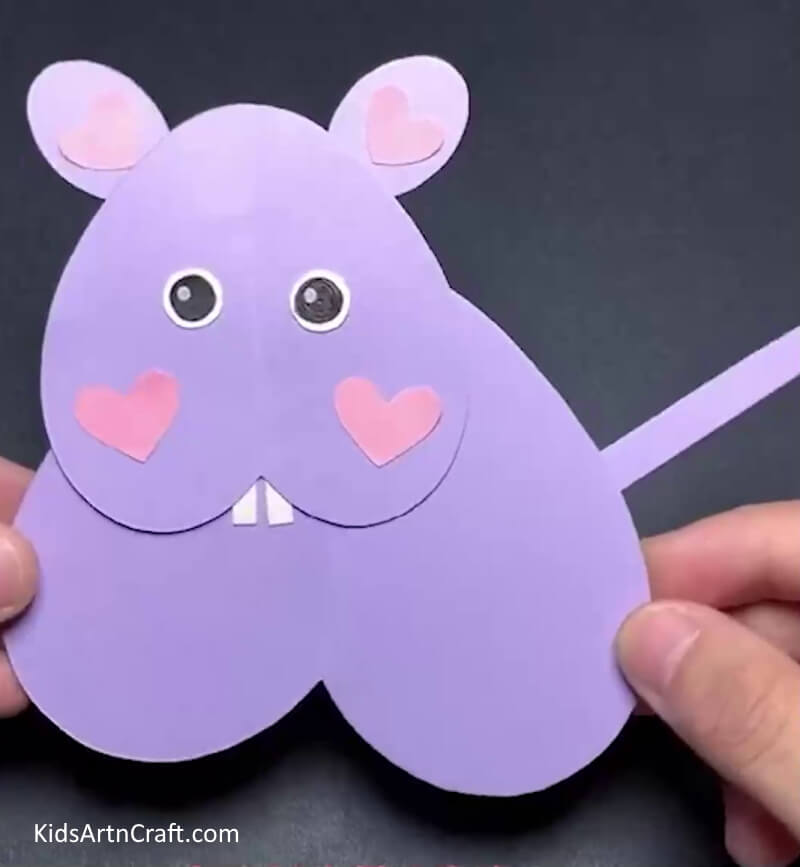
Image Source/Tutorial: Kids Art & Craft
Making a mouse out of paper is a creative and simple way to show your love. With a few simple folds, you can turn a regular sheet of paper into a beautiful heart-shaped mouse. Try this easy craft to show someone you care!
FAQs
What materials are needed to make a mouse craft with paper circles?
You will need a sheet of 8.5×11 inch white paper, a pair of scissors, a ruler, a pencil, a black marker, and glue.
What is the best way to draw the outline of the paper circles?
Use a ruler and a pencil to draw two circles, one larger than the other, on the paper.
How should the paper circles be cut out?
Carefully cut out the two circles using scissors.
What is the best way to make the ears for the mouse?
Use two smaller circles cut from the paper as the ears of the mouse.
How should the tail be made?
Take a small strip of paper and twist it into a spiral shape to form the tail.
Creating this mouse craft with paper circles is a fun and easy activity that kindergarteners will love! With just a few supplies and clear instructions, kindergarteners can make an adorable mouse craft that they will be proud of.
Follow us on Youtube for art and craft tutorials and much more.
More Articles from Kids Art & Craft
- Easy Crafts for 2nd Graders
- Paper Turtle Craft – Step by Step Tutorial
- Simple Way To Make Paper Flower Tree Craft
- Super-Easy Bookmarks Crafts That Kids Can Make Themselves
- Paper-Cutting Designs For Projects


