Paper Crafts
Cute Origami Mini Sofa Paper Craft For Beginners

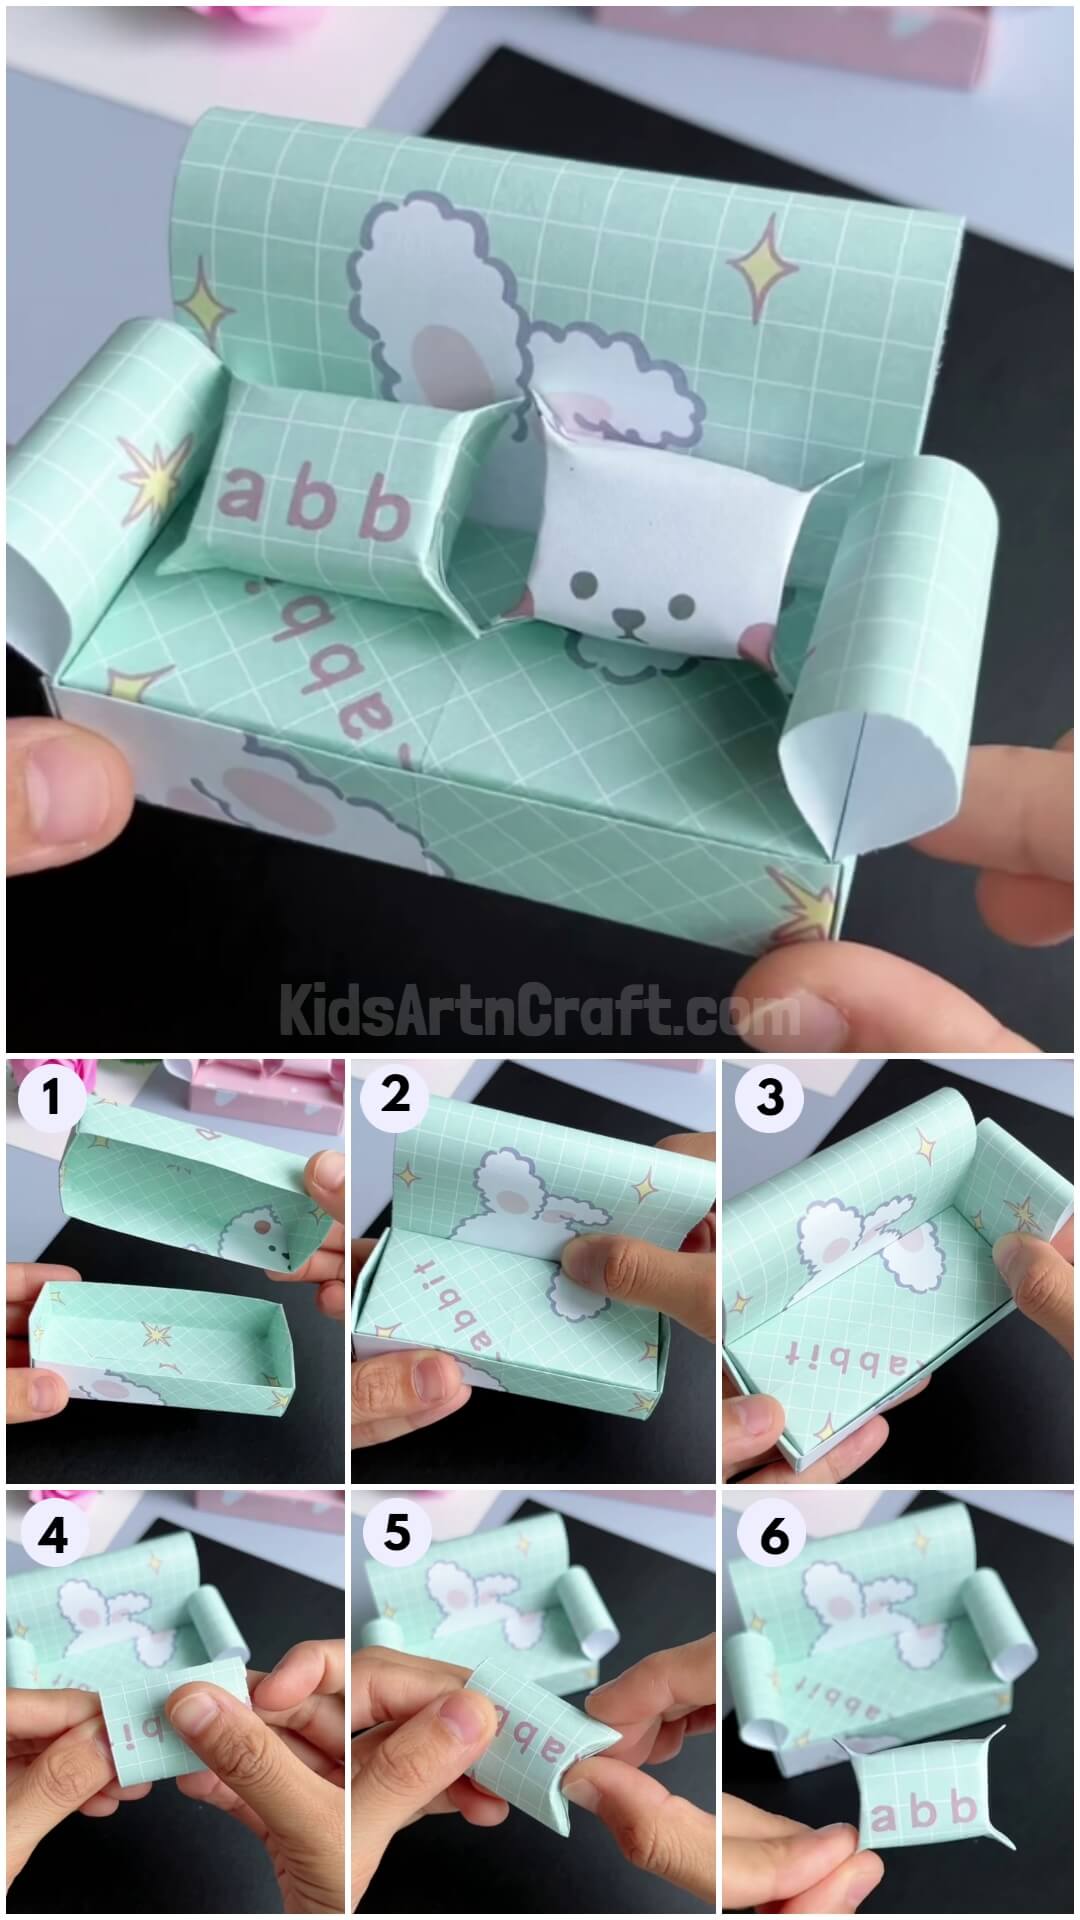
This tutorial will teach you how to make a super cute mini sofa out of origami paper! It’s easy to do and perfect for beginners. Add this craft to your home or office for a fun and unique decoration!
This tutorial will teach you to make a miniature sofa using just some sheets of paper and some good folding techniques. The intricate folding techniques will make your skills strengthen and your art more profound and technical. So, collect all the material required, and let’s start making this sofa craft.
Cute Origami Mini Sofa Paper Craft For Beginners

Read More: Learn To Make Easy Heart Shaped Paper Mouse Craft
Material Required
- A sheet with the parameter of 14×14 cm.
- A sheet with the parameter of 13.5×13.5 cm.
- A sheet with the parameter of 8.5×14 cm.
- Two sheets with the parameter of 3.7×9.5 cm.
- Two sheets with the parameter of 4×7 cm.
- Double-sided tape
Procedure
Step 1: Start With The Big Sheet Of Paper
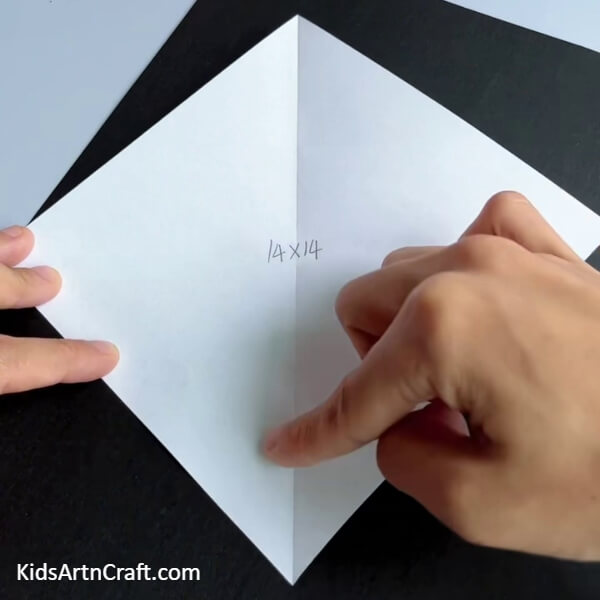

Take a big sheet of paper and fold one corner to the other opposite corner. Press on the fold to seal the mark and unfold the sheet back. See the picture below for reference.
Step 2: Make A Smaller Fold
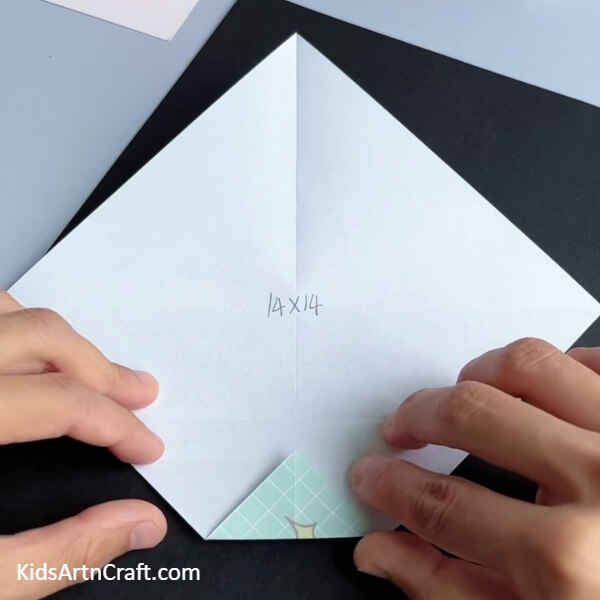
Make a small fold at the bottom corner of the sheet as shown in the picture below.
Step 3: Make Another Fold To This Small Fold
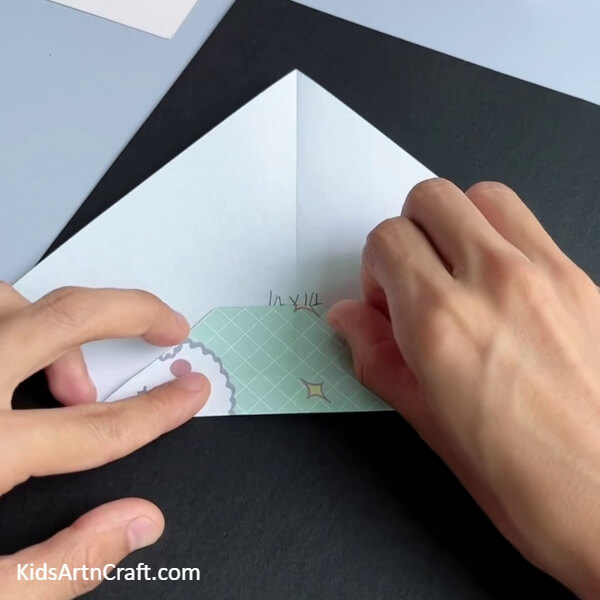
Make another fold to this small fold by dragging this fold up to the middle of the sheet. See the picture below for reference.
Step 4: Make Similar Folds On The Top Section Of The Sheet
Repeat the entire process on the top corner of the sheet as well making the folds aligned next to each other as shown in the picture below.
Step 5: Make Another Fold On The Sides Of The Shape
Make a horizontal fold on the bottom side of this shape and repeat the process on the top side of the sheet as well as shown in the picture below. Finally, undo the folds that you just made in this step.
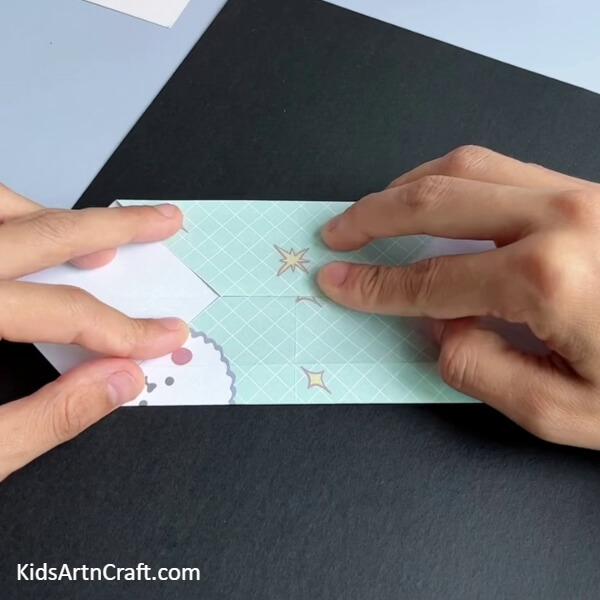
Step 6: Make More Folds In The Corner

Make a fold at the corner on the right side of this shape by fitting this corner into the triangular space above it. Opening the fold makes a smaller fold at the same corner. Now, make another small horizontal fold to this fold and then another similar fold until it levels up with the intersection above. Repeat the process on the left corner of the shape as well. Finally, undo the folds that you made in this step. See the picture below for reference.
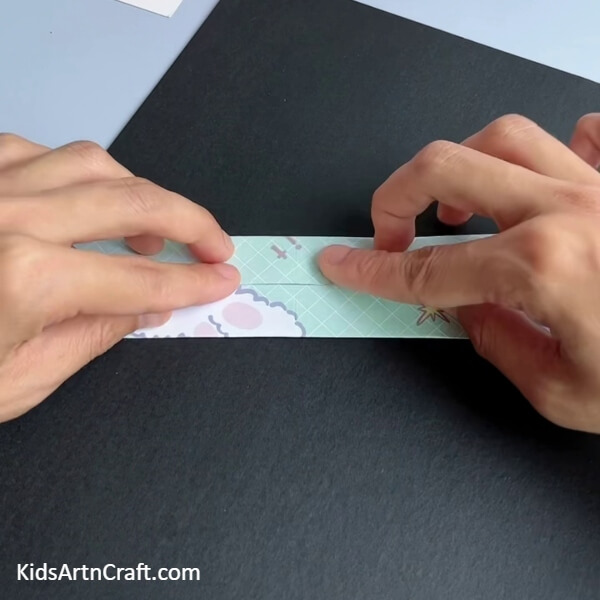
Step 7: Pushing In On The Marks Of The Folds
Make the horizontal folds that you made in the fifth step of the tutorial on the sides of the shape. Now, make these folds stand vertically, and using your index finger, push on the marks imprinted by the folds made in the previous step on the corners of the shape. Push them in properly to seal the shape desired. See the picture below for reference.
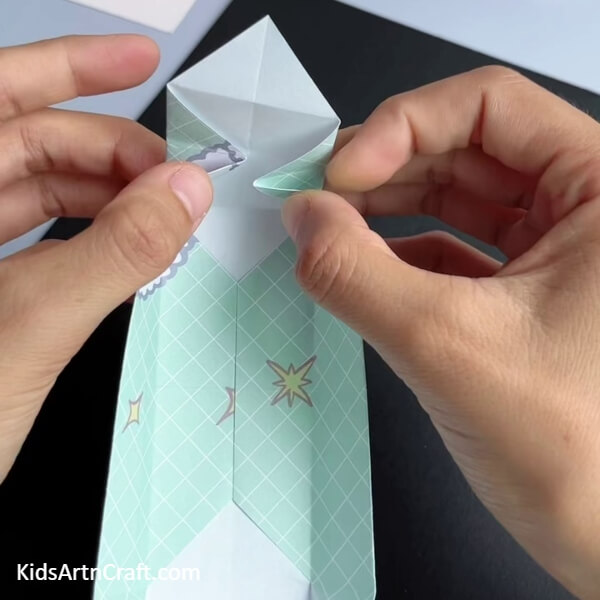
Step 8: Fold The Top Excess Sheet
Fold the top excess, corner sheet in the shape created by pressing on the sheet over the shape beneath and adjusting the corner on the base of the shape. See the picture below for reference.
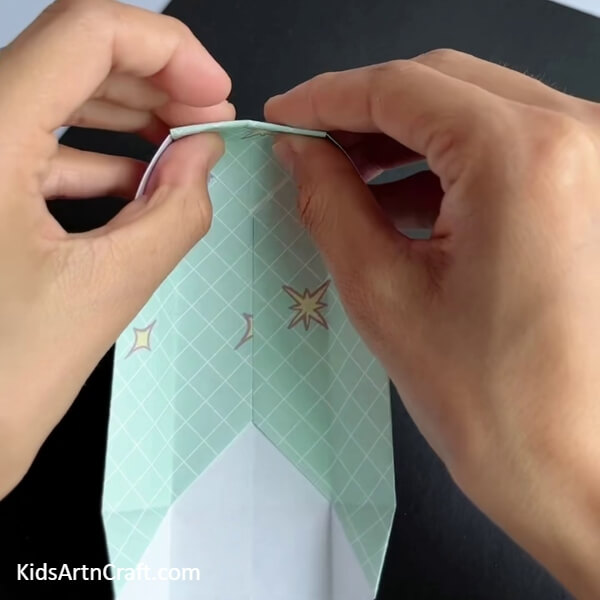
Step 9: Shape Both Corners
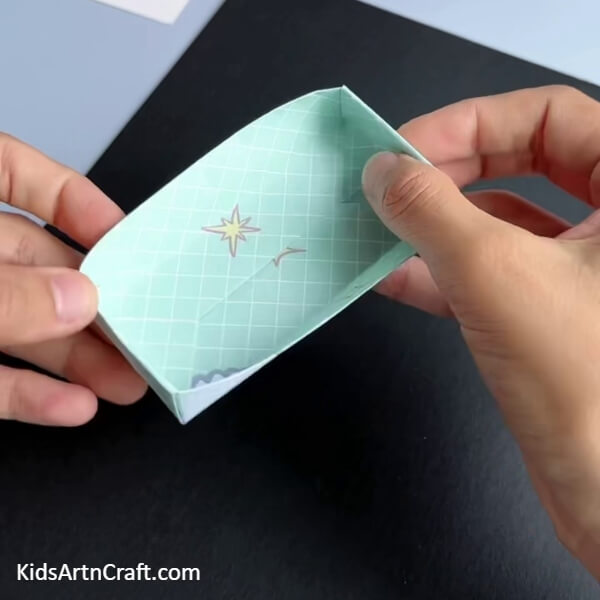
Repeat the process on the other corner as well sealing all the sides of the shape and making it look like a box as shown in the picture below.
Step 10: Working On A Similar Sheet
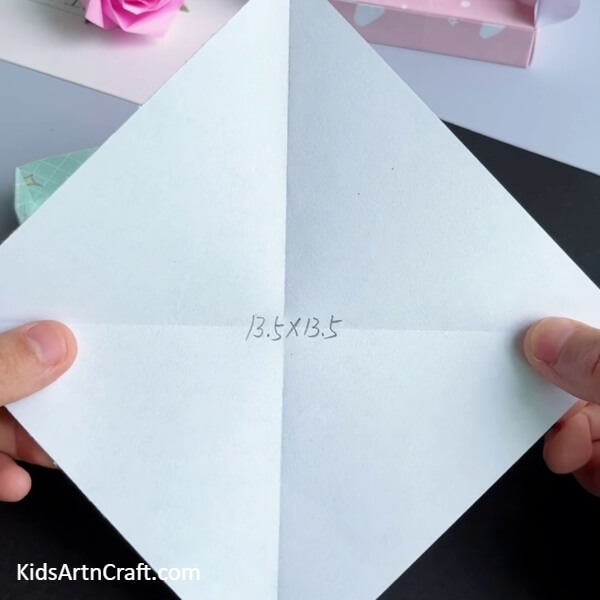
Take a similar sheet slightly smaller in size and fold the opposite corners of the sheet. See the picture below for reference.
Step 11: Make A Box Out Of This Sheet
Repeat all the steps on this sheet to create another box slightly smaller than the previous one. See the picture below for reference.
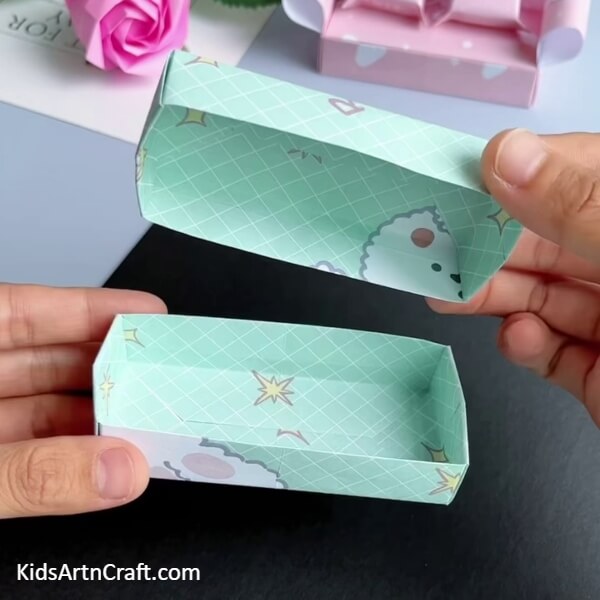
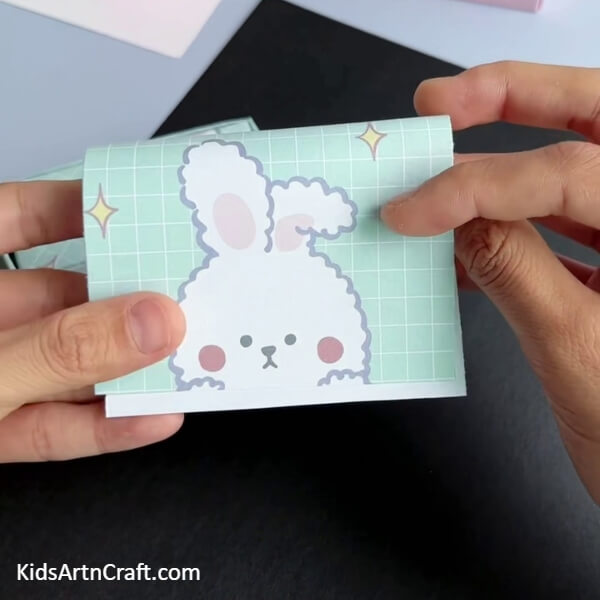
Step 12: Fitting Both The Boxes In

Fit this smaller box in the bigger box made earlier. You now have a shape resembling a rectangular slab as shown in the picture below.
Step 13: Working On A Longer Sheet
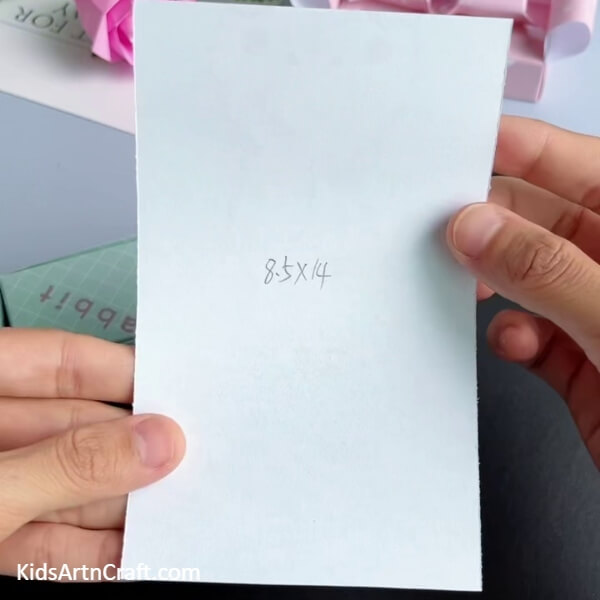
Take a rectangular sheet with parameters of 8.5×14 cm as shown in the picture below.
Step 14: Make A Fold On This Sheet
Drag the top side of the sheet to the bottom side without making a solid fold in the middle as shown in the picture below.
Step 15: Fitting The Shape In The Box Slab
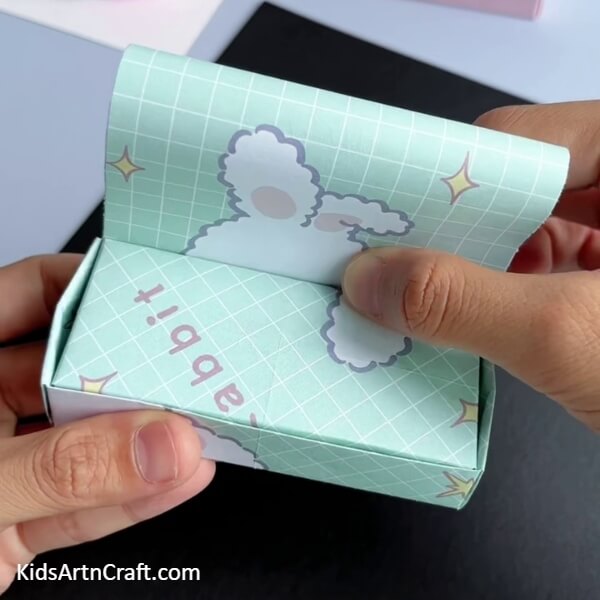
Fit the bottom of this folded sheet in the space between the boxes on the longer side of the slab as shown in the picture below. This shall act as the resting back of the sofa.
Step 16: Make The Sides Of The Sofa
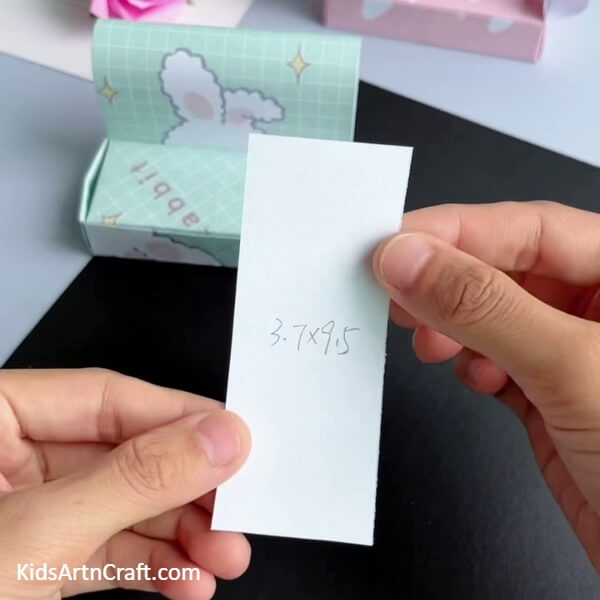
Take another rectangular sheet much smaller than the previous one with parameters of 3.7×9.5 cm. See the picture below for reference.
Step 17: Make A Fold On The Sheet
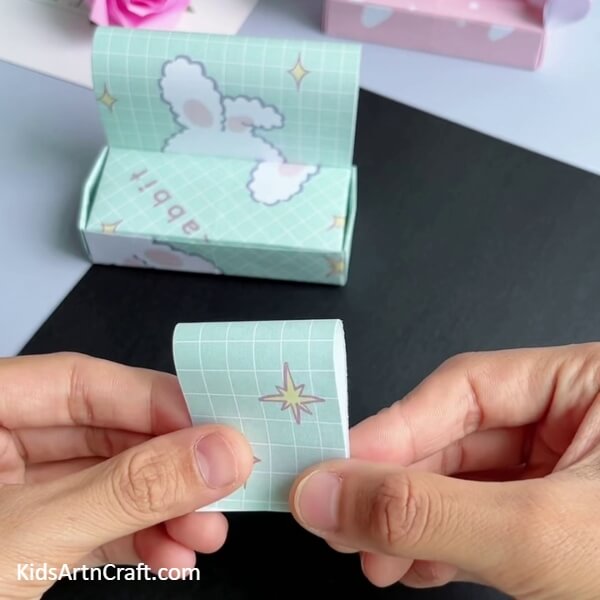
Make the same fold on this sheet that you made on the bigger rectangular sheet earlier.
Step 18: Fitting The Sheet On The Sofa
Fit this folded sheet in one of the smaller sides of the slab following the same pattern as you did with the bigger sheet earlier. See the picture below for reference.
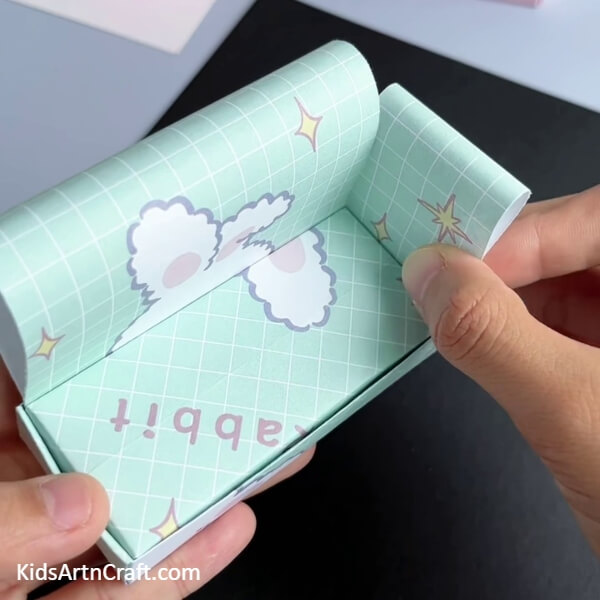
Step 19: Fitting The Other Sheet As Well
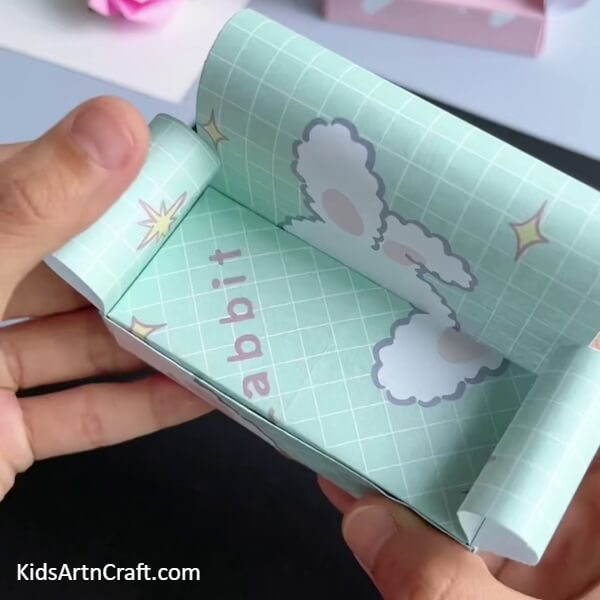
Make another such folded sheet and fit it in the other side of the slab as shown in the picture below. The slab now has three sides intact with a sitting space in the middle as shown in the picture below.
Step 20: Working On Even Smaller Sheets
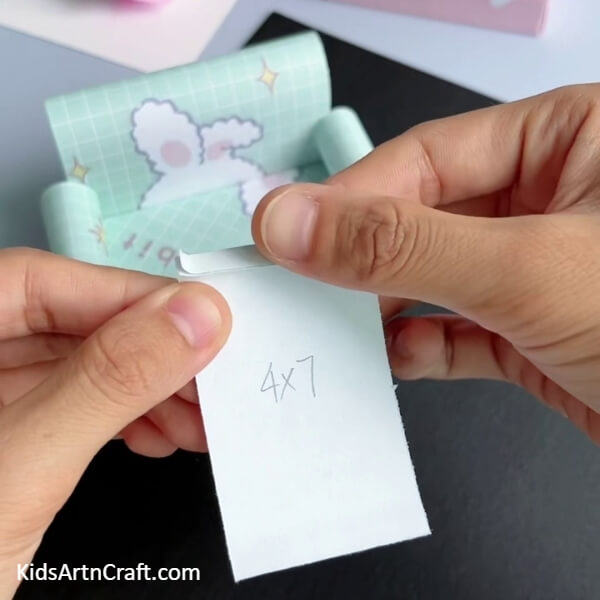
Take a small rectangular sheet with the parameter of 4×7 cm as shown in the picture below. Now, stick a piece of double-sided tape on the top side of the sheet.
Step 21: Pasting The Two Sides Together
Peel the top layer of the tape and paste the bottom side of the sheet on this tape as shown in the picture below.
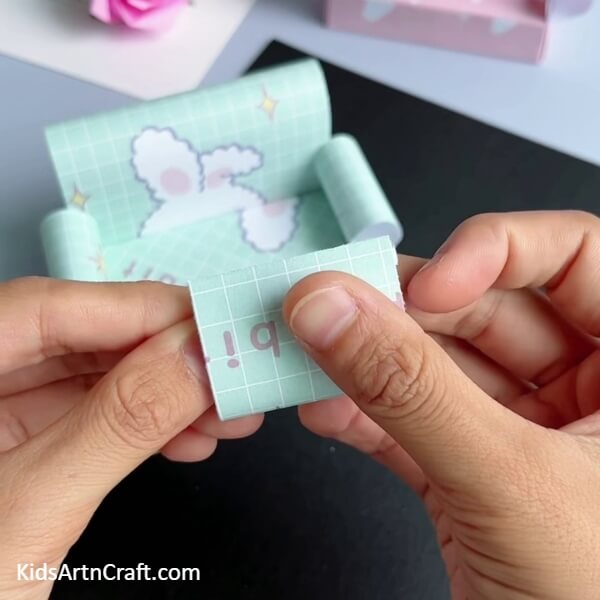
Step 22: Make Small Folds On The Sides
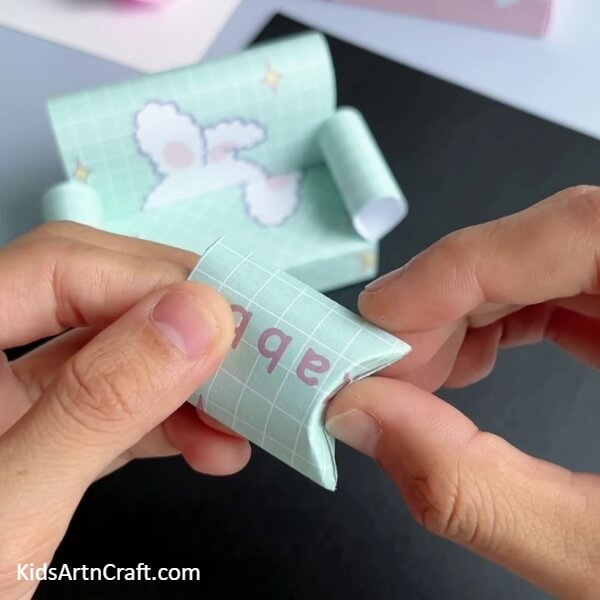
Push the smaller sides of the shape in just a little making small folds on both the layers of the sheet making one overlap the other to achieve the desired shape. See the picture below for reference.
Step 23: Make The Corners More Pointed
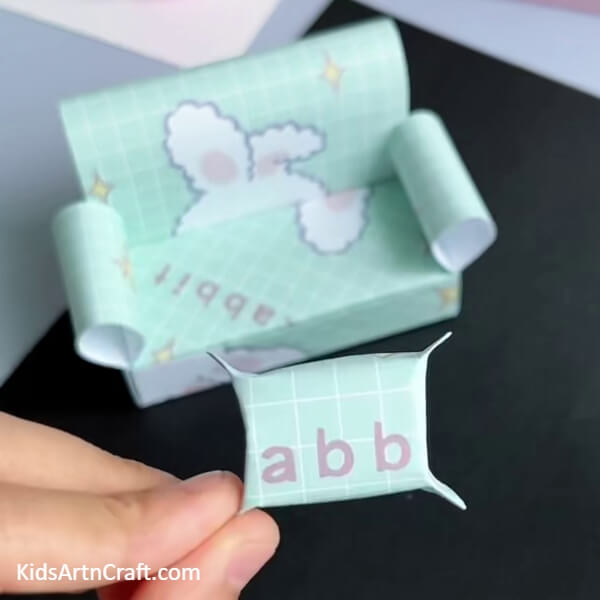
Press all four corners of this shape to make them more pointed to add more definition to the entire shape as shown in the picture below. This shall act as a sofa cushion.
Finally, Placing The Cushions On The Sofa
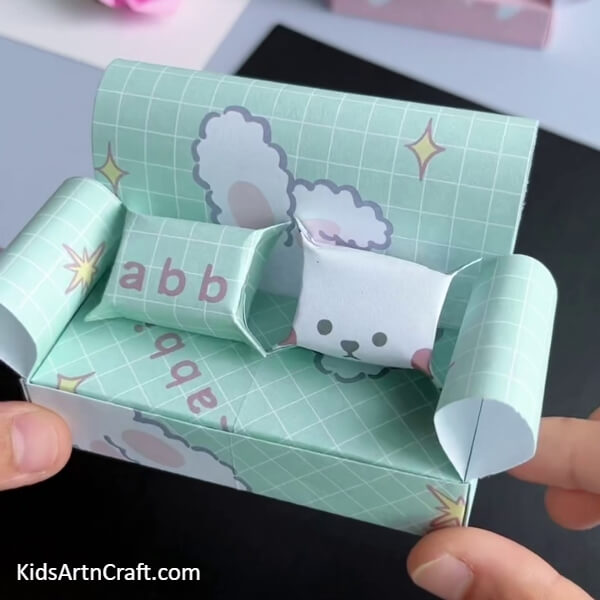
Make another such cushion using the same technique and place them on the sofa as shown in the picture below.
This completes the tutorial and we are left with an amazing sofa and cushions. You learned great folding techniques in this tutorial and also got an introduction to making miniature art. You can place it on your study table as decoration or somewhere in your living room. Think of more such unique ideas to experiment with your folding techniques on.
Follow the tutorials to learn more amazing art and craft. See you in the next tutorial. Till then, good luck and goodbye.
Thank you for visiting the website.
Follow us on Youtube for art and craft tutorials and much more.
More Articles from Kids Art & Craft
- DIY Easy Paper Chick Craft For Kids
- DIY Heart Shape Cat Craft for Valentine’s Day
- Heart Shaped Paper Mouse Craft Step by Step Tutorial
- How to Make Easy Paper Snowflakes Tutorial
- DIY Paper Tree Crafts for Kids Easy Tutorial