Paper Crafts
DIY Easy Paper Ladybug Craft Tutorial for School

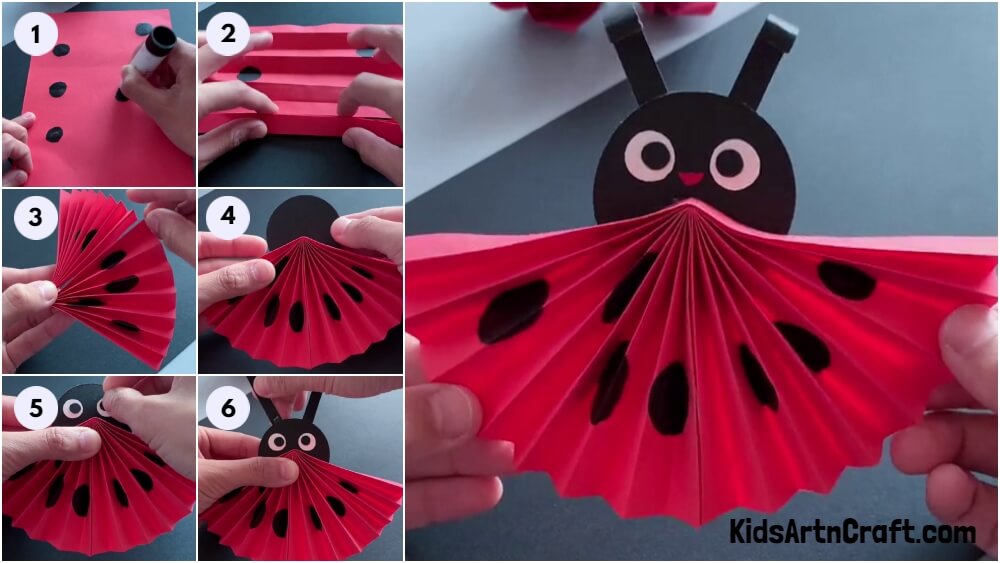
Make this adorable and easy paper ladybug craft with your kids for school. This tutorial provides you with simple steps and supplies to make a fun and unique craft project.
Prepare for a fun and valuable journey with this simple DIY paper ladybird craft guide for school! Making paper ladybirds is a fun activity that allows children to be creative while learning about nature and insects. We will walk you through the process of making stunning paper ladybirds with simple materials in this step-by-step tutorial. Making a DIY paper ladybird activity allows kids to engage in hands-on learning while also improving their fine motor skills and creativity. This project will teach you about ladybirds, their traits, and their significance in the environment. So, collect your materials and get ready to bring these adorable creatures to life!
DIY Easy Paper Ladybug For Kids
Read More: Learn To Make Easy Heart Shaped Paper Mouse Craft
Materials Required
- A black coloured sheet of paper
- A red coloured sheet of paper
- A black coloured marker
- A pair of scissors
- Any adhesive
Procedure
Step 1: Create Black Circles
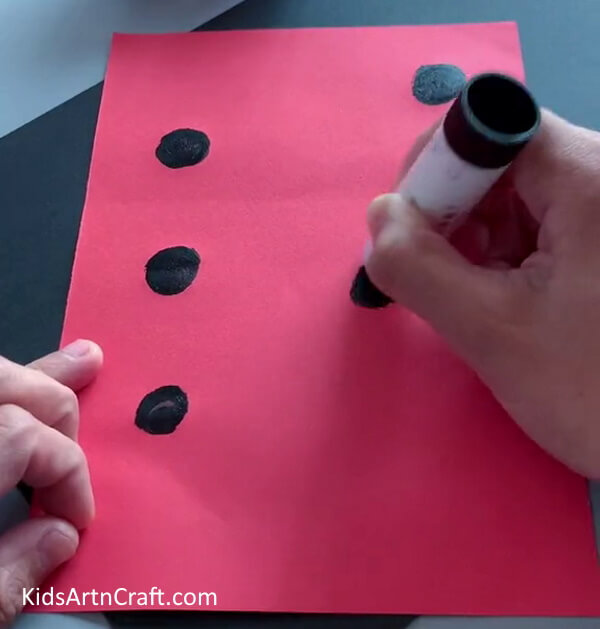
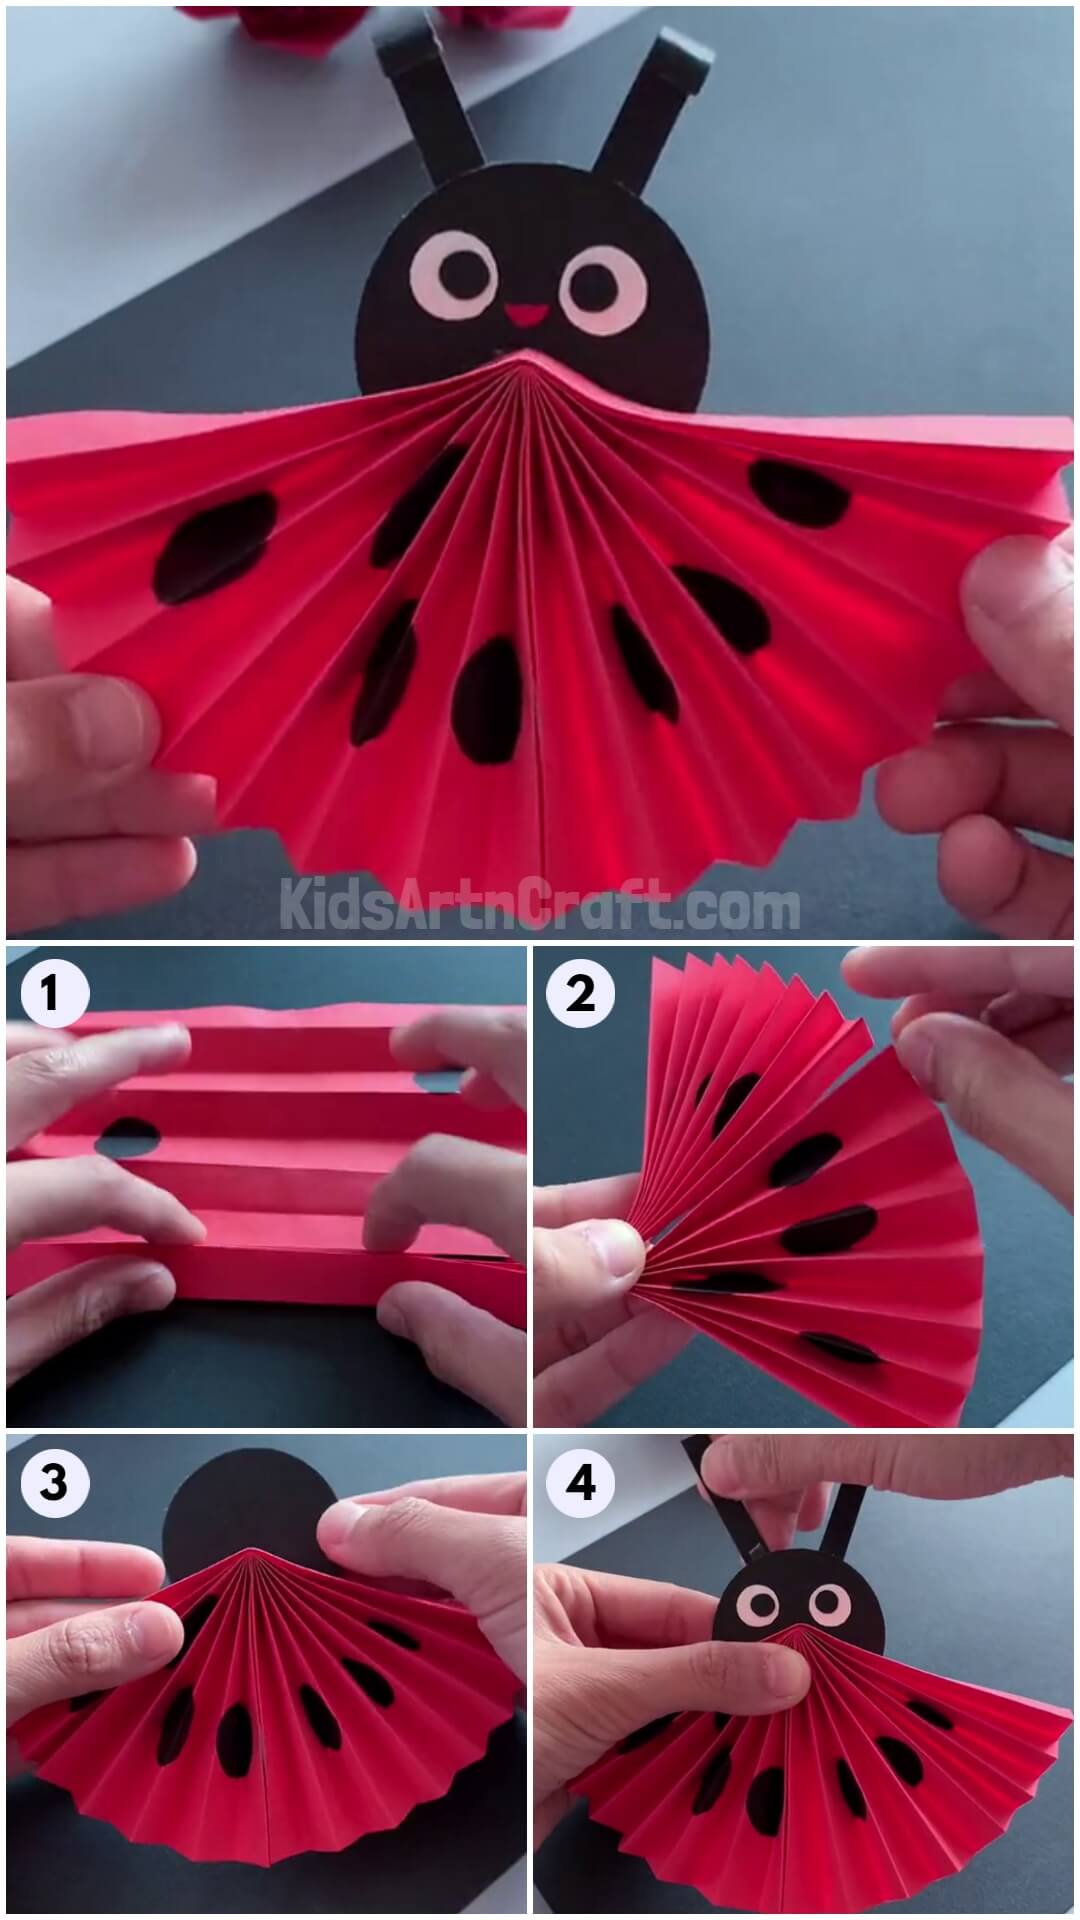
Firstly, take the red coloured sheet of paper and using the black coloured marker, draw various circles of the same size.
Step 2: Create Successive Folds On The Paper
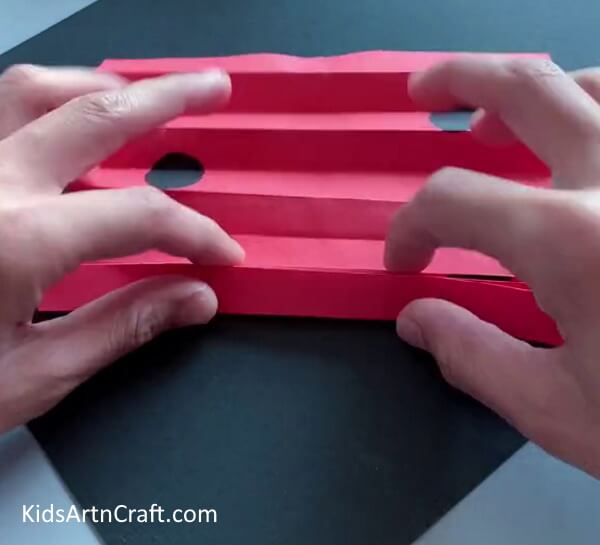
Now, take one end of the paper and create successive folds as one does while making paper fans.
Step 3: Fold And Secure The Whole Design
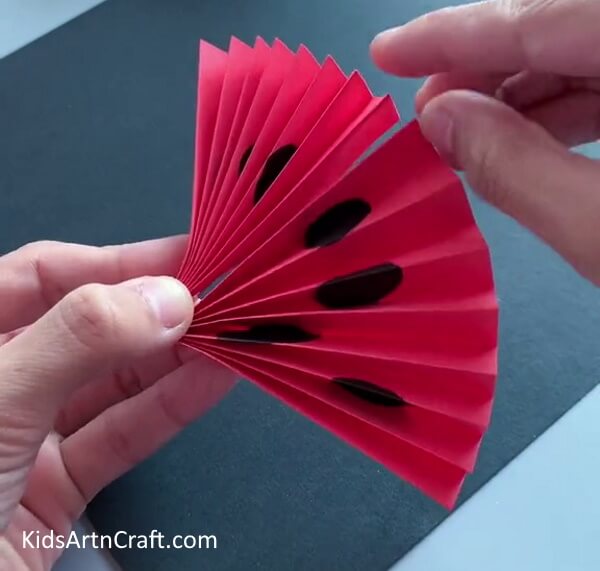
Now, bring the opposite ends together by folding the whole design inwards and secure it by using the adhesive.
Step 4: Paste The Design On The Black Circle
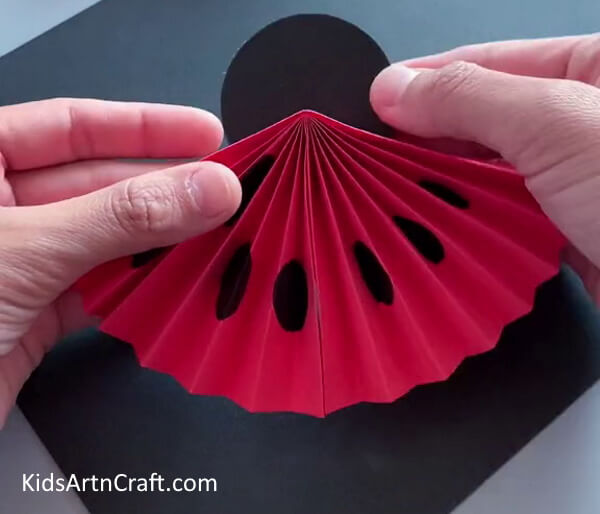
Next, take a black sheet of paper and using the pair of scissors cut a black circle out of it. Then, using the adhesive, paste the red design on the black circle as shown in the image below.
Step 5: Paste The Eye Cutouts
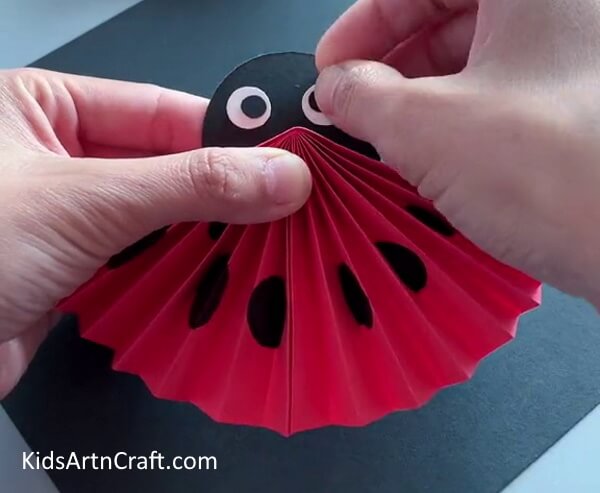
Firstly, create eye cutouts by pasting small black circles on the bigger white ones. Now, paste these cutouts on the black circle. You can also add a smile cutout by cutting a small piece of red sheet and pasting it on the bug’s face using the adhesive.
Step 6: Add the antennae
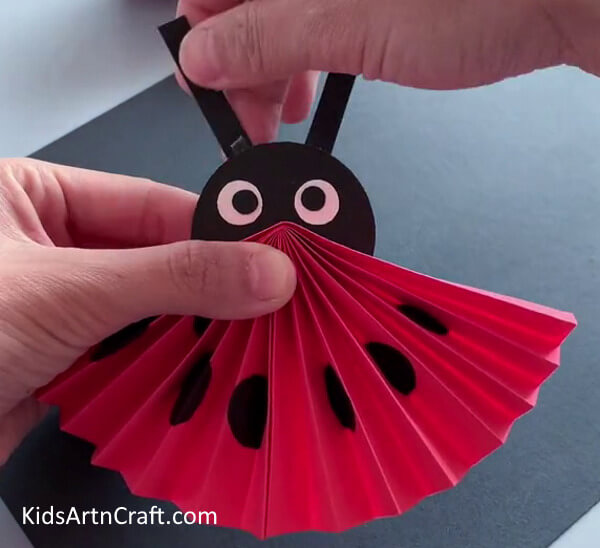
Firstly, cut out two stripes out of the black sheet and paste them as antennas using the adhesive.
Step 7: Roll the antennae
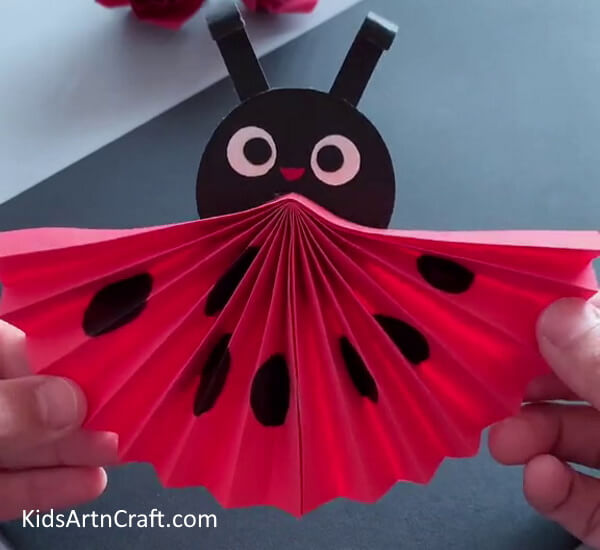
Finally, wrap the antennae cutouts around a pencil and then roll them up.
Create More And More Lady Bug Friends!
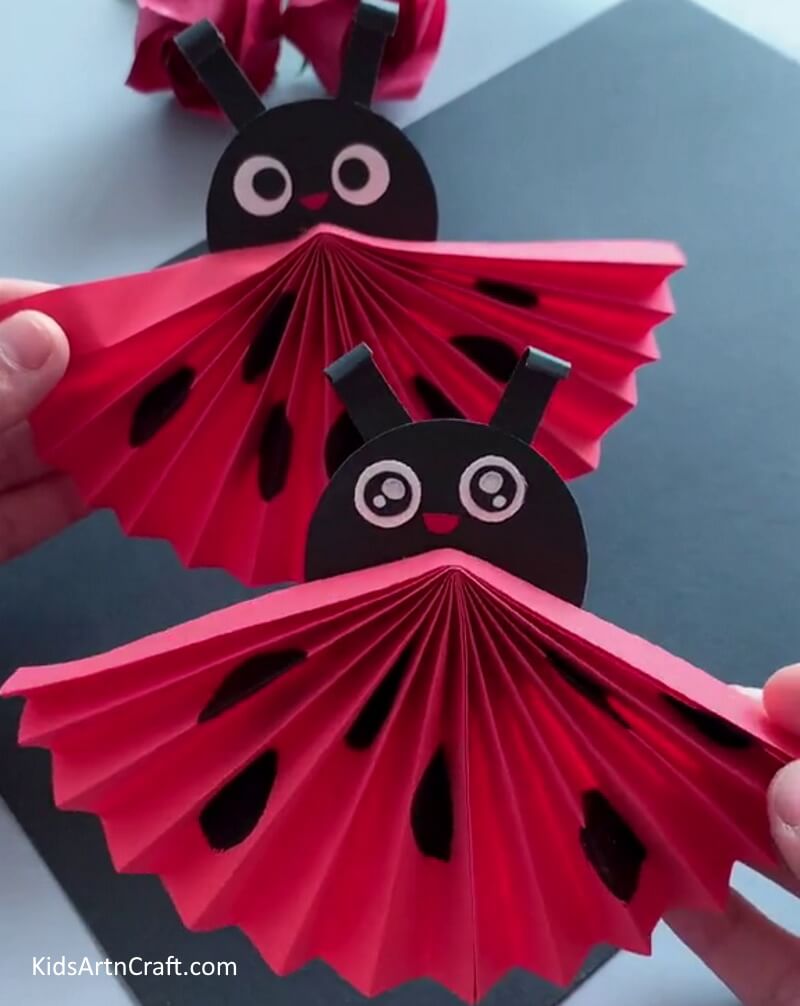
An easy DIY paper ladybird craft is a great classroom project that combines creativity, fine motor skills, and learning about nature. Students may bring these charming creatures to life by utilizing basic materials. This craft not only promotes artistic expression but also teaches about ladybirds, their traits, and their value in the ecology. It can generate conversations on insect anatomy, the benefits of ladybirds as natural pest controllers, and the diversity of species in nature.
So gather your materials, immerse yourself in the fascinating world of ladybirds, and have fun creating these adorable paper animals with your kids. Use them in the classroom, for educational activities, or even as part of a bigger nature-themed project. This lovely DIY paper ladybird craft combines the joys of crafting and learning!
Do let us know your thoughts in the comment section below and check out our other posts for more such amazing art and craft ideas for kids, until then, happy crafting.
Follow us on Youtube for art and craft tutorials and much more.
More Articles from Kids Art & Craft


