


Paper Crafts
Simple Paper Table Fan Craft Tutorial for Kids

This simple paper fan craft tutorial is a fun and easy way to keep your kids cool during the hot summer months. With minimal materials, your children can make their very own paper table fan that is sure to keep them cool and entertained for hours.
Welcome to our Simple Paper Table Fan Craft Tutorial for Kids! This is a fun and easy way to get your kids to make their own fans. All you need is some paper, scissors, and a few basic materials. With this tutorial, your kids will be able to make their own table fan in no time. Plus, they’ll have fun doing it, too! So, let’s get started and make some fun and functional table fans.
How To Make Paper Table Fan Craft?

Read More: 3D Cactus Paper Craft Tutorial for Kids
Material Required
- A Sheet Of Paper Suitable For Origami
- A Red Colored Sheet Of Paper
- A Pair Of Scissors
- Any Adhesive
Procedure
Step 1: Take The Paper
Take the paper and create a crease as shown below.
Step 2: Fold It Inwards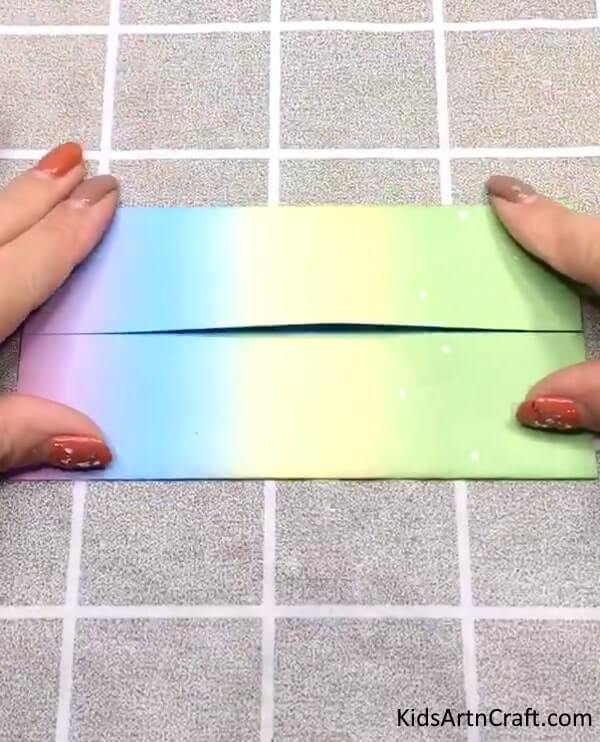
Now, fold the paper inwards from both sides, forming a rectangular shape.
Step 3: Make Another Fold

Now, take the rectangular design and fold it vertically, inwards from both sides.
Step 4: Pull Out a Little Portion

Now, you are supposed to bring some portion out of the folded paper as shown below.
Step 5: Pull The Paper Out

Next, pull the folded portion out from both sides of the design as shown. In the next step, notice the crease close to the triangular opening for folds.
Step 6: Make a Fold In The Shape Of a Square

Now, take the triangular part and as per the crease, fold it inwards making a square-like shape.
Step 7: Repeat The Last Step For The Other Side As Well

Repeat the last step, for the green portion of the paper as well. Then you are supposed to give a little triangular-shaped fold to the paper as shown.
Step 8: Press The Triangular Fold

now, press the triangular fold to create a small opening. Meanwhile, create another triangular fold on the other side of the small square.
Step 9: Follow The Last Step

Similarly. fold and press to create the opening for all the other sides of the square fold as well, you will receive a design as shown below.
Step 10: Flip The Paper To The Other Side

Turn the whole design to the other side and then make small triangular folds on each side of the four sides of the paper.
Step 11: Flip The Design To The Other Side

Next, turn the design back to the other side and make adjustments to make sure that the back folds are not visible to the front side.
Step 12: Paste The Red Circle

Take a red colored sheet of paper and cut it into the shape of a circle using a pair of scissors. Then paste the circle on the middle portion of the fan using an adhesive.
Step 13: Take Another Sheet Of Paper

Take another sheet of paper and fold it inwards from both sides equally, as shown in the picture below.
Step 14: Create Triangular Folds On Either Side

Next, fold one side of the paper in the form of a triangle.
Step 15: Further Create Small Triangular Folds

Create further small triangular folds in the whole design.
Step 16: Repeat The Last Step For The Other Side Too

Here, you are supposed to repeat the last step for the other side of the design too.
Step 17: Bring Both Sides Together

Now, fold the paper in such a manner that both sides are brought together and can easily touch each other.
Final Step: Paste The Sides At The Middle Of The Fan

Now, using an adhesive, paste both ends of this design on the red circle you pasted on the previous design. The following picture will be your final design.
This craft idea is a must-try for those kids who have an intermediate level of knowledge about origami and its folding techniques, being step oriented, it challenges your little ones’ attention to detail and works towards developing the motor skills of the creator. So, if you feel like your little one is bored of the easy origami ideas and is looking for something more challenging and fun, then this craft idea is a must-try for your kiddo, have fun folding!!.
FAQs
Q1. What materials are needed to make a paper table fan craft?
Answer: You will need a piece of card stock paper, scissors, glue, a ruler, and a pen or pencil.
Q2. Is this craft suitable for children?
Answer: Yes, this craft is suitable for children ages 5 and up.
Q3. How long does it take to make the fan?
Answer: This craft can usually be completed in 10-15 minutes.
Q4. Do I need to have any special skills to make the fan?
Answer: No special skills are required to make the fan.
Q5. What is the best type of paper to use for the fan?
Answer: The best type of paper to use for the fan is card stock paper.
This simple paper table fan craft tutorial for kids is an easy and fun way to encourage creativity and keep cool during the summer months.
Follow us on YouTube for art and craft tutorials and much more.
More Articles from Kids Art & Craft
- DIY Paper Flower Craft – Step-By-Step Tutorial
- Paper Lollipop Craft – Learn to Make Origami Paper Candy with Step-By-Step Tutorial
- Fun To Make Paper Flower Bucket Craft – Step-by-Step Tutorial
- Easy To Make Paper Butterfly Craft – Step-By-Step Tutorial
- Easy Origami Cat Folding Craft for Preschool Kids – Step-By-Step Tutorial


