Popsicle Stick Crafts
Popsicle Stick Slide Model Craft Tutorial For Kids

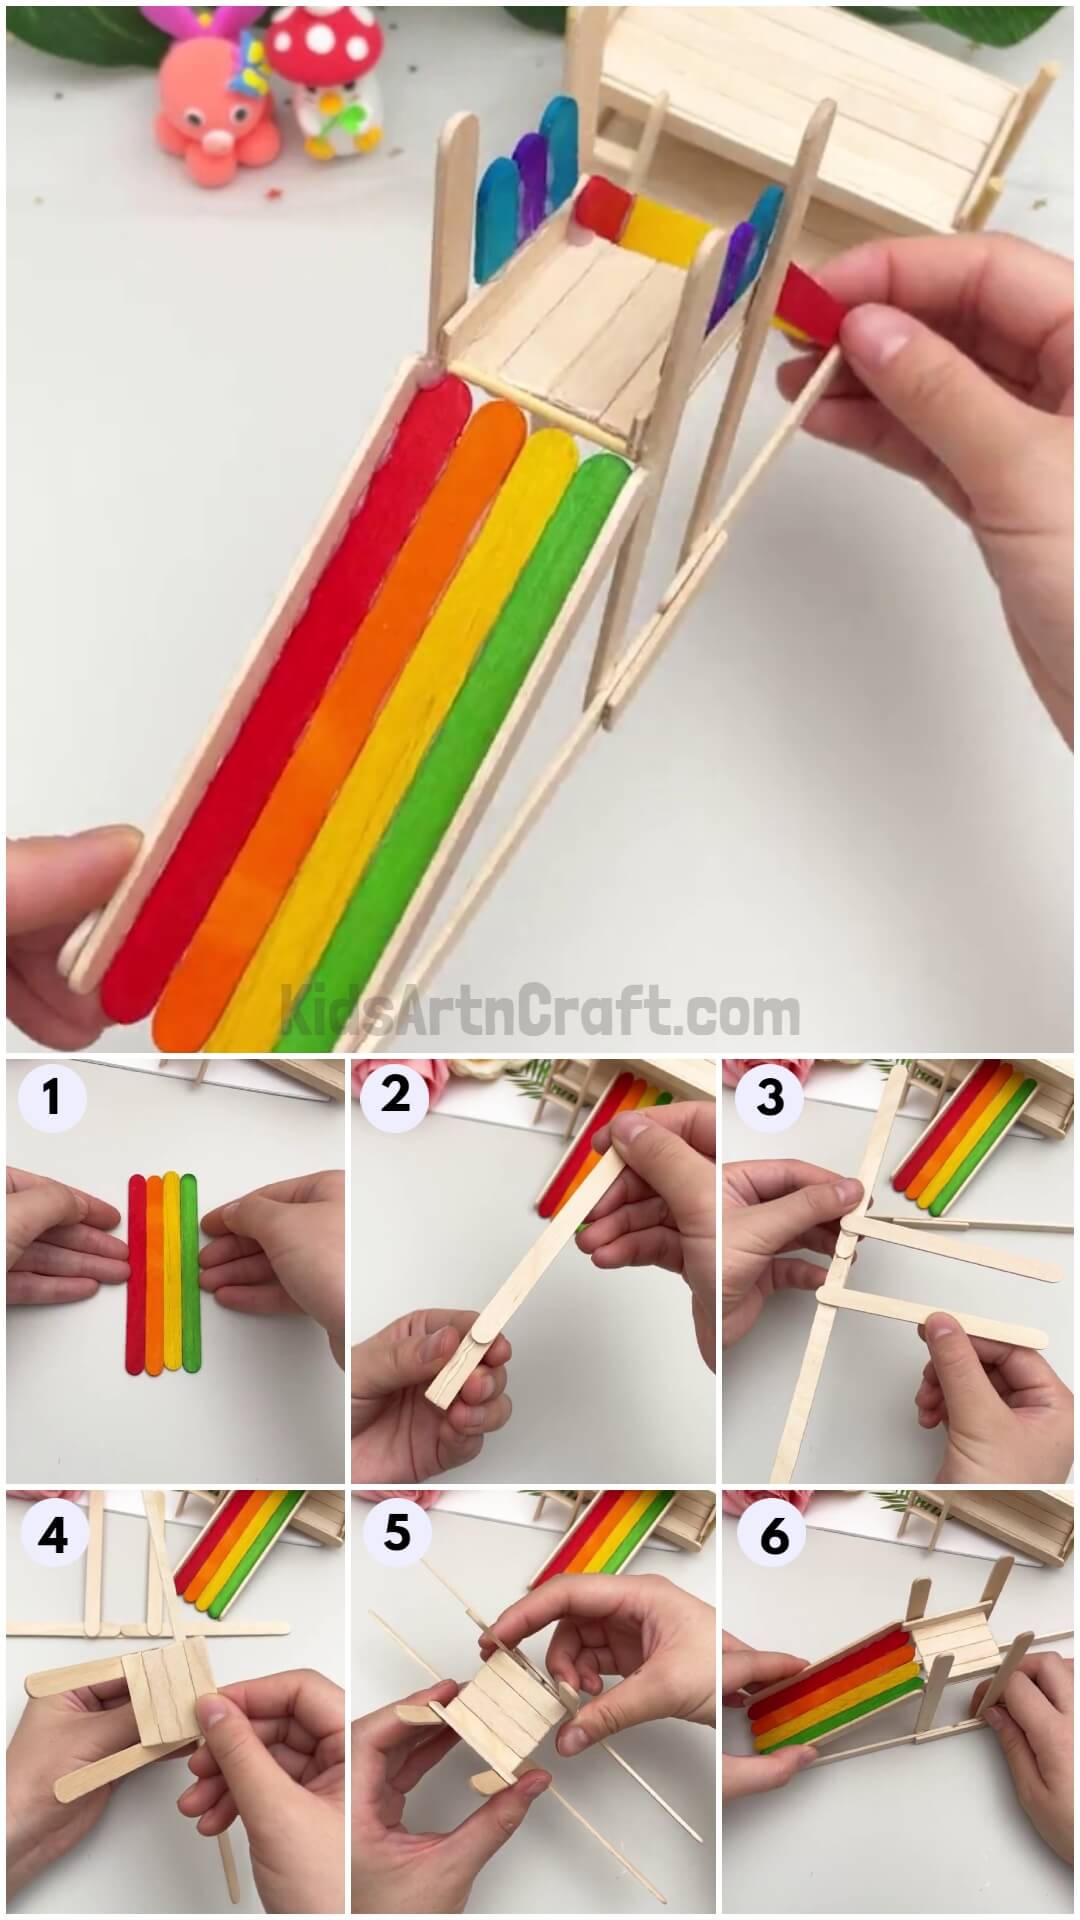
Dive into memories of the happy you playing on slides! This tutorial will replenish the joy by teaching you to make a popsicle stick slide!
Play slides are literally the best for kiddos to have the best times of their childhood! This craft will be perfect for the kiddos to make a craft inspired by their thing of joy! This craft can also be for the adults to remind all the playful and happy memories of their childhood as well! This step-by-step tutorial article will guide you to each and every step of this craft-making in the easiest way possible! The results will definitely stun you as you will be creating it like a pro with us! So, let’s begin!
DIY Popsicle Stick Slide Model Craft
Read More: Creative Popsicle Sticks Archery Toy Craft Making Idea For Beginners
Materials Required
- Popsicle Sticks (Simple And Colored)
- Craft Cutter
- Hot Glue Gun
Procedure
Step 1: Taking Popsicle Sticks
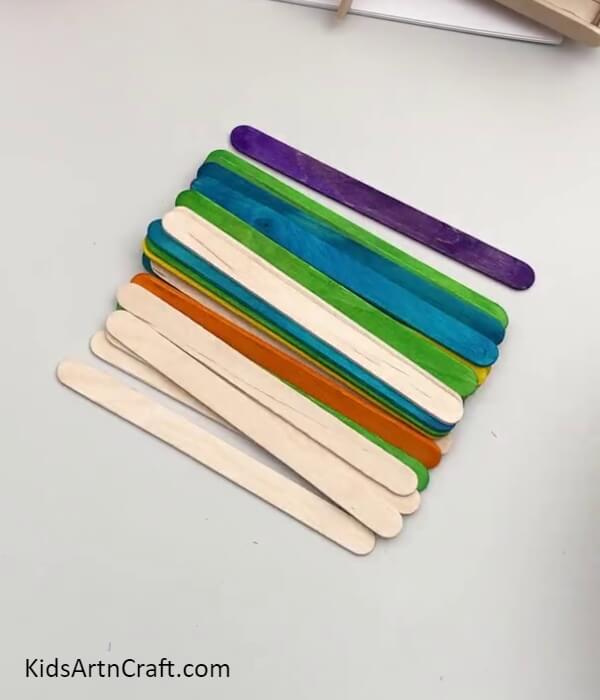
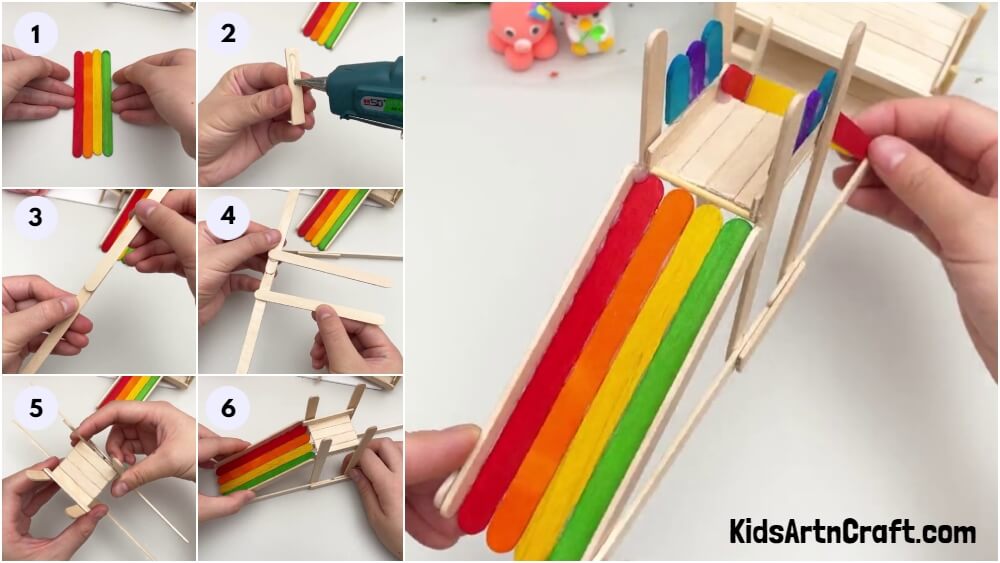
Begin this craft by taking some simple and colored popsicle sticks.
Step 2: Sticking 4 Popsicle Sticks Together
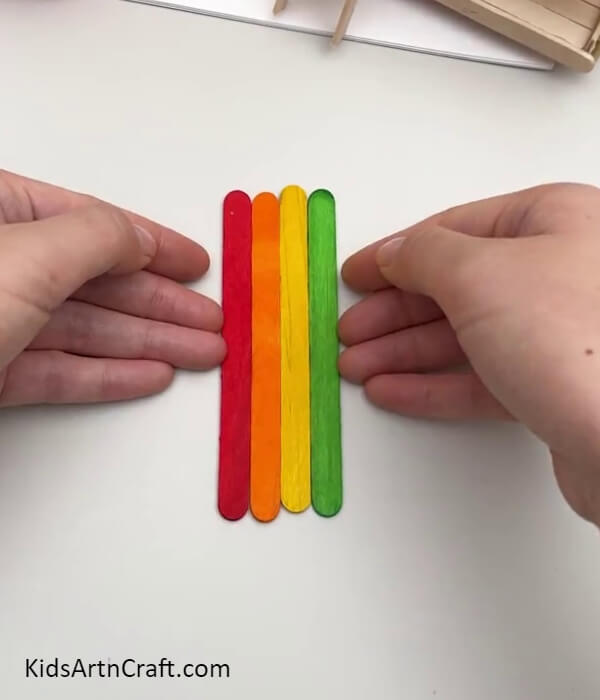
Take a red, orange, yellow, and green colored popsicle stick and paste them together respectively in the same order using hot glue. This will be the slanting slab of your slide.
Step 3: Making Boundary Of The Slanting Slab
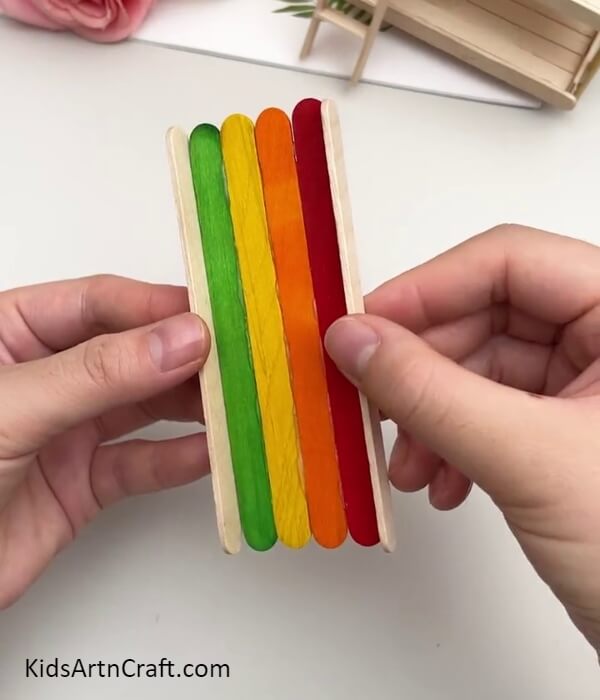
Paste simple popsicle sticks perpendicularly on the sides of the slanting slab to make a protective boundary on it.
Step 4: Applying Hot Glue Over A Popsicle Stick Piece
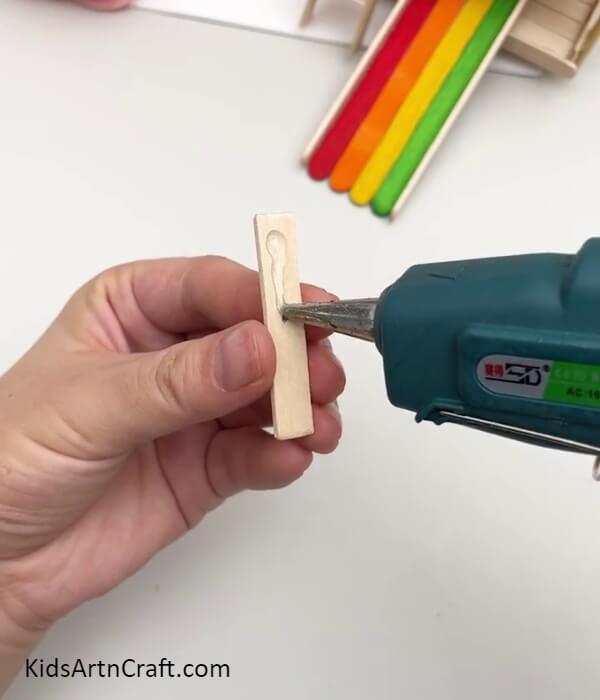
Using a craft cutter, cut out a small popsicle stick piece, and using a hot glue gun apply hot glue over it.
Step 5: Pasting A Popsicle Stick Over The Piece
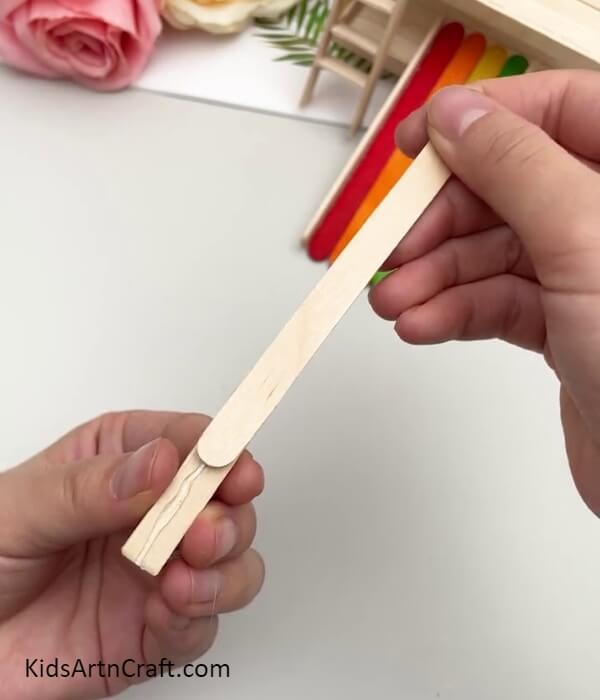
Paste a simple popsicle stick over half of the popsicle stick piece.
Step 6: Pasting Another Popsicle Stick
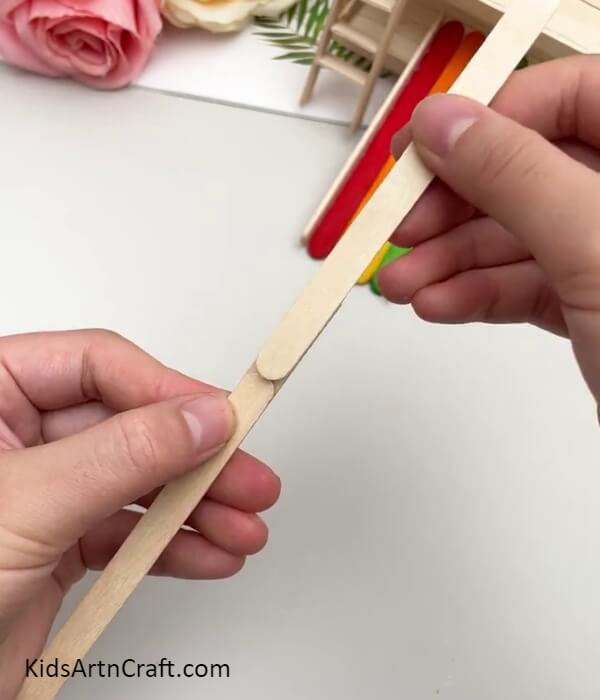
Paste another popsicle stick on the other half of the popsicle stick piece. This will be the base of your slide.
Step 7: Pasting 2 Popsicle Sticks Over The Base
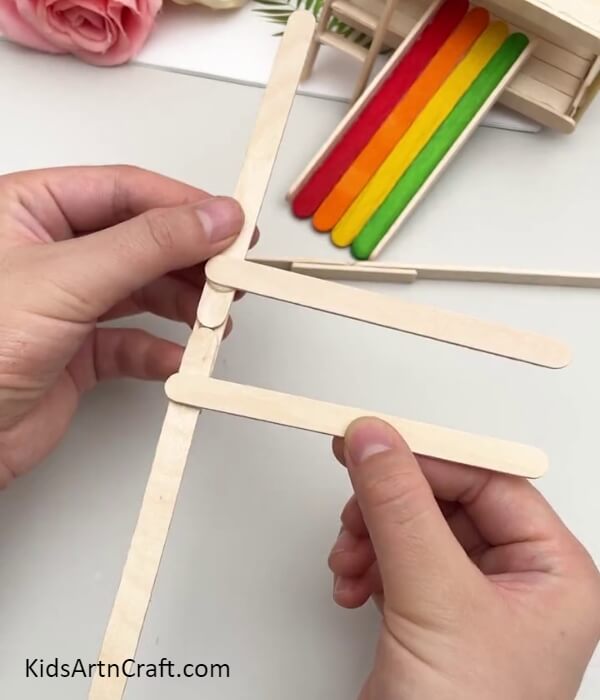
Using hot glue, paste 2 popsicle sticks perpendicularly in the middle of the base near the ends of the popsicle sticks as shown in the image.
Step 8: Pasting A Popsicle Stick Square To The Base
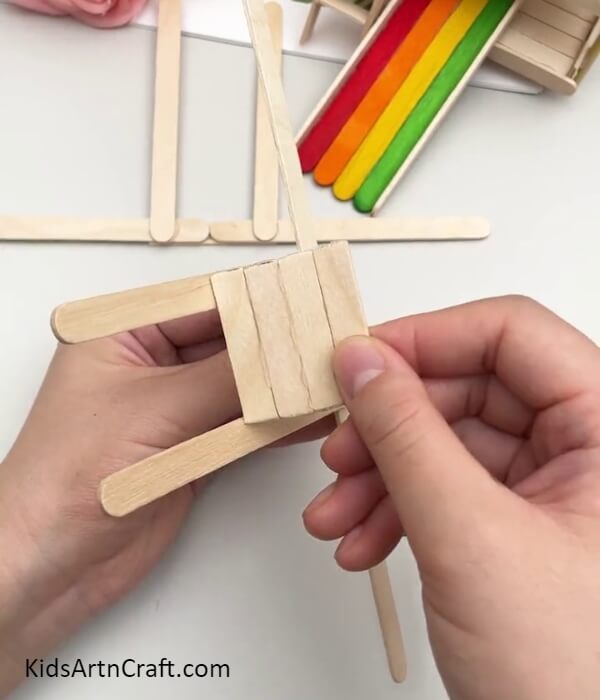
Cut out the popsicle stick pieces using the craft cutter and stick them together to form a square. Paste this square over the 2 parallel sticks over the base using hot glue as shown in the image.
Step 9: Pasting Another Base To The Square
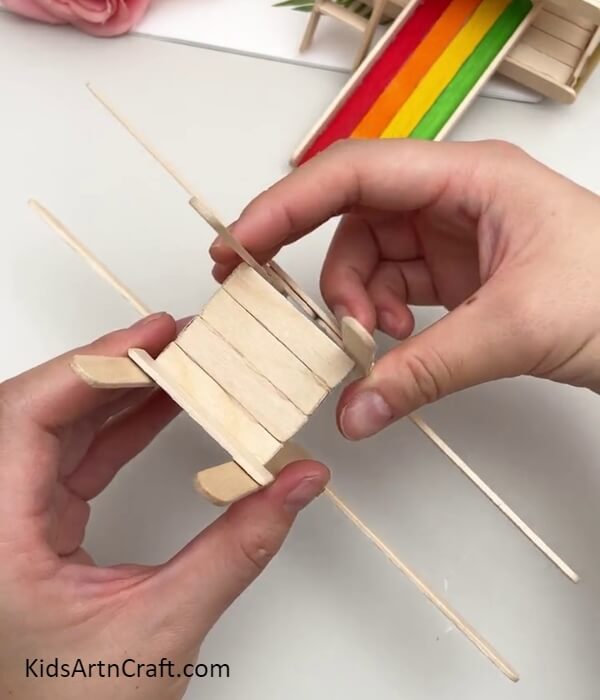
Following the same, make another base as before and stick it to the side of the square opposite to the first base using hot glue. This becomes the seat over the slide.
Step 10: Sticking The Slanting Slab To The Base
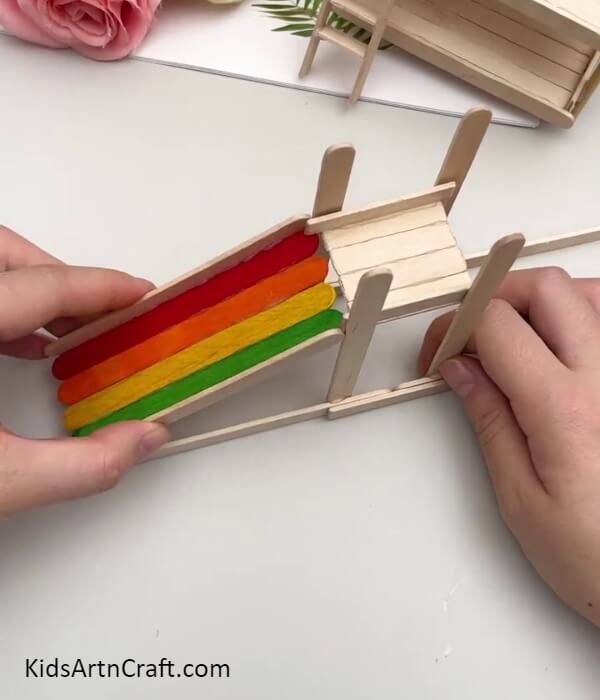
Stick the slanting slab of the slide from the seat to the end of the base using hot glue.
Step 11: Making The Ladder Of The Slide
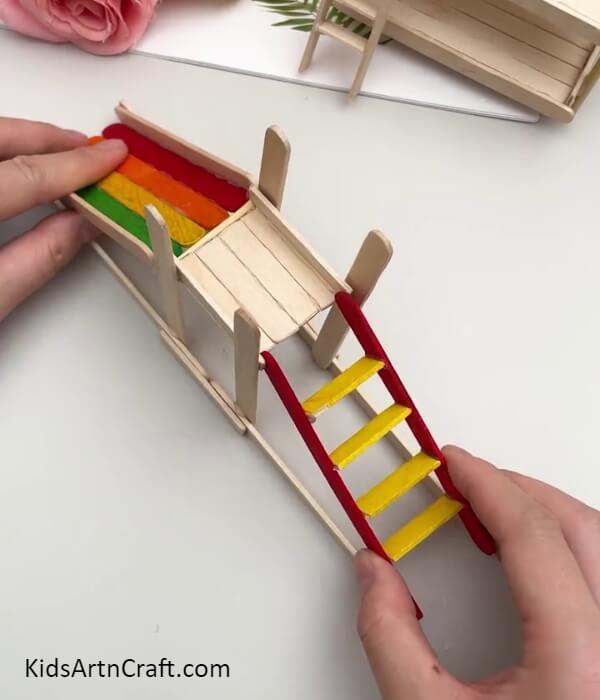
Cut out 4 pieces from the yellow popsicle sticks using the craft cutter and paste them in between 2 red popsicle sticks a little tilted to make the ladder of the slide using the hot glue gun’s glue. Paste this ladder from the other side of the seat to the end of the base sticks, behind the slanting slab.
This Is The Final Look Of Your Popsicle Stick Slide!
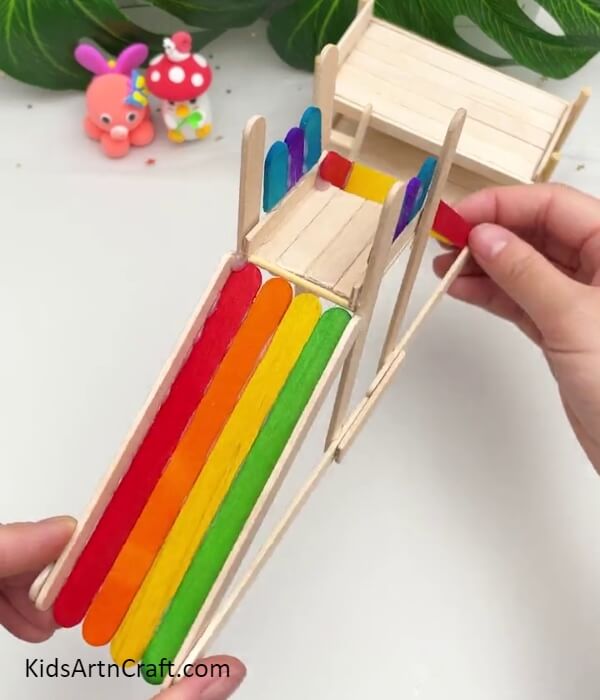
For the last step, using the craft cutter cut out paste curved end pieces of purple and blue 3-3 on each side of the seat as shown in the image using hot glue.
Yes! You did it! You have successfully made your cute popsicle stick slide craft model!
You can now show it off to your friends and family and let them be proud of your creation and skills! Decorate this craft in your room to add an amazing addition to your craft collection and also brighten up the room! This craft is perfect for the kiddos to engage in a fun learning activity with their interest involved in the boring afternoon hours! You can even customize your slide craft model in any way you like, add small flowers or craft pearls or beads to it to decorate the handle, cover it with paper sheets, or anything! Your imagination is the limit!
We are hoping you loved the article and the description in it! Share it as much as you can and also give your feedback in the comments section to motivate us in bringing such crafts for you! Thank you!
Follow us on Youtube for art and craft tutorials and much more.
More Articles from Kids Art & Craft
- Beautiful DIY Popsicle Sticks Pencil Stand Craft Tutorial
- Popsicle Sticks Chair Craft Making Tutorial
- Cool Airplane Popsicle Stick Craft Step-by-step Tutorial For Kids
- Pretty Sunflower Pattern Popsicle Stick Stand Craft Tutorial For Kids
- Unique Popsicle Stick Flower Vase Craft Tutorial For Beginners


