Step By Step
Beautiful Winter Urban Landscape Ideas For Kids

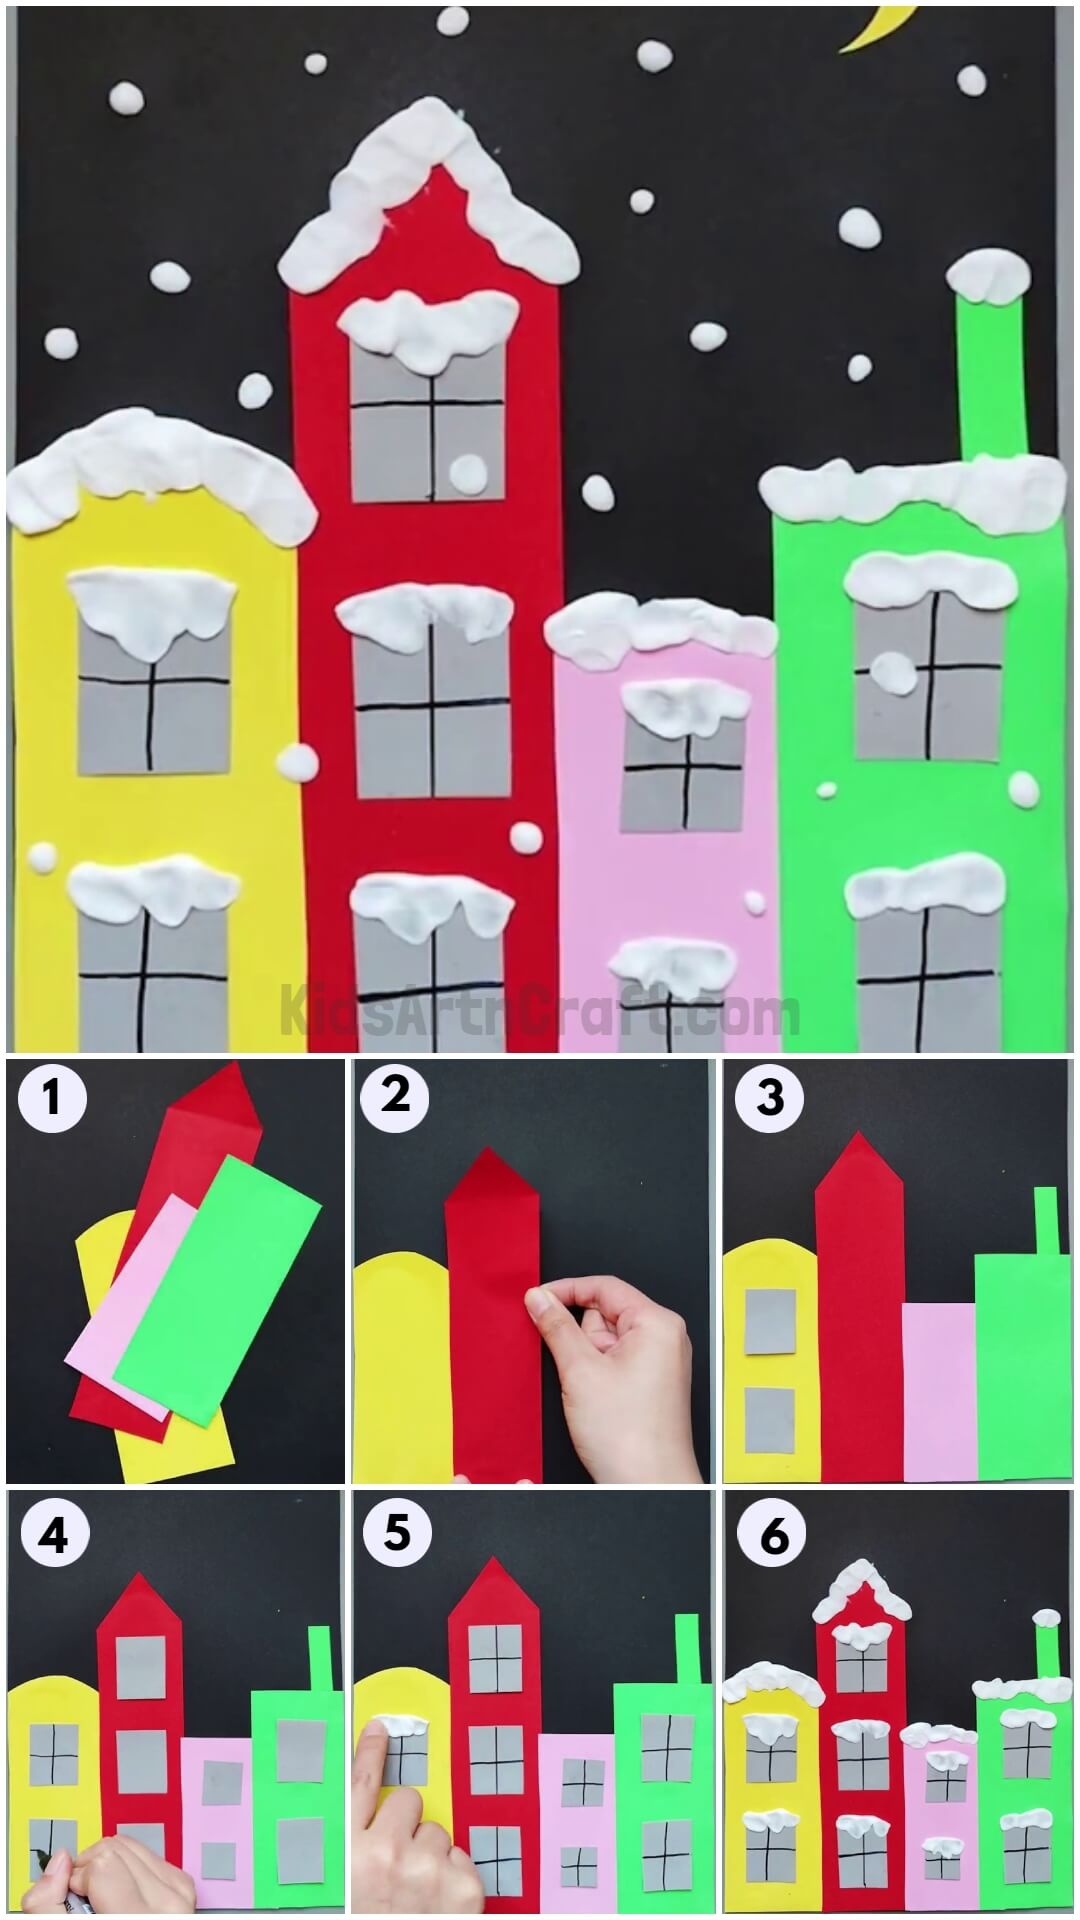
Bring the beauty of winter to your family’s outdoor playtime with these creative winter urban landscape ideas for kids. Find inspiration on how to transform your neighborhood into a winter wonderland with activities ranging from snowshoeing and snowball fights to ice skating and snowman building.
Get ready to create a beautiful winter urban landscape! In this tutorial, we will guide you through each step to make a stunning craft using colorful pastel sheets. Follow along and let your creativity shine as you bring this winter scene to life!
Simple Winter Urban Landscape Ideas
Read More: Easy Cute Paper Crafts Video Tutorial for All
Materials Required
- Black background sheet
- Pastel sheets of different shapes and colors (red, yellow, green, and light pink)
- Glue
- Scissors
- Black sketch pen or gel pen
- White clay
Procedure
Step 1: Gather All Materials
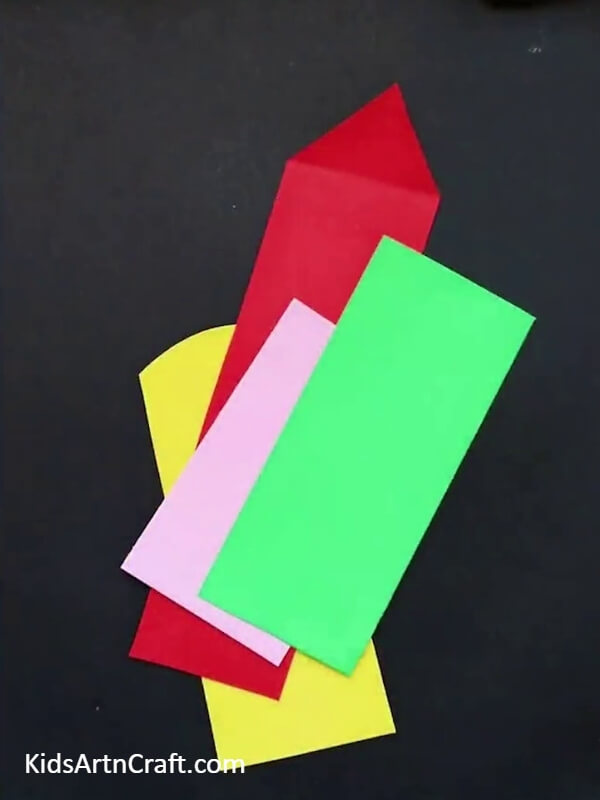
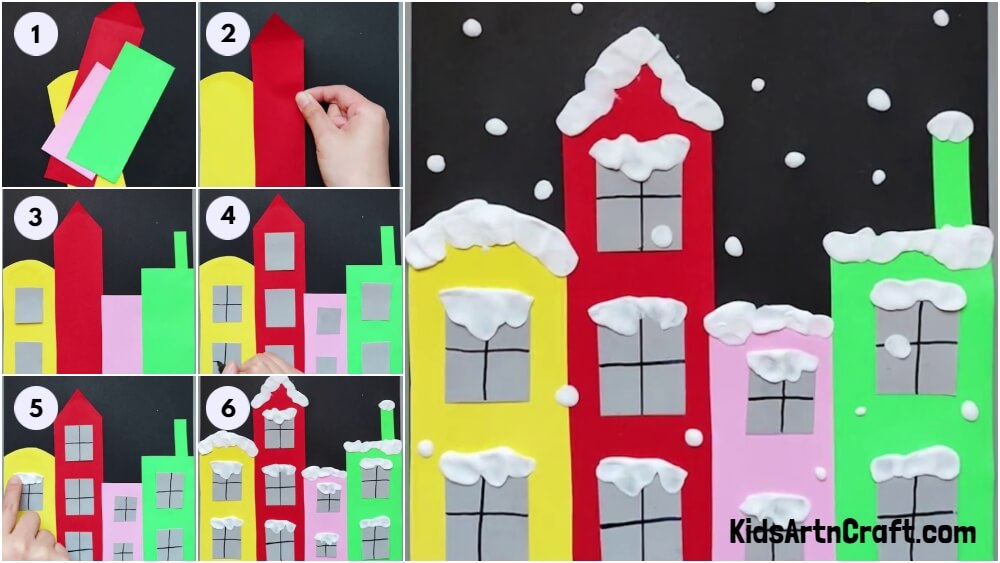
To begin, make sure you have gathered all the materials needed for this craft. Lay out the pastel sheets of different shapes and colors in front of you. These sheets include a red one similar to the shape of a rocket. A yellow one with a yellow semicircle on top and a small rectangular green sheet. The last one is the smallest light pink sheet.
Step 2: Start With The Yellow Building
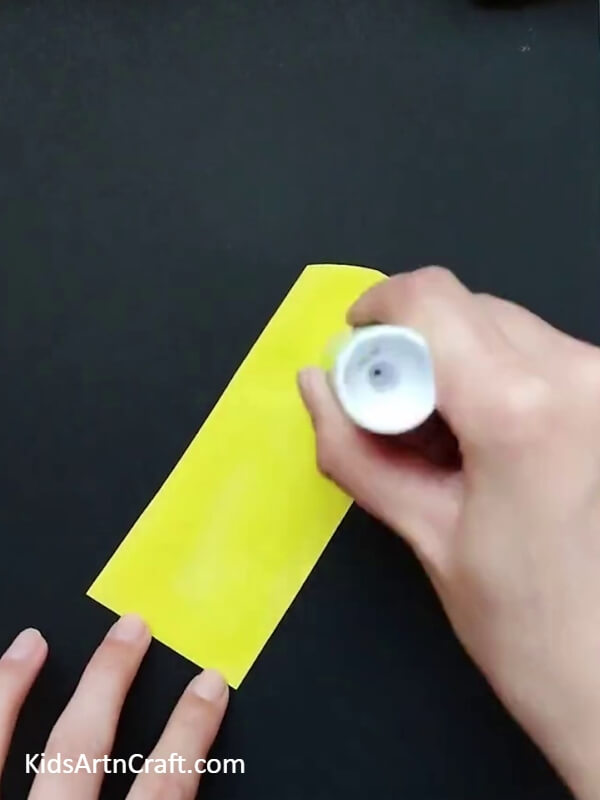
Take the yellow pastel sheet and flip it over to its backside. Apply a generous amount of glue evenly across the entire back surface. This will ensure the sheet sticks firmly to the craft.
Step 3: Paste The Yellow Building
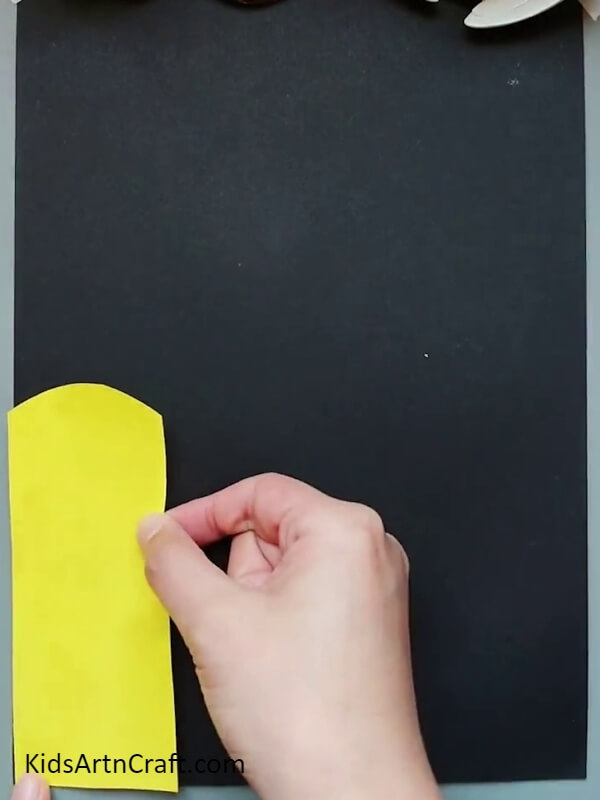
Now, carefully place the yellow pastel sheet on the leftmost corner of the black background sheet. Press down gently, ensuring it is firmly attached. Congratulations! You have just created the first building of your winter landscape.
Step 4: Add The Red Building
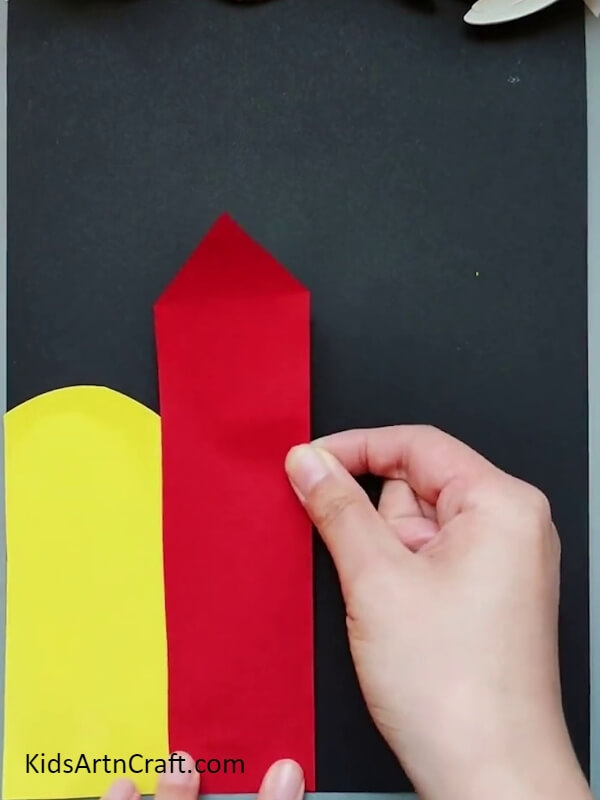
Next, pick up the red pastel sheet and repeat the process from Step 2 by applying glue to its backside. Now, place the red pastel sheet next to the yellow building, ensuring there is no space between the two buildings.
Step 5: Repeat For The Remaining Buildings
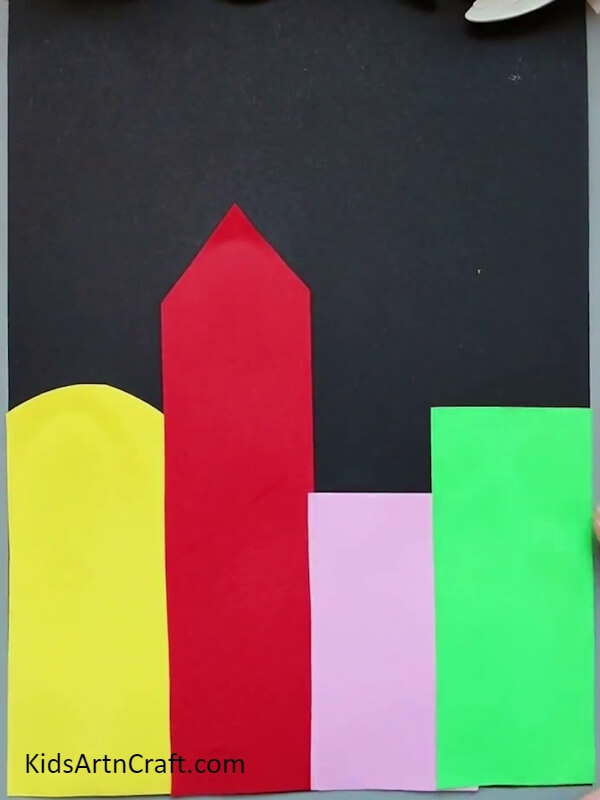
Continue the same process for the remaining pastel sheets. Ensure the lower portion of the black background sheet gets covered with these colorful buildings. This will form the foundation of your winter urban landscape. Take your time and enjoy the process of creating these unique structures.
Step 6: Add Windows To The Buildings
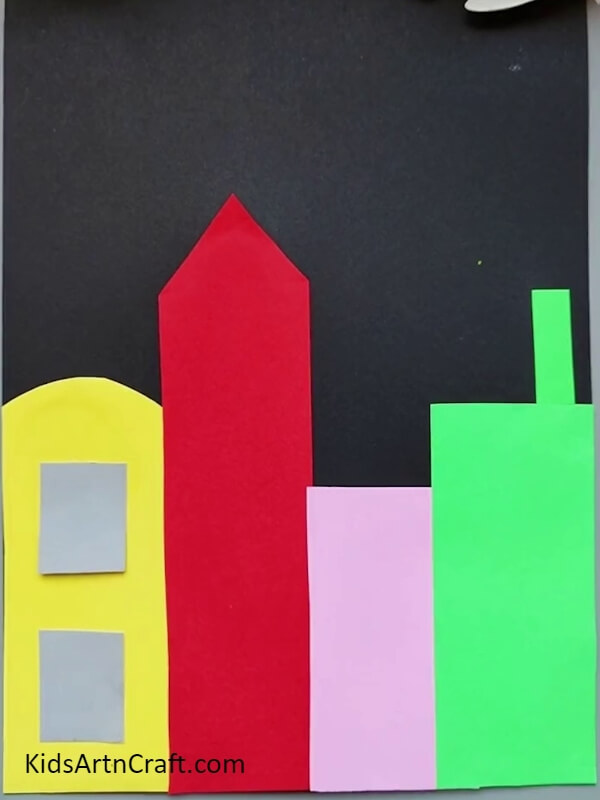
Now it’s time to add windows to make the buildings more realistic. Select your favorite pastel sheet color. Then, cut out small identical square pieces using scissors. Apply a small amount of glue to each square and carefully attach them to the first yellow building as shown in the picture. This step will give your building some character and make it stand out. To make your craft even more delightful, let’s add a chimney to the green building. Take a rectangular green cutout and attach it to the top of the building using glue.
Step 7: Add More Windows
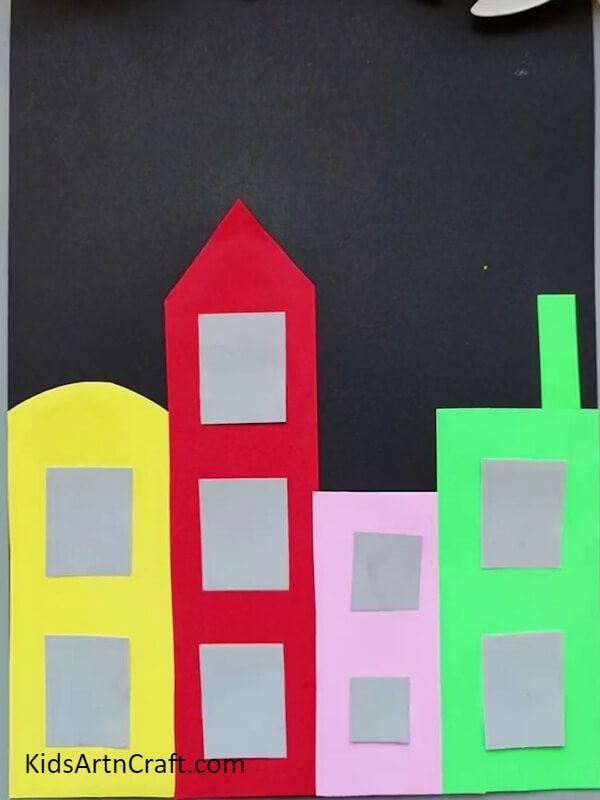
Now, focus on the tallest red building. Repeat the same process as Step 6 by adding three windows to it. Remember to match the picture as a guide and use your creativity to place the windows in the right spots.
Step 8: Sketch Lines On The Windows
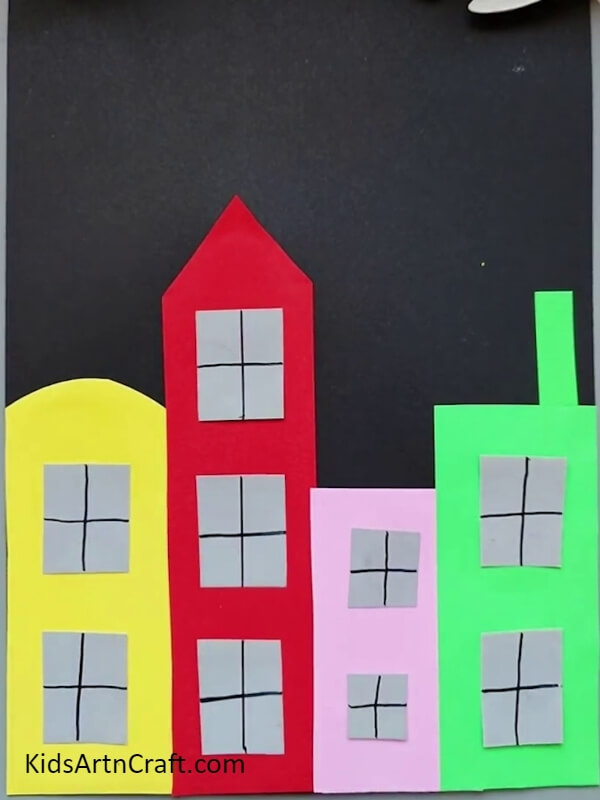
Take a black sketch pen or gel pen and carefully draw vertical and horizontal lines on each window you have created so far. These lines will give a detailed and realistic appearance to your buildings. Repeat this step for all the remaining windows on the buildings.
Step 9: Create A Snowy Effect
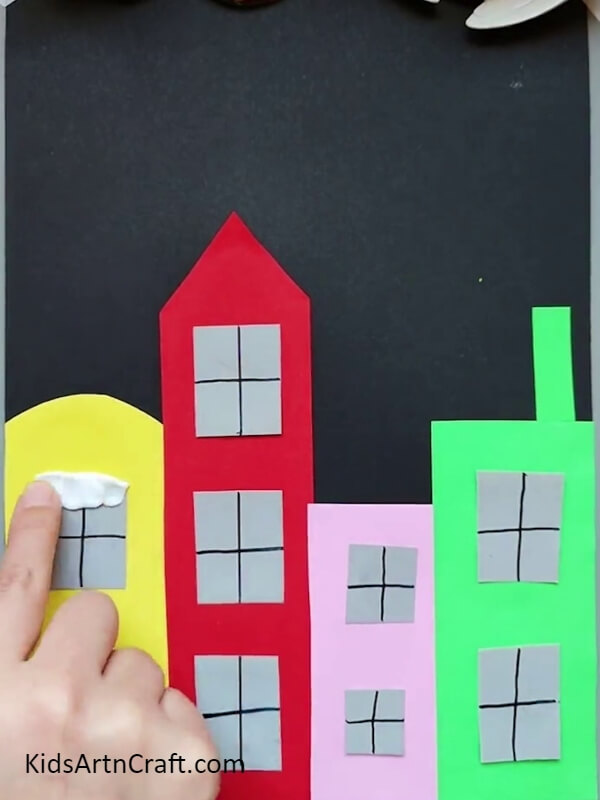
To bring the winter landscape to life, we will create a snowy effect on the windows. Take the white clay and pinch off tiny pieces. Attach them to the ends of each window, pressing gently so it appears as if snow is falling out of the window. This will add a magical touch to your craft.
Step 10: Repeat The Previous Step
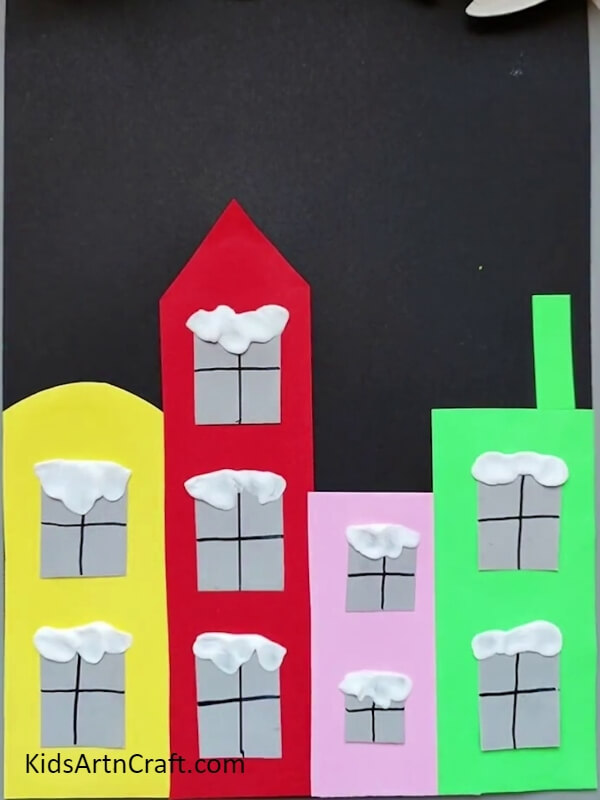
Repeat this step for all the windows on the buildings.
Step 11: Add Realistic Touch To Surfaces And Chimney
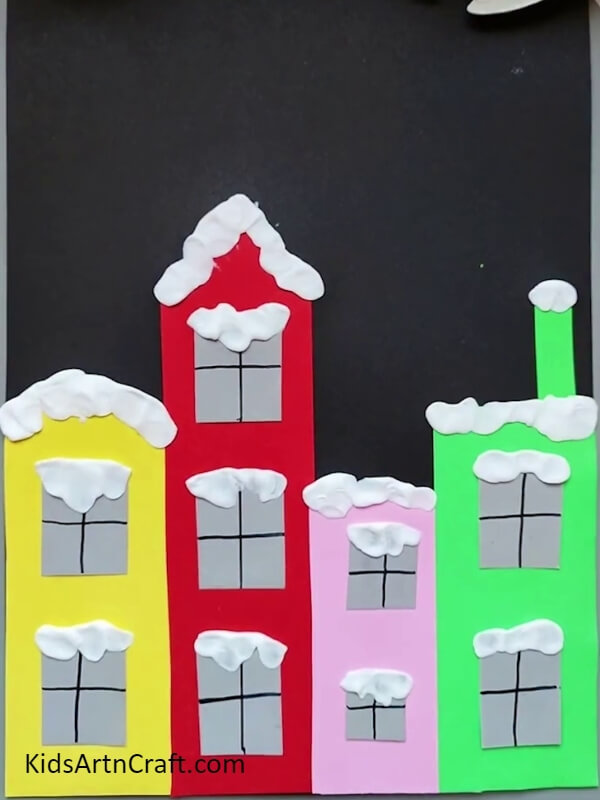
To make your craft more realistic, let’s add texture and details to the surfaces and chimney. Follow the same procedure as Step 6 by applying glue to small pieces of pastel sheets. Attach these pieces to the surfaces of the buildings, mimicking the appearance of bricks or tiles. For the chimney, create a similar effect by adding small cutouts that resemble bricks. Take your time and enjoy this creative process.
Step 12: Attach The Crescent Moon
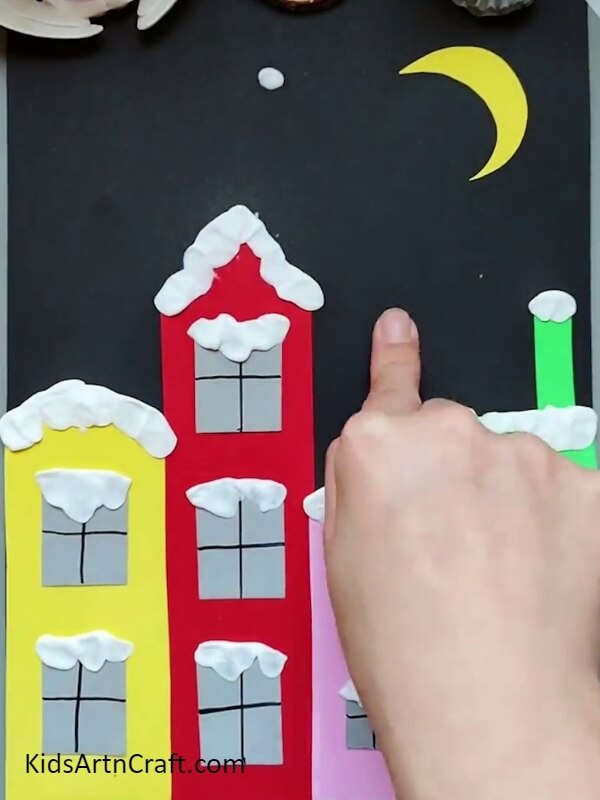
No nighttime winter scene is complete without a shining crescent moon. Cut out a crescent shape from a yellow pastel sheet, as shown in the image. Use glue to attach the crescent moon on top of the craft, near the upper part of the black background. This beautiful addition will enhance the overall beauty of your winter urban landscape.
Final Touches And Completion
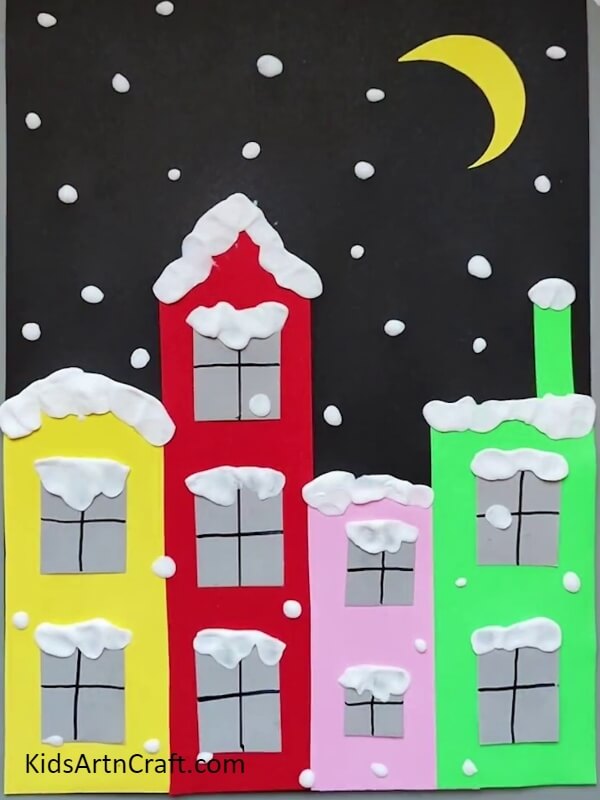
Step back and admire your beautiful winter urban landscape! You can use it as decoration or as inspiration for storytelling. Let your imagination wander in this magical winter scene you have created. Enjoy the satisfaction of bringing a winter wonderland to life using simple materials and your creativity.
Congratulations on completing your beautiful winter urban landscape! Remember to have fun and explore your artistic skills further. We hope you enjoyed this craft and stay tuned for more exciting craft ideas on our website. Keep creating and let your imagination soar!
Follow us on Youtube for art and craft tutorials and much more.
More Articles from Kids Art & Craft
- Caterpillar Crafts & Activities for Kids
- Pigeon Drawing & Sketches For Kids
- Fairies in Jar Craft Ideas for Kids
- DIY Christmas Yarn Wreath Ideas
- Farm Animal Crafts for 3-Year-Olds


