


Clay Crafts
Beautiful Air Dry Clay Wall Ornaments

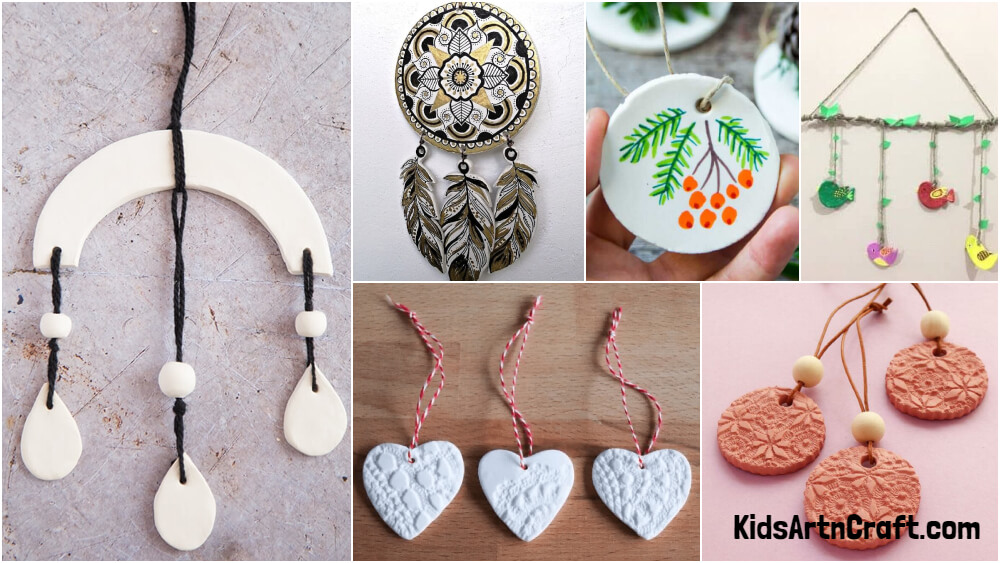
Create beautiful air-dry clay wall ornaments with easy DIY ideas! Design unique, handmade decorations to add charm and creativity to your home décor.
These beautiful air-dry clay wall ornaments are perfect for adding a touch of personality to any room. Each one is handmade and unique, making them a truly special addition to your home décor. The clay is lightweight and easy to hang, so you can display them anywhere you like. Whether you choose to cluster them together or display them individually, these ornaments are sure to brighten up any space.
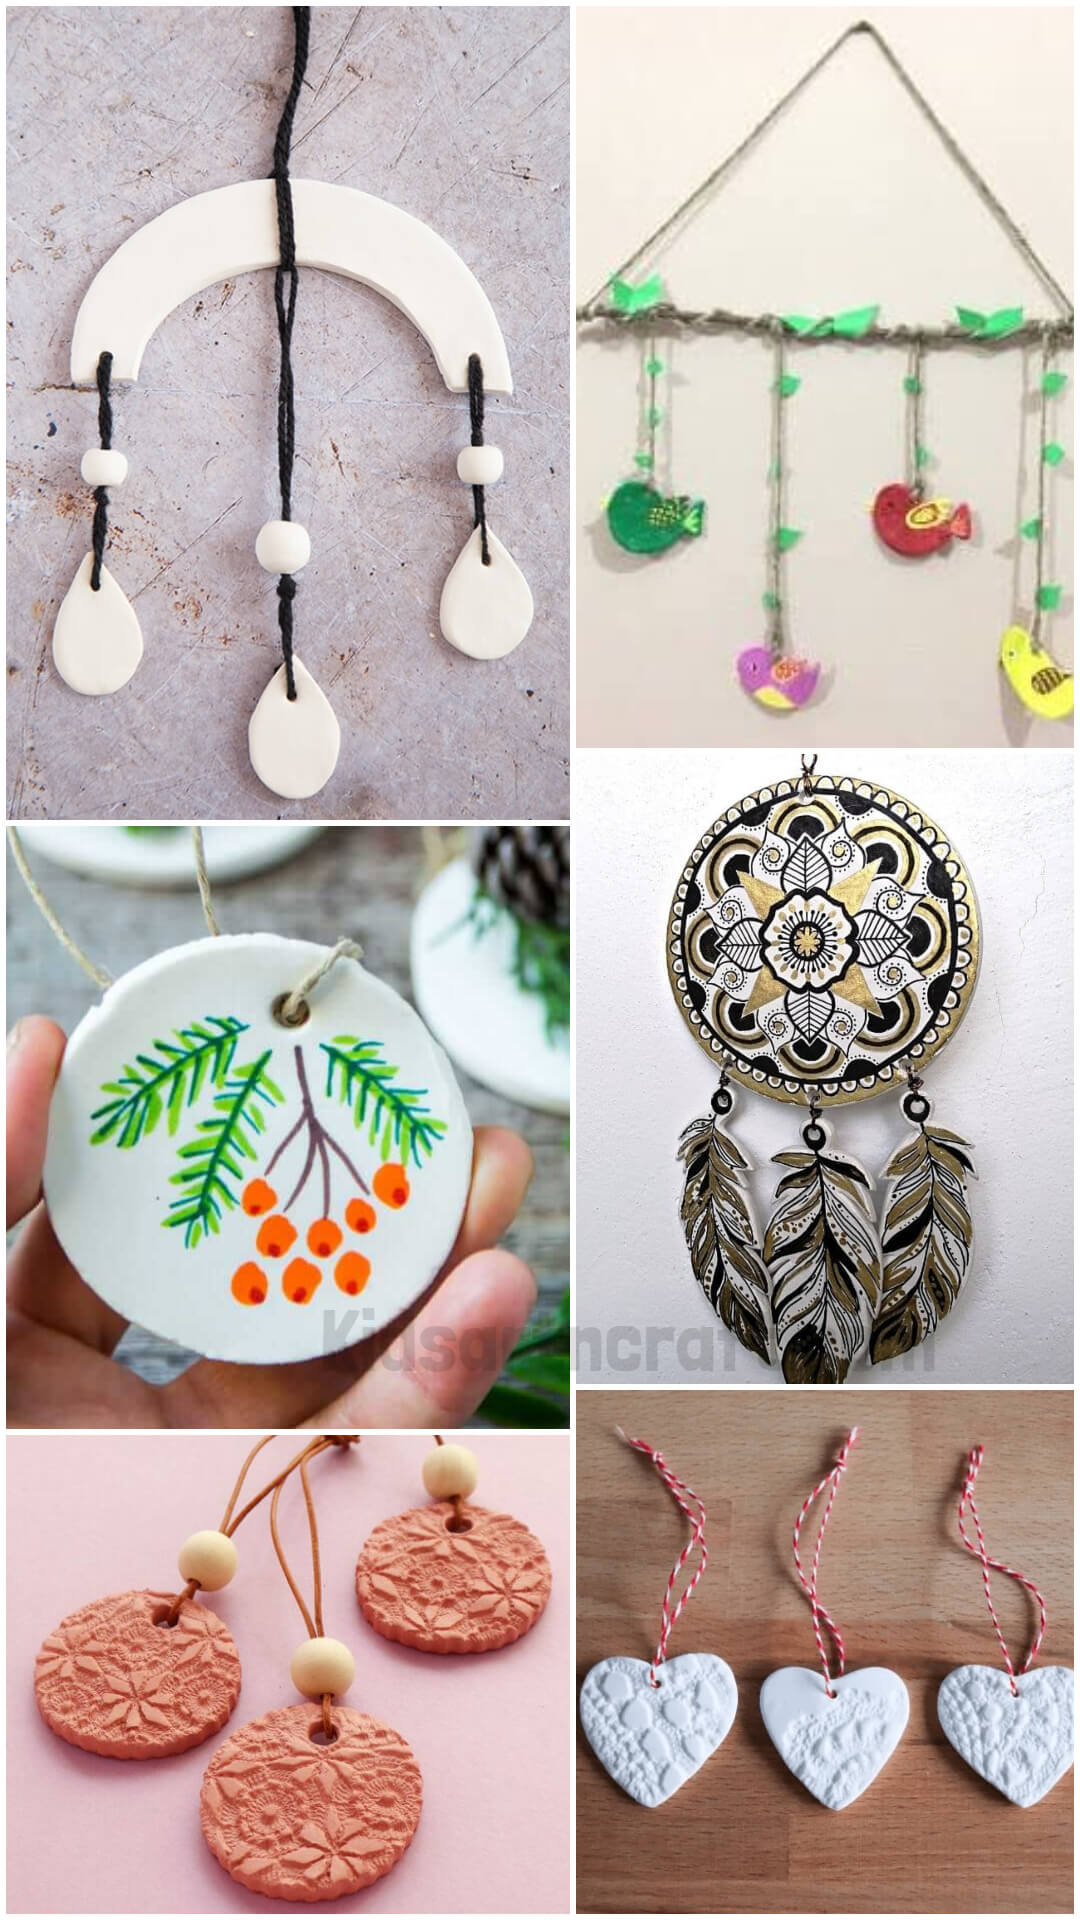
Air Dry Clay Wall Decor Ornaments Ideas
 Read More: Feather Wreath Ideas – Learn to Make
Pretty Air Dry Clay Wall Hanging Craft For Home Decor
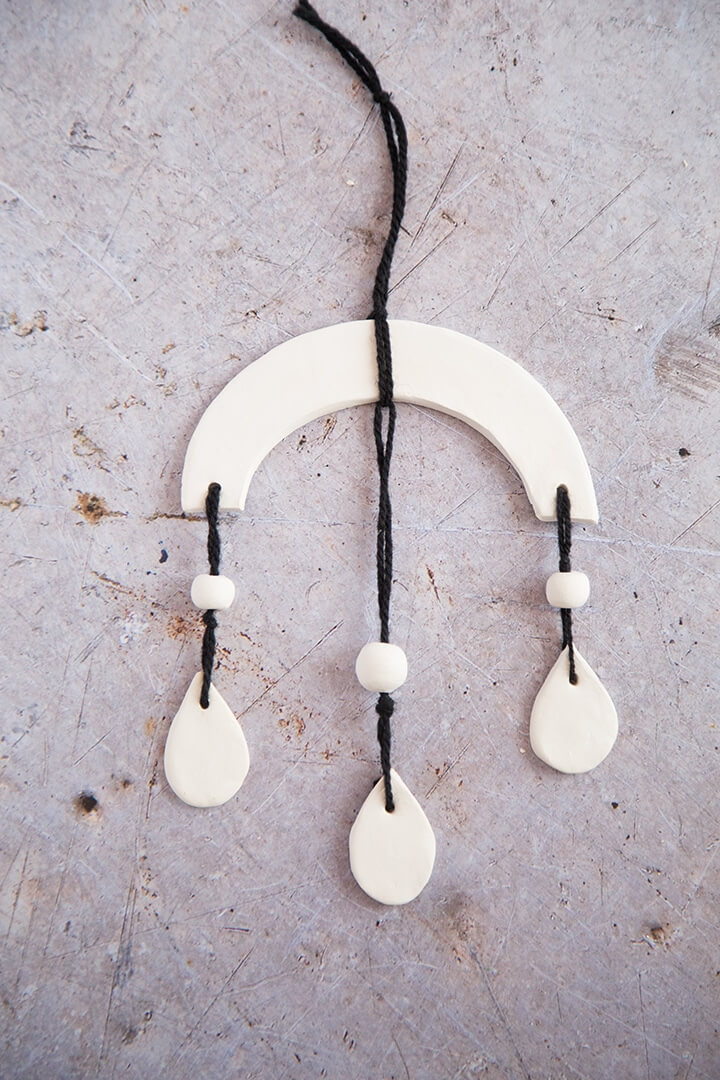
Image Source/Tutorial: Alice And Lois
We all need good wall-hanging crafts as they help in decorating our walls nicely. Instead of buying expensive crafts from the market, use air-dry clay to make pretty wall-hanging crafts. This activity uses low-cost supplies to work. Start by taking a roll of air-dry clay on the parchment paper and then flatten it using a roller. After that, make your arch shapes by making a semi-circle from a bigger plate and a smaller plate, and then use a blade to cut its sides, making our arch. Then use leaves or any other shape cutter to trace and make teardrop clay pieces. Take the arch and teardrop clay out, and roll out more clay to make clay beads. Use a rolling pin to poke holes in the clay pieces and leave them to dry for one day. After they have dried, use a needle and thread to place teardrop and bead clay. Attach them and use thread to make a hanger to hang the clay craft. Now your craft is complete. Place this beautiful piece on the wall and make it a brilliant piece of home decor.
Easy To Make Clay Crafts Macrame Wall Hanging Ornament
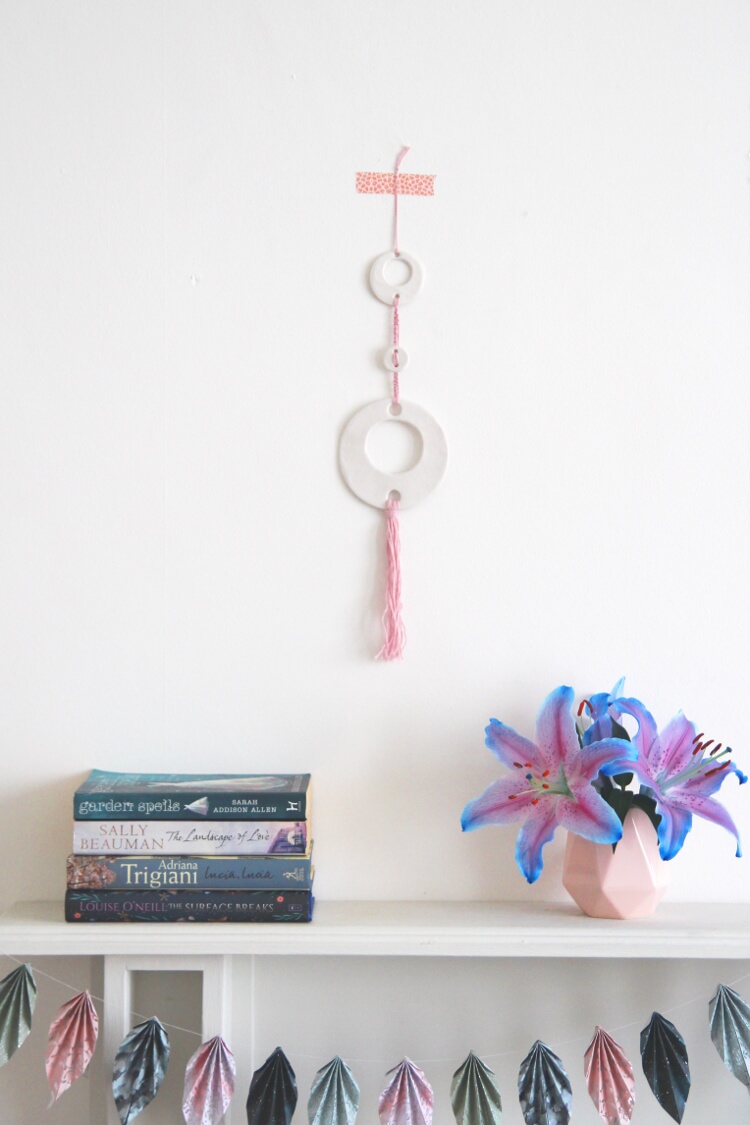
Image Source/Tutorial: Gathering Beauty
Make your amazing wall-hanging craft with air-dry clay. Make a macrame clay wall hanging craft with simple and easy steps. Begin by taking out your clay on the parchment paper and then using a roller to flatten the clay. Then make your circles by pressing different types of cookie cutters. Then use a blade or a clay knife to cut the clay pieces out. Then, use a rolling pin to poke holes in the clay pieces and leave them to dry overnight. After the clay pieces have dried, you can paint them, if you wish with your desired colors. Finally, use yarn and place it through the holes using a needle and tie knots to secure them. Make a tassel through the hole of a big clay piece by collecting strips of yarn and tying a knot, leaving long strips of yarn, if you find an unequal length of yarn strips, use scissors and cut them into equal lengths. Finally, hang it on the wall by placing a small strip of washi tape at the top yarn. Your craft is now complete, enjoy and marvel at the beauty of this wall-hanging ornament.
DIY Amazing Air Dry Clay Wall Hanging Craft Having Flower Pattern
Everybody loves flower designs on the wall as they bring out the charm and they come in different designs. Instead of searching in the markets, why not make a nice design yourself with air-dry clay and printed design? Take out the printable template of the flower and leaves design and cut them using scissors. Then, prepare the base for clay work by placing parchment paper and then take out your clay and knead and roll it properly. Now, use a roller to flatten the clay and then prepare it by taking a water bowl and using a small amount of water on the clay, and rubbing the clay, use it twice three times, and don’t use it more to not damage the clay. Now take your design and paste it on the clay, gently press the design and after that remove the template using a craft knife. Now do the same process with leaves and remove the extra clay from the flower design and leaves and poke holes in them using straws. Leave them to dry for one day and then rub them with sandpaper to give them a rough surface. Color the pieces with varnish colors and then place hooks and threads and hang them.
Pretty Clay Salt Dough Wall Hanging Ornament
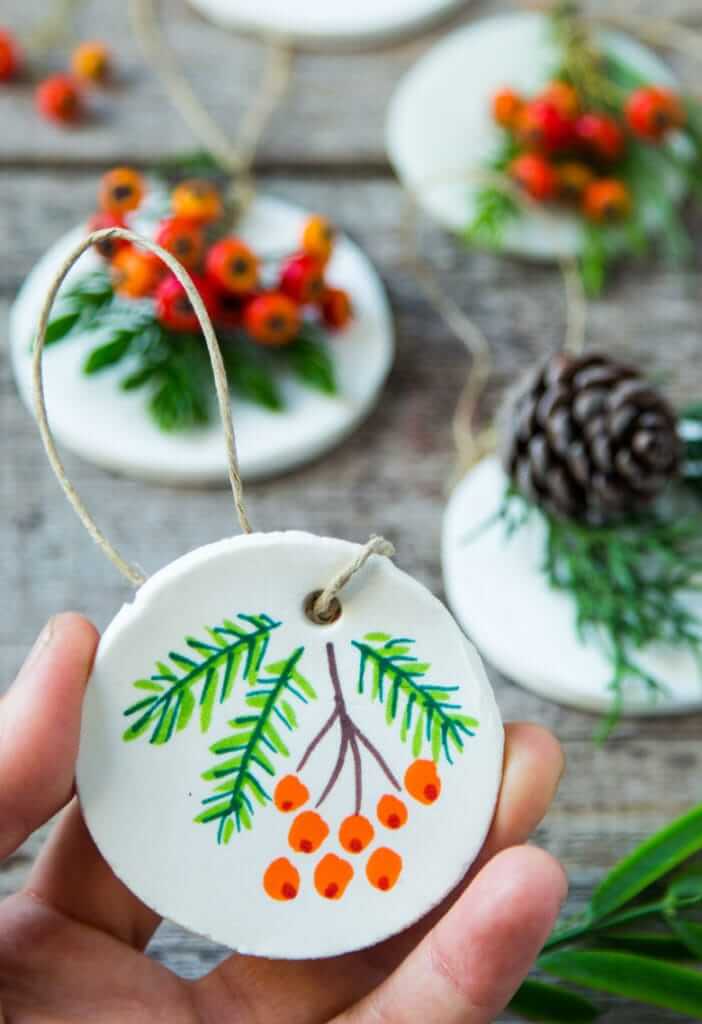
Image Source/Tutorial: A Piece Of Rainbow
Making wall-hanging ornaments using salt dough is simple and its results are just perfect. Grab your supplies to make this craft. Start by taking all-purpose flour and a small amount of water. Mix them properly and the dough will harden and make a shape. After it hardens, poke a hole in it using a rolling pin and leave it to dry. Make more clay using the same method and now make flower and other designs using acrylic paint and leave it to dry. After the paint has dried, place thread through the holes and tie the knots above. You can join these ornaments on a wooden dowel and hang them on the wall. Make more unique designs using this craft and enjoy making them.
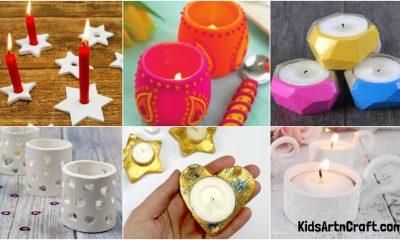
Beautiful Ornament Craft For Room Decor
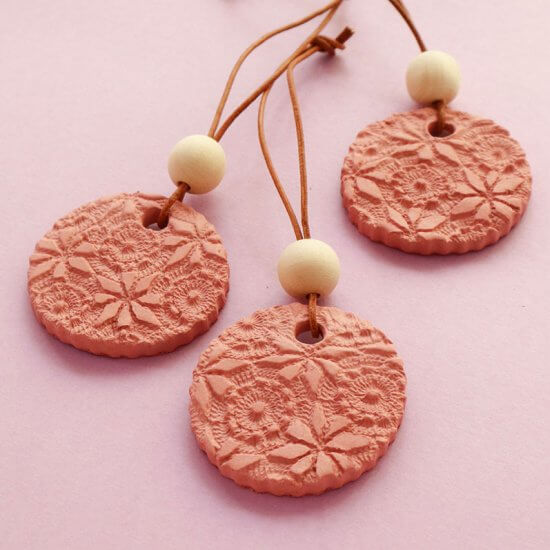
Image Source/Tutorial: My Poppet
Decorate your wall with decoration and oil freshener by using terracotta air-dry clay. This kind of decoration is unique and different that will bring charm with design and fragrance. Start by taking out terracotta clay and kneading it properly, placing it on the parchment paper, and flattening it using a roller. Now, make your flower design by placing lace paper on clay and pressing it with the roller. After getting the shape, make the circle shapes by pressing a cookie cutter on the clay and then using a straw to poke holes in the clay pieces. Now leave the clay pieces to dry for one or two days, after the clay has dried, place your suede cord through the holes along with wooden beads. After placing them, tie the knot at the top to hang it, and finally, use a cotton swab to place essential oil that will spread fragrance on the back of the clay. You can place it again when the scent evaporates. Now your craft is complete, you can place this ornament in your room and its fragrance will have great charm.
Read More: Burlap Sack Craft Ideas
Beautiful Wall Pocket Ornament For Keeping Small Plants
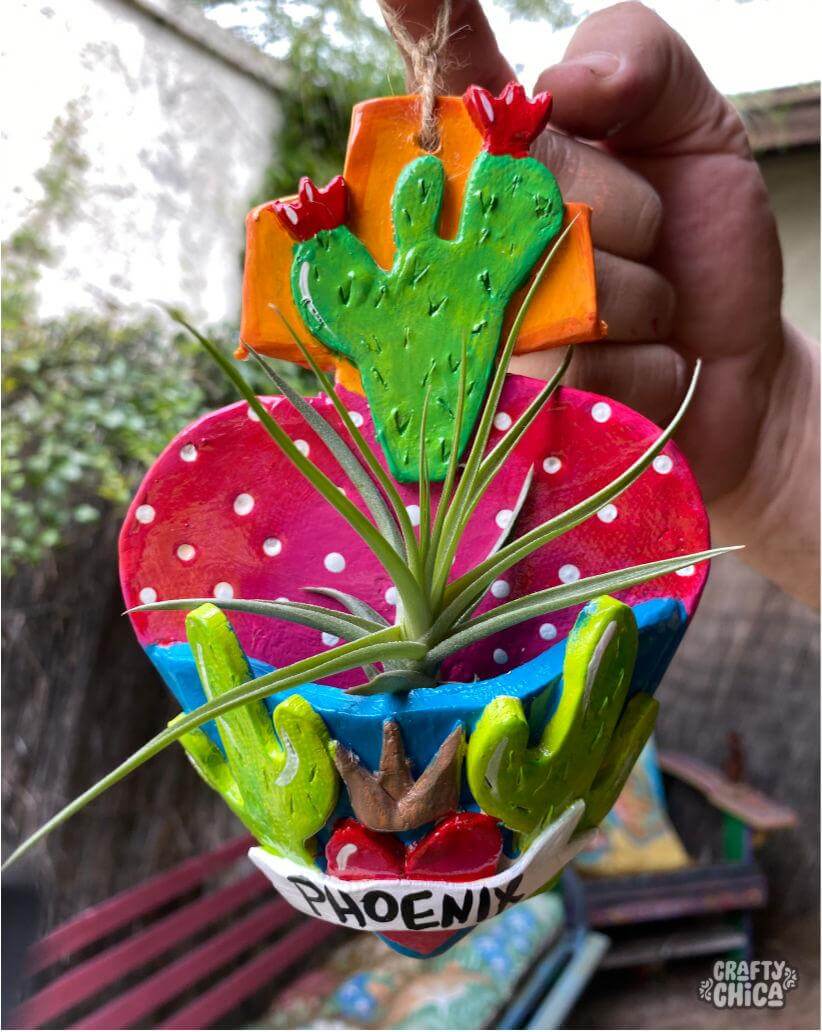
Image Source/Tutorial: Crafty Chica
You can design hanging ornaments for small plants by using air-dry clay. Start by cleaning the work surface and remove any dust or small things. Then, take out your clay, knead it properly, and flatten it using a roller. Place a bowl on the clay and cut out a circle from it, take out more clay, repeat the same process, and then cut it in half using a pin. Then take our first clay and a water bowl, rub it with a little water around its edges, and the same for semi-circle clay. Make small cuts with a blade on the edges of the clay and the same for the other. Then place a tissue or paper roll to make the holding space and then place the semi-circle clay. Take out more clay, flatten it, and press the shape cutter on it, creating different shapes and placing them on the clay. Now remove the tissue roll and let it dry for two days. Finally, after they have dried, paint the clay pieces and leave them to dry. After the paint has dried, you now place your small flowers in this and enjoy making this wonderful craft.
Homemade Clay Ideas For Fish Wall Craft
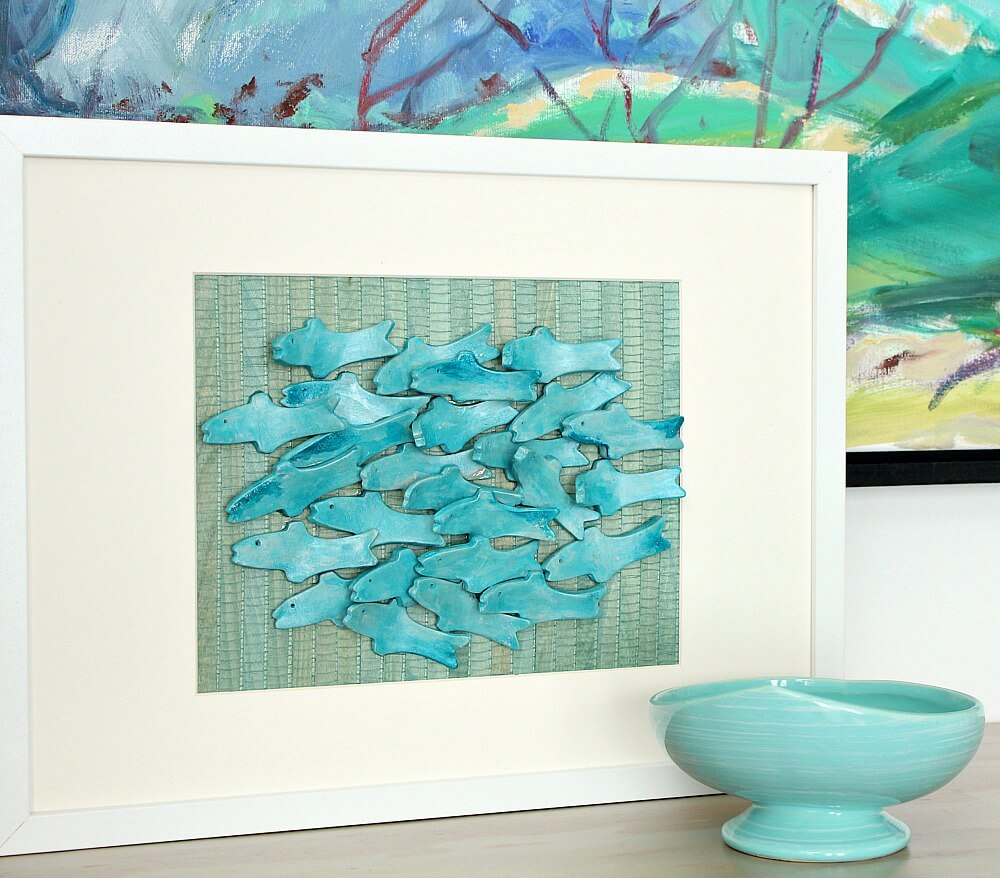
For great home decor, you can use air-dry clay to make a great handmade frame of a fish wall. Roll out your air-dry clay and knead it properly. Then place your clay on parchment paper, and use a roller to flatten the clay. Then, make your fish shape by taking a fish-shaped cutter and pressing it on the clay. Make more shapes by pressing the shape cutter and then cutting the shapes out. Make their eyes by poking a rolling pin and then leave them to dry for two days. After the clay has dried, rub the shapes with sandpaper to give them a rough shape, and then paint the fish shapes with blue and white, giving them a beachy color. Now leave them for the paint to dry, in the meantime prepare your frame by pasting scrapbook paper of the same color as the fish. When the paint has dried, paste them on the paper. Now your craft is ready, you can place the fish wall frame in your room and enjoy its marvel beauty.
Easy To Make Beautiful Heart-shaped Wall Ornament Using Ceramic
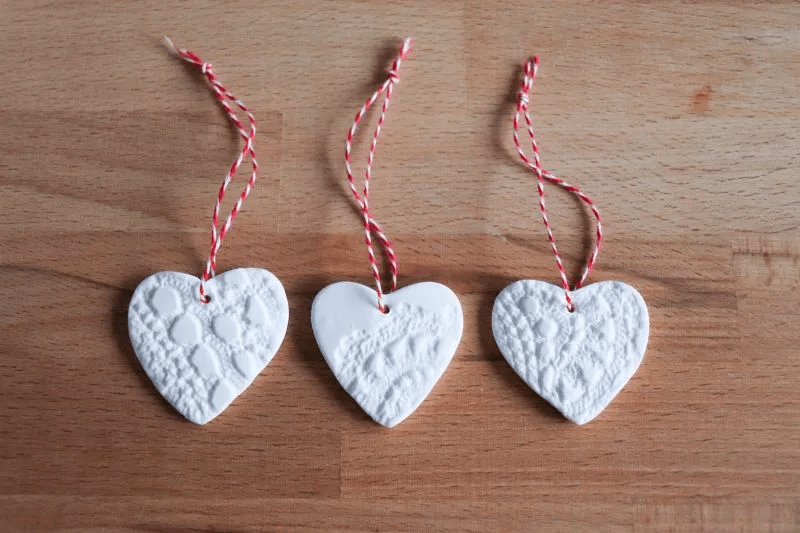
Image Source/Tutorial: Homemade Heather
Make these beautiful heart-shaped ornaments using air-dry ceramic clay. These heart-shaped can easily be made by following simple steps. Begin by taking out your air-dry clay and knead and roll it perfectly before placing it on the wax paper. Then, make your base with wax paper, place your clay, and flatten it with a roller. After flattening it, use your heart-shaped cutters and press them on the clay to make the shapes. After making the shapes, cut them out and place a designed doily on the clay, make the shape by pressing it on the clay using a roller. After making the design, poke holes in them using a rolling pin and leave them to dry for two days. After it dried, thread your baker’s twine through the holes and tie the knots above so you can hang them. Your craft is now complete, you can hang these ornaments on the wall and you can also gift it to your loved ones.
Unique & Attractive Bird Wall Hanging Ornament For Decoration
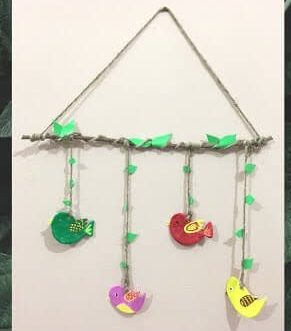
Image Source/Tutorial: Sheeba Creationz
Build a unique bird wall hanging for home decoration using air-dry clay. For this craft, you only need simple-cost materials and the procedure of making is also not difficult. Clean your working area and place wax paper on the table, now roll out your clay, knead it properly and then use a roller to flatten it. Take out a bird printable and place it on the clay, trace it using a rolling pin, and cut the shape out using a blade. Then, use water to smooth its edges and poke holes for its eyes and to hang it. Make more birds using the same process and leave them to dry. After they have dried, paint the birds with your desired colors and then leave them to dry. For hanging the birds, you can use a wooden dowel or take a twig from your garden, and make leaves from green foam paper, then stick them on the twig. Now hang the birds by placing jute twine through the holes and tying them on the twig. Then use more jute to make a hanger and now you hang this beautiful and unique craft on the wall.
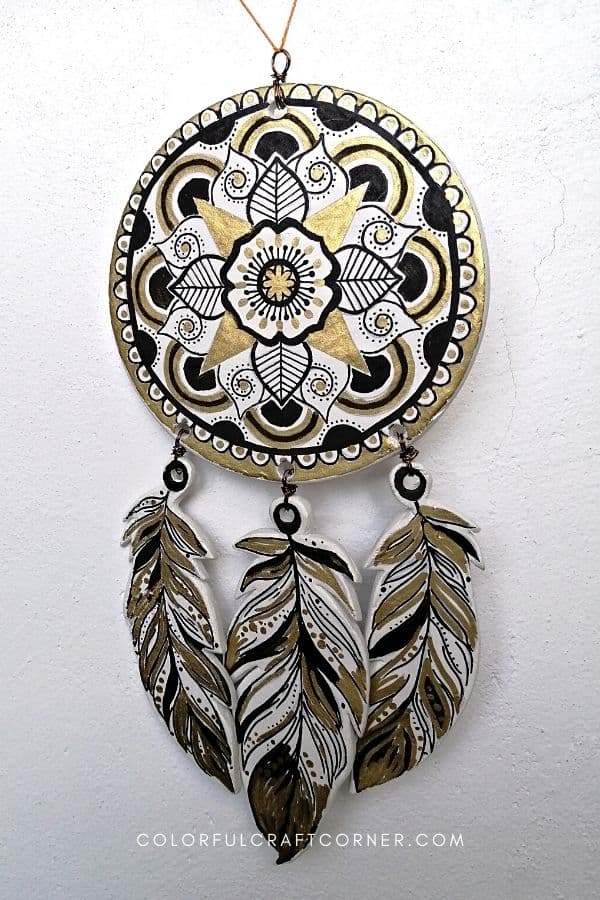
DIY Adorable Wall Ornament Ideas Using Cardboard & Air Dry Clay
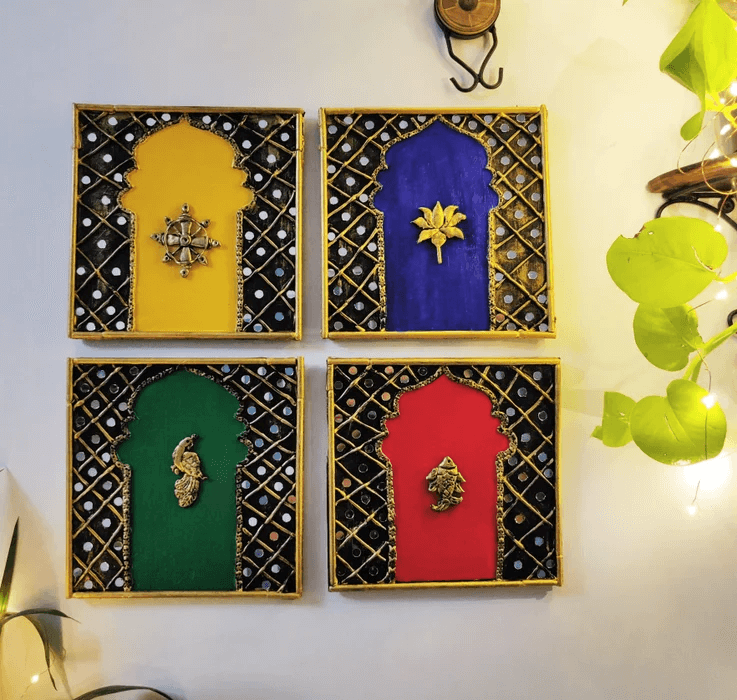
Image Source/Tutorial: Instructables
We want our wall ornaments that look beautiful and have a traditional look, make your traditional wall ornaments with air-dry clay with simple steps. Start by taking cardboard and making your frames by making designs and placing borders. Now take your clay on a plate with powder, roll your clay, and make a long sausage roll. Stick your clay on the design using craft glue and a clay knife. Make more line designs using a pencil and stick the clay on them. Press the main design and now leave it to dry. Now do the same process with other frames and start coloring them, paint the border design with black color and white paint as base paint in design. Now make the shapes that will be placed in the center and stick clay pieces on the shapes using glue. Then paint the main design with your desired color and paint the shapes with black color. Design the borders and lines with gold acrylic color and shape the shapes with the same color. Place varnish and then stick the shape with a hot glue gun. Your wall ornaments are now ready and you can place them during festivals.
Common FAQs Related to, ‘Air Dry Clay Wall Ornaments’
What can you put on an air-dry clay to make it shiny?
There are a few things you can do to make air-dry clay shiny. One is to varnish it once it dries. You can also buff it with a soft cloth to bring out its natural shine. Another option is to mix in a little bit of petroleum jelly or liquid polymer clay before you start working with the air-dried clay. This will give it a nice sheen.
Will Mod Podge seal air-dry clay?
Yes, Mod Podge will seal air-dry clay. This is because Mod Podge is a type of sealant. It is often used to seal paper, wood, and fabric. Therefore, it can also be used to seal air-dry clay.
Which varnish is best for air-dried clay?
There is no definitive answer to this question as there are a variety of varnishes that can be used on air clay with varying results. Some air-dry clay artists prefer to use a water-based varnish, while others prefer an oil-based varnish. Ultimately, it is up to the individual artist to experiment with different varnishes to see which one gives the best results for their particular project.
Do professional artists use air-dried clay?
There is no definitive answer to this question since there are professional artists who use all sorts of materials for their work. Some might use air dry clay for certain pieces while others might prefer to use traditional clay that needs to be fired in a kiln. Ultimately, it depends on the artist and what they feel comfortable using for their work.
Can I paint air-dry clay before it dries?
Yes, you can paint air-dry clay before it dries. You can use any kind of paint you want, but water-based paints work best. Make sure to let the paint dry completely before you try to add any more layers of paint.
Follow us on YouTube for art and craft tutorials and much more.
More Articles from Kids Art & Craft
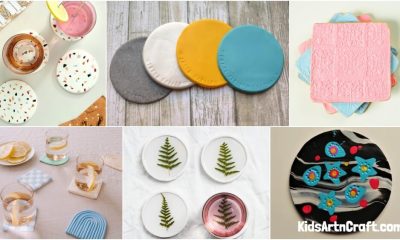
- DIY Air Dry Trinket Dish Ideas
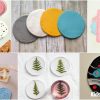
- DIY Cute Air Dry Coasters Crafts
- Winter Handprint, Footprint Ar,t And Craft Ideas For Kids
- Crochet Christmas Decor Patterns For Your Home
- Christmas Urn & Window Box Filler Ideas