Paper Crafts
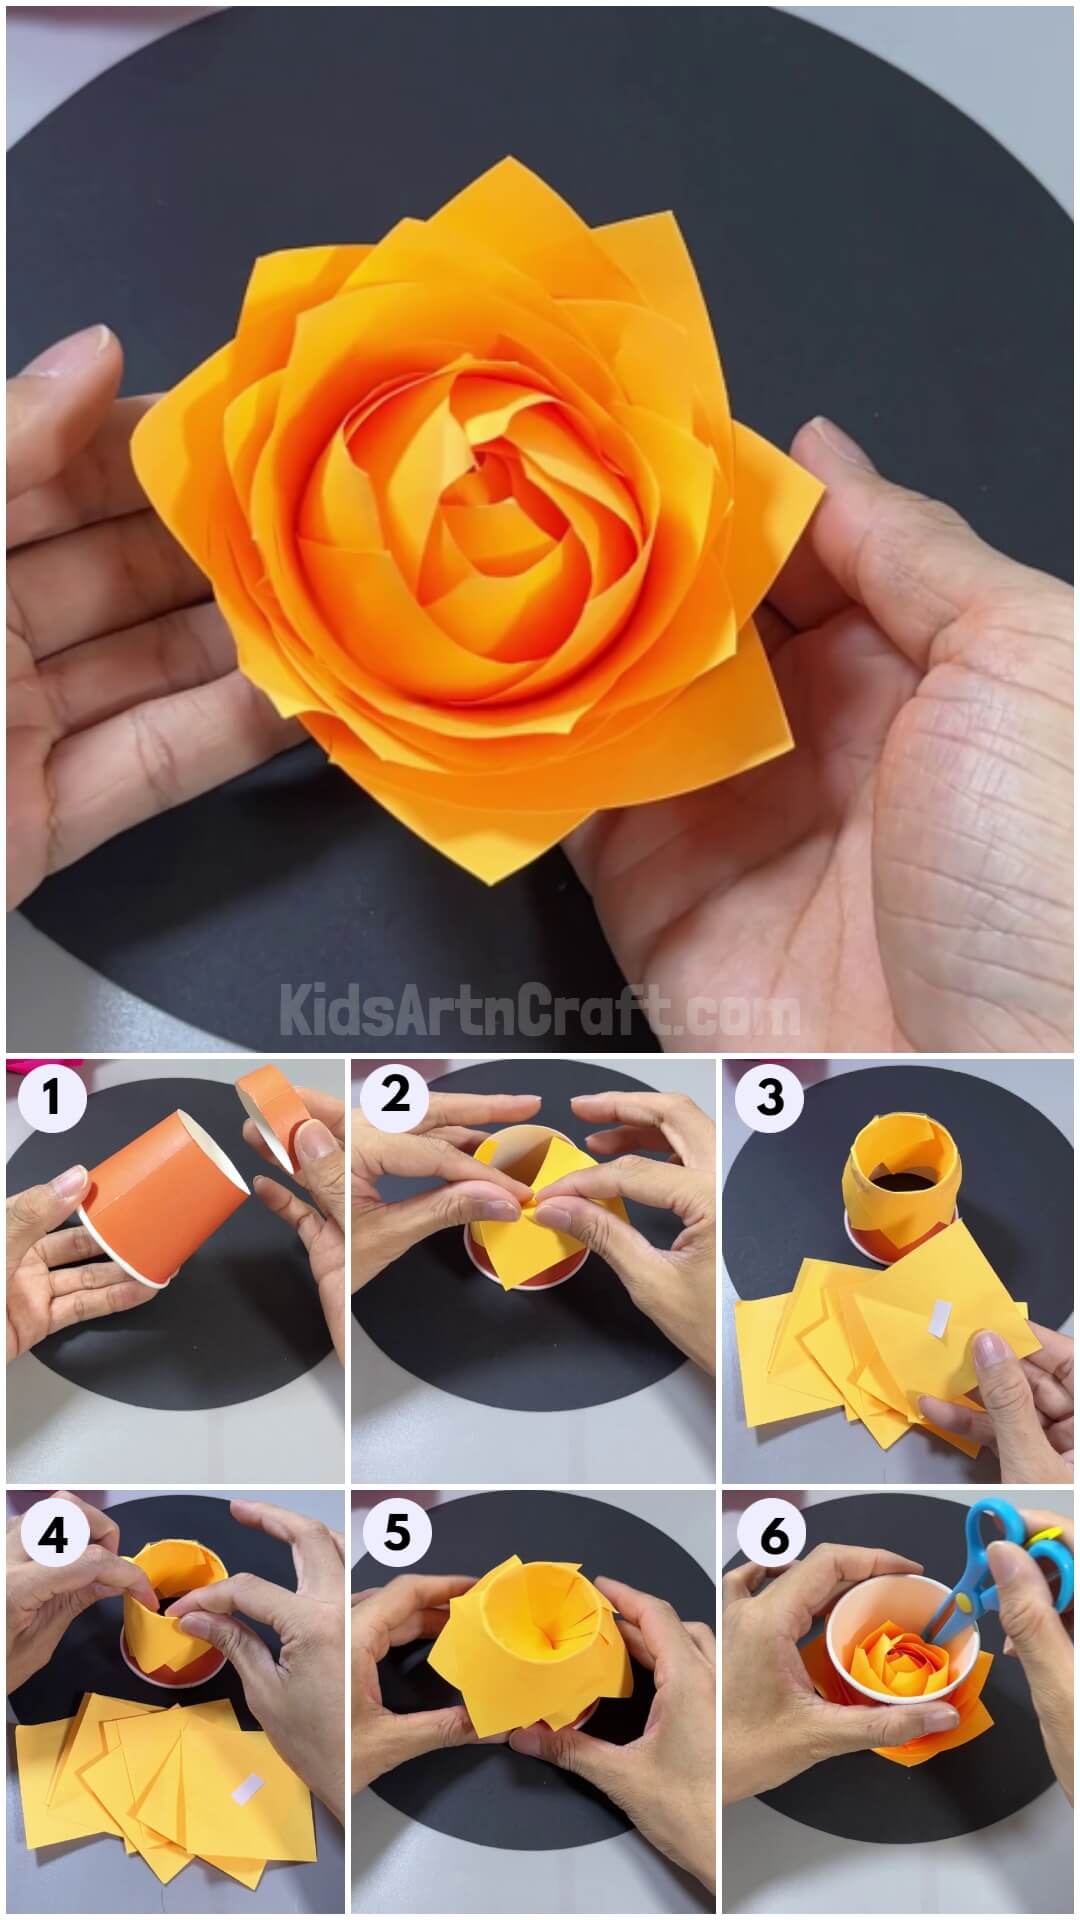
DIY Rose Flower Using Paper Cup-Easy Craft Tutorial

Learn how to create a beautiful DIY rose flower using a simple paper cup. This easy craft tutorial will show you step-by-step how to make this stunning floral decoration in no time.
Welcome to this amazing tutorial for making a realistic paper rose! this tutorial includes step-by-step clear instructions for making this craftwork! You can further decorate your creation in your room or even use it to decorate the house on a special occasion! I’m sure everybody would love this rose craft as the 3D looking of this craft make it look just like the real rose! You can also have a classroom activity of rose-making for the kids to engage them in a fun learning activity as this is a sensory activity for the little ones! Keep reading on to start the craft!
Easy Rose Flower Using Paper Cup Craft For Kids

Read More: DIY Easy Paper Chick Craft For Kids
Materials Required
- Paper Cup
- Scissors
- Square Yellow Paper Sheets
- Double Sided Tape
Procedure
Step 1: Cutting Out The Base Of The Paper Cup
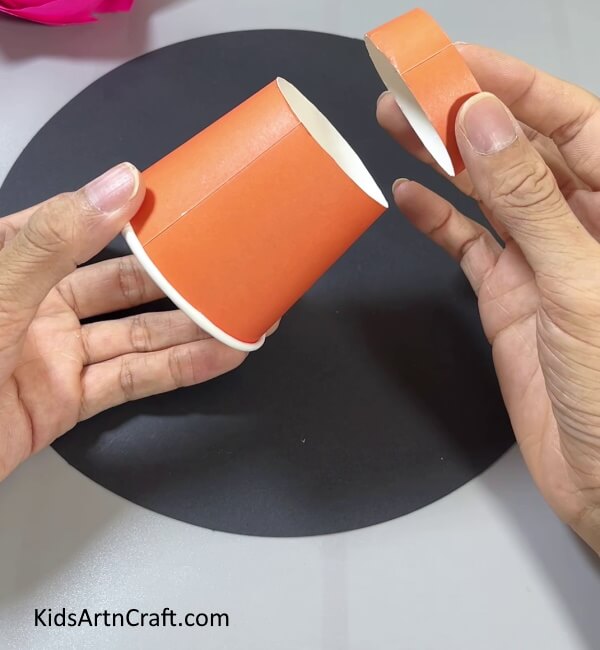

To begin this craft, cut out a base of a paper cup to a small length using scissors as shown.
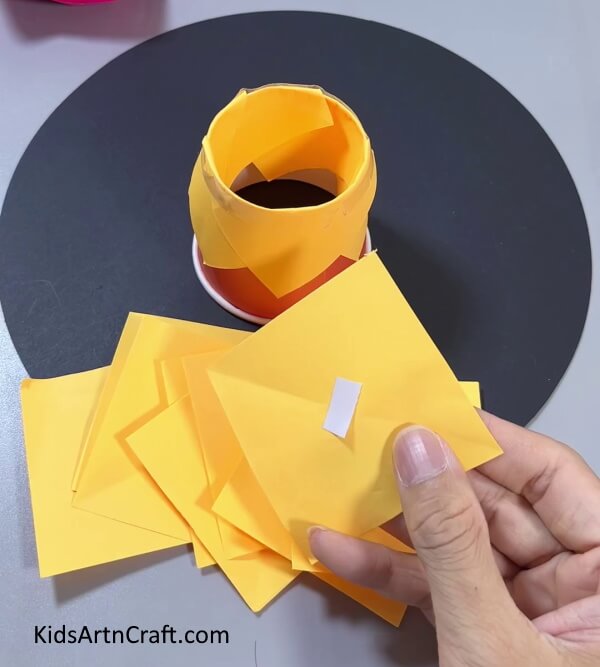
Step 2: Making The First Layer Of Petals
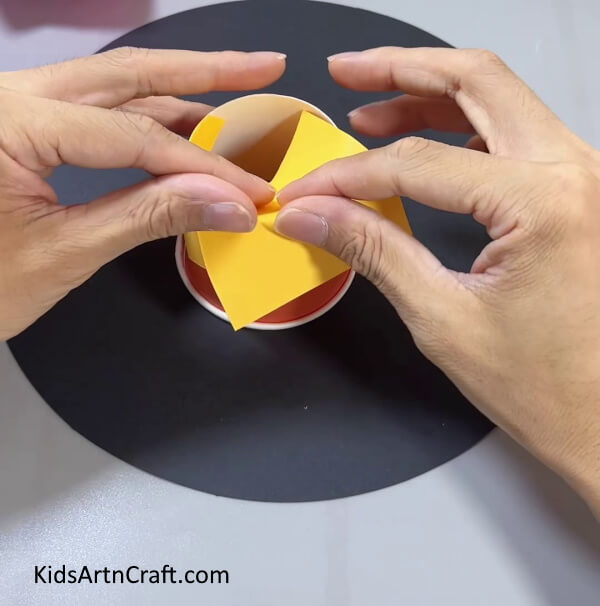

Now, for making the petals of roses you have to take various small yellow square sheets and start folding them over the paper cup. Make sure to keep the corner of the sheet right inside the cup and make a crease along the edges of the cup over the paper, then, slightly overlap another paper sheet over the first one and again crease it over the edges of the paper cup. Continue this process till you have covered the whole paper cup edge with the first layer of petals.
Step 3: Securing The First Layer With Double Sided Tape
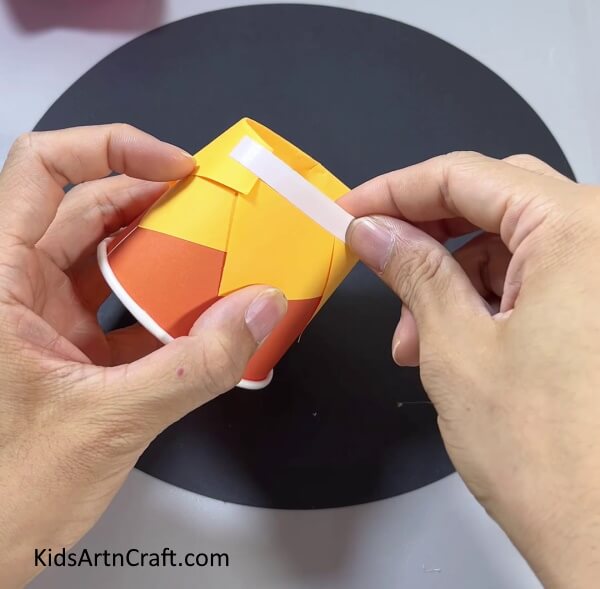

Securing the first layer by applying double side tape on the other edge of the paper cup folded sheets. This tape will also provide the base for another layer to make it stick over.
Step 4: Diagonally Creasing The Square Petals

Fold the remaining square petal sheets into a diagonal and make a crease, unfold them again. Also, apply a small piece of double-sided tape in the middle of the crease so that the petals are safely secured.
Step 5: Making Another Layer Of The Petals
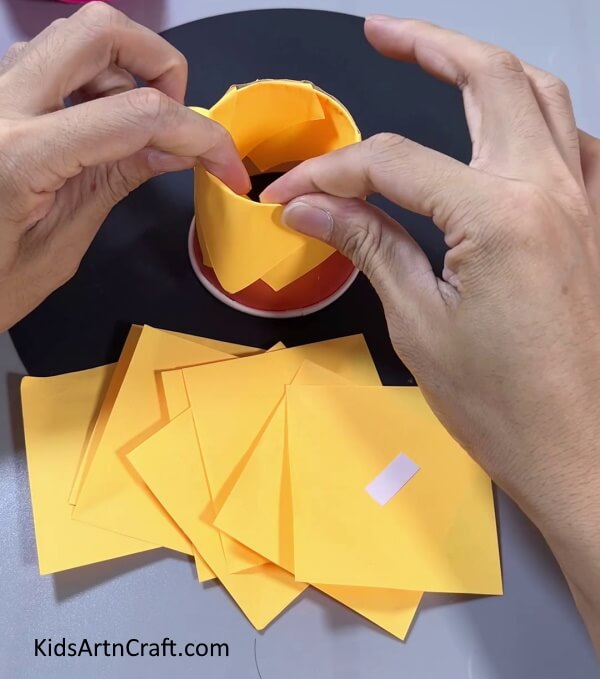

Start making another layer of the petals by placing the sheets over the edge of the cup along with the diagonal crease. Make sure to paste petal sheets half over each other and minimize the overlapping gap as the layers increase.
Step 6: Completing The Petal Layers
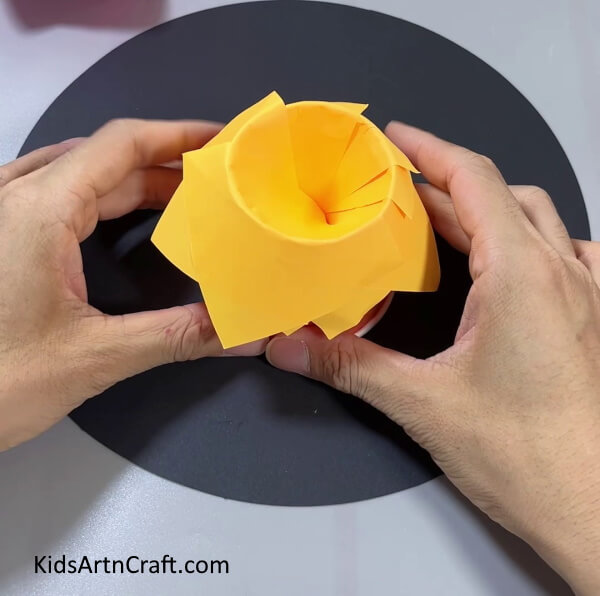

Repeat the previous step again and again till the petal sheets close the cup gap. Also, make sure to apply double-sided tape after every layer is completed.
Step 7: Taking The Rose Out Of The Cup
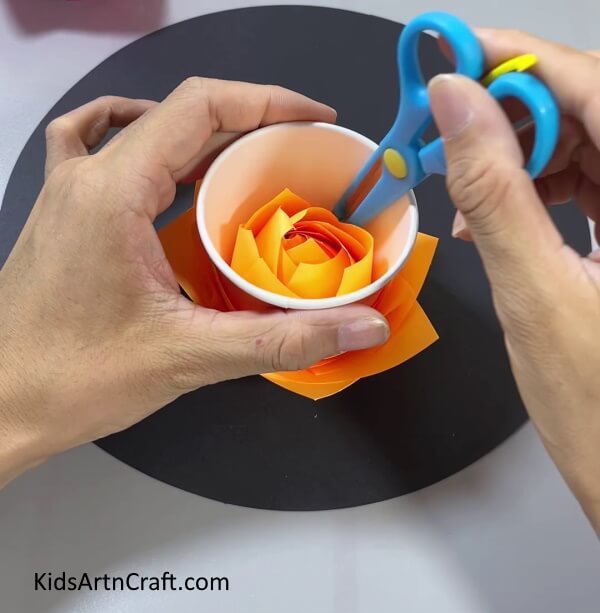

Invert your paper cup and you will see a beautiful rose formed, now take the help of scissors to separate the petals with the cup inside it. And then gently pull out your paper cup.
Nice, The Paper Rose Craft Is Ready!
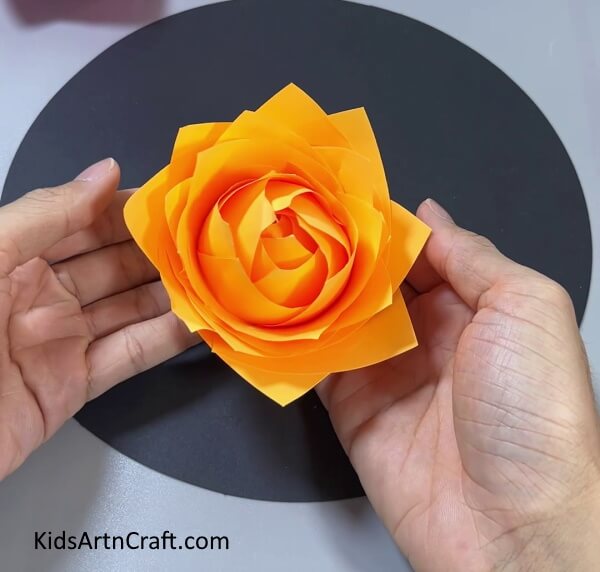

Whoa! Look at the astonishing results! This paper rose flower will definitely be a banger!
You can use this flower to decorate your home or room! This paper rose flower will surely be a piece to show off to your friends and family!
Some More Flower craft tutorial
Handmade Origami Rose Craft For Kids

Image Source/Tutorial: Kids Art & Craft
This is a great craft for kids who love origami! They can make a beautiful rose with just a few simple steps. This fun and easy craft can be a great way to spend time with your little ones and show off their creativity.
You can also make these paper roses in various colors and create a whole bunch of paper roses for your room to brighten it up and match them with the color of your room! You can also use this as your school craft project, as this rose looks realistic, and flaunt your craft skills in front of everyone by teaching them too to make it!
Follow us on Youtube for art and craft tutorials and much more.
More Articles from Kids Art & Craft
- How to Make Easy Paper Snowflakes Tutorial
- DIY Paper Cup Fan Craft Ideas For Kids
- Lion Face Craft Using Orange Peel For Kids
- Easy Frog Puppet Toy Craft Using Paper Cup For Kids
- Recycled Egg Cartoon Bee Craft Tutorial For Kids