Painting
Amazing Way To Make Handprint Giraffe Painting Art

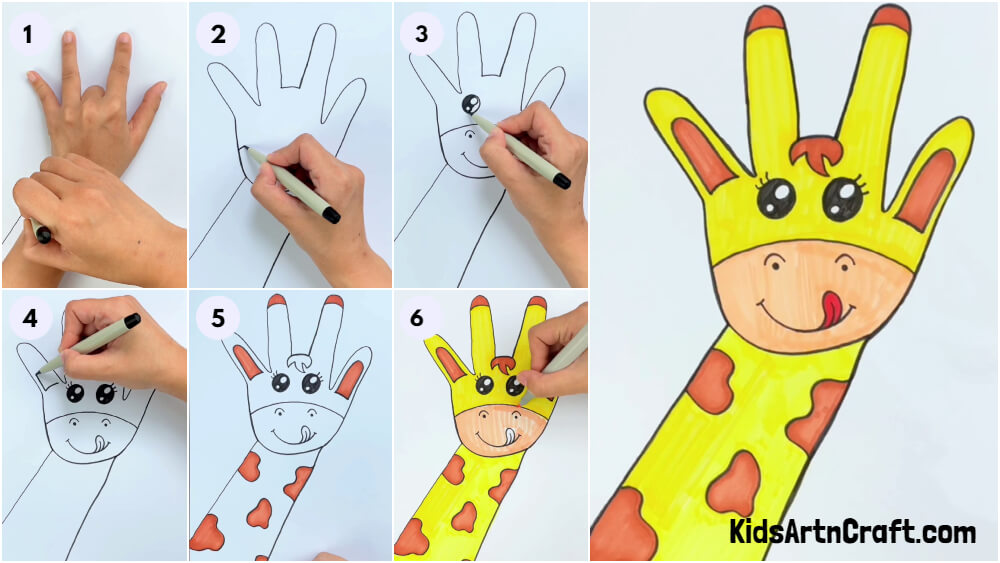
Create a beautiful handprint giraffe painting art piece with our easy-to-follow tutorial! This fun and creative project is perfect for kids and adults alike. Get creative and show off your masterpieces!
Creating art is an incredible way to express yourself, and it can also be a great activity to do with children. If you are looking for a fun, creative project to do with your child, then this amazing way to make a handprint giraffe painting art is a great choice. Not only is it a fun activity, but it’s also a great way to foster creativity and bond with your child. With just a few materials, you and your child can create a unique and beautiful piece of art to be enjoyed for years to come.
Fun To Make Handprint Giraffe Painting Art For Kids
Read More: Colorful Fish Paper Craft To Make With Kids
Material Used:
- White Sheet
- Black Sketch
- Yellow Color
Procedure
Step-1: Making Hand Design
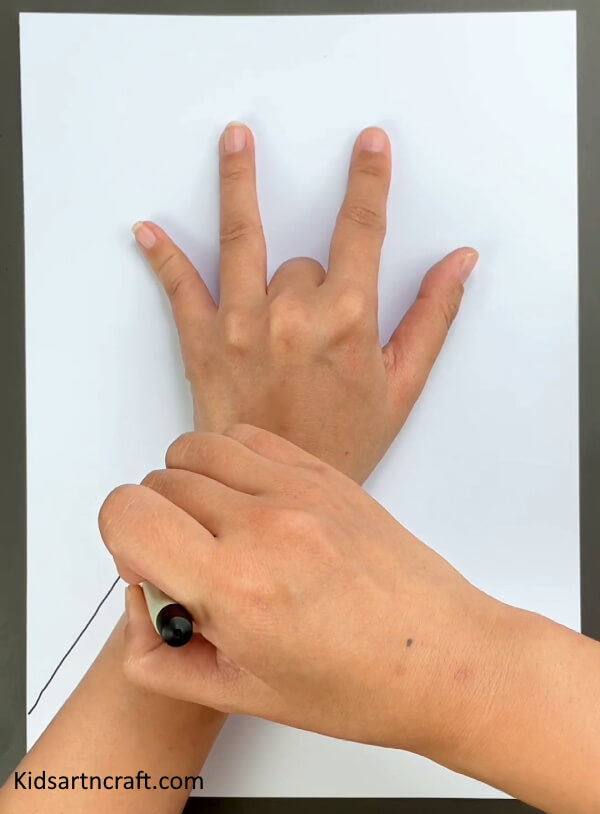
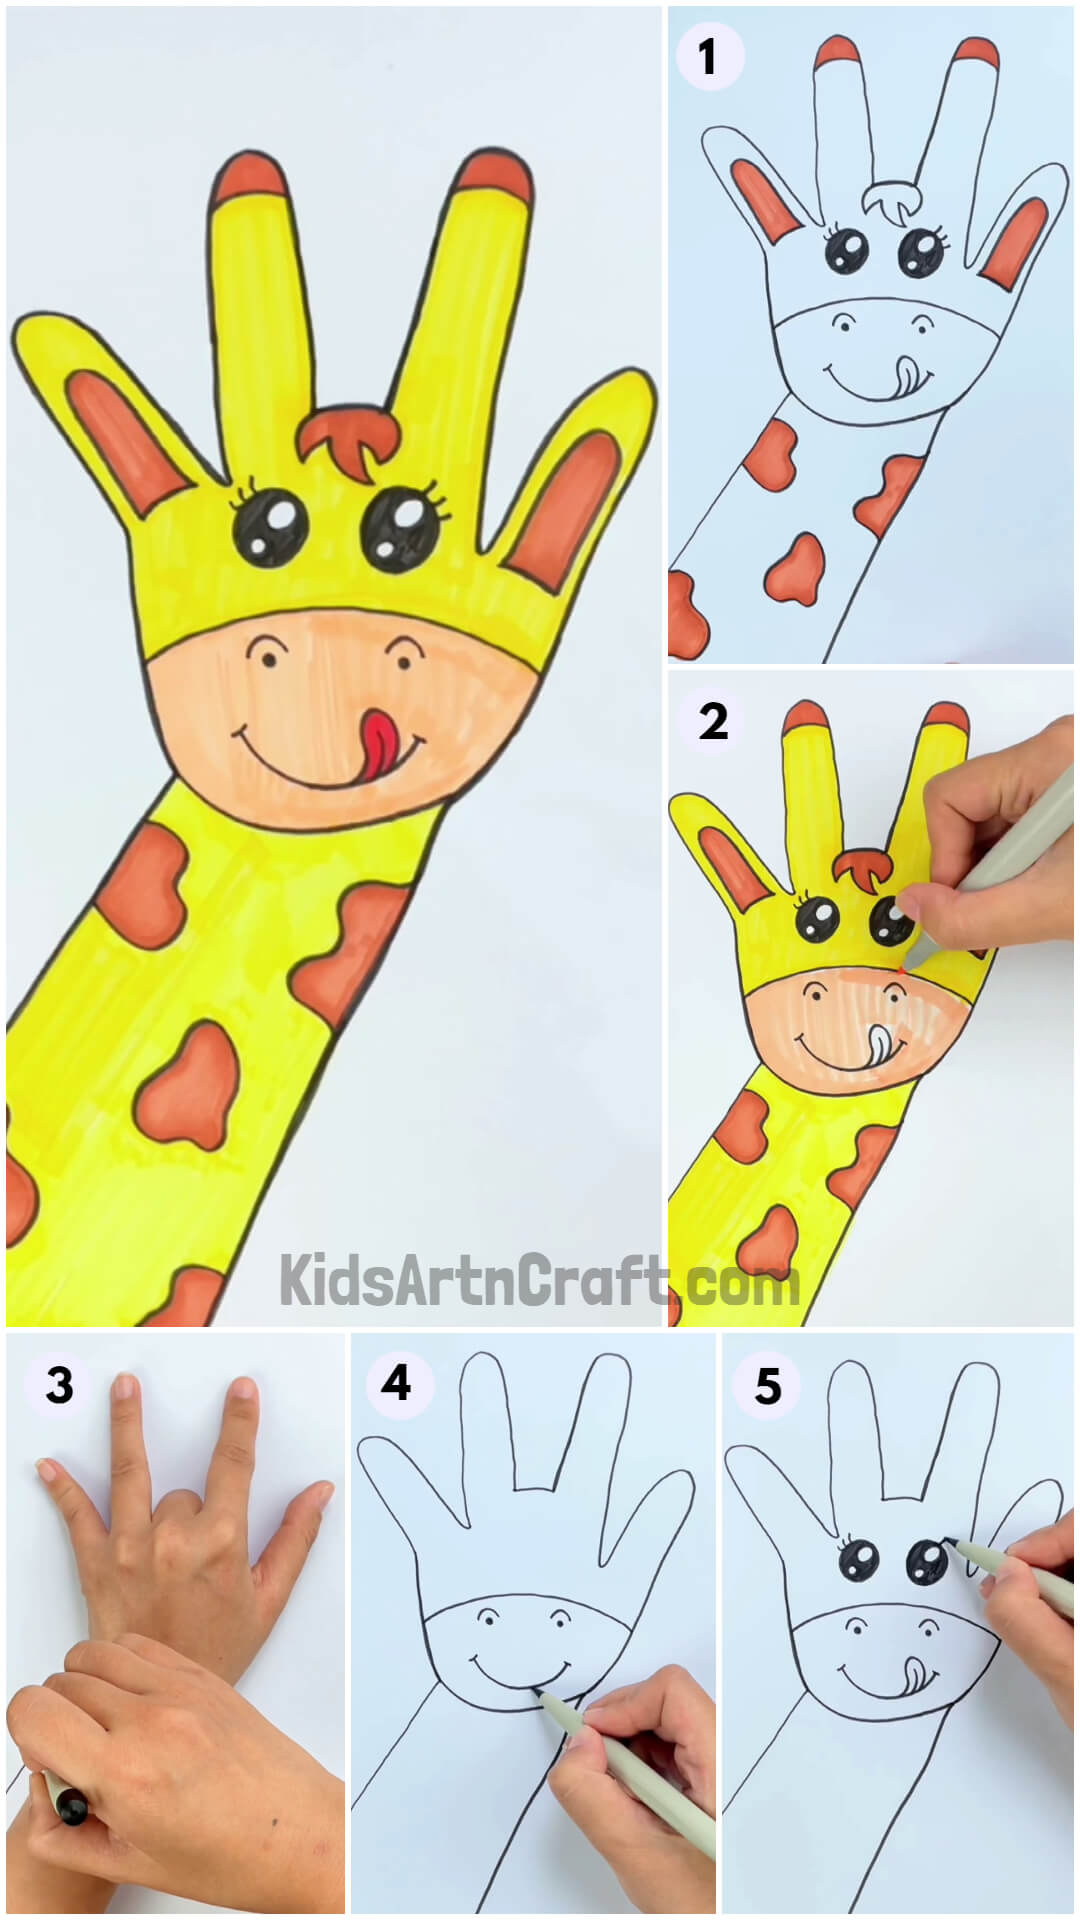
Fold your middle finger and open all your fingers and put your hand on the paper. Take a black sketch and draw the boundary of the hand on the paper.
Step-2: Drawing The Outer
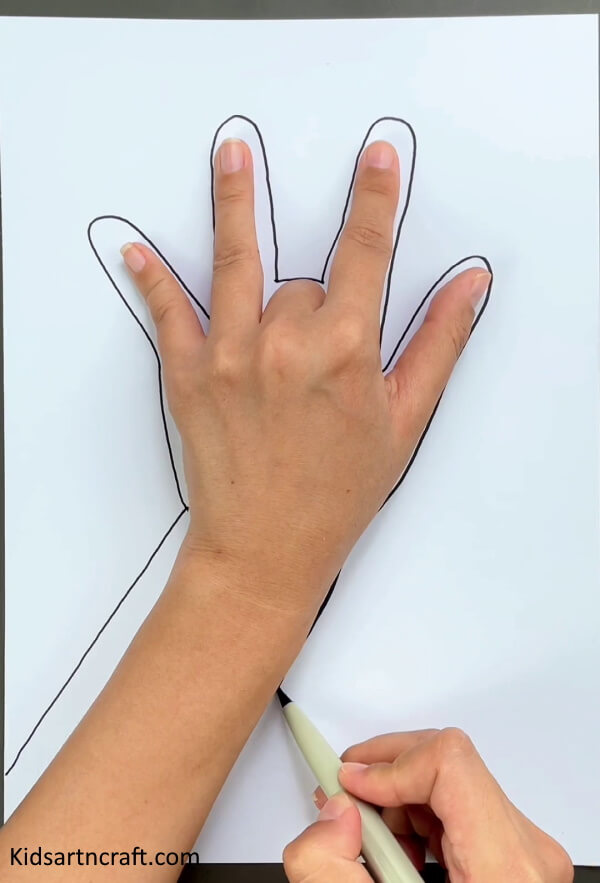
Complete the full hand on the sheet.
Step-3: Drawing The Mouth Of a Giraffe
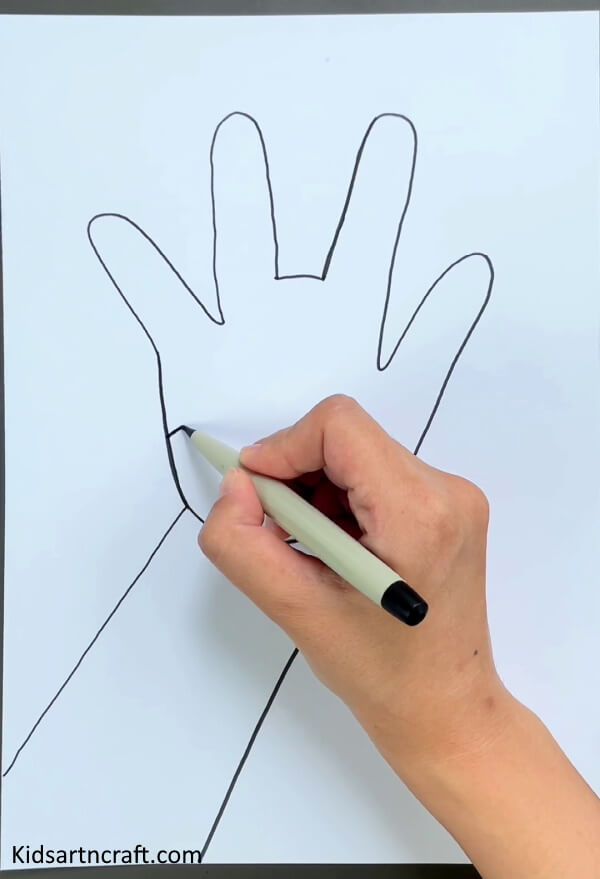
Draw the palm and mouth of the giraffe using the black sketch.
Step-4: Make a Nose And Smile
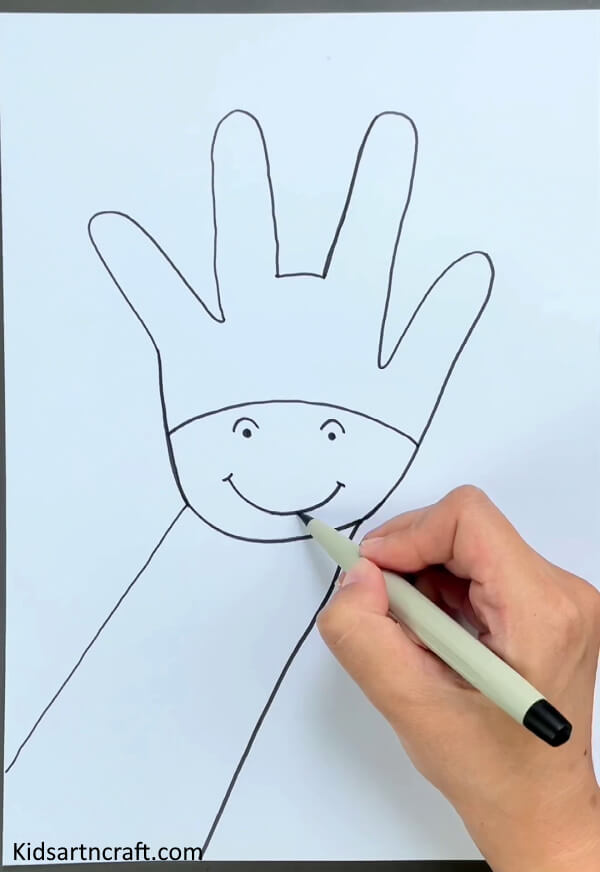
Make two dots for the nose and make a curve making a smile.
Step-5: Making Eyes Of Giraffe
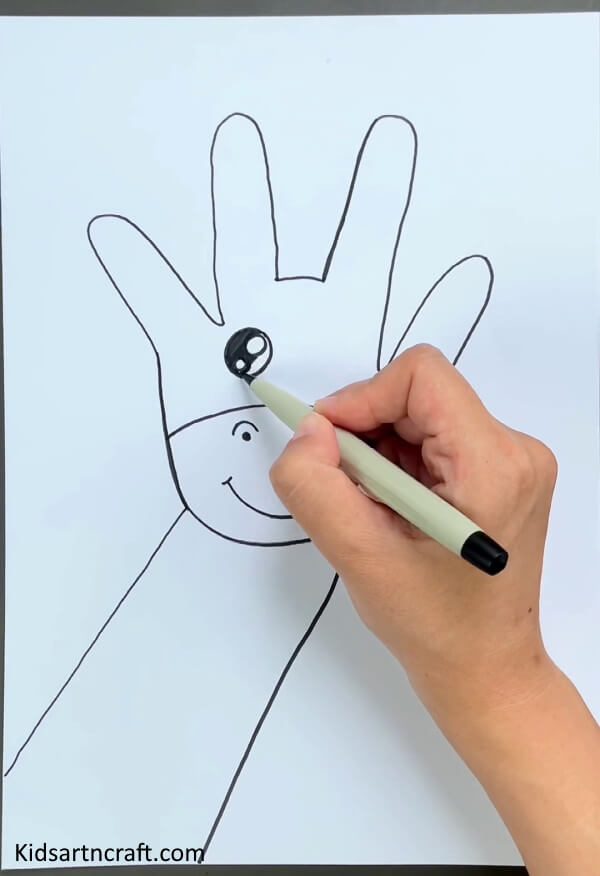
Make a circle below the fingers and fill it with black color leaving two smaller circles unfilled.
Step-6: Make Another Eye
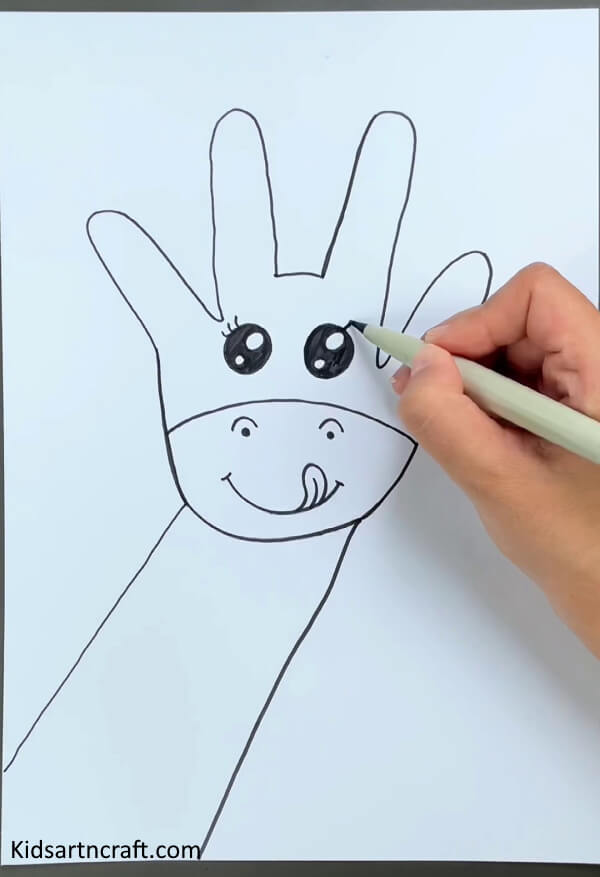
Make the other eye in the same manner and make lashes of both eyes. Draw the tongue of a giraffe as well.
Step-7: Drawing a Finger Design Inside a Little Finger
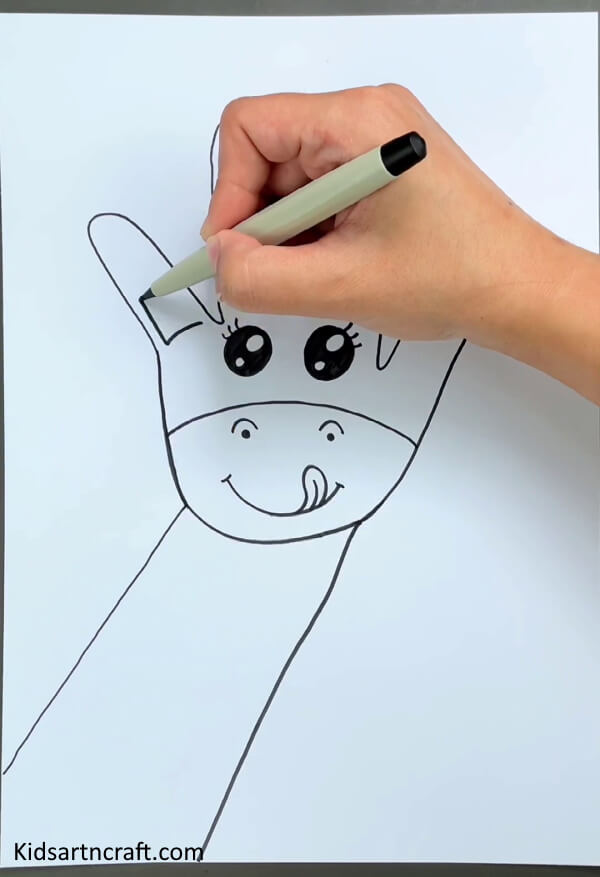
Using a black pen, draw a closed figure inside the little finger.
Step-8: Make The Same Figure Inside The Thumb
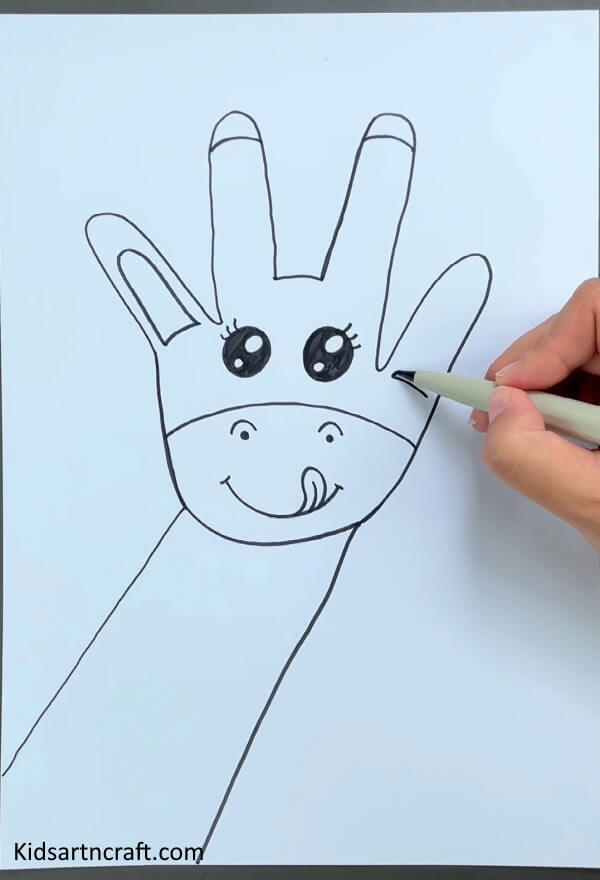
Make the same design inside the thumb and draw curves below the tip of the remaining fingers.
Step-9: Drawing Hairs Of The Giraffe
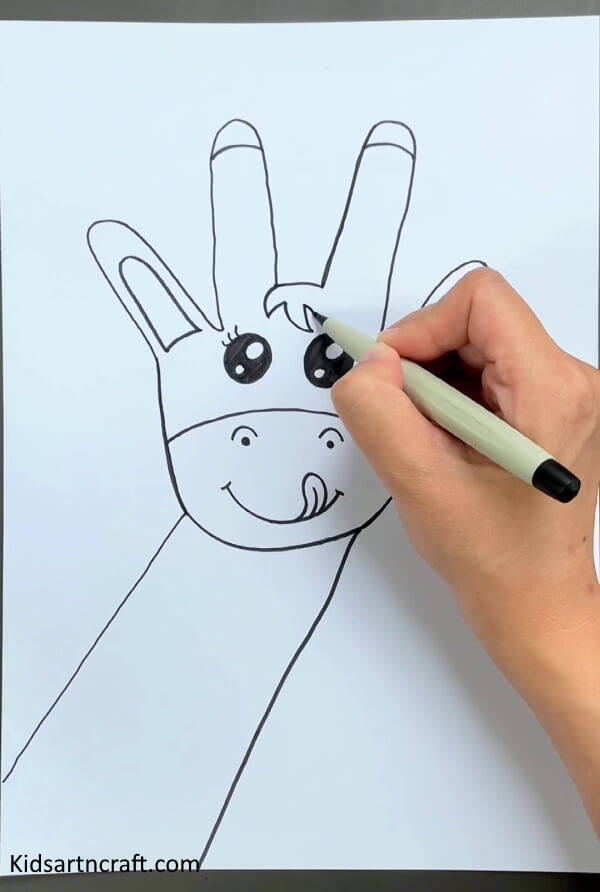
Draw hairs on the palm between the middle and ring finger.
Step-10: Make Patches On The Body
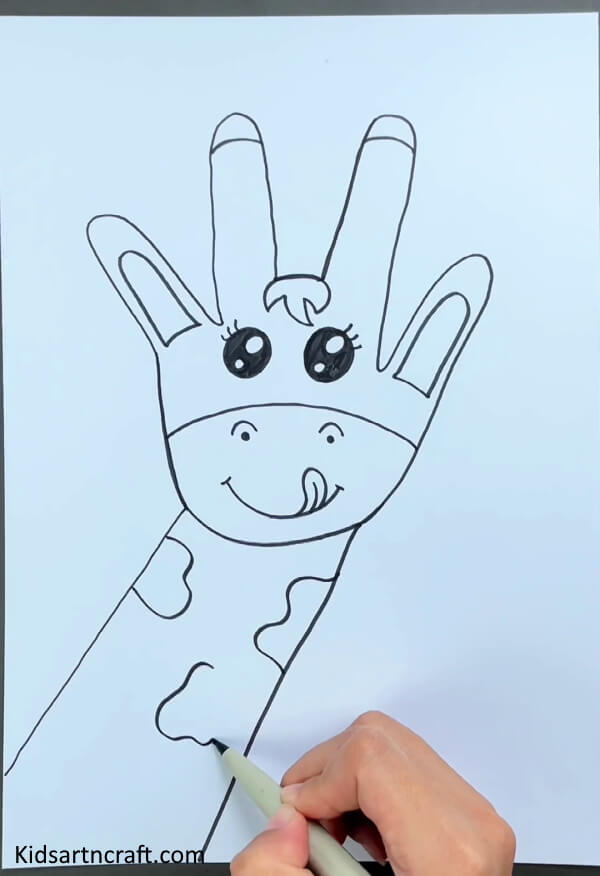
Make cloudy patterns on the body of the giraffe.
Step-11: Filling Red Color In The Closed Patches
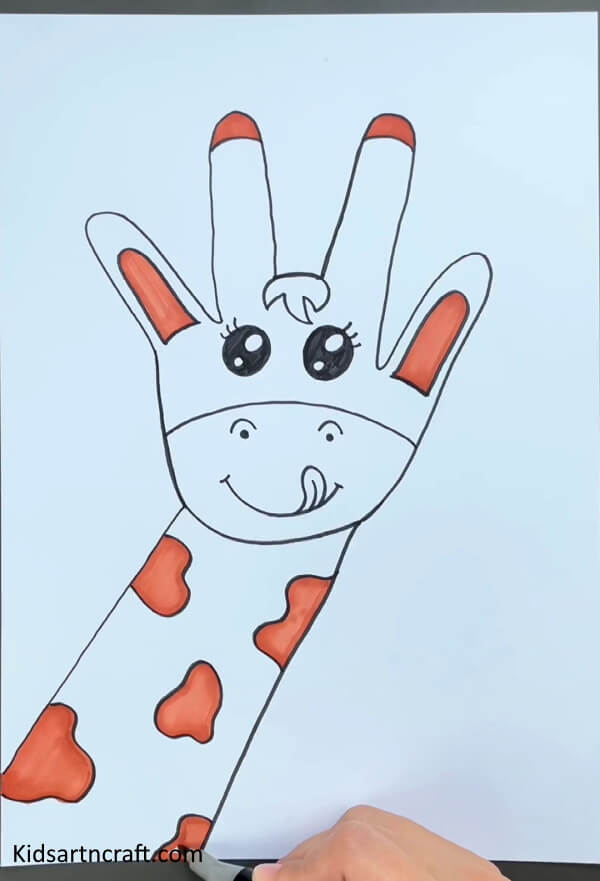
Take a red sketch and fill the patches with red color on the body and also fill color in the closed patterns on fingers.
Step-12: Filling Yellow Color
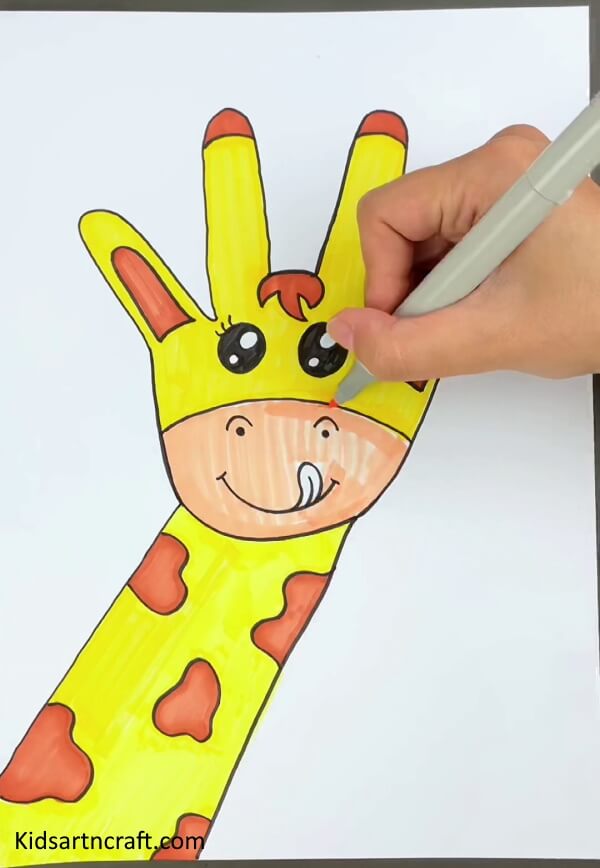
Fill the yellow color on the body and above the mouth part and fill the cream color in the middle part that is the mouth.
Final Step: Your Giraffe Is Ready!
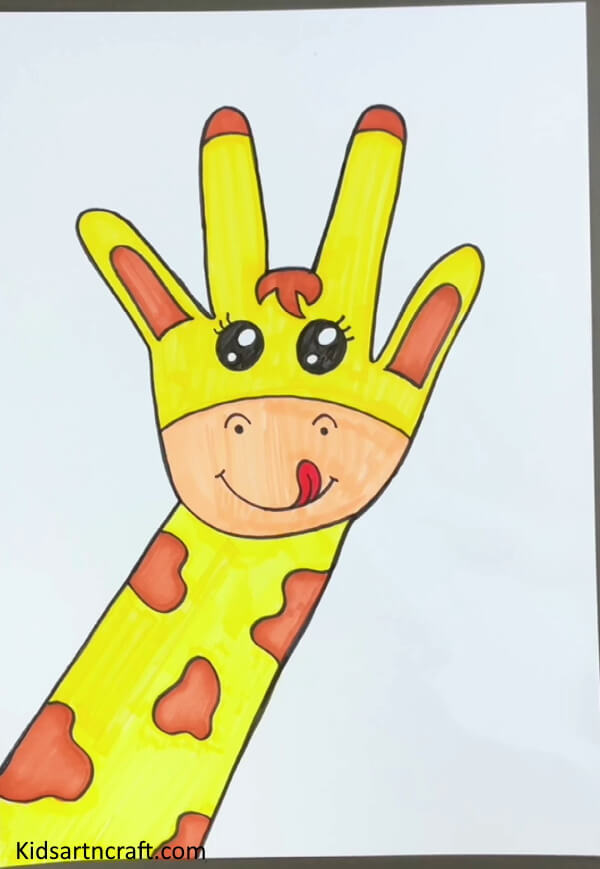
You can make this giraffe easily by just using your hand.
Some More Giraffe Craft Tutorial
DIY Designing Giraffe Art with Peanut Shells For Children
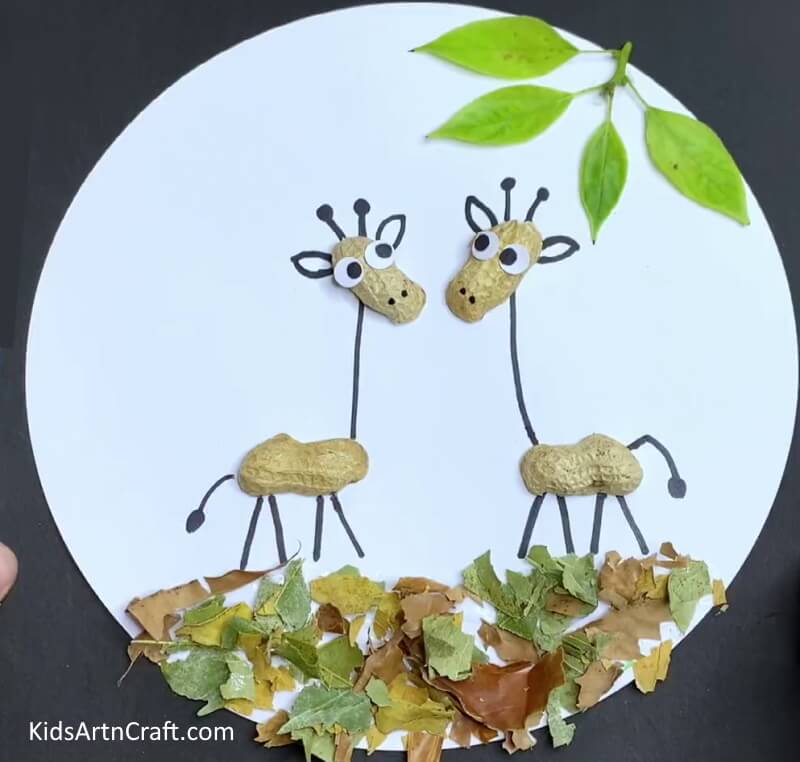
Image Source/Tutorial: Kids Art & Craft
This fun, creative craft is perfect for any child. They can enjoy designing their own giraffe art with peanut shells! It’s a great activity for encouraging children to use their imagination and explore their creative side.
FAQs
What type of paint should I use for this handprint giraffe painting art?
Acrylic paint is best for this project, as it is non-toxic and easy to clean up.
What type of paper should I use for the painting?
Watercolor paper is best for painting, as it is absorbent and won’t buckle when wet.
Do I need to use a special brush for the painting?
No, a regular paintbrush will work fine.
How long does it take to make the painting?
Depending on the size of the painting and the complexity of the design, it can take anywhere from 1-2 hours.
Can I use other colors besides yellow and brown for the giraffe’s spots?
Yes, you can use any colors you like for the spots.
This handprint giraffe painting art is a great way to show off your creative side and have some fun with the family!
Follow us on Youtube for art and craft tutorials and much more.
More Articles from Kids Art & Craft
- DIY Paper Flower Craft – Step-By-Step Tutorial
- Sunflower Seeds Flower Craft – Step-By-Step Tutorial
- Easy Leaf Art For Kindergarteners With Your Parents – Step-by-Step Tutorial
- DIY Easy Paper Flower Craft For Kids – Step-by-Step Tutorial
- Easter Egg Chick Craft Using Popsicle Stick


