Kids Activities
Love Tree Clay Craft Step-by-step Tutorial For Kids

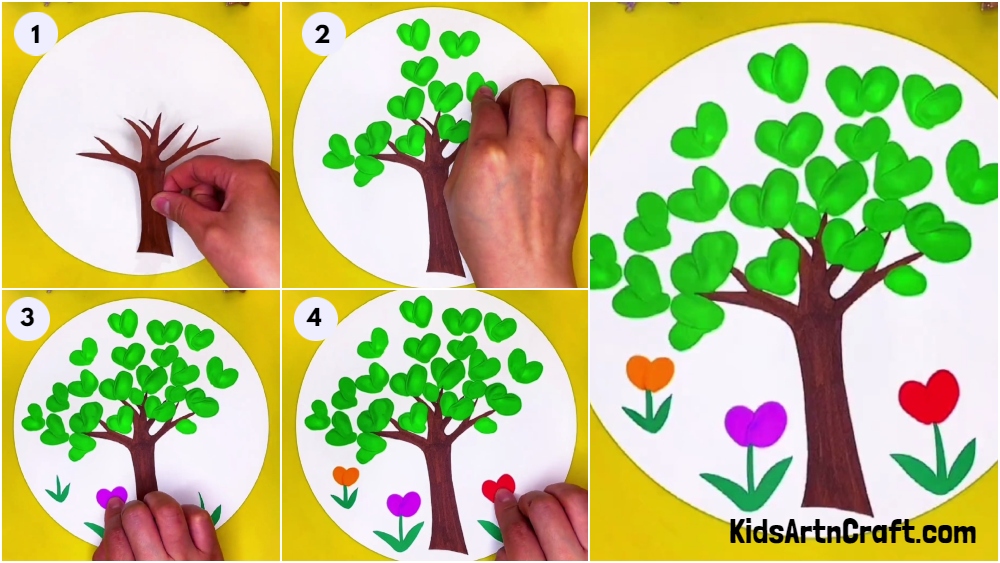
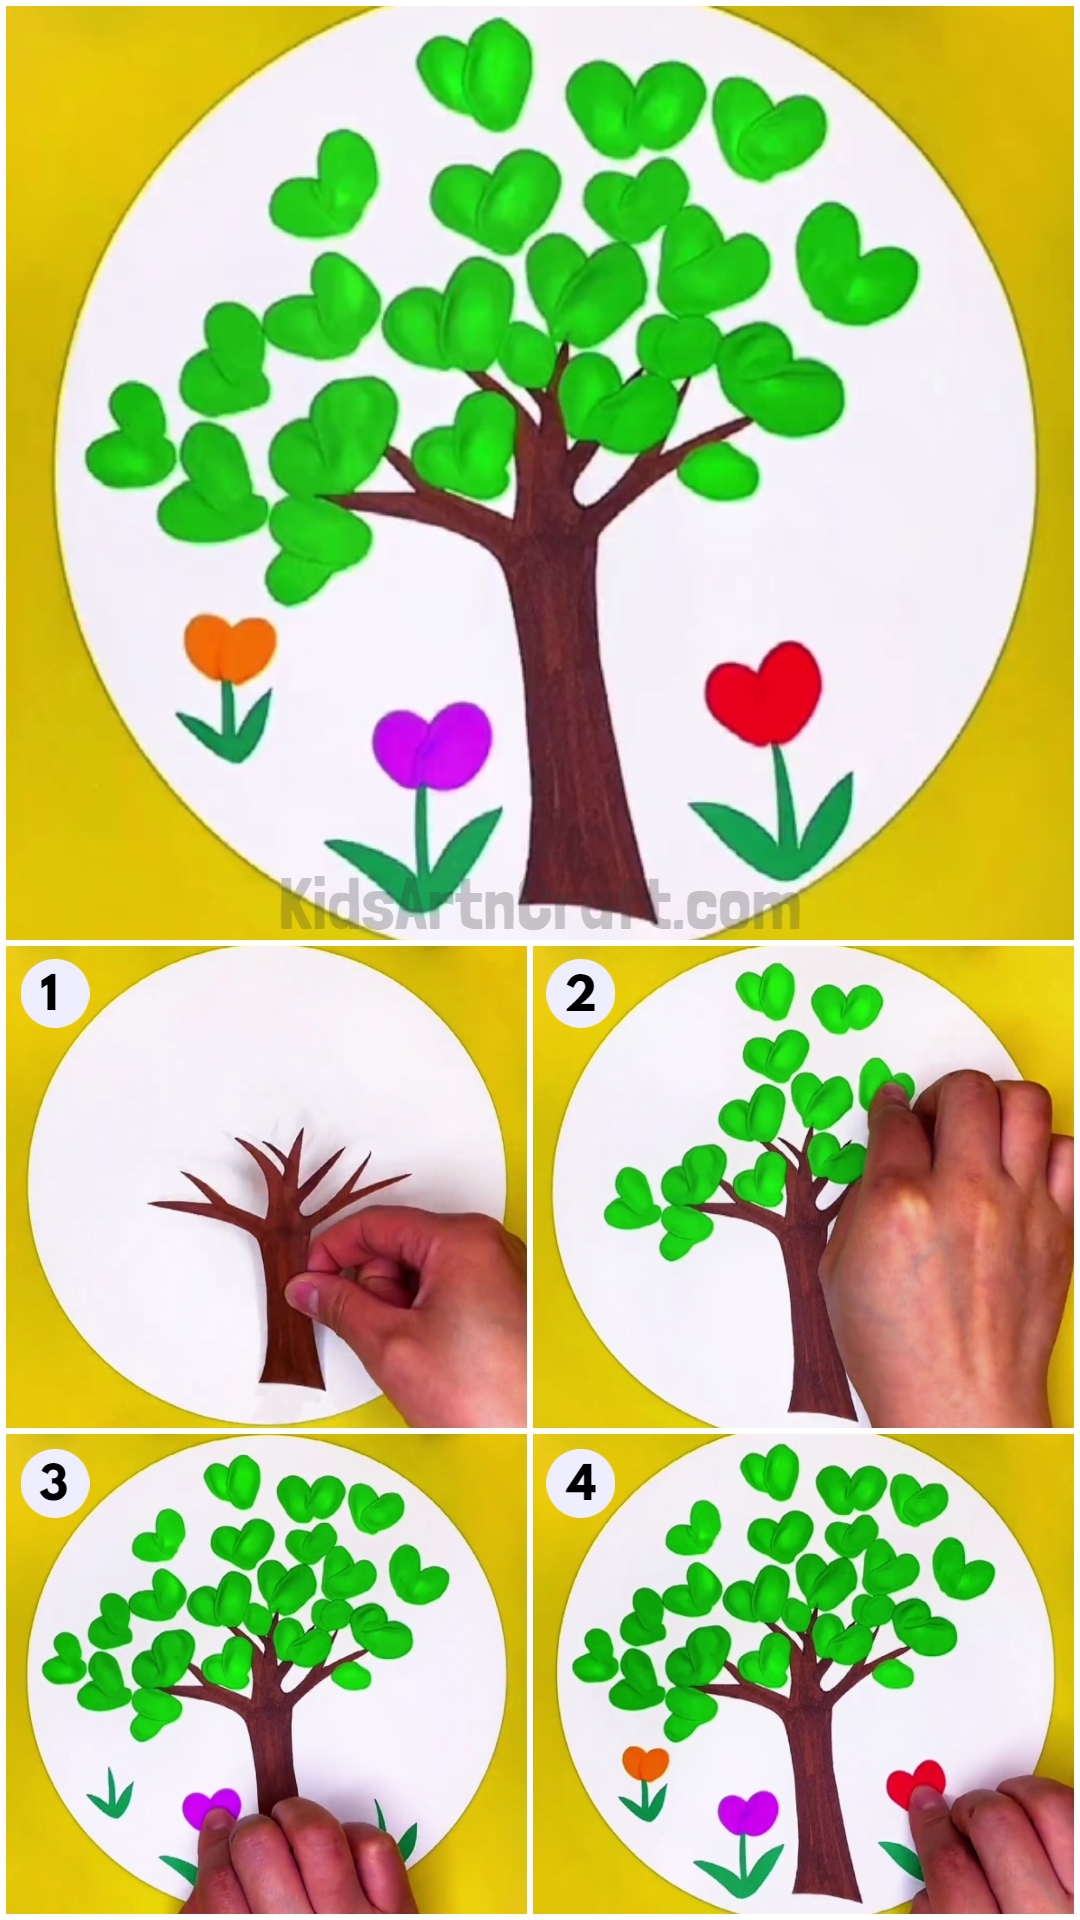
Fell in love with nature with a craft! The love tree is the perfect artwork for your little one to make them fall in love with nature and also make a lovely present for their loved ones!
Make this unique and innovative love tree craft for your loved ones! This craft symbolizes the growing love as a tree is strong and grows! Your loved ones will definitely be happy to receive such a heart-touching craft with a lovely hidden meaning involved! This tree craft is easy to make and will just need some minutes to create it! You can shape the love leaves with the help of the clay sand our easiest step-by-step instructions are provided to you in this article! Grab the colored clay and the crafty supplies which are already available with you at your home and let’s roll on making this craftwork!
Easy Love Tree Clay Craft For Kids
Read More: Easy Paper Craft Tree with Bird Nest for Kids
Materials Required
- White Colored Paper Sheet
- Sketch Pens (Brown And Green)
- Scissors
- Glue
- Colored Clay (Green, Pink, Red, And Orange)
Procedure
Step 1: Pasting A Tree Trunk Cutout
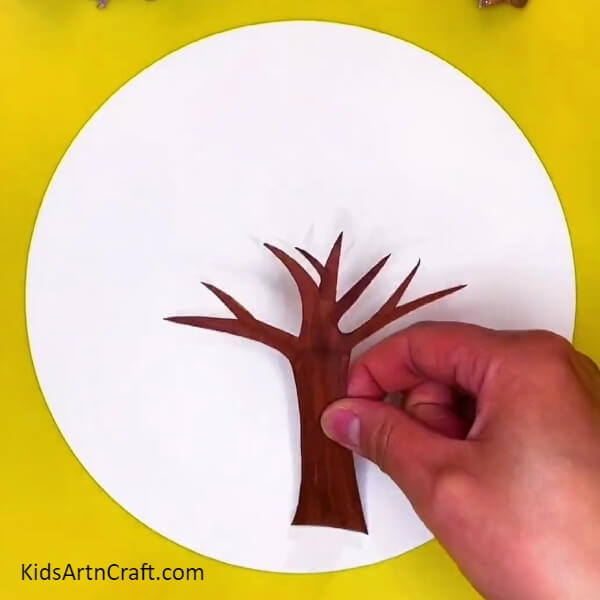
To begin this craft, take a white paper sheet and using scissors, cut it down in a circle. Now, draw and color a tree trunk over another piece of white paper using a brown sketch pen and cut it out using scissors.
Step 2: Taking Out A Piece Of Green Clay
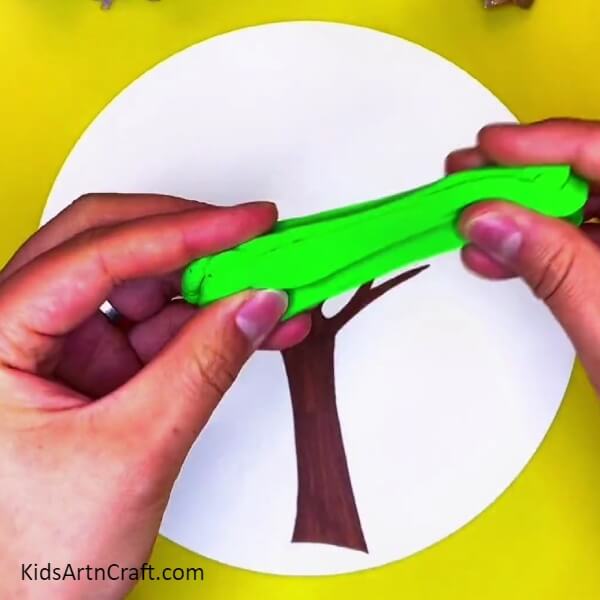
Take green-colored clay and pluck out a small piece of it for making leaves.
Step 3: Making Heart-Shaped Leaves
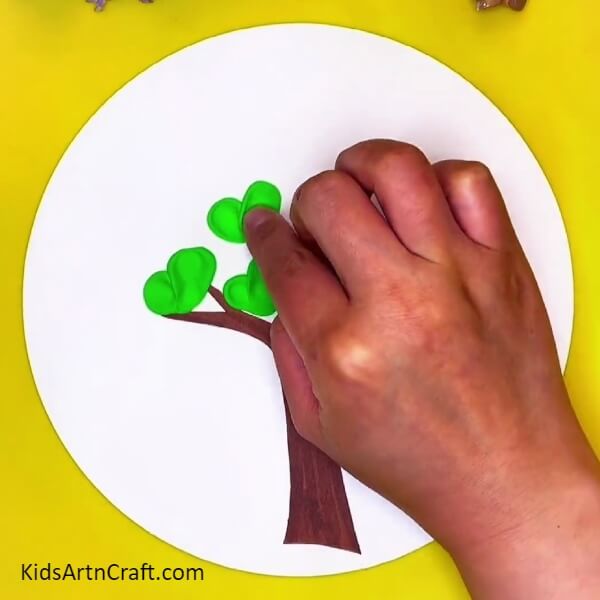
For making a leaf, dough 2 small clay balls, and place them side-by-side over a branch. Now, press and drag a clay ball below the other and then press and drag to stretch the clay of another ball over the other to form a heart shape. Following the same, make more heart-shaped leaves over the branches.
Step 4: Making More Leaves
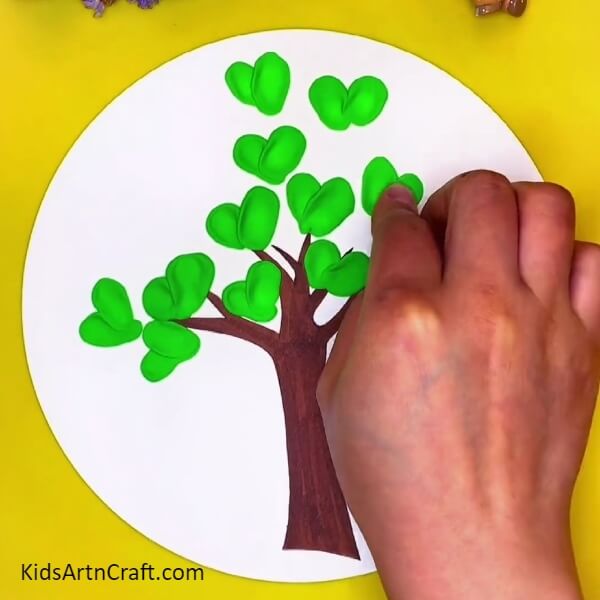
Following the previous step, make more and more leaves, even over the leaves to form a heart-loaded tree.
Step 5: Making Grasses And A Pink Heart Flower
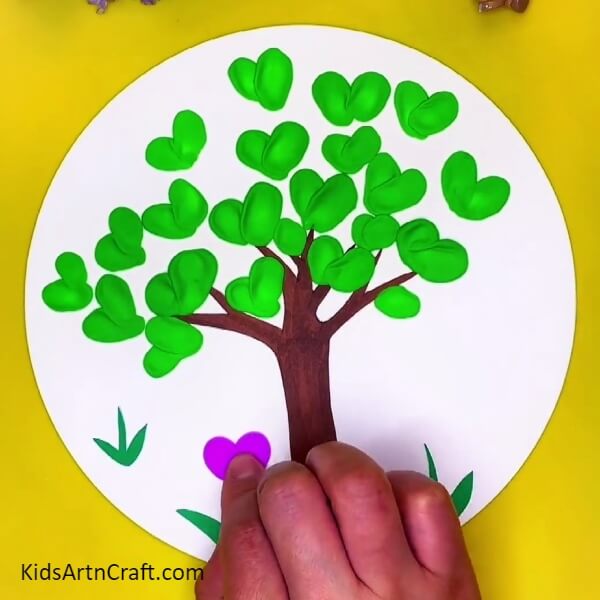
For the grass, draw them up using a green sketch marker over a white sheet, cut them out using scissors, and paste them below the tree to make flowers over them. Over a grass, make a pink clay heart, the same way you made the leaves.
Step 6: Making Red And Orange Heart Flowers
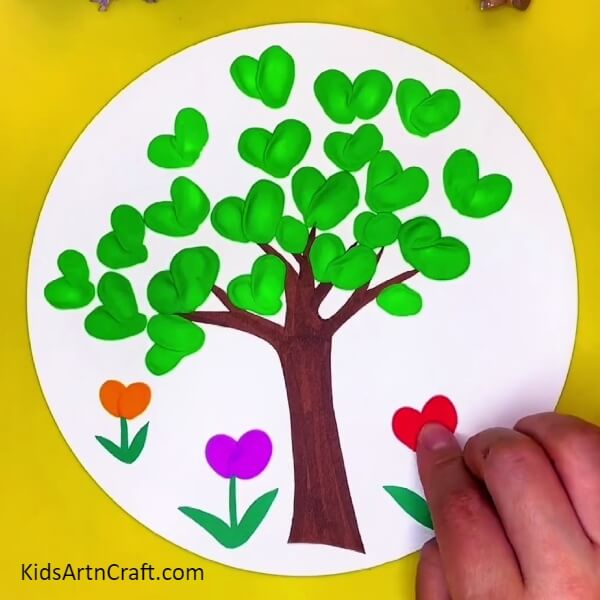
Using the red and orange colored clay, make the heart flowers over the remaining 2 grasses.
Now, The Final Look Of Your Clay Love Tree!
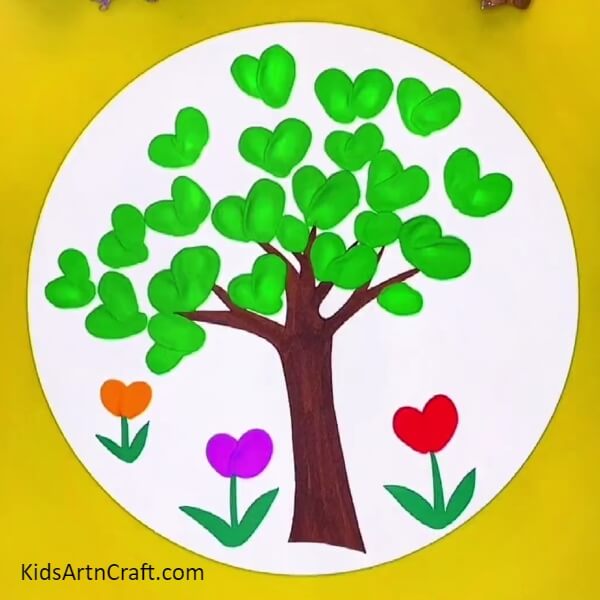
Congratulations! On completing your love tree craft! You can take a minute to mesmerize your piece of art!
This amazing craftwork only took a couple of minutes to make and now you can use it as a gift for your loved one or can even hang it up your room’s wall to beautify the boring look of the wall! Mix your imagination with the beauty of nature to get astonishing results! Innovation is the key to artwork as a masterpiece!
Follow us on Youtube for art and craft tutorials and much more.
More Articles from Kids Art & Craft
- Simple Yarn And Wool Crafts Video Tutorial for Everyone
- Summer Paper Fan Step by Step Tutorial for Kids
- Easy Painting Video Tutorial for Beginners
- DIY Easy Paper Chick Craft For Kids
- How to Make Paper Cup Doll Craft for Kids


