Painting
Miniature Ant World Art Step-by-step Tutorial For Beginners

This tutorial will walk you through the basics of making your own 3D artwork featuring ants. Discover what materials to use and learn the techniques to create a realistic miniature ant world.
In this step-by-step tutorial, we will learn how to make a miniature ant world by yourself at home. This fun and easy project is perfect for kids and adults alike. In this tutorial, we will show you how to make your own miniature ant world in just a few simple steps. You’ll need just a few materials, such as construction paper, scissors, and a glue stick. With some basic craft skills, you’ll be able to make your own ant world in no time. Let’s get started!
DIY Miniature Ant World Art For Kids

Read More : How To Make Ant Painting Step-by-step Tutorial
Materials Required
- Yellow and white craft paper
- Paint colors
- Black marker
- Glue
- Pop-up eye buttons
Procedure
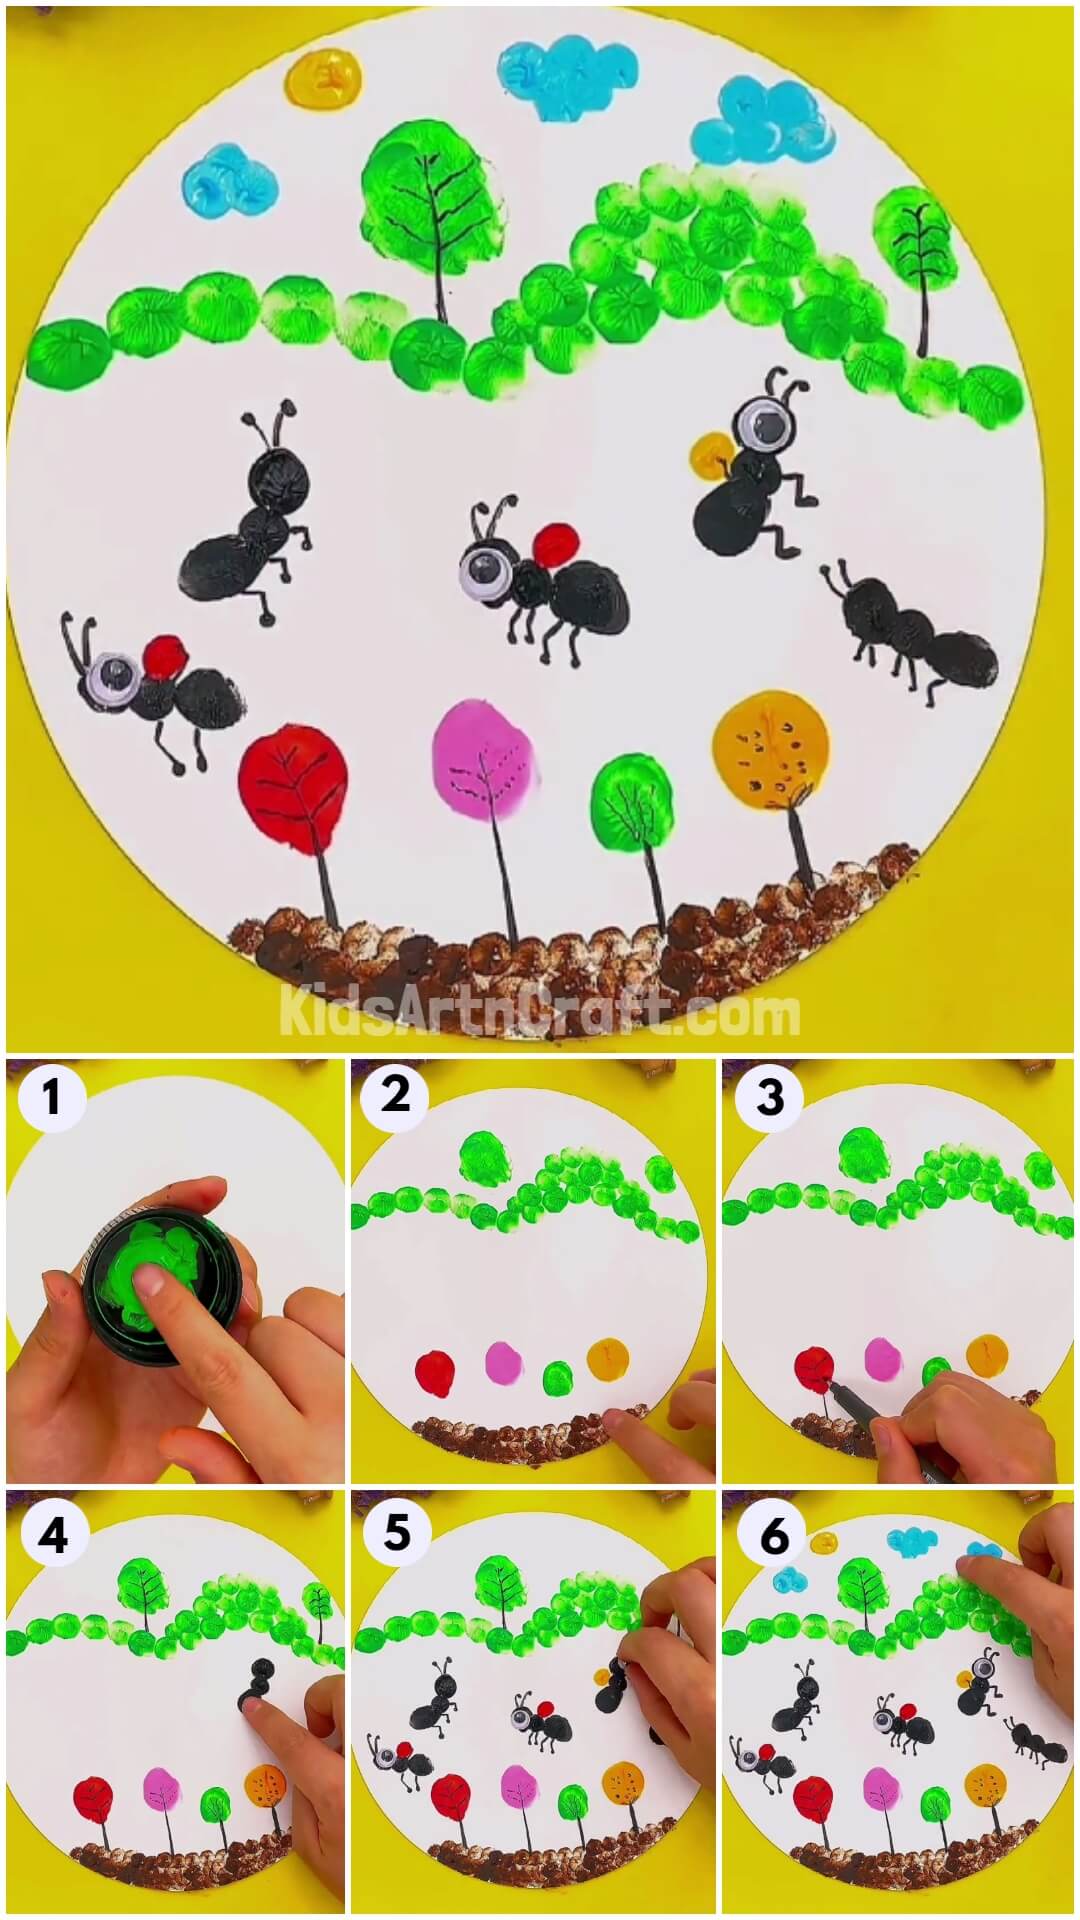
Step 1: Preparing The Background
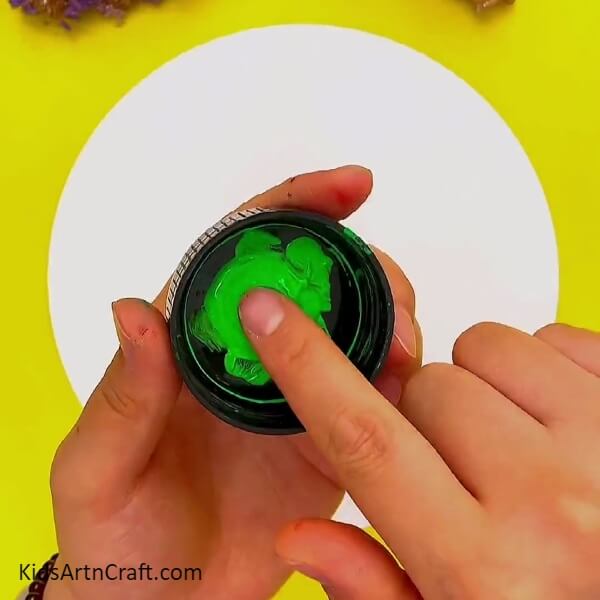

Take a white craft paper and cut it in the shape of a circle. Paste it on top of a yellow craft paper as shown in the figure above. Take green paint and dib the tip of your forefinger in it.
Step 2: Making Greeneries

Apply some green paint on the tip of your forefinger by dibbing it into green paint and make prints of your finger on the prepared background as shown in the picture.
Step 3: Making Greeneries
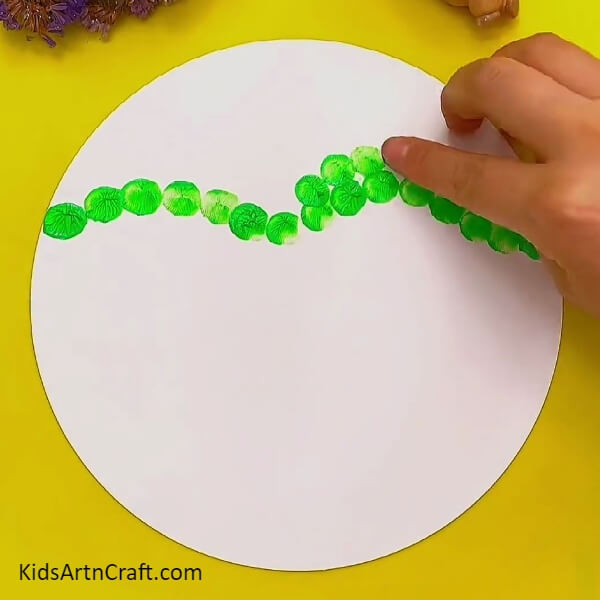
Apply some more paint and create more greeneries on the craft paper. After getting completed, it would seem like plants and shrubs.
Step 4: Making Thumb Impressions
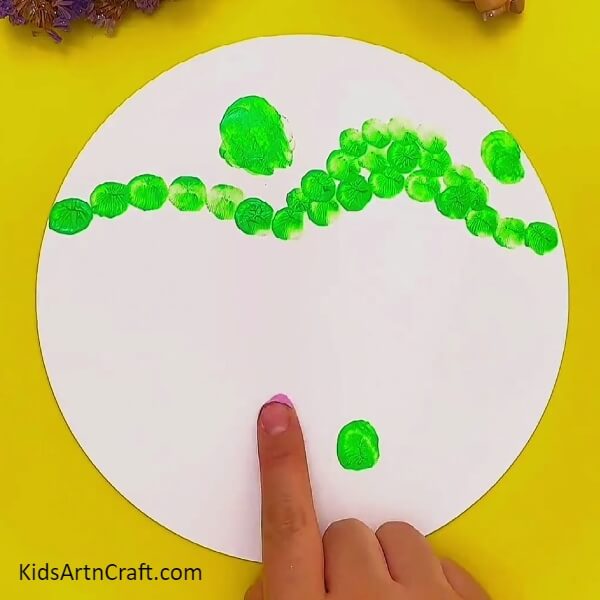
Now, apply some paint on your thumb and make impressions of it above the plants or greeneries made earlier. Apply different colored finger impressions at the bottom of the craft paper.
Step 5: Making Soil
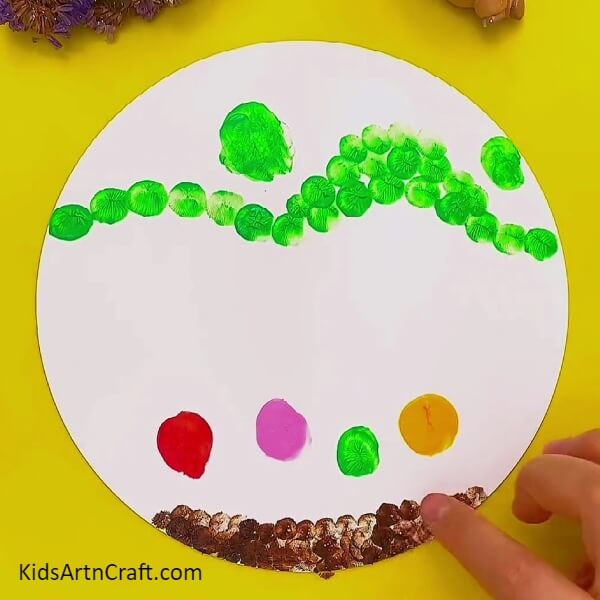
Apply some brown paint on your fingers and dab it on the bottom part of the white circle to make impressions of the soil.
Step 6: Making Plants
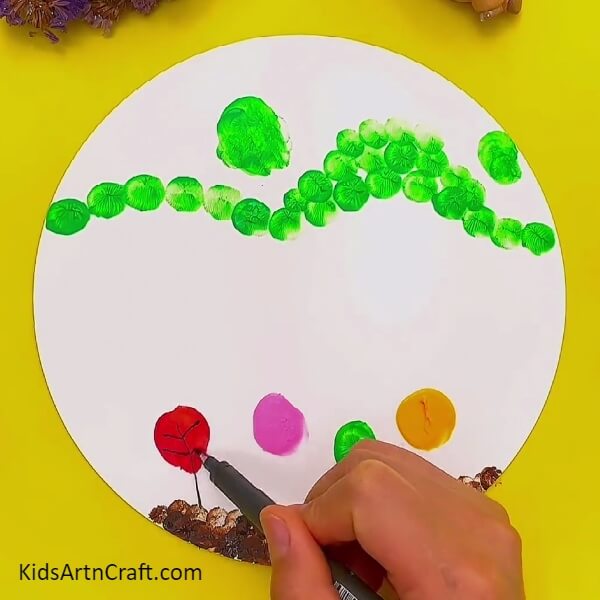
Take a black marker and draw some patterns on the finger impressions made on the bottom part of the circle above the soil.
Step 7: Making Trees
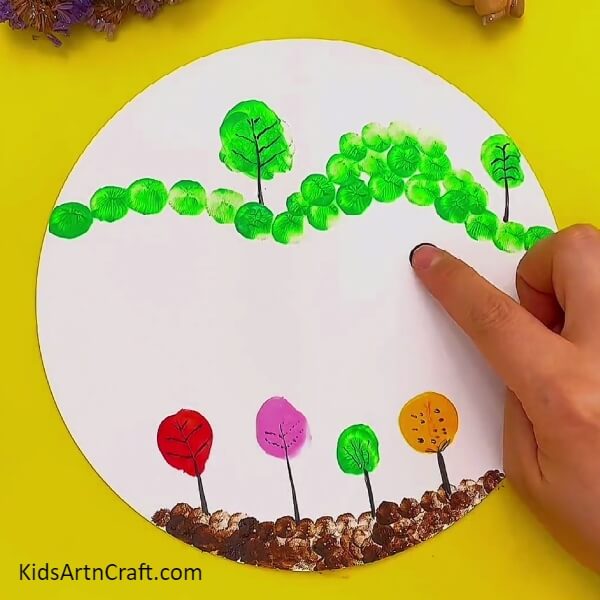
Draw leaves and trunk from the marker on the thumb impressions made earlier on the top of the circle to make it seem like a tree.
Step 8: Making Ants
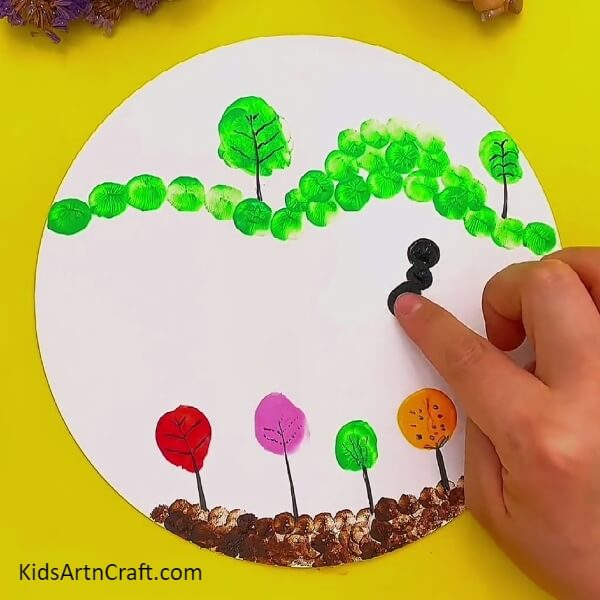
Apply black paint on your fingers and dab it on the surface to make an ant. Join three dots to make one ant. Draw several ants on the whole surface.
Step 9: Adding Details
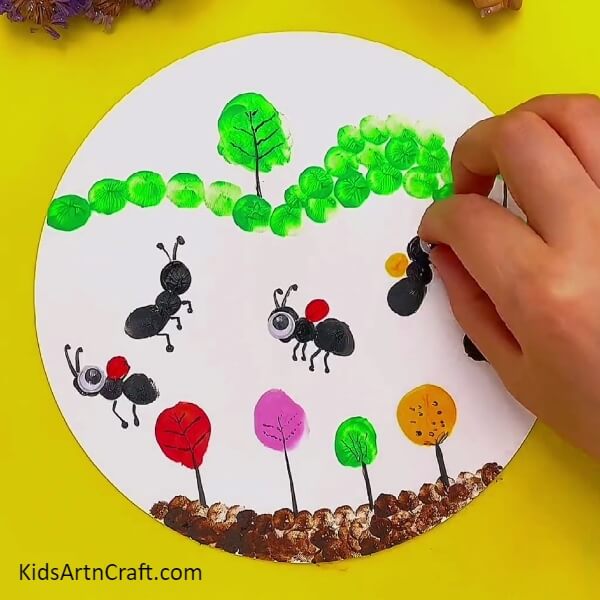
Add some more details, such as adding eyes by sticking pop-up eyes on the heads of ants and making wings of different colors on their back by finger impressions.
Step 10: Antenna
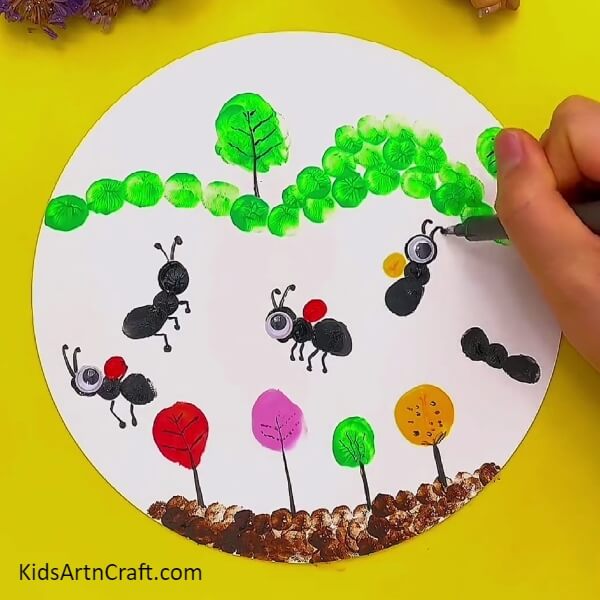
Take a black marker and create antennas of ants above their heads.
Step 11: Making Clouds
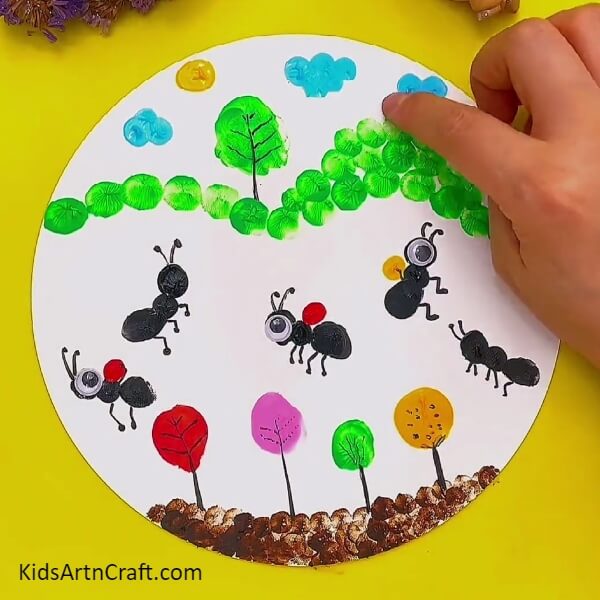
Make some clouds above the plants and trees by applying light blue paint on your fingers and dabbing it onto the surface.
Finally, The Miniature Ant World Is Ready
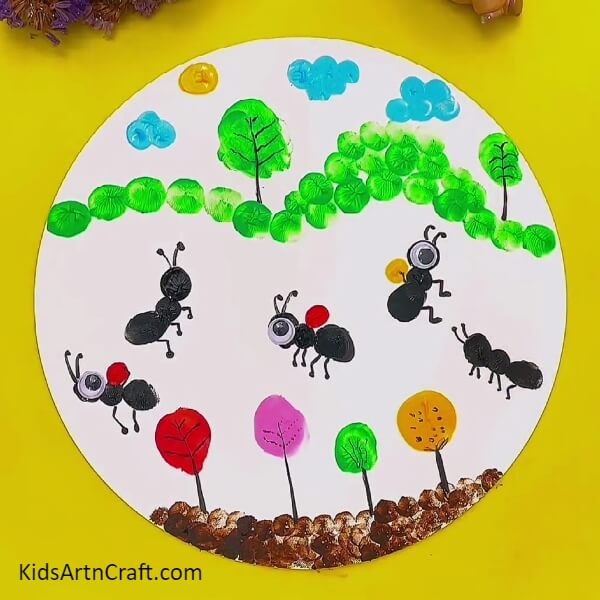
And your craft is ready!! This was such an easy tutorial that any kid can find it useful to make such cool crafts. You can get more creative by making similar worlds for other animals or species. If you don’t have pop-up eyes, then you can also make them yourself by cutting white paper into small circles and drawing eyes on them with the help of a marker. This craft would be liked by all, so why not give it a try and engage your kids in a fun craft-learning activity?
Hope you like this miniature ant world craft step-by-step tutorial. We would love to hear your thoughts in the comment section below. And be sure to visit other articles for more ideas!
Thanks for visiting our website.
Some More Ant Craft Tutorial
To Make Ant Clay Craft for Kids

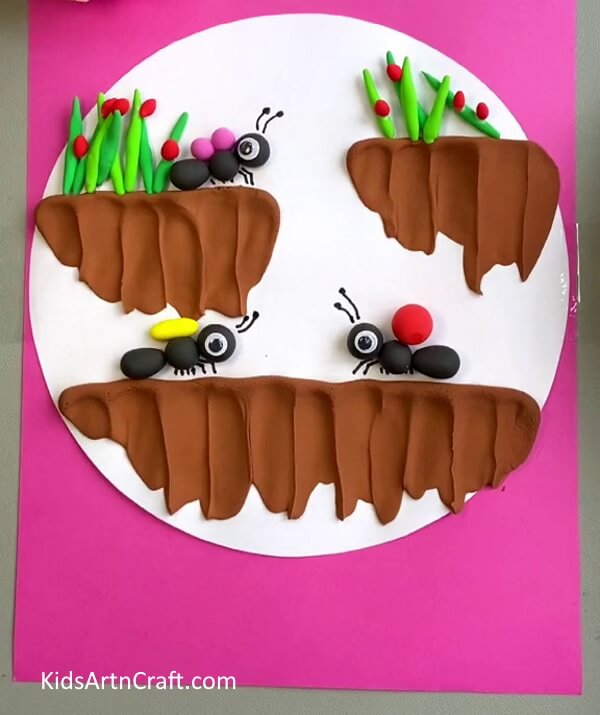
Image Source/Tutorial: Kids Art & Craft
This fun craft is perfect to make with kids! All you need is some clay and a few simple ingredients to make an ant craft! Let your creativity shine as you create the perfect ant for your kids to enjoy. Have fun and enjoy the process!
Follow us on Youtube for art and craft tutorials and much more.
More Articles from Kids Art & Craft
- Creative Owl Painting Idea For Kids Step-by-step Tutorial
- Beautiful Handprint Swan Craft Tutorial For Beginners
- Easy Kandinsky Circle Tree Landscape Art Tutorial For Kids
- Easy Watermelon Stamp Doodle Painting Step by Step Tutorial
- Cute Bunny Artwork Using Paint Tutorial For Kids