


Home Decor
Beautiful Napkin Roses Moon Decor Craft Tutorial For Home

Admire the beauty of the moon even more with a craft frame! This tutorial will guide you to make the prettiest moon made with napkin roses!
The beauty of the moon is always admired, so today this is the craft for you inspired by it! This prettiest moon decoration craft made with napkin roses will enhance the fact! This step-by-step tutorial will serve as a guide for you to make this beautiful craft that everyone will admire! Don’t get fooled by its complex appearance, will help you to make it in the easiest way possible and the results will be stunning as well! All you need is some basic craft materials that you already have at home and some tissue napkins to make it, that’s all!
DIY Napkin Roses Moon Craft For Decoration
Read More: DIY paper Tiger wall hanging easy craft
Materials Required
- White Paper Sheet
- Napkin Tissues
- Hot Glue Gun
- Craft Pearls
- Pink-Colored Powder Blush
- Blush Brush
- Acrylic Paint (Pink And White)
- Salt
- Painting Knife
- Rubber Bands
- Scissors
- White Frame Box
Procedure
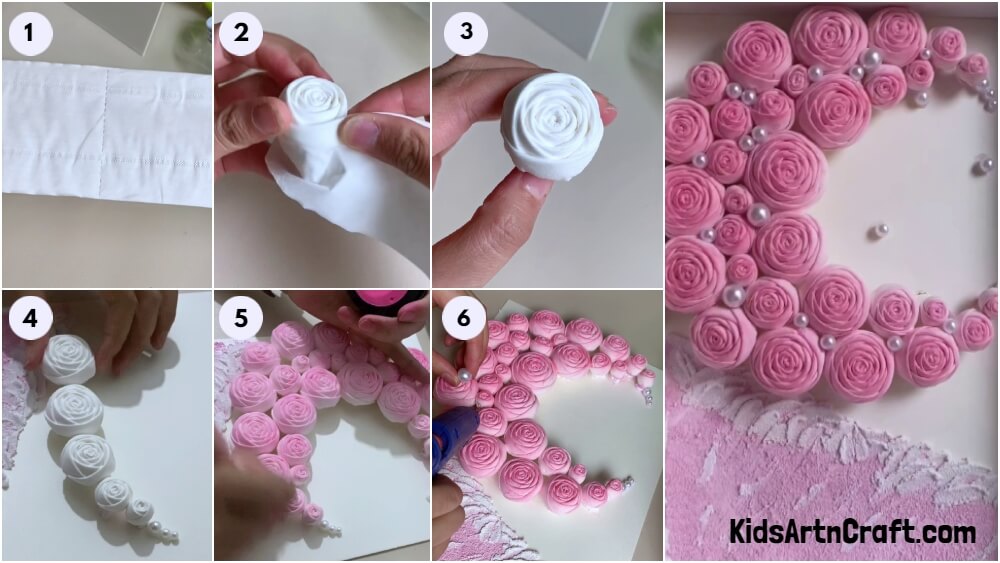
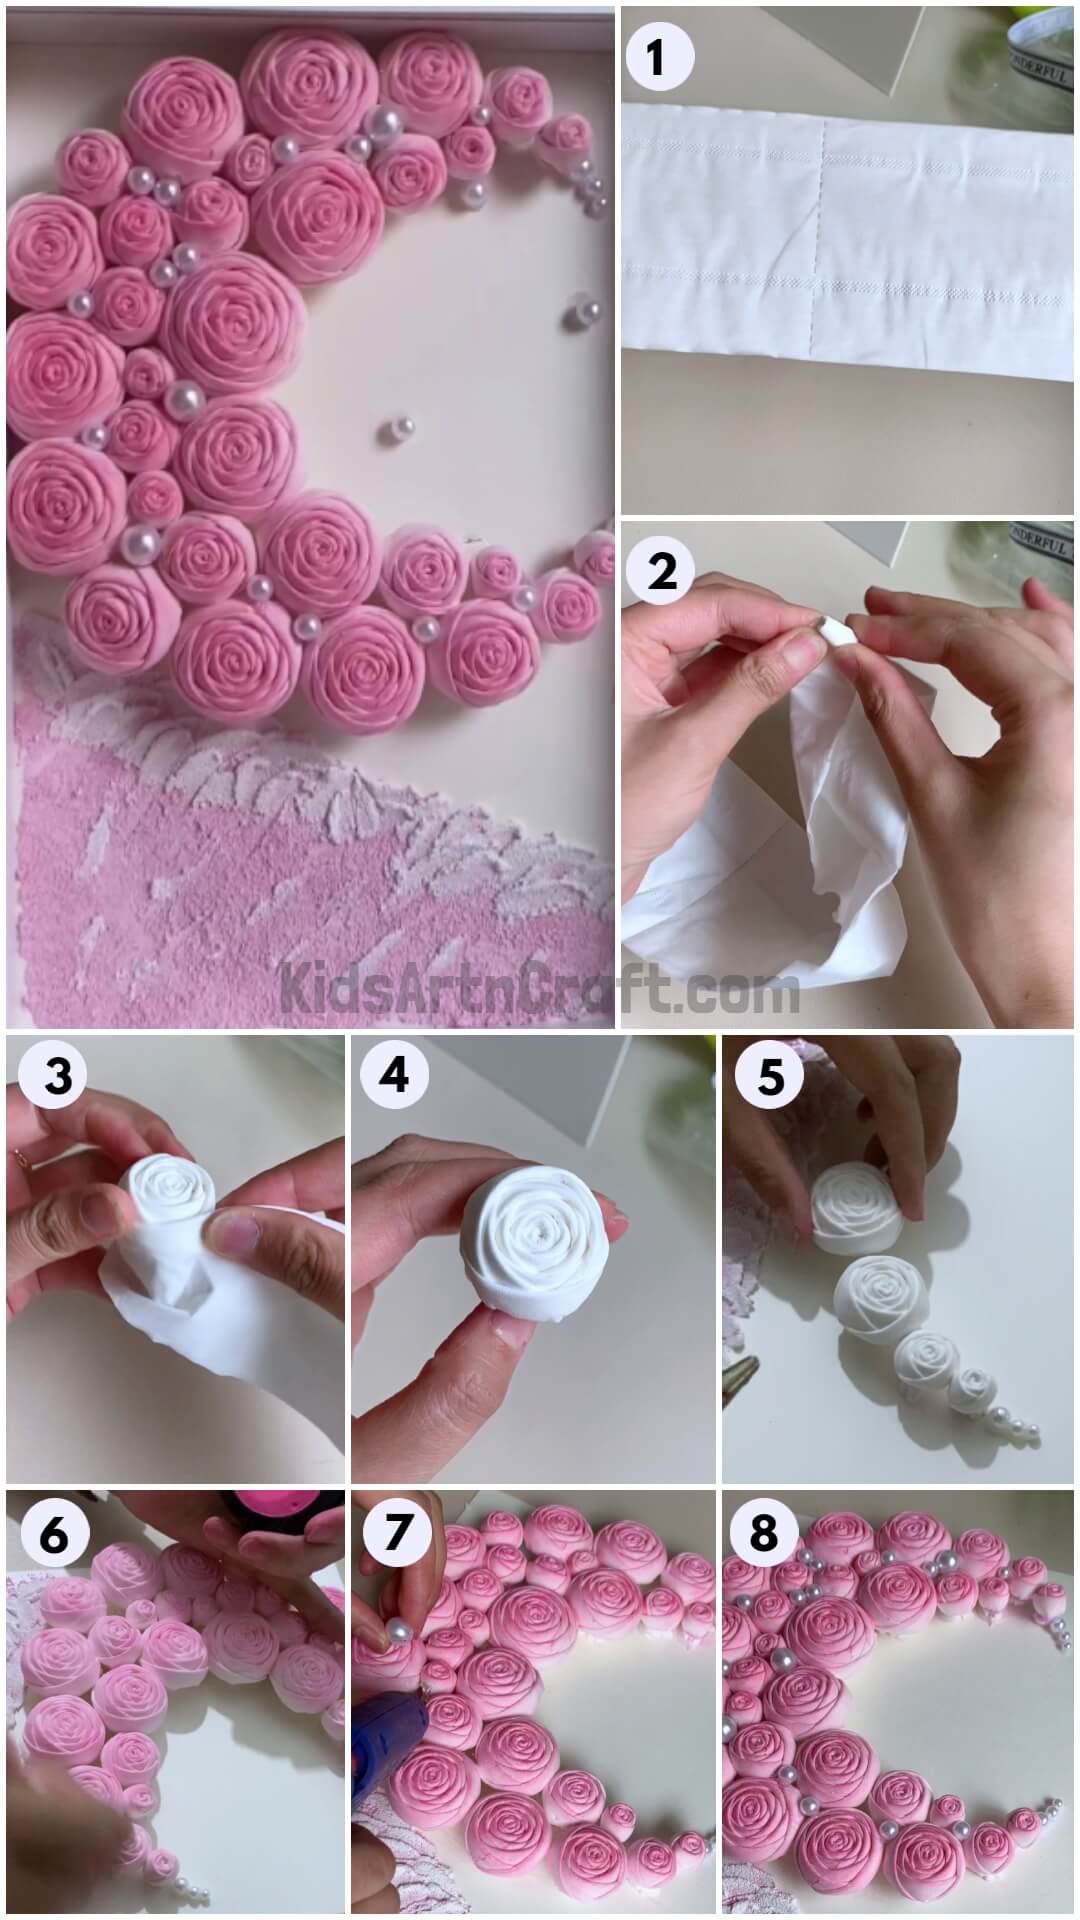
Step 1: Taking A Tissue Napkin
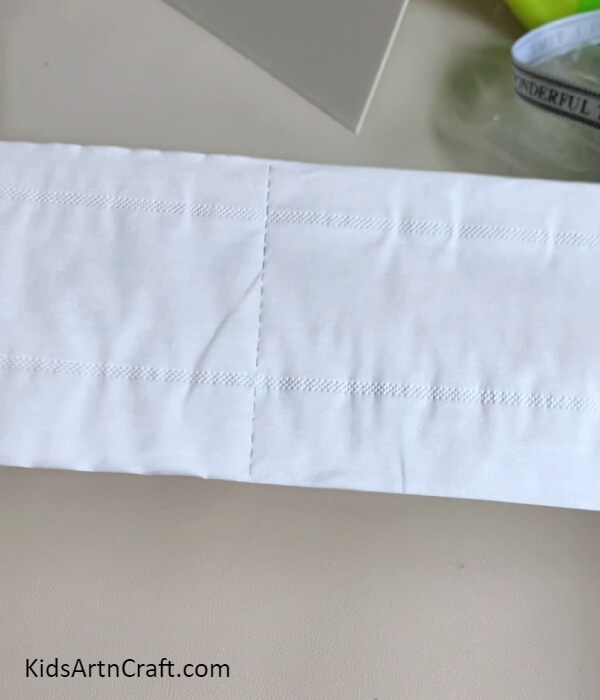
Begin this craft by taking a tissue napkin.
Step 2: Folding The Strip
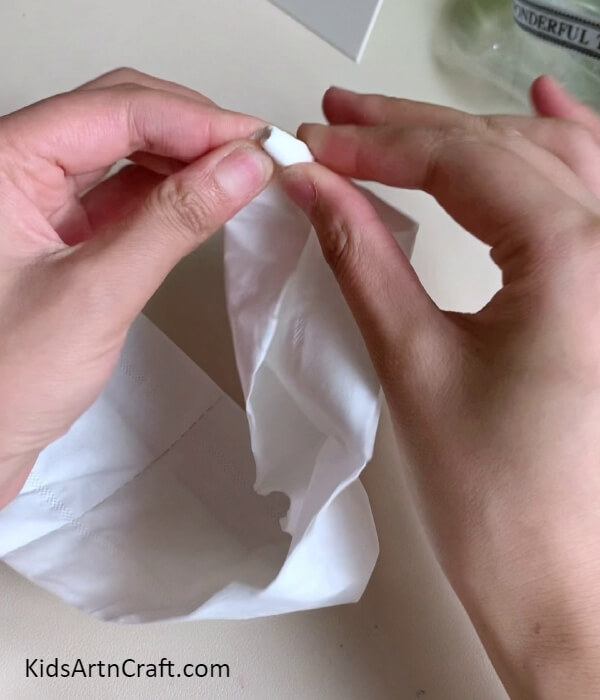
From the folded corner of the tissue, fold it slantingly 2 times to make a thin tilted strip over it. Roll over your tissue along the tilted strip.
Step 3: Forming A Rose

After reaching the end of the tilted strip make a slight fold over the tissue to fold the upcoming part inward and continue rolling, then again fold it inward and roll again.
Step 4: Completing Forming A Rose
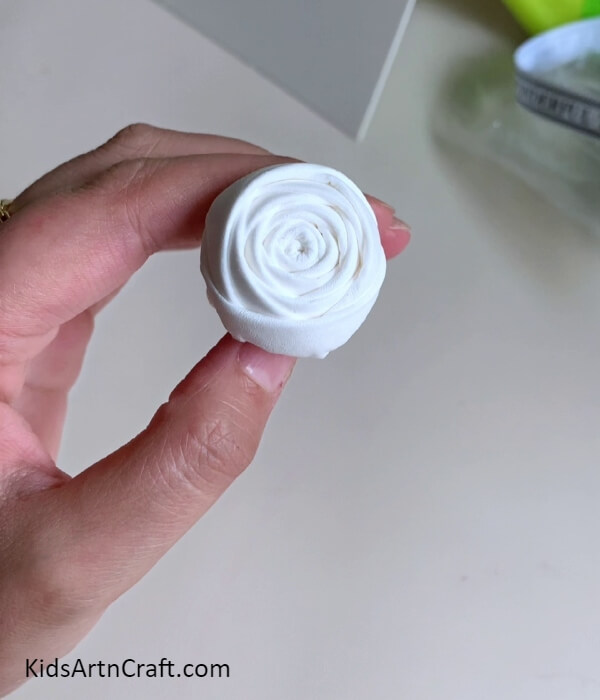
Follow the same previous step to fold inward and roll again and again to complete the tissue and form a rose.
Step 6: Making The Base
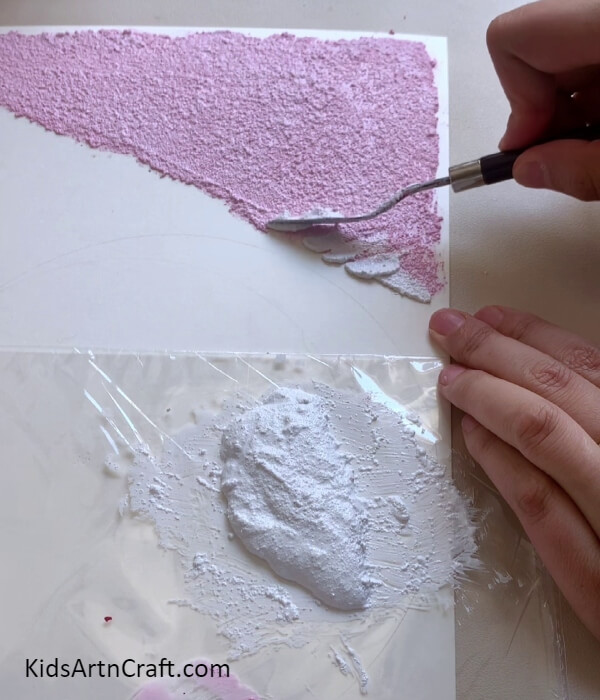
Take a white paper sheet, a pencil, and some pink and white acrylic paint. Using the pencil, draw a crescent moon shape over the white sheet. Mix salt in both paints to make a rough texture of the paint. Now, using a painting knife, paint a corner of the white paper below the moon from pink textured paint, and using the white textured paint, make some waves over the end of the pink paint. Make sure to make the corner in a way that the paint look slanting. This will be the base of your craft.
Step 7: Completing The Paint Base
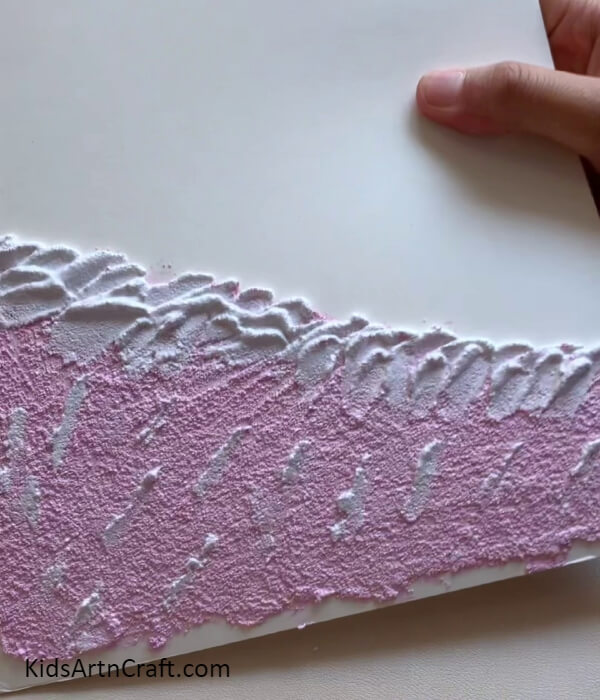
Using the painting knife, make some white textured paint strokes over the pink one in a tilted way to complete the paint base of your craft.
Step 8: Securing The Roses And Applying Hot Glue
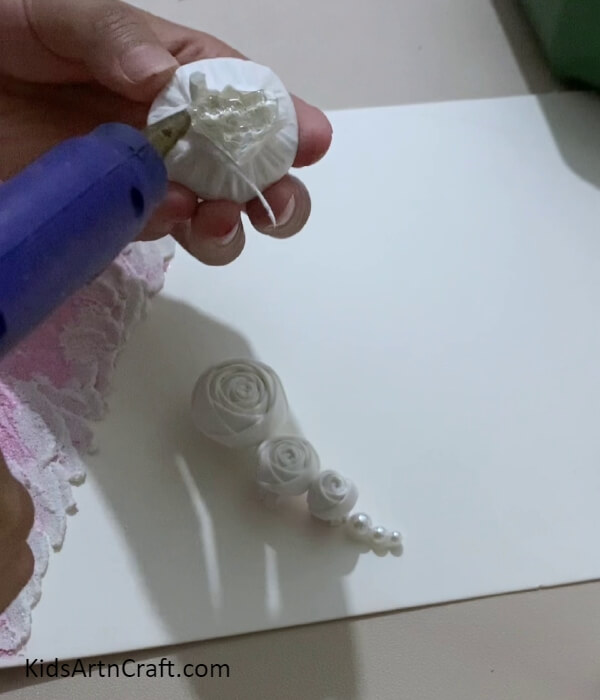
Following the same, make more and more roses of various sizes, and using plastic rubber bands, secure the folds of your roses by applying them over the extra tissue part beneath the roses. Using scissors, cut out the extra part of the tissue but only that much so that you have enough extra parts in the rubber band. Now, using the hot glue gun, apply hot glue at the bottom base of the roses.
Step 9: Pasting The Roses
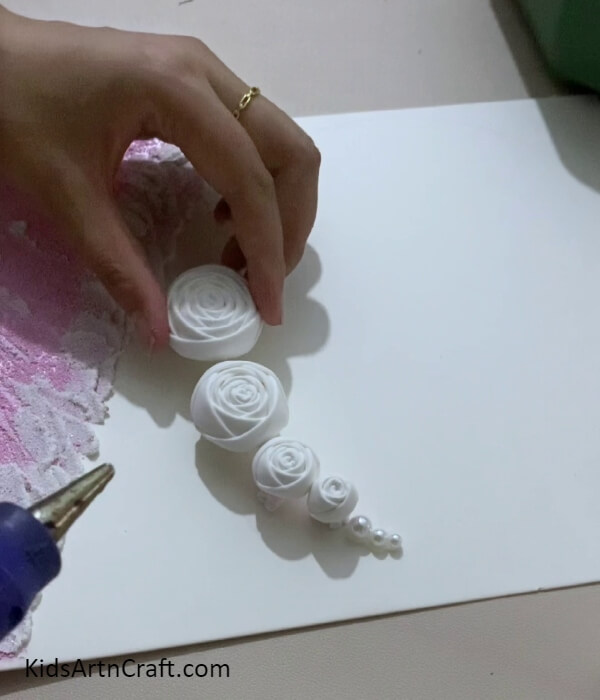
Start pasting your roses over the drawn crescent moon on the base. Make sure to paste the small roses on the crescent moon corners and the big ones in between. Also, fill up the gaps between your roses with the small roses. Also, stick craft pearls at the crescent moon corner to make the corner look sharp, using hot glue.
Step 10: Coloring The Roses
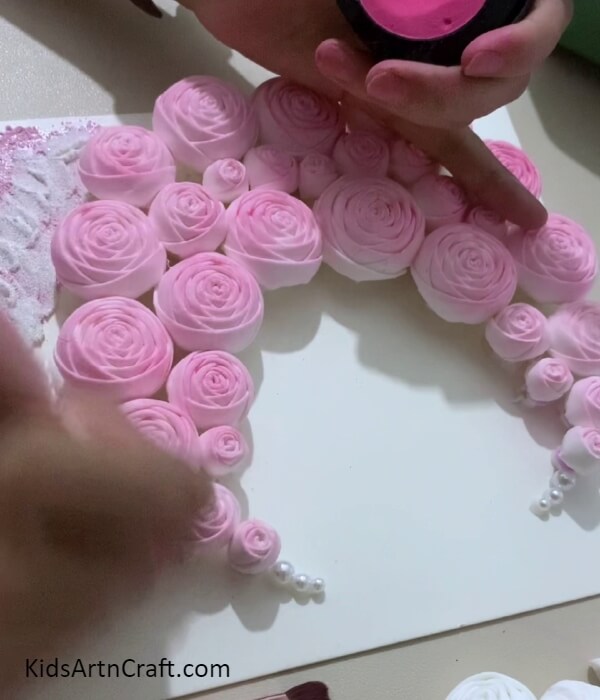
Take a pink-colored powder blush and blush brush. Using them color the tissue roses from the top.
Step 11: Sticking Craft Pearls
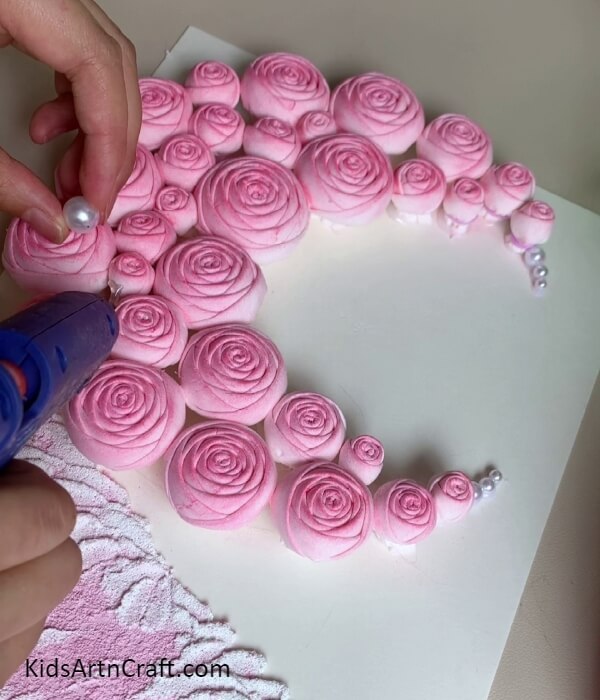
Using hot glue, stick some random-sized craft pearls over the gaps between the roses.
Step 12: Completing Sticking The Craft Pearls
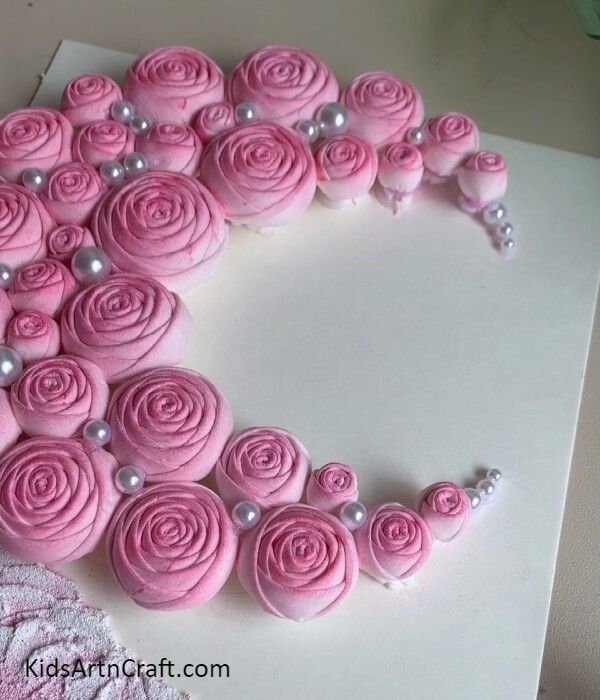
Not all, but try to cover most gaps in the roses to make them look subtle.
This Is The Final Look Of Your Moon Tissue Roses Frame!
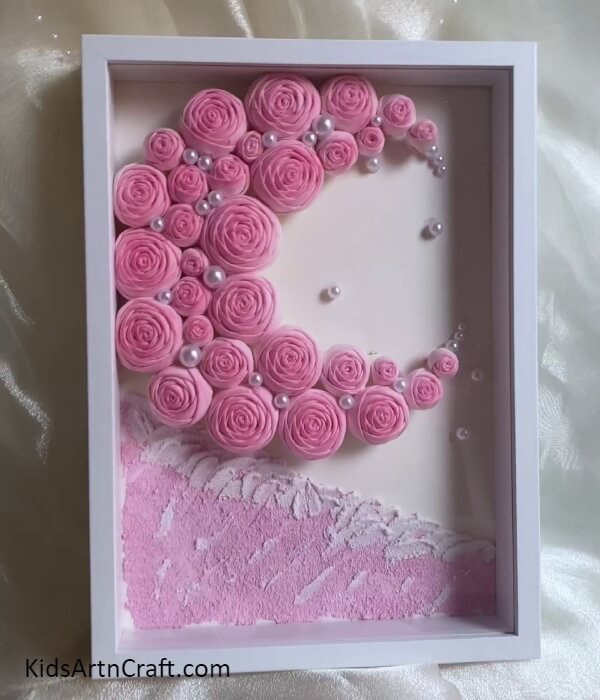
For the final step, stick 2-3 craft pearls over the white base using hot glue, and once done, place your creation in a white frame box.
Tada! Here you are! The final result of your napkin roses moon craft frame!
You can now decorate it in your room to have a stunning view anytime you want! You can even use this craft as a gift for your loved one! I’m sure this will definitely blow their mind and will be filled with happiness to receive such a stunning present! The craft frame looks like purchased from the market so this can be a budget-friendly option for you to make or gift! You can even arrange your roses in any shape you want with the help of this tutorial! Your imagination is the limit!
Hope you liked the article and share it as much as you can to encourage us to keep bringing such crafts for you! Also, give your feedback in the comments section!
Follow us on Youtube for art and craft tutorials and much more.
More Articles from Kids Art & Craft
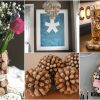
- DIY Christmas Ornament Craft For Home Decorations
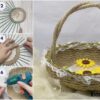
- Handmade Flower Basket Decor Craft Tutorial For Kids
- Easy to Make Handmade Bee Craft Tutorial for Kids
- DIY Paper Flower Vase For Kids For Home Decor
- Easy Christmas Crafts for Kids to make at home